In this tutorial, I will discuss the use of adjustment layers in After Effects. This feature allows you to apply your effects cleanly and efficiently without the need to constantly create sub-compositions or duplicate your layers. It gets especially exciting when you integrate the blending modes of adjustment layers into your projects to achieve creative effects. Let’s dive straight into the steps!
Key Insights
Adjustment layers allow you to apply effects to all underlying layers. With the right blending modes, you can achieve impressive visual effects without the need to create complicated sub-compositions.
Step-by-Step Guide
Setting Up Your Footage
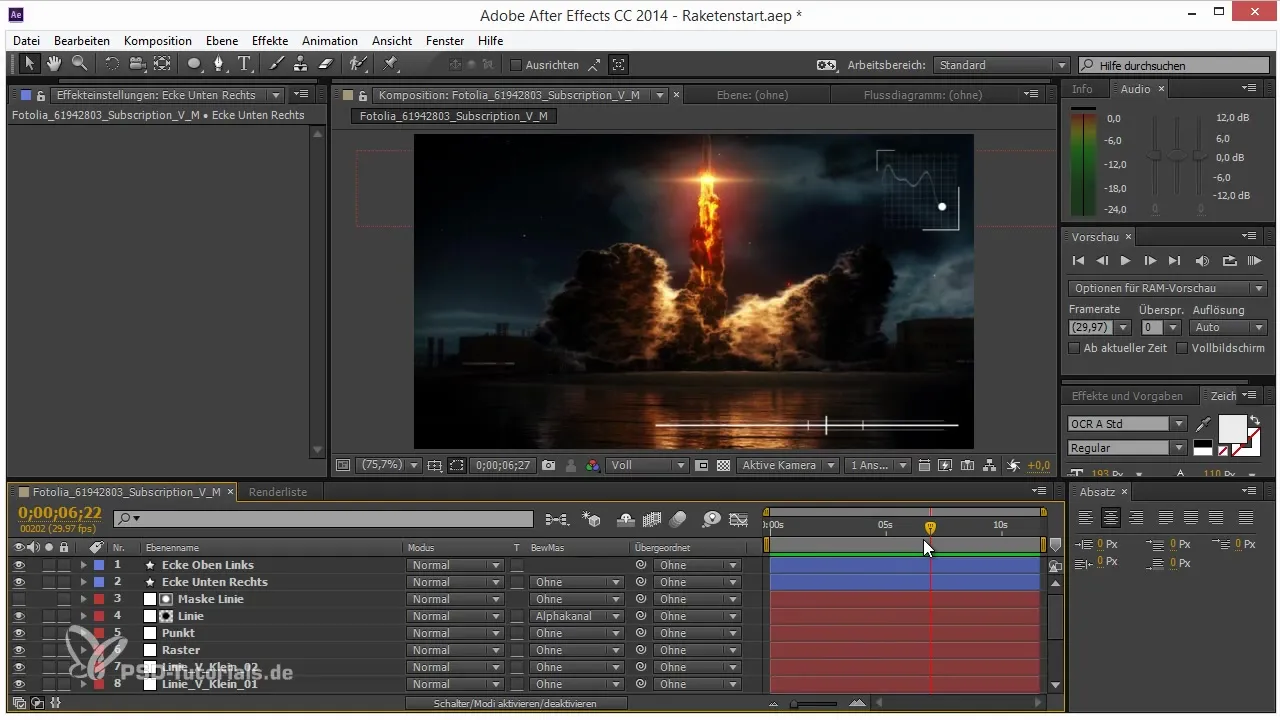
First, you need your footage that you want to edit. In this tutorial, I’m using an example of a rocket launch, which is perfect for impactful editing. Import your footage and place it in your timeline.
Adding an Adjustment Layer
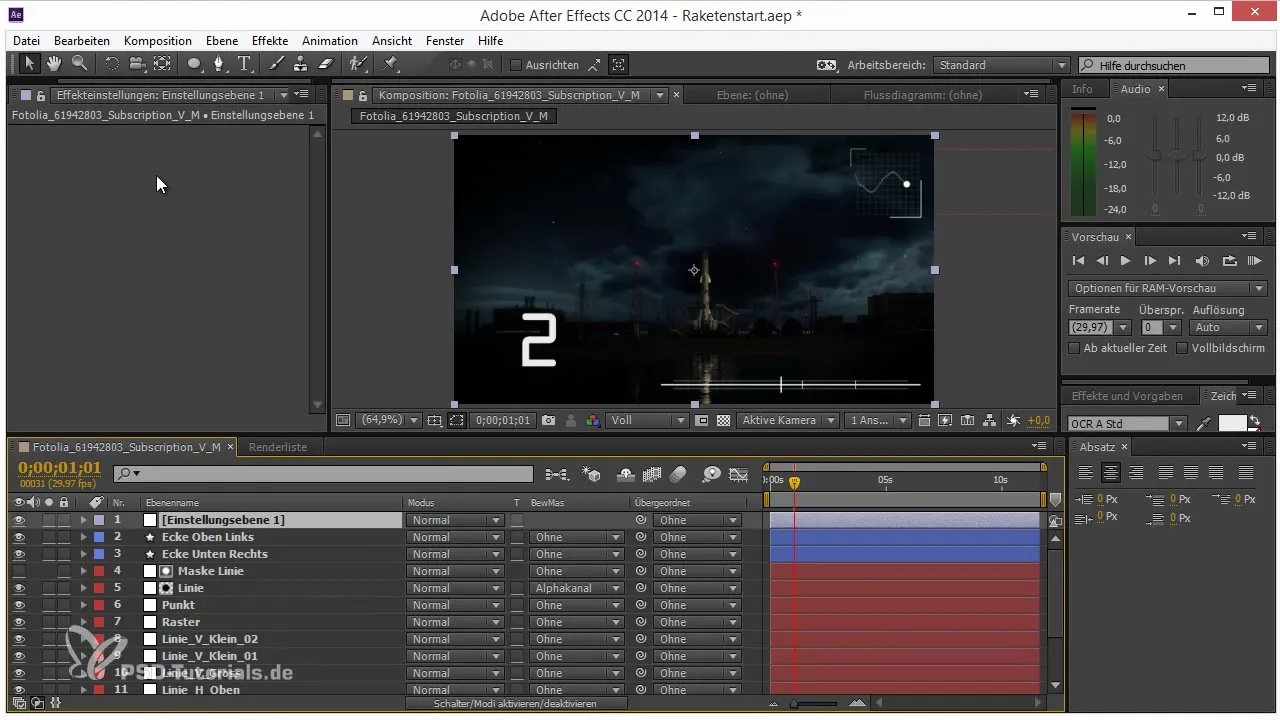
To add an extra shine to the image, you add an adjustment layer. Go to the “Layer” menu and select “New” and then “Adjustment Layer.” This new layer allows you to add effects that will be applied to everything underneath.
Applying a Glow Effect
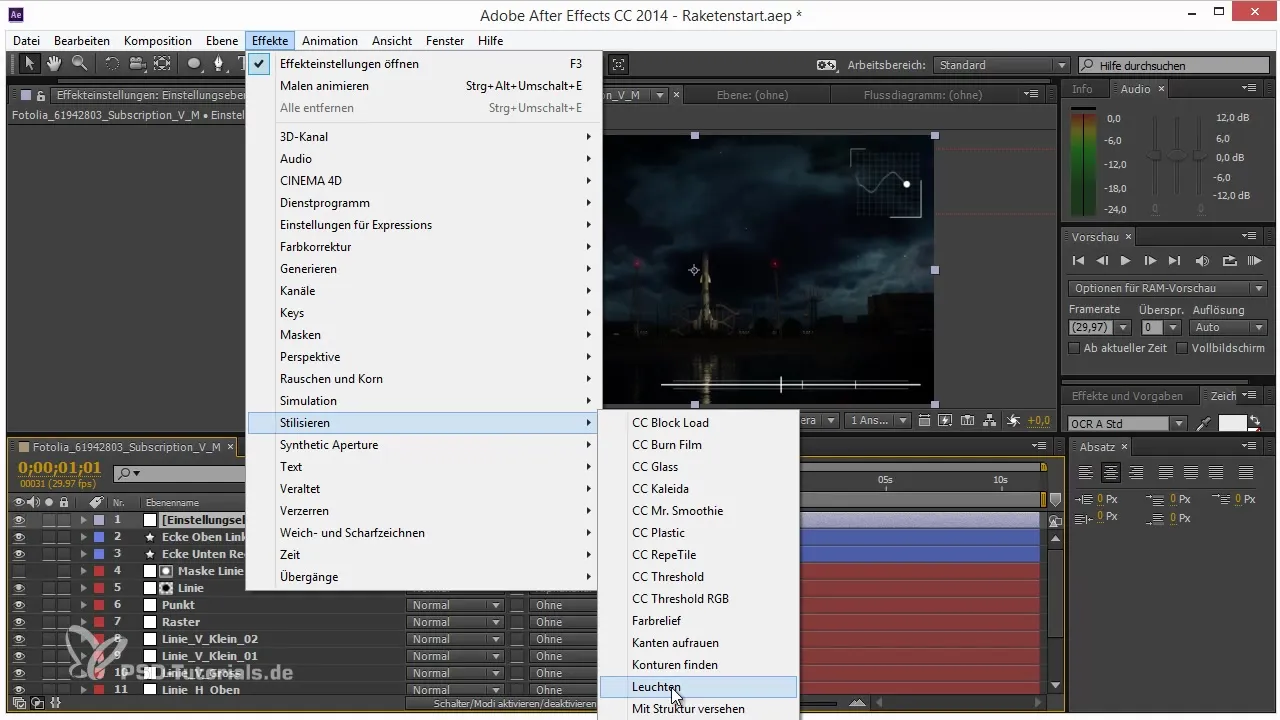
After creating the adjustment layer, you add the glow effect. You can find this under “Effects” -> “Stylize” -> “Glow.” Here you have the option to adjust the threshold to determine which areas of the image should glow. I recommend keeping the intensity low to achieve a more subtle result.
Applying Additional Effects
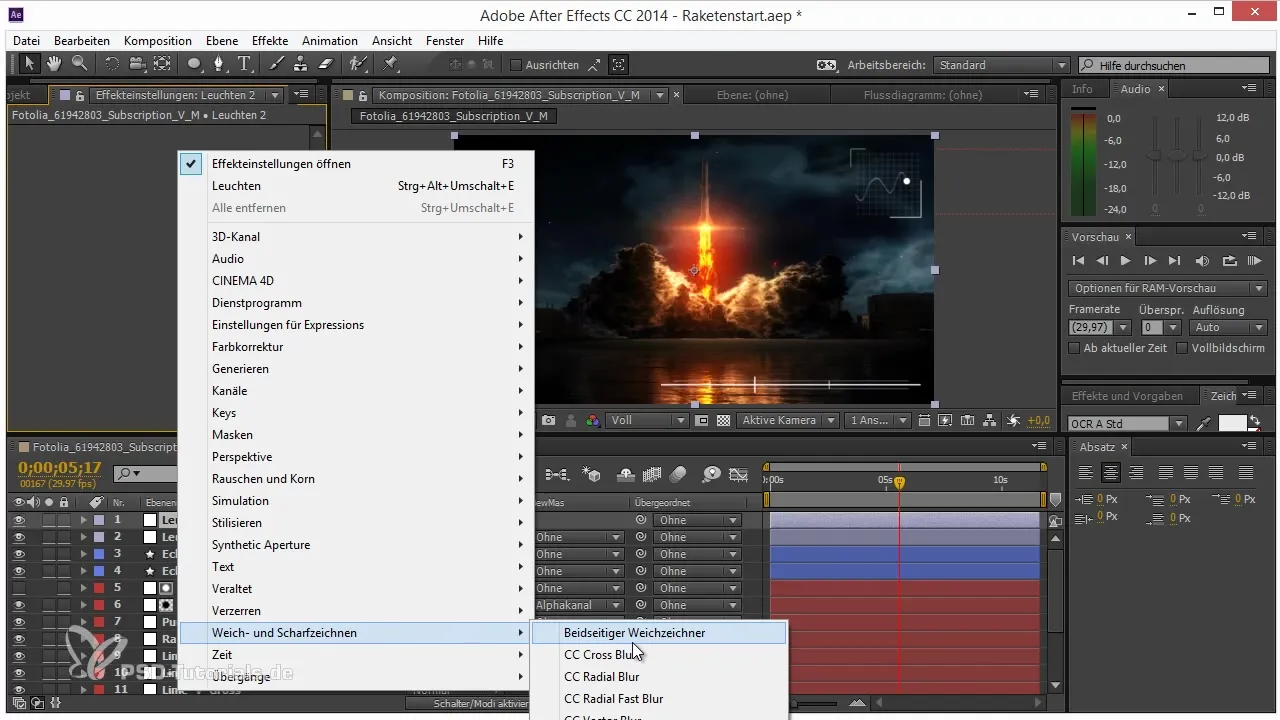
In addition to the glow effect, you may want to try other effects as well. Duplicate the adjustment layer (Ctrl + D) and change the effect to “Blur and Sharpen.” Set the direction to 45° and adjust the length to create a striping pattern.
Color Correction with Curves
Next, you will use Curves to optimize the colors of your footage. Under “Color Correction” -> “Curves,” you have the option to emphasize the brightest areas of your image. Make sure to only select the brightest areas to achieve the best result.
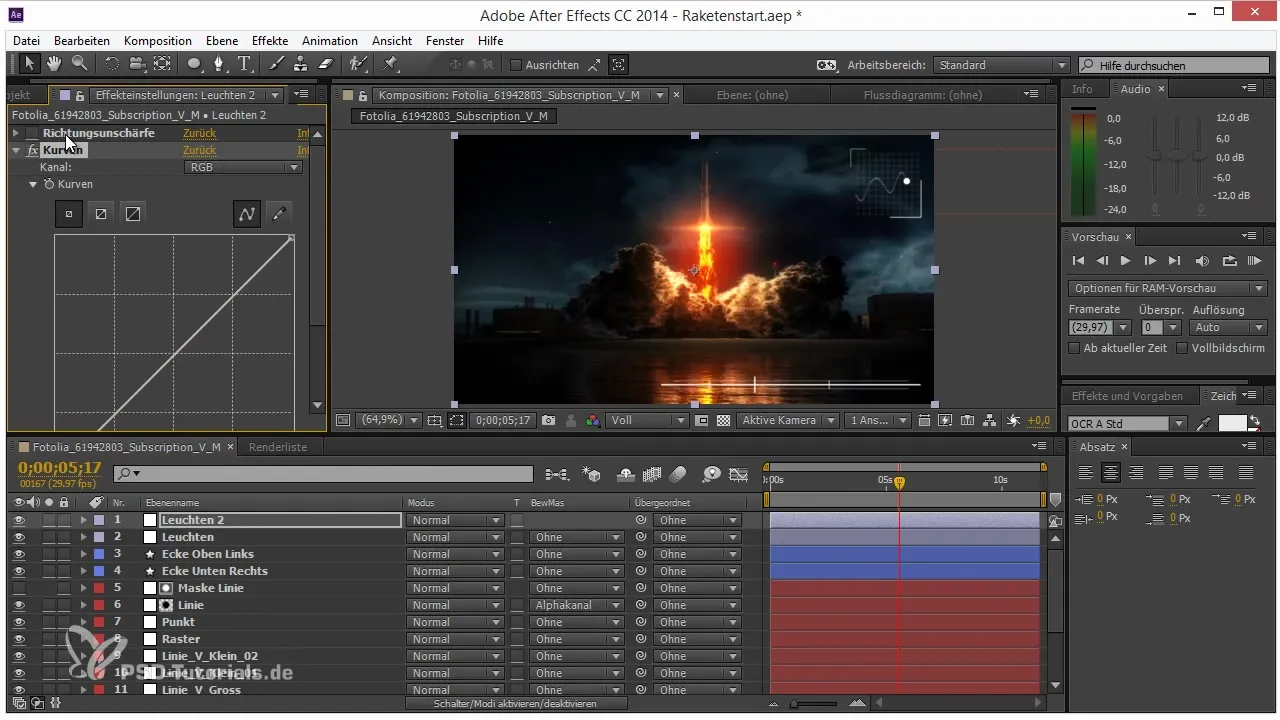
Easily Applying Blending Modes
Here's the exciting part - many people don’t know that you can change the blending mode of an adjustment layer. For example, you can switch from “Normal” to “Add” to experiment with different effects. This allows you to create creative variations without duplicating your original layers.
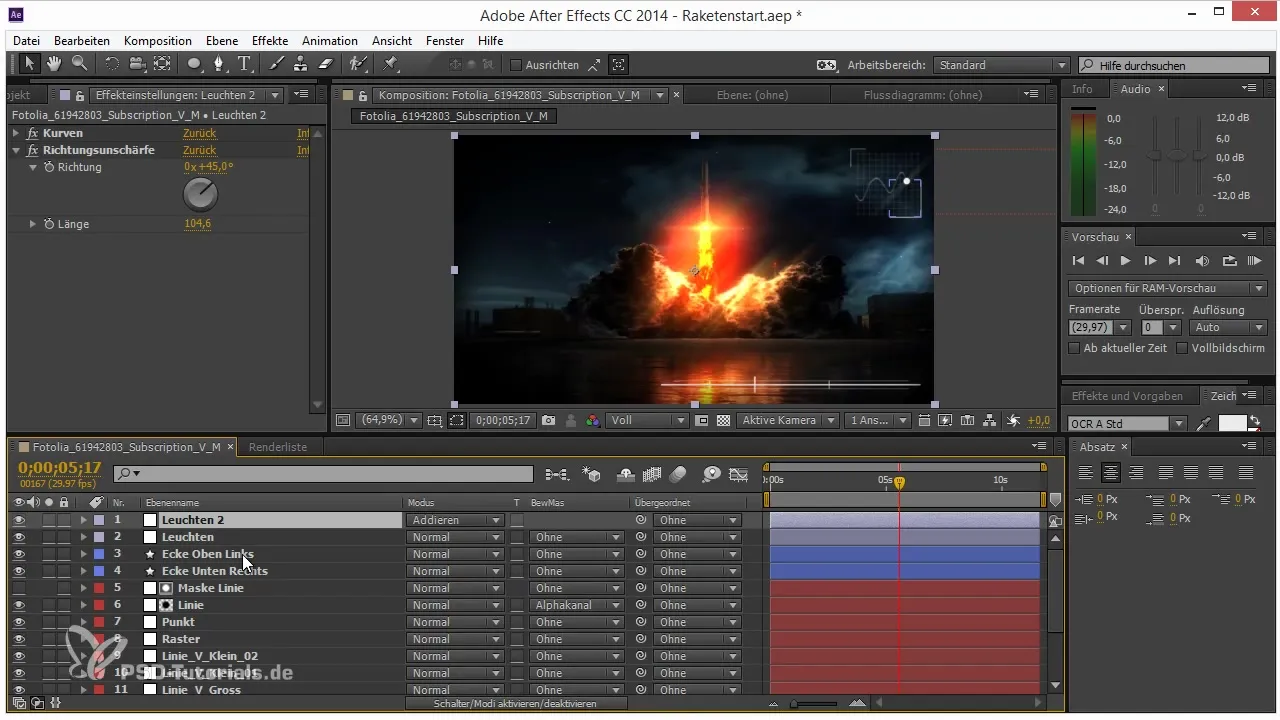
Making Further Adjustments
You can now duplicate the layer and change the blending mode to -45° so that the effect points in the other direction. This will give you a beautiful starglow effect that enhances your footage.
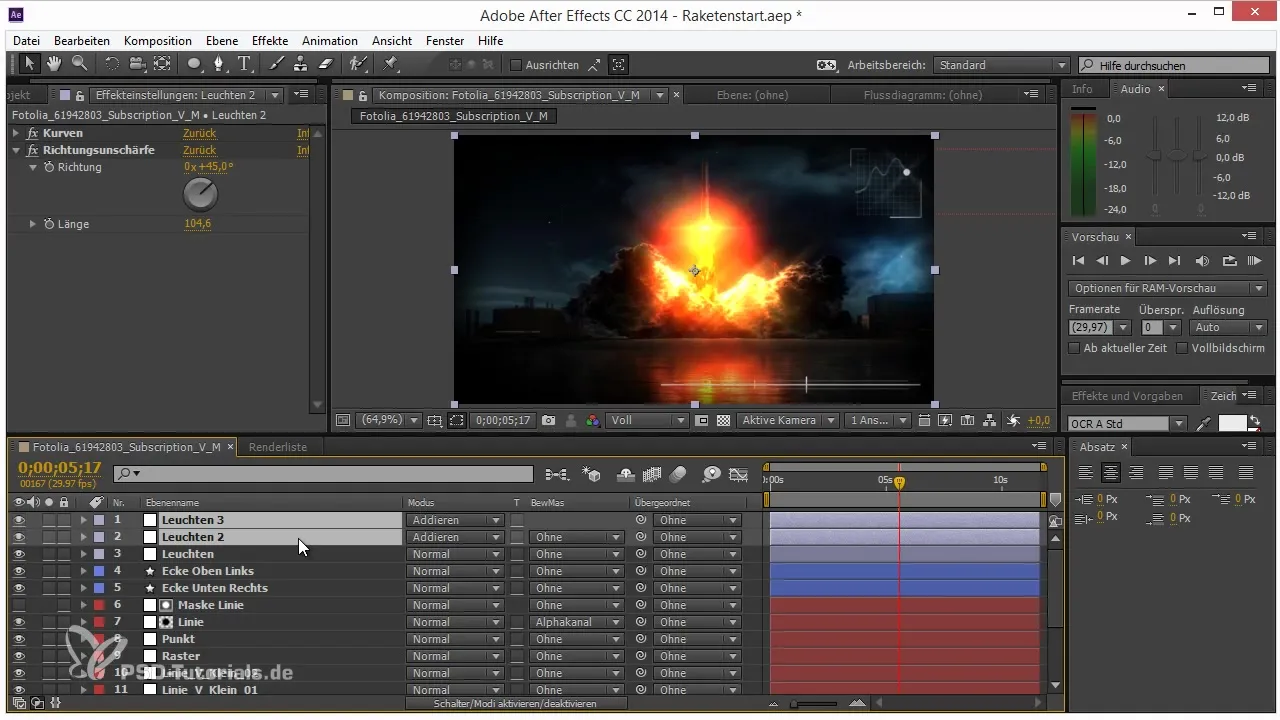
Working with Sliders
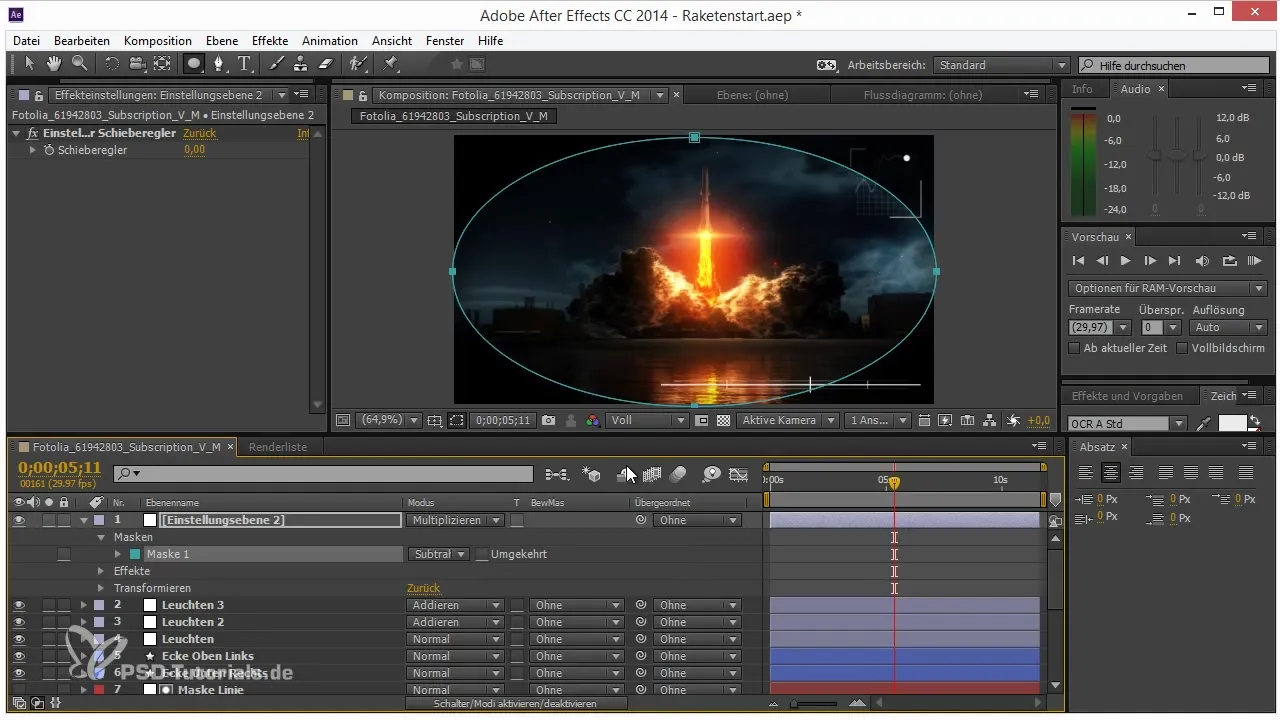
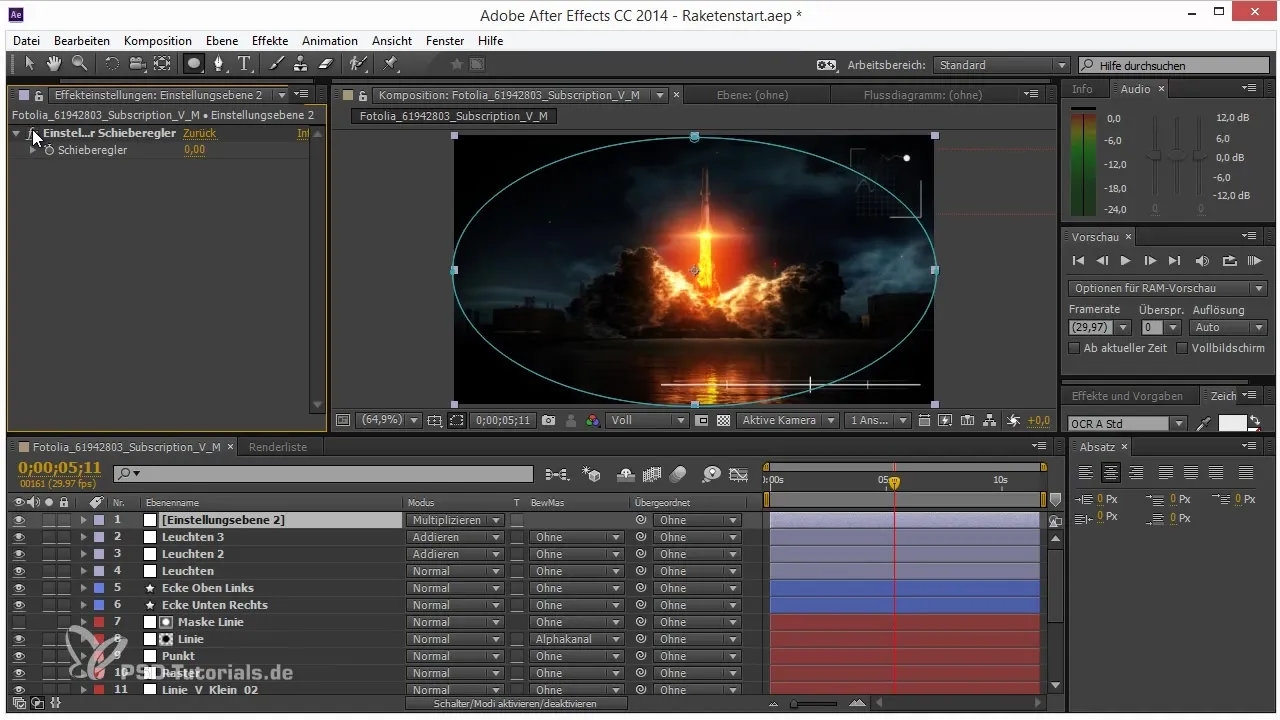
Additionally, you can work with the slider. Create a null object (Ctrl + Alt + Y), then add the slider. Any adjustments to this slider will give you control over the effects in the adjustment layer.
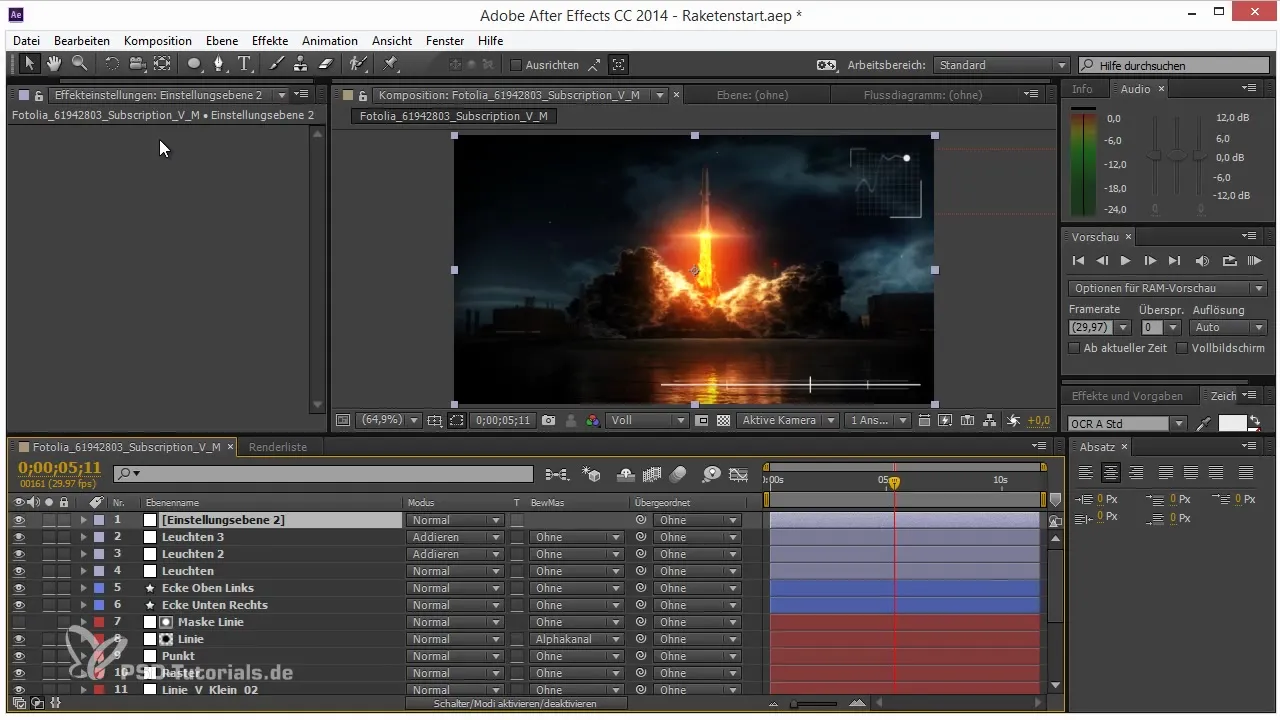
Creating a Vignette
To insert a vignette, we create a mask around your footage. Set the blending mode to “Multiply” so that the bright parts of your image remain while the dark areas are darkened.
Finishing Up and Preparing for Export
Once all these effects have been added, you have a powerful combination of adjustments that significantly enhance your footage. By using adjustment layers in combination with blending modes, you save a lot of time and effort. Now you are ready to export your project.
Summary – Workflow Tips for After Effects with Adjustment Layers and Blending Modes
In this guide, you have learned how to work with adjustment layers in After Effects and efficiently apply various effects. The use of blending modes additionally provides you with creative options to enhance your footage and optimize your workflow.
Frequently Asked Questions
What are adjustment layers in After Effects?Adjustment layers allow you to apply effects to all underlying layers.
How do I change the blending mode of an adjustment layer?You can adjust the blending mode in the layer window under the layer settings.
Can I use multiple effects on a single adjustment layer?Yes, you can apply multiple effects to a single adjustment layer.
How does color correction with curves optimize my footage?With curves, you can specifically adjust brightness and contrast, giving your footage a more dynamic look.
What is a slider used for in After Effects?The slider can be used to make dynamic adjustments to effects, often in conjunction with expressions.


