The challenge of optimally positioning layers in the 3D space of Adobe After Effects is likely known to most users. While After Effects offers many features to create creative and dynamic animations, handling flat layers, especially in an environment that should at least appear three-dimensional, can sometimes be frustrating. This guide shows you how to ensure that your flat layers are always oriented towards the camera, so they remain visible and engaging in your animation.
Key Insights
- With After Effects, you can set layers to always orient towards the camera.
- To change the orientation, use the “Auto Orientation” feature.
- The orientation works for both text and icon layers, improving visibility in 3D animations.
Step-by-step Guide
Step 1: Prepare the Project
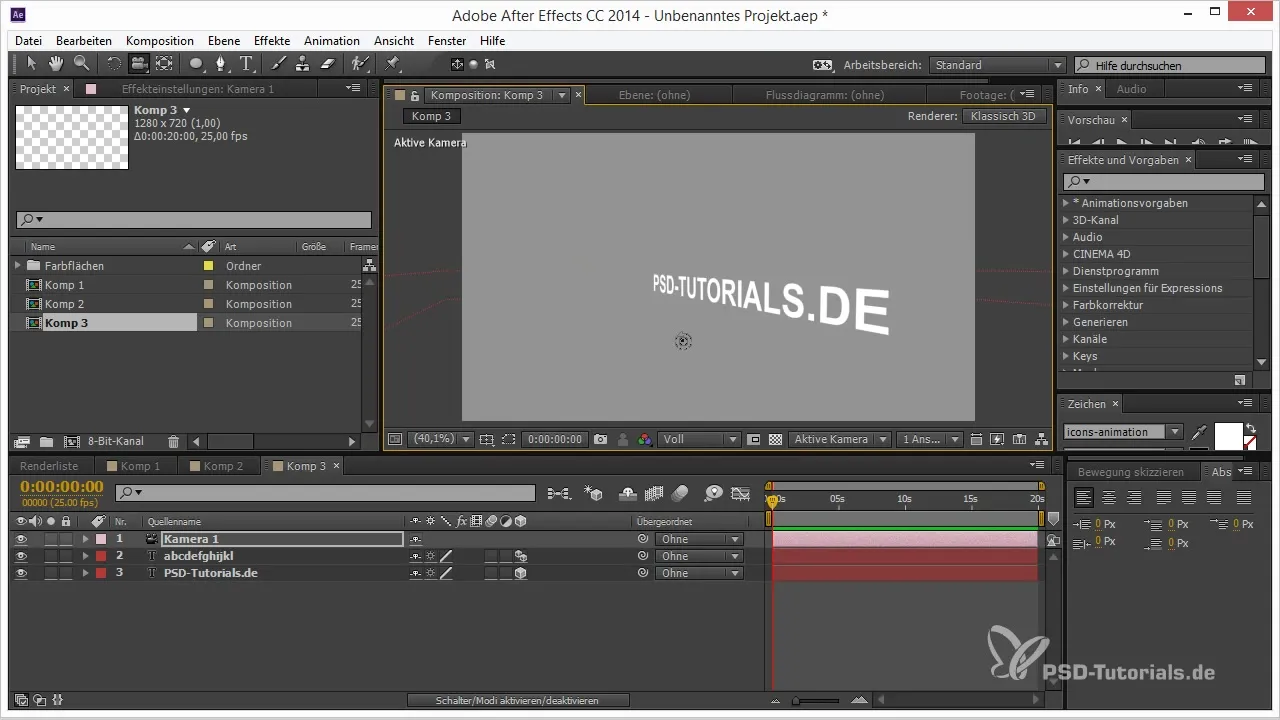
First, you should set up your project in After Effects with the necessary layers. Make sure your text and icon layers are present in the workspace. For the following guide, we will assume you already have a text layer and some icons arranged around it.
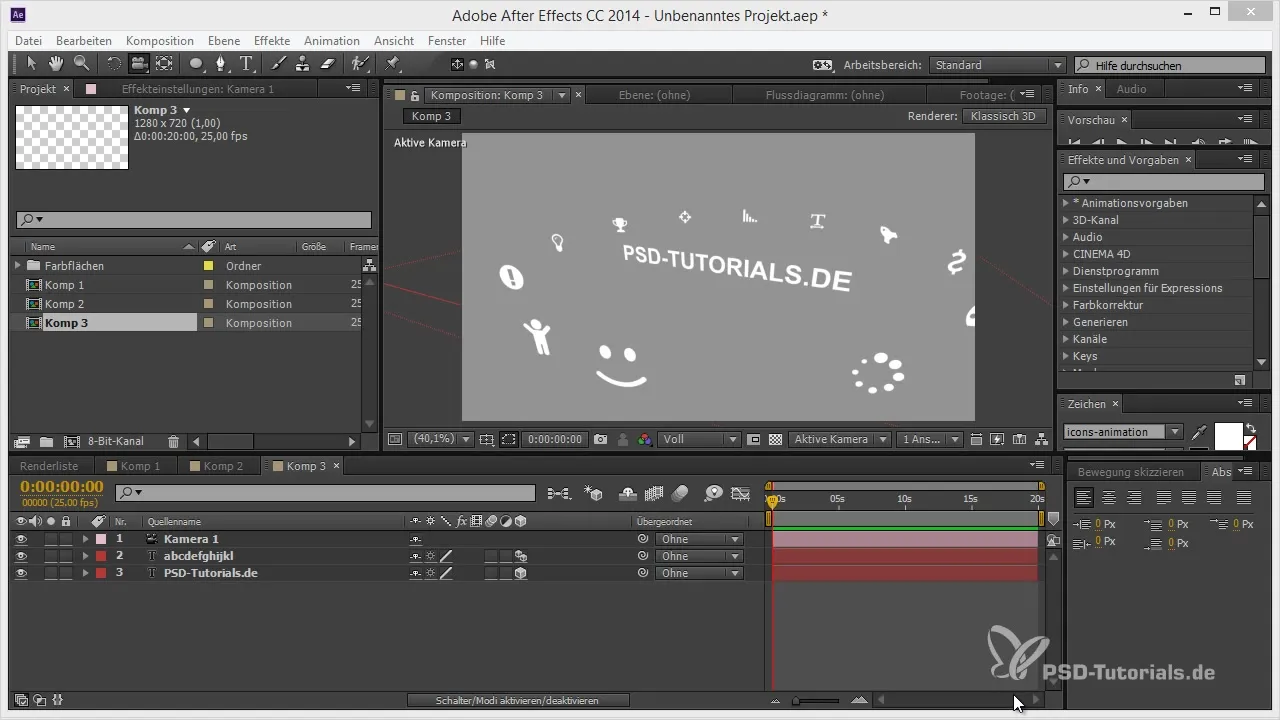
Step 2: Access the Transformation Options
To activate the orientation of your layers towards the camera, right-click on the desired layer. This step is crucial to enable Auto Orientation directly.
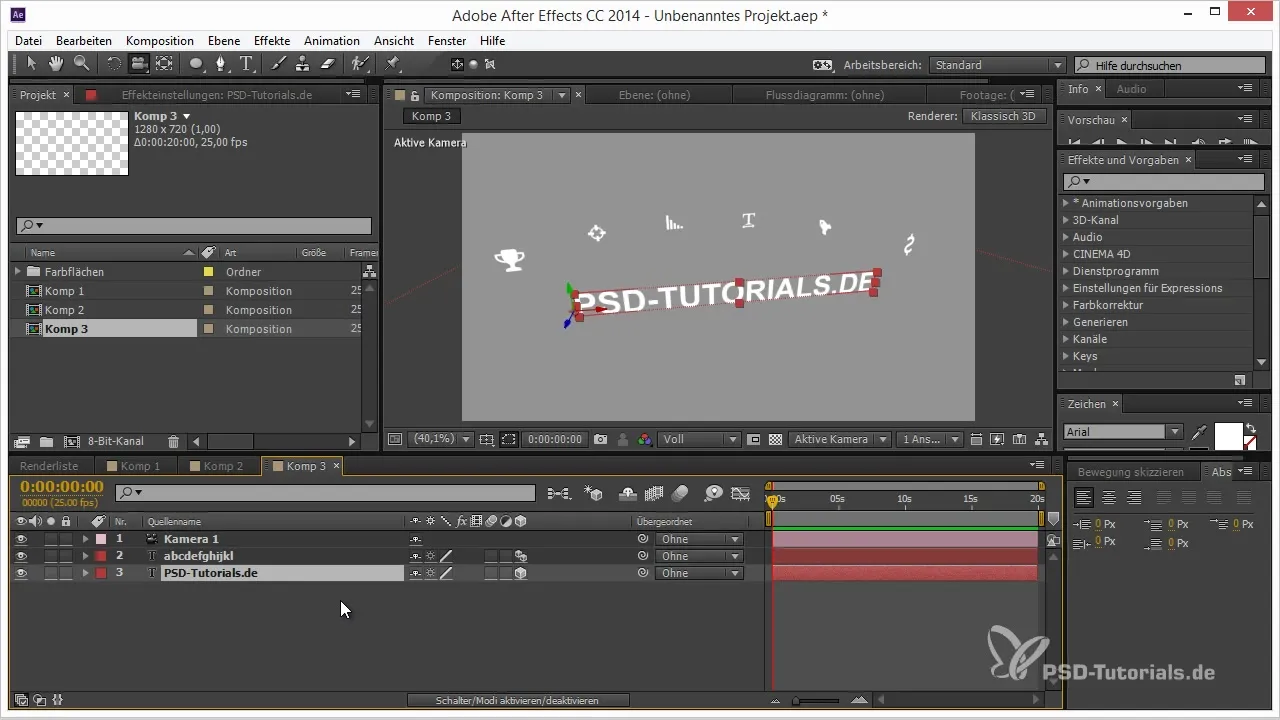
Step 3: Activate Auto Orientation to the Camera
Now, navigate to “Transform” in the context menu and select “Auto Orientation.” This feature ensures that your selected layer is always oriented towards the camera, no matter how you move with the camera in space.
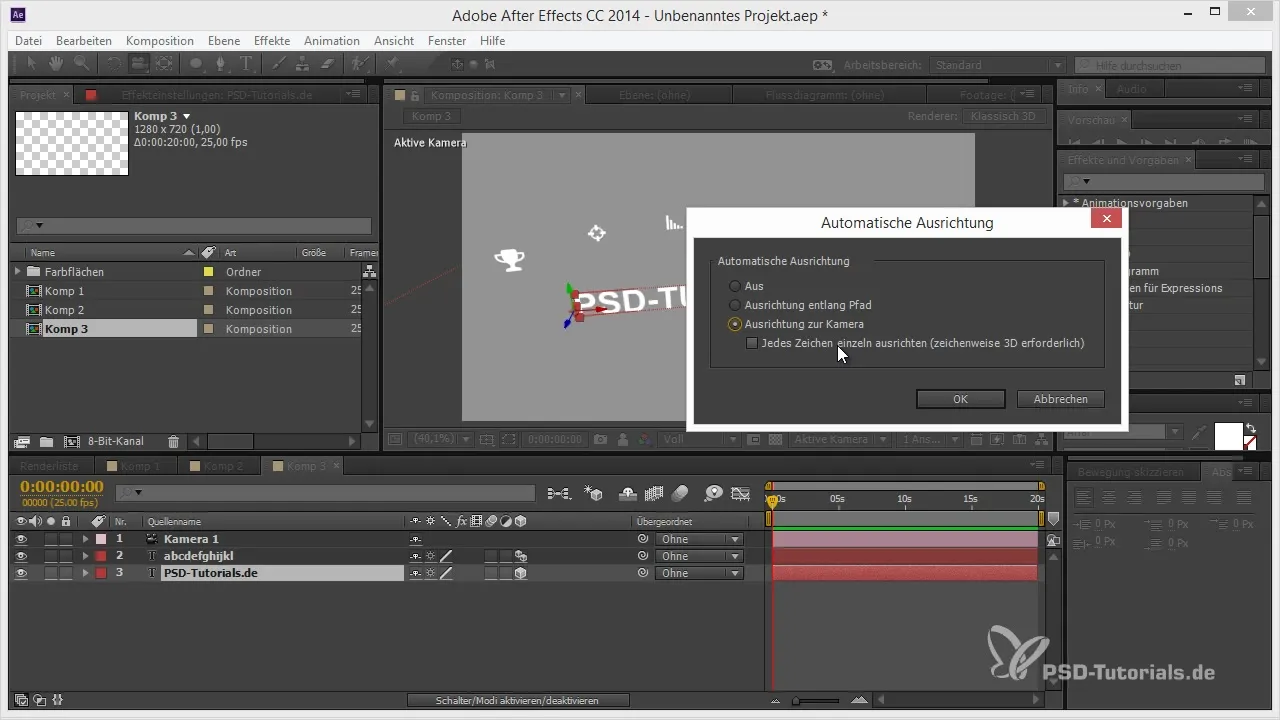
Step 4: Adjust Anchor Point
After activating auto orientation, your layer may not look perfect. If the anchor point is not centered on the layer, the orientation may appear odd. Ensure that the anchor point is positioned in the middle of your layer. This adjustment can be made using the transformation tools in After Effects.
Step 5: Enable Per-character 3D
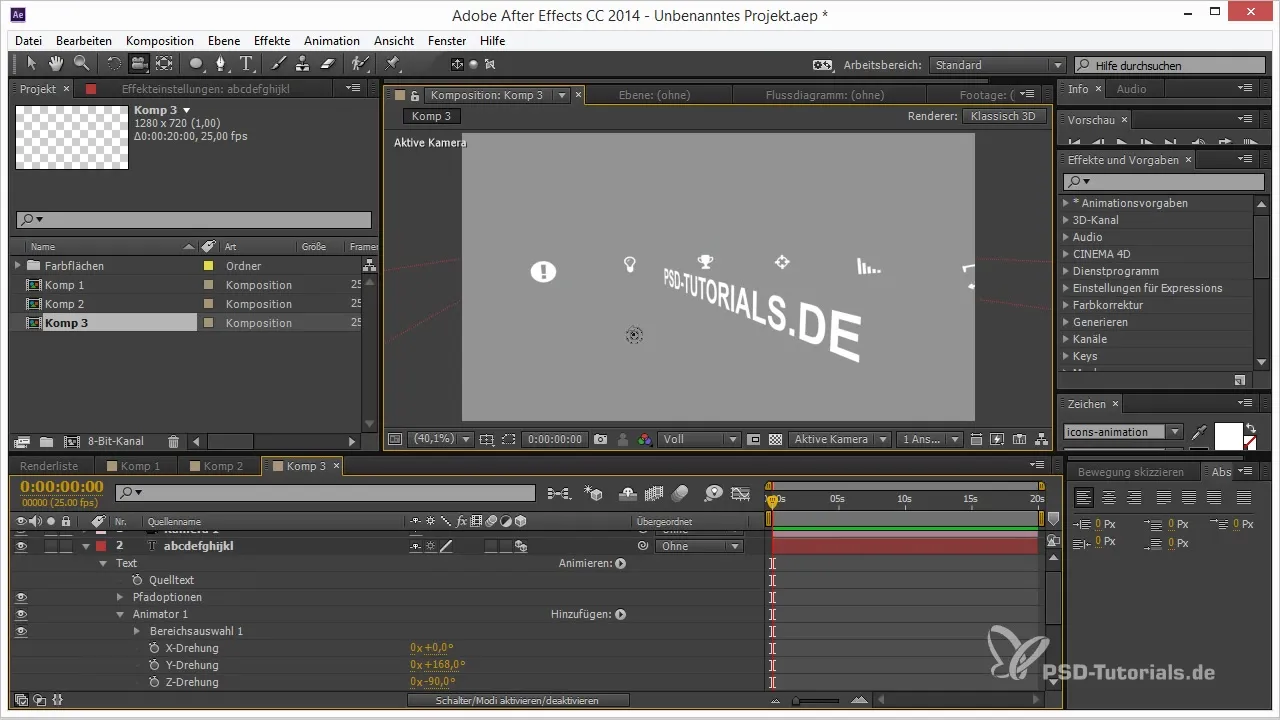
If you are working with a text animator and want to align multiple icons simultaneously, enable Per-character 3D for your text layer. This allows you to orient each character or icon separately towards the camera. Once again, right-click, go to “Transform,” and then to “Auto Orientation.”
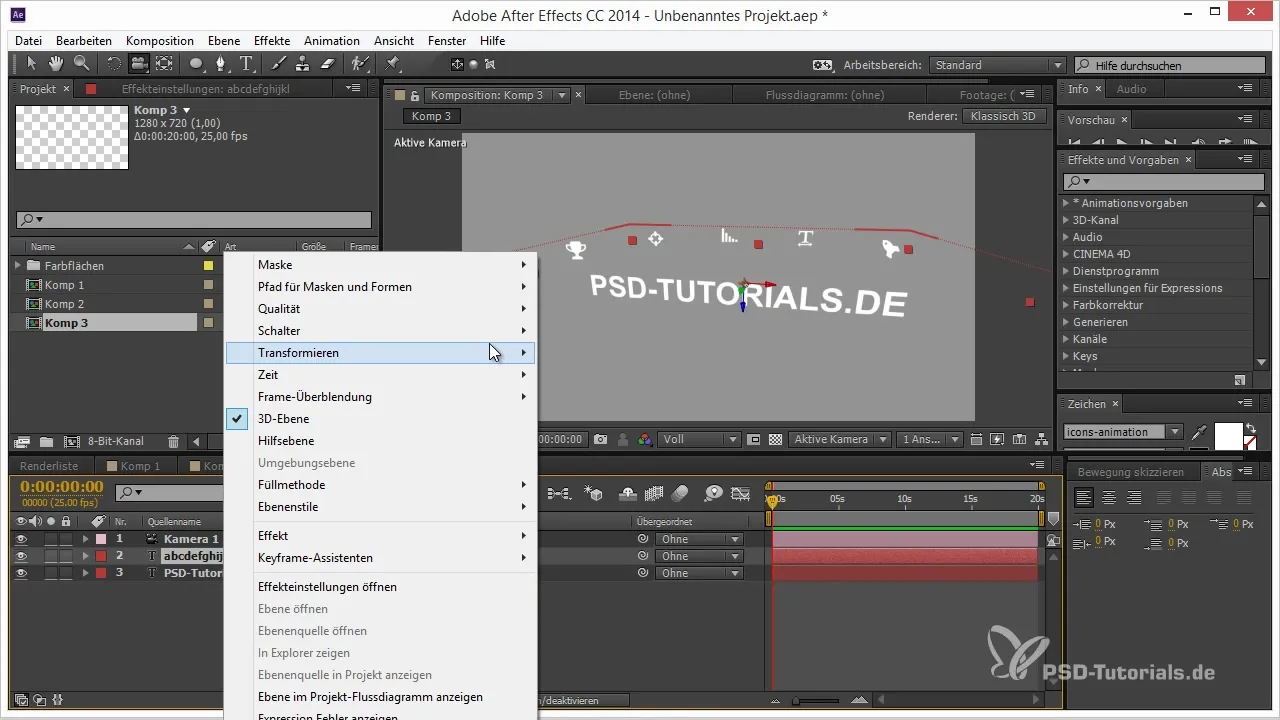
Step 6: Align Individual Letters or Icons to the Camera
To ensure that each letter or icon is correctly oriented, it’s time to get to work. You can activate each letter individually and also align them to the camera. This creates the desired effect of all elements always looking towards the camera.
Step 7: Adjust Rotation
If your icons are not orienting correctly, check the rotation values in your settings. You may need to rotate the z-axis by -90° to properly align the icons in the 3D space. Experiment a bit with the values until you achieve the desired result.
Step 8: Test Movement and Animation
Now it’s time to test your animation. Move the camera and observe how your layers behave. Ensure they remain visible and engaging at all times. You may receive visual effects that are particularly appealing, as they convey a mix of 2D and 3D.
Summary – Aligning Layers to the Camera in After Effects: Tips and Tricks
With this guide, you have the tools and techniques to effectively align flat layers in After Effects towards the camera. This is useful for ensuring that elements in your project are always visible, even when navigating through scenes with extensive animations. With a bit of practice, you'll quickly internalize all the steps and can further enhance your 3D projects.
Frequently Asked Questions
Which layers can I align to the camera?You can align both text and icon layers to the camera.
Does the alignment remain during animations?Yes, the alignment remains even during camera movements.
How do I change the anchor point of a layer?You can use the anchor point tools in After Effects to move the point.
Can I work with effects that are 3D-capable?Yes, you can use effects that work with 3D cameras and position these layers accordingly.
What do I do if the icons don’t look as desired?Experiment with the rotation values to ensure they are correctly aligned to the camera.


