Now it’s time to get creative! You have optimized your logo and are ready for the next step in After Effects. In this tutorial, I will show you how to effectively implement your logo animation. You will discover new techniques to bring your logo to life and create impressive movements. Let’s get started and bring your logo into motion!
Key Insights
- Import your logo as a composition for better editing.
- Use continuous rasterization for sharp vector edges.
- Animating with keyframes for position, rotation, and scale is crucial.
- Use time offsets to create interesting animation effects.
Step-by-Step Guide
Step 1: Import the Logo
The first step is to import your logo into After Effects. Simply drag your optimized logo file into the project window in After Effects. An import dialog will open. Here you have two options: "Footage" or "Composition". Choose the "Composition" option so that all layers of your logo are retained.
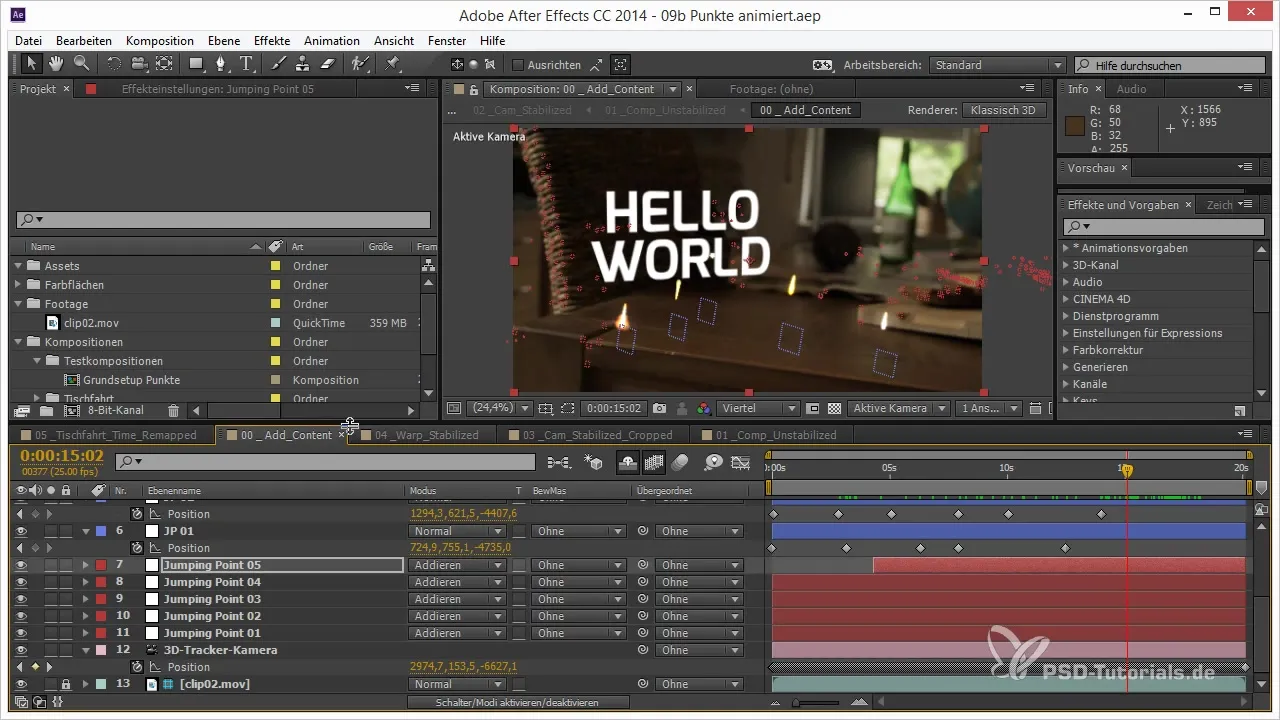
Step 2: Check the Composition and Layers
After opening the composition, you should ensure that all layers have been imported correctly. Make sure that each layer is in the right position. If you find that some elements are distorted, it may be due to the document size setting.
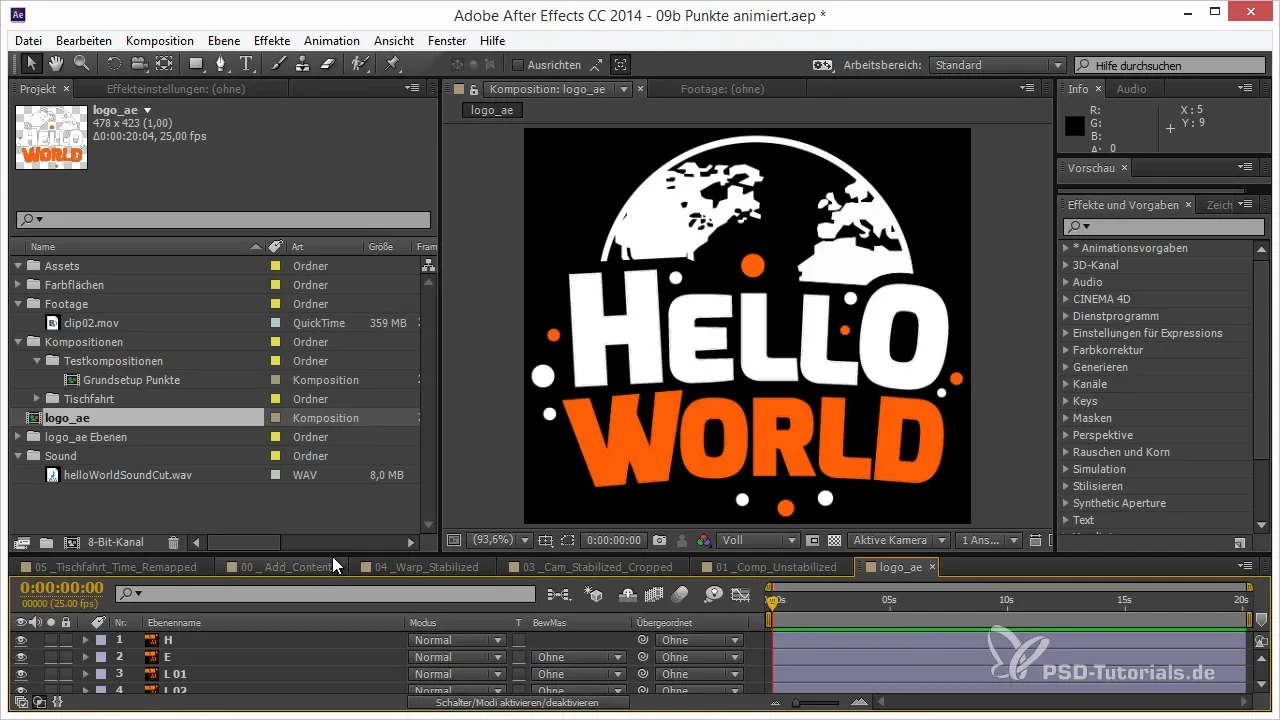
Step 3: Scale the Composition
Make sure your logo is the right size. It’s often beneficial to scale the composition to have a larger dimension. For this, you can use the script that automatically takes all layers with it. Set the new size to 1000x1000 pixels.
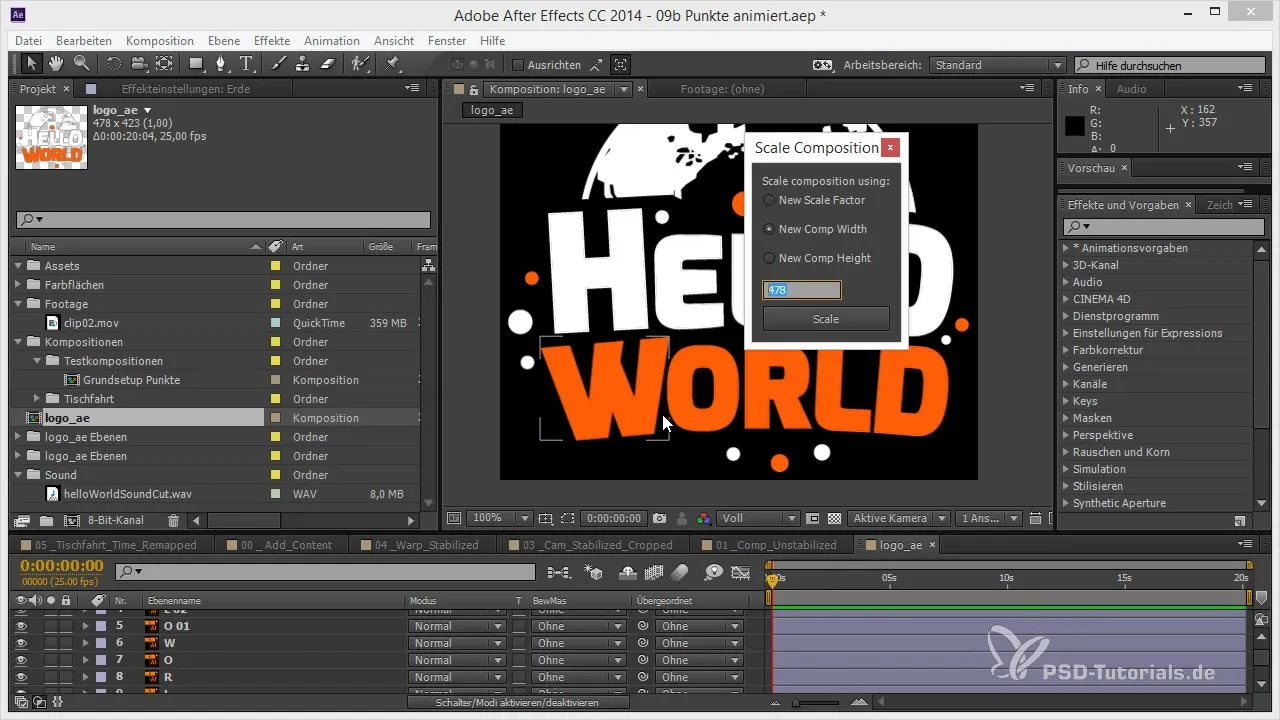
Step 4: Enable Continuous Rasterization
To ensure a nice finish for your logo, enable continuous rasterization. This is especially important for vector files as After Effects can create pixel distortions through rasterization. Activate the sun in your layer settings to achieve sharp edges.
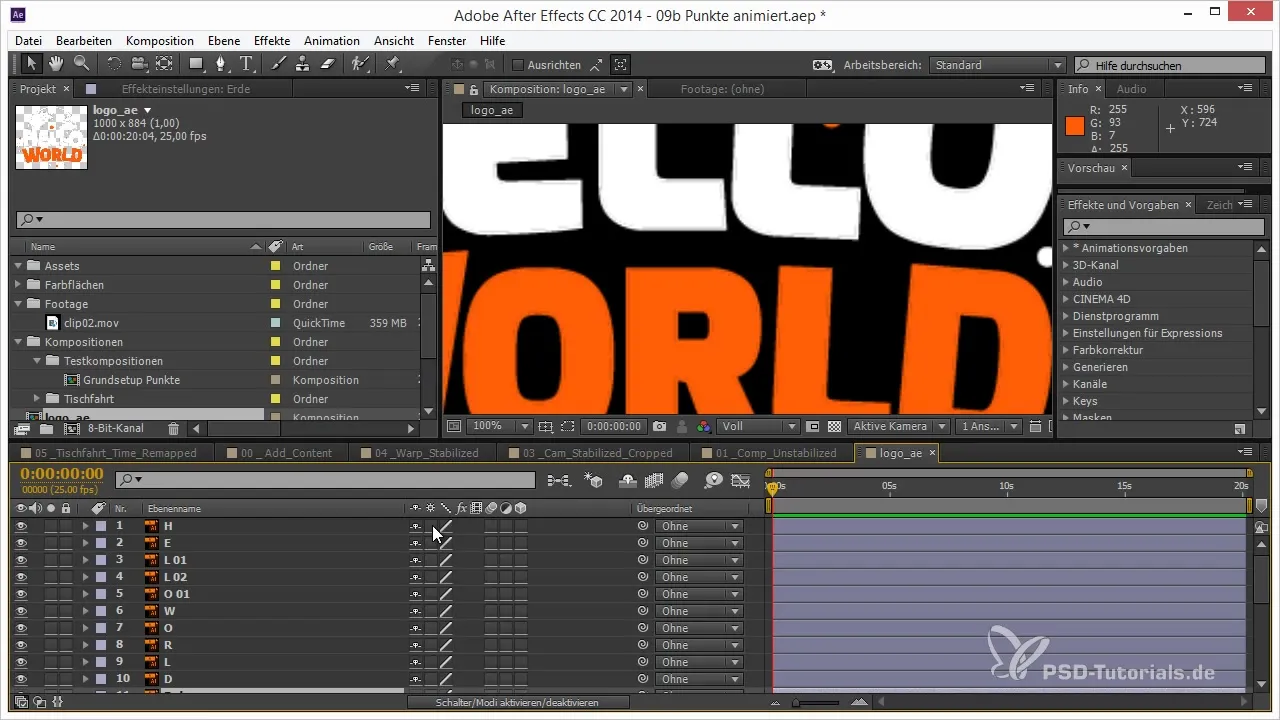
Step 5: Start the Animation
Now comes the exciting part: the animation. Set keyframes for scaling. Start with a scale of 0 to a higher value to create a pop effect. To bring more energy and momentum into the animation, add an overshoot by inserting additional keyframes that lift the scale slightly above the desired size.
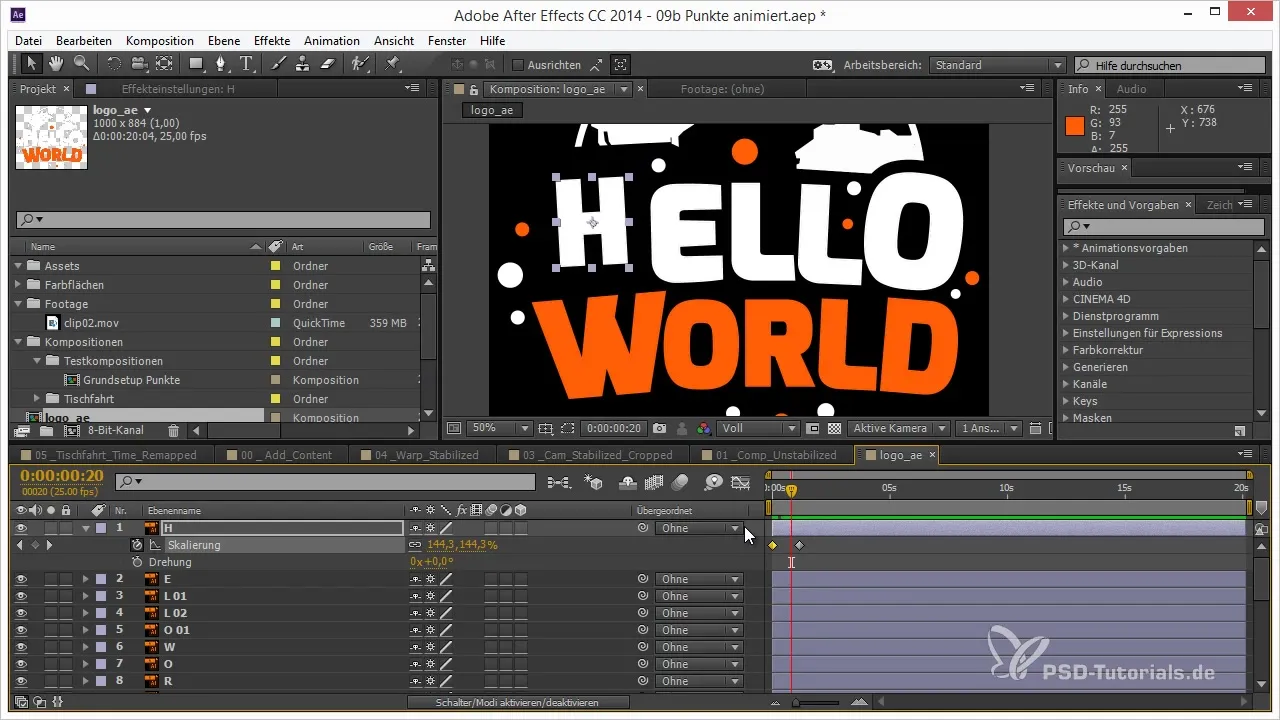
Step 6: Add Rotation
In this step, you will also add a slight rotation during the animation. This provides a more dynamic appearance. Experiment with the values to find the perfect movement – a subtle rotation of -50 to +20 degrees can make a significant difference.
Step 7: Optimize Motion Curves
To make the animation smoother, you should adjust the curves in the Graph Editor. Simpler transitions often look better, so be sure to smoothen diagonal movements and not just animate in the keyframes.
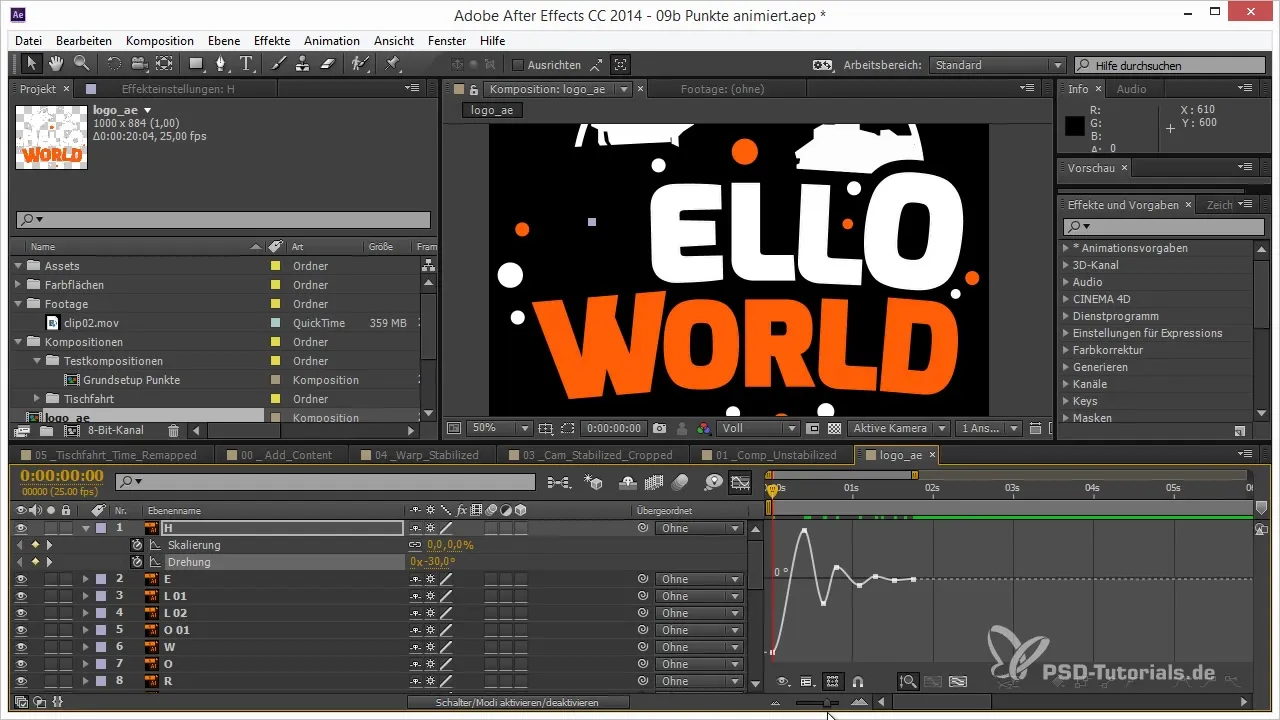
Step 8: Insert Random Offsets
To make your logo animation even more interesting, stagger the individual letters in time. For example, you can animate the letter “H” first, followed by “E”, “L”, and so on. This creates a more engaging overall picture.
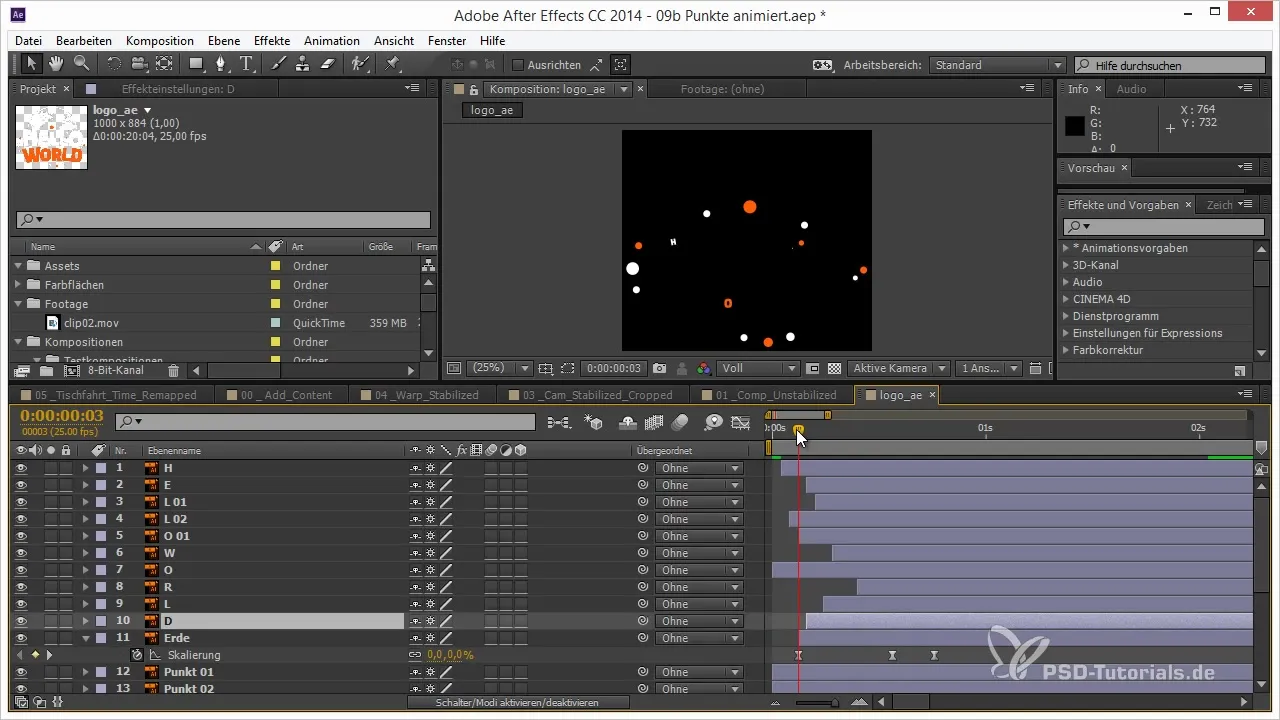
Step 9: Activate 3D Layers
To give your logo a three-dimensional dimension, activate the 3D layers for your logo. For example, slightly move the earth back to create a parallax effect. Here you can also add variations by slightly pushing the letters forward or back.
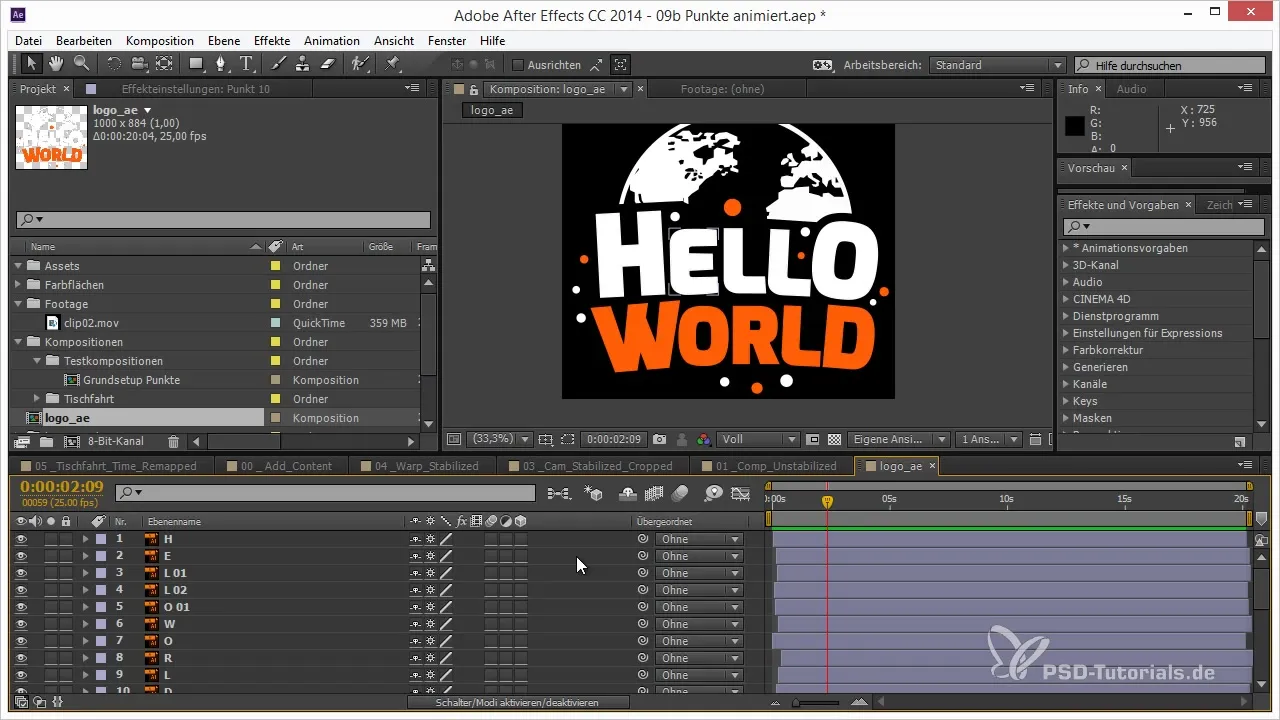
Step 10: Make Final Adjustments
Take a look at your animation in the preview window and make adjustments as necessary to ensure everything is perfectly aligned. Visible details and smooth movement ultimately make the difference.
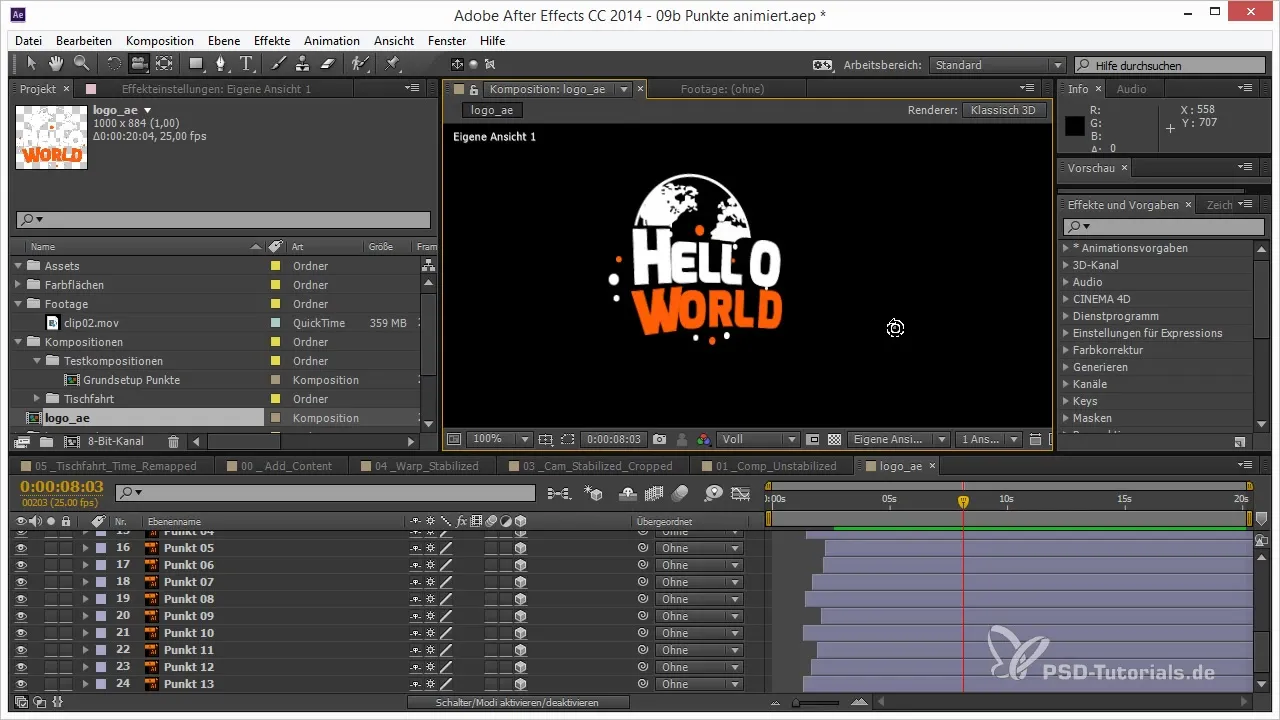
Summary – Logo Animation in After Effects: Step by Step to Effective Animation
Now you have learned how to effectively animate your logo in After Effects. From correct importing to applying keyframes and adjusting 3D layers – each step brings you closer to an impressive logo animation. Experiment with the different techniques and create your own unique logo!
Frequently Asked Questions
How do I correctly import my logo into After Effects?Drag the logo file into the project window and select the "Composition" option to retain all layers.
What does continuous rasterization mean and why is it important?Continuous rasterization ensures that your vector files maintain sharp edges regardless of their scaling.
How do I add keyframes for scaling?Set a keyframe at scale 0, and another at the desired value to achieve a pop effect.
Can I also add rotation during the animation?Yes, add a slight rotation with keyframes to give your logo more dynamics.
How do I achieve a 3D effect with my animation?Activate the 3D layers for your logo and move elements in space to create a parallax effect.


