Do you want to create the transformation of a globe in After Effects? This guide shows you how to transform a black-and-white globe into a radiant gold and then restore the original colors. With a few simple techniques and effects, you will make your animation shine.
Main Insights
- Color correction using adjustment layers.
- Using masks for smooth transitions.
- Adjustments using curves for detailed color adjustments.
- Implementing dynamics through animation effects in After Effects and Cinema 4D Lite.
Step-by-Step Guide
Create the Black-and-White Globe
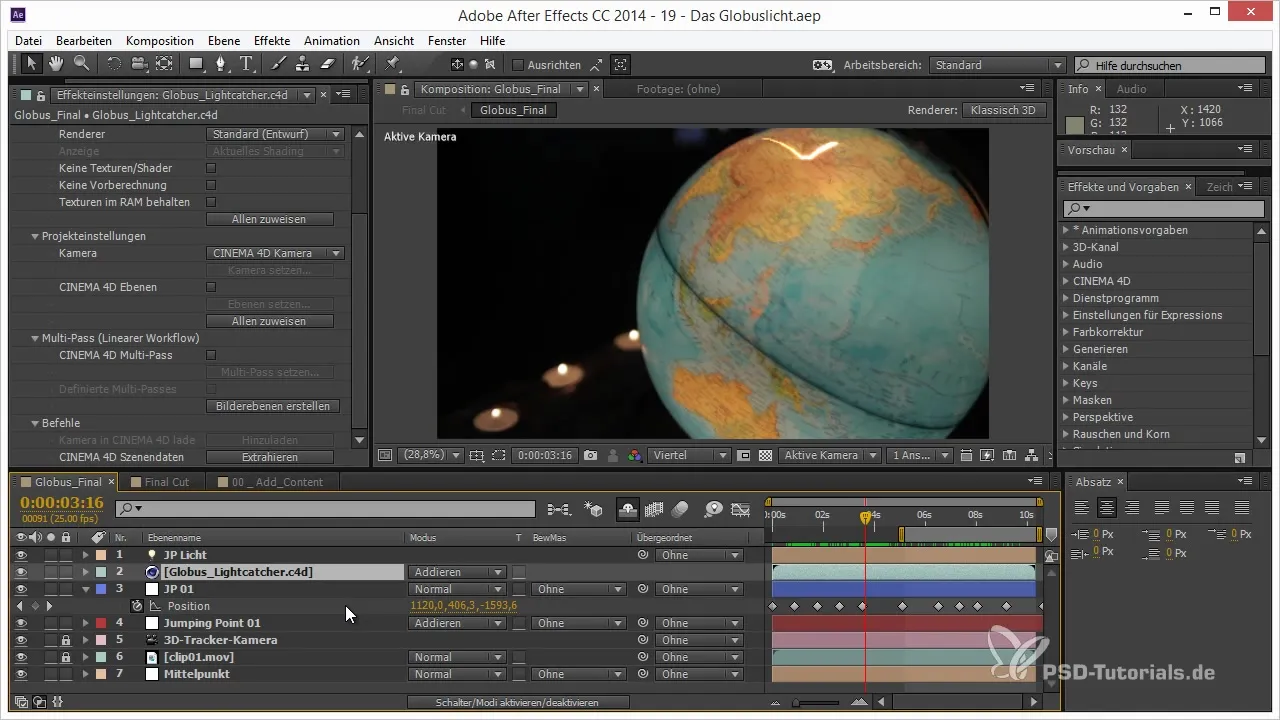
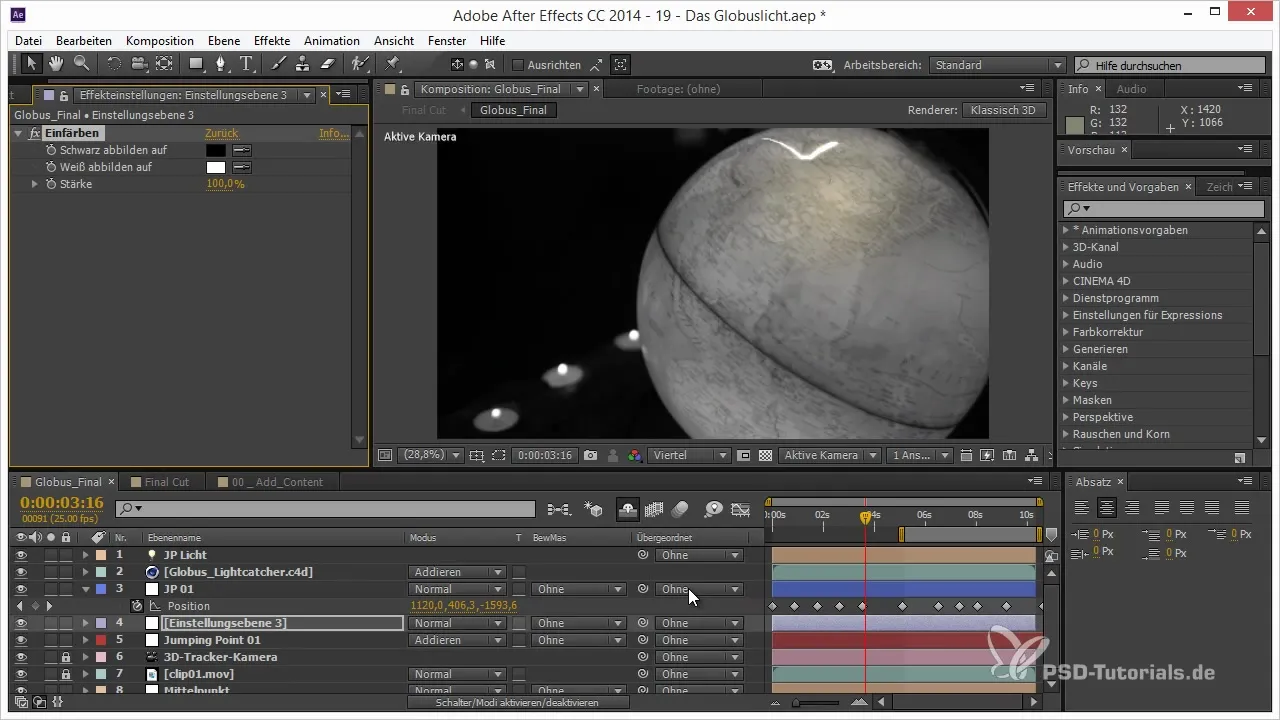
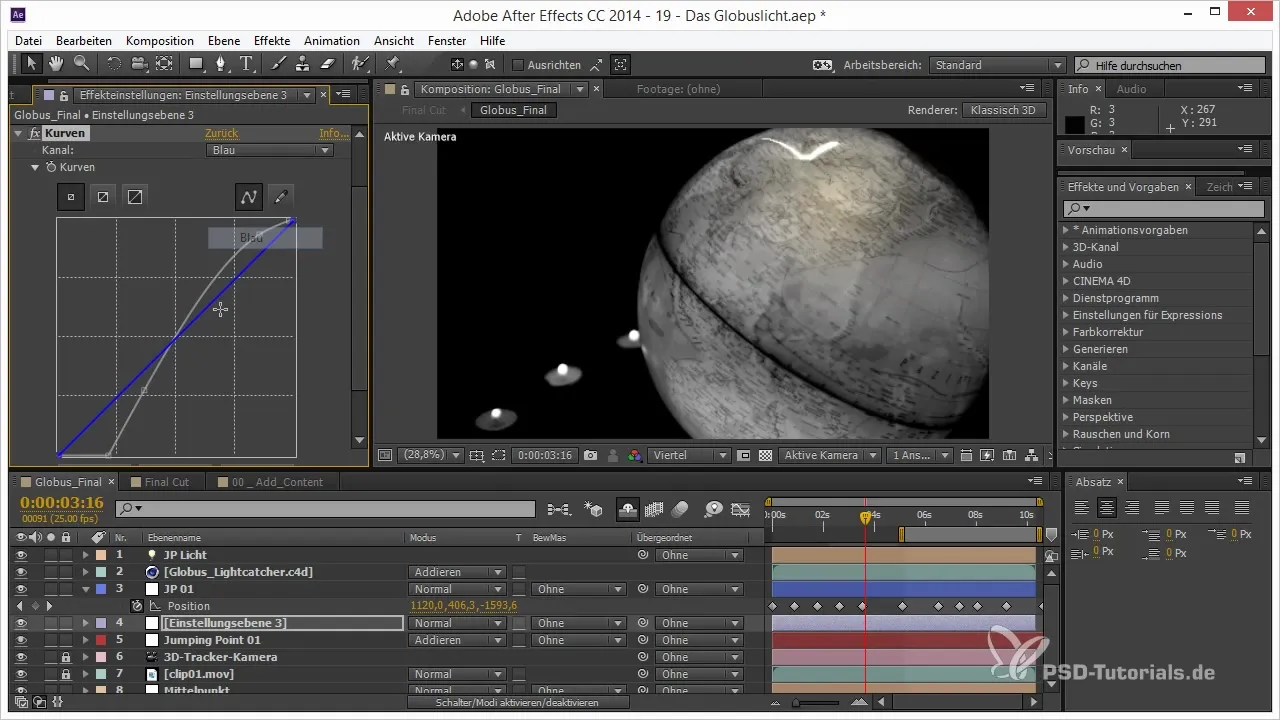
To start the transition of your globe, begin by creating an adjustment layer. Press Ctrl + Alt + Y to create the adjustment layer and place it under your Jumping Point so that it already has a color. For our black-and-white globe, select the "Color Correction - Tint" effect. This will make the globe black-and-white, and you can adjust the contrast by editing curves. Make sure there is a deep black and pure white to achieve the desired effect.

Add Gradient Orange
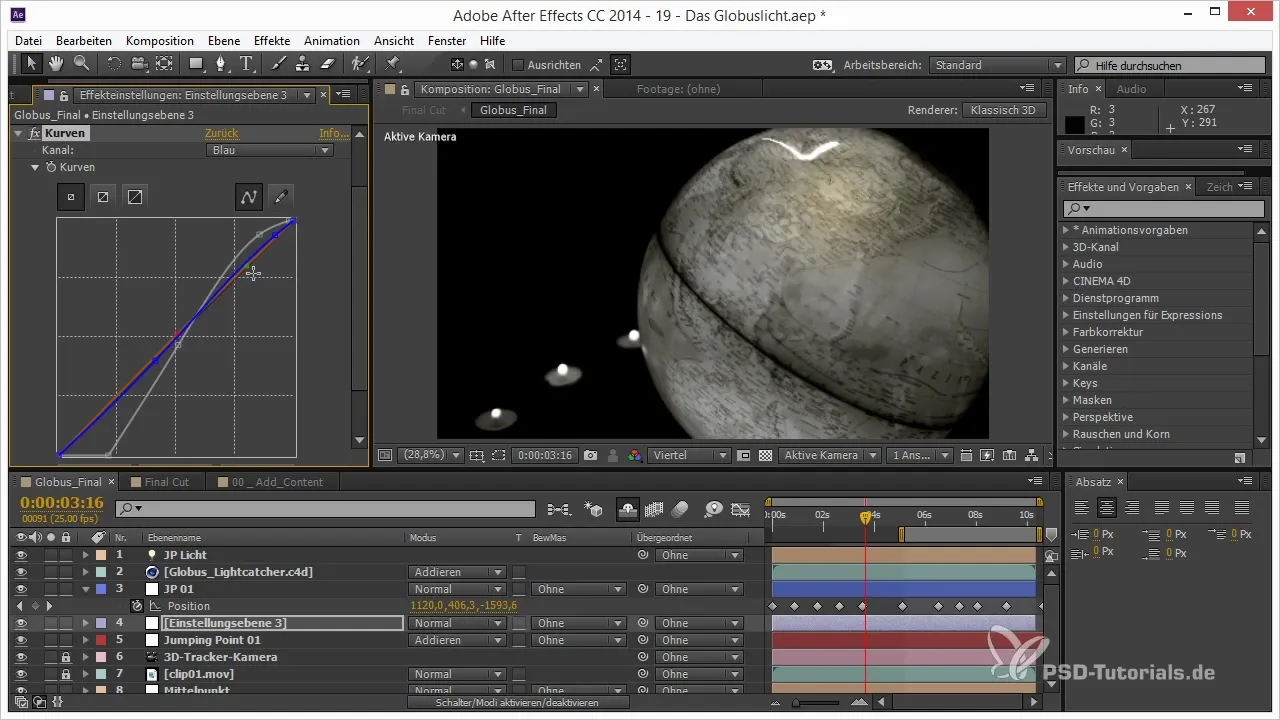
To transform the black-and-white effect into a warm orange, create a second adjustment layer. Lower the blues and increase the reds so that your globe can take on a radiant gold. With the adjustments in the curves, you can ensure that the globe receives just the right color hue.
Create a Mask for the Transition
To animate the transition from black-and-white to gold, you need a mask. Create a new solid color layer and apply the "Noise" effect to it, significantly lowering the complexity to create a smooth pattern. You animate the brightness of this layer from black to white by judging the timing from black-and-white to gold.

Animate the Mask for Dynamic Transitions
Use the "Luma Mask" option to create a connection between your black-and-white globe and the golden phase. The mask ensures that the globe transitions from one effect to another as it spins. This ensures that transitions appear smooth and dynamic as the globe rotates.

Implementation in Cinema 4D Lite
If you're not satisfied with After Effects because the results don't achieve the desired effect, switch to Cinema 4D Lite. Create a new material using only the luminance channel. This material will help you create your mask so that it becomes visible without shadows. This means you can simply adjust the light and colors to achieve the desired results.

Adjust Projection Methods for Perfect Texture
In the texture tag, you should switch the projection method to "Spherical" or "Cubic". Experiment with the different methods and scaling options until you find the perfect projection for your globe. Make sure to make adjustments so that the transitions between textures and colors remain harmonious.

Add Temperature Changes for the Gradient
Now that the globe has been created and the mask set up, animate the temperature from very light to very dark. Go to the beginning of the project and set the brightness value to the maximum before dragging it to the minimum setting. Make sure to input everything precisely to create a seamless transition.
Final Rendering and Fine-Tuning
Once you have created all the transitions and animations, preview your project and ensure everything runs smoothly and without stutters. Refine color corrections if necessary to ensure that the transitions between the different effects are smooth. Save your final project and export it.

Summary – The Transformation of a Globe in After Effects: Step-by-Step Guide
In this guide, you learned how to transform a globe from a black-and-white representation into a radiant gold object and finally back into its original color palette. Through the skillful use of effects in After Effects and Cinema 4D Lite, creative possibilities for implementing your ideas have been opened up.
Frequently Asked Questions
What is the first step in creating a black-and-white globe in After Effects?The first step is to create an adjustment layer and apply "Color Correction - Tint".
How can I adjust the transitions between colors?The transitions can be animated with masks and luma masks to ensure a seamless integration.
Why should I use Cinema 4D Lite for the animation?Cinema 4D Lite offers more precise control over materials and illumination and can be better utilized for 3D effects.
How do I correctly use the Spherical projection?Set the projection to "Spherical" and experiment with rotation and size to achieve the right proportions.
What should I pay attention to before rendering the final project?Ensure that all transitions are fluid and that color corrections are fine-tuned to achieve the best results.


