The combination of After Effects and Cinema 4D Lite opens up fascinating possibilities, especially when it comes to integrating realism into your 3D-projects. In this tutorial, you will learn how to control the light in After Effects so that it does not collide with your sphere surface. We will use the XPresso setup, which allows us to keep the light further away from the sphere surface to achieve the desired visual effect.
Key Insights
- The XPresso tag is used to control the object position.
- User data helps to create specific parameters for the setup.
- The combination of mathematical node functions allows adjusting the light position.
Step-by-Step Guide
Step 1: Creating the Basic Setup
To start, we will delete all previous settings to work with a clean setup. Import your light from After Effects that "bounces" over the sphere. Make sure the sphere is slightly larger so the light does not disappear inside it.
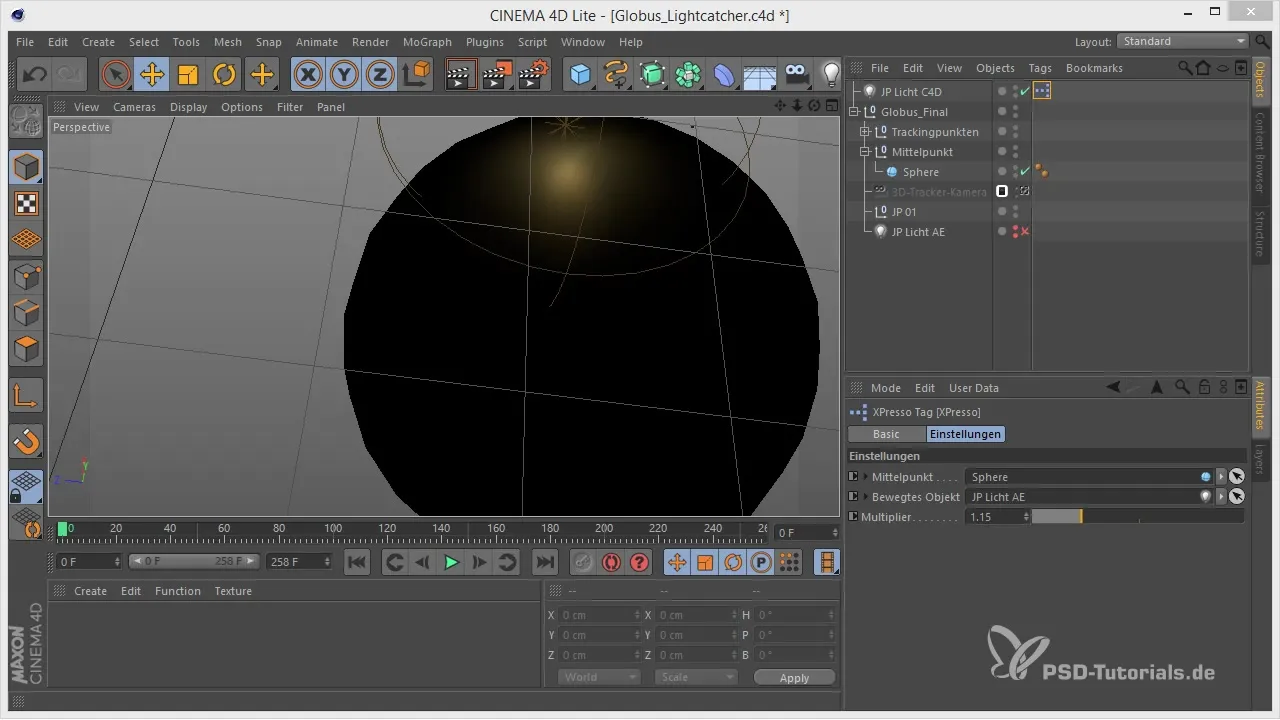
Step 2: Setting Up the XPresso Tag
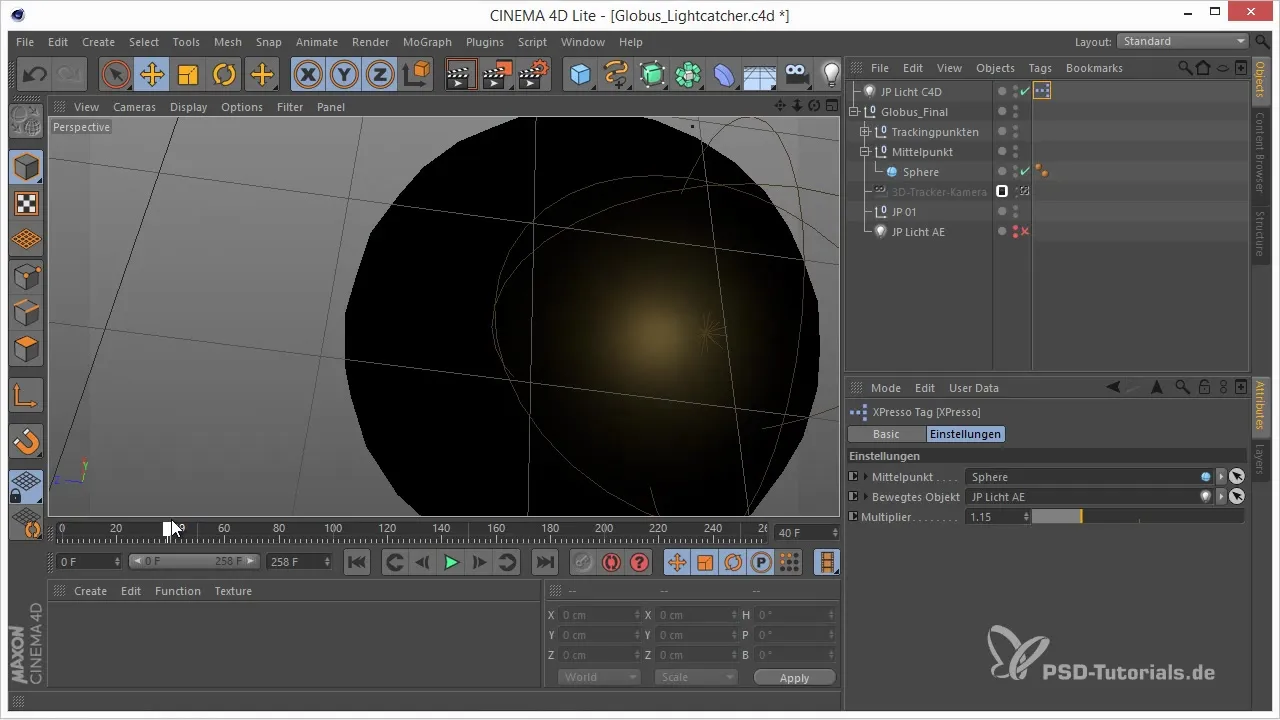
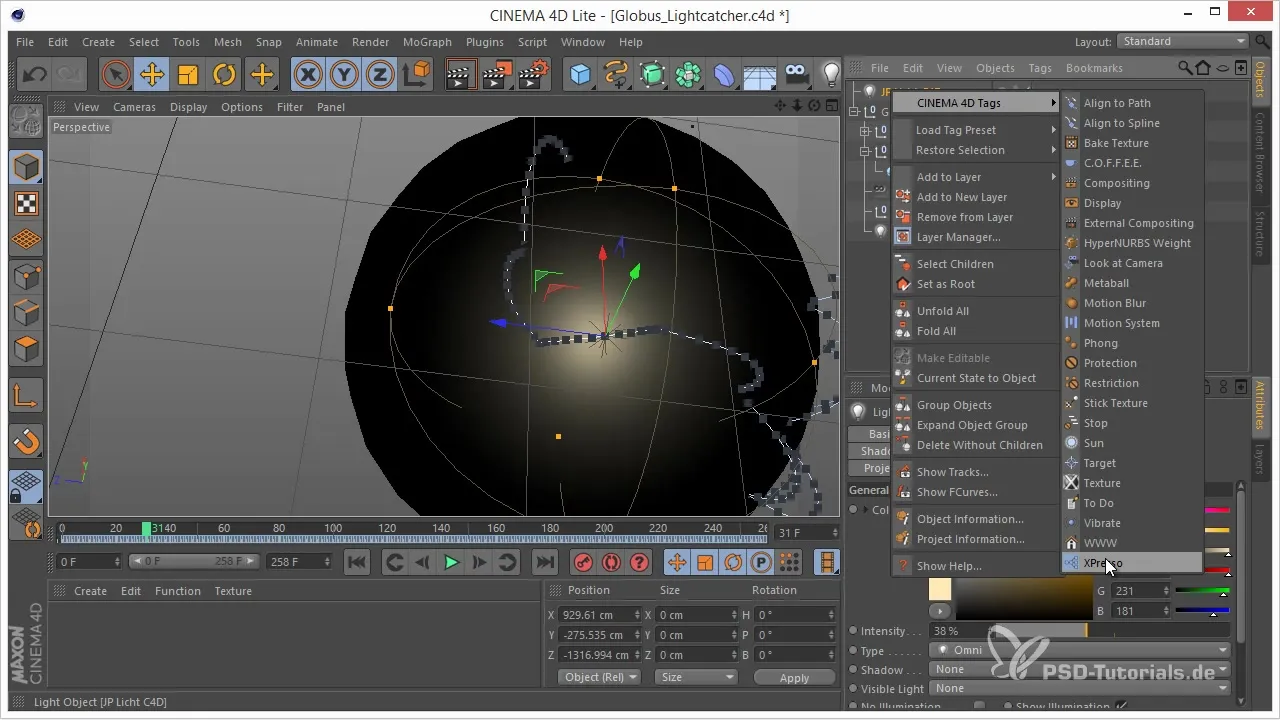
Add an XPresso tag to have more precise control over the light movements. Right-click on the light object and choose “Cinema 4D Tags” followed by “XPresso”. This opens the XPresso Editor.
Step 3: Preparing User Data
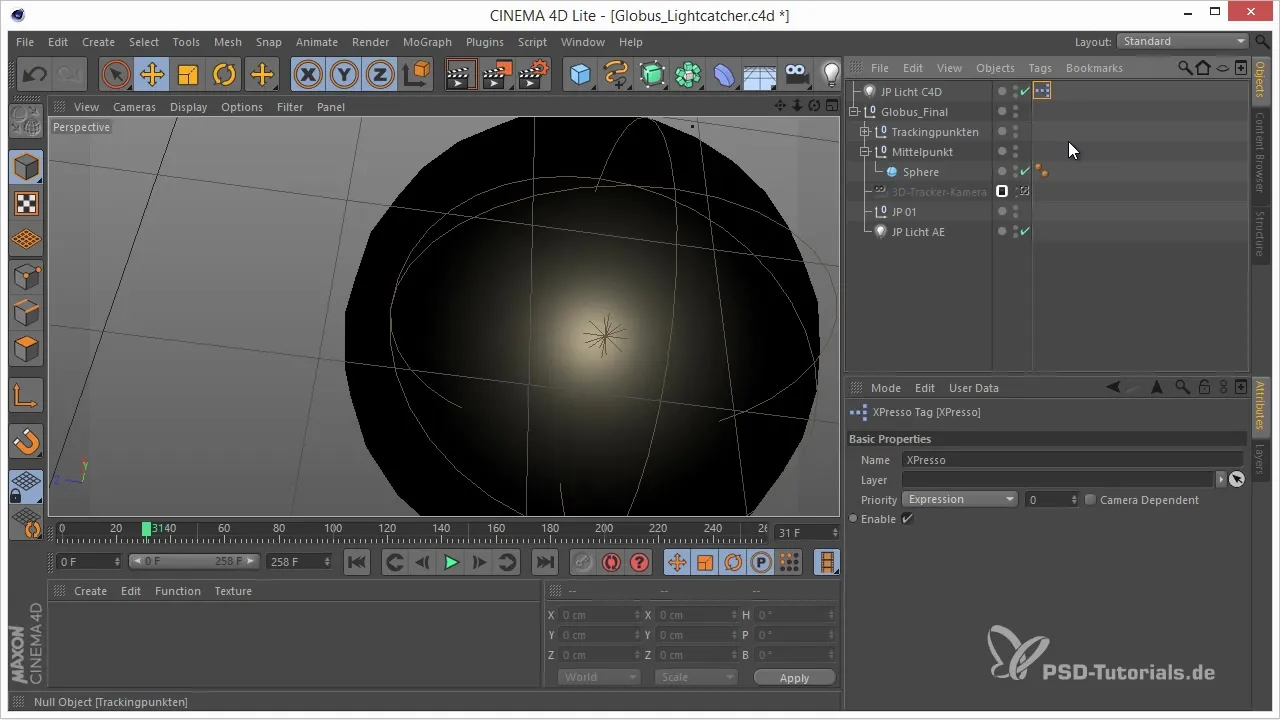
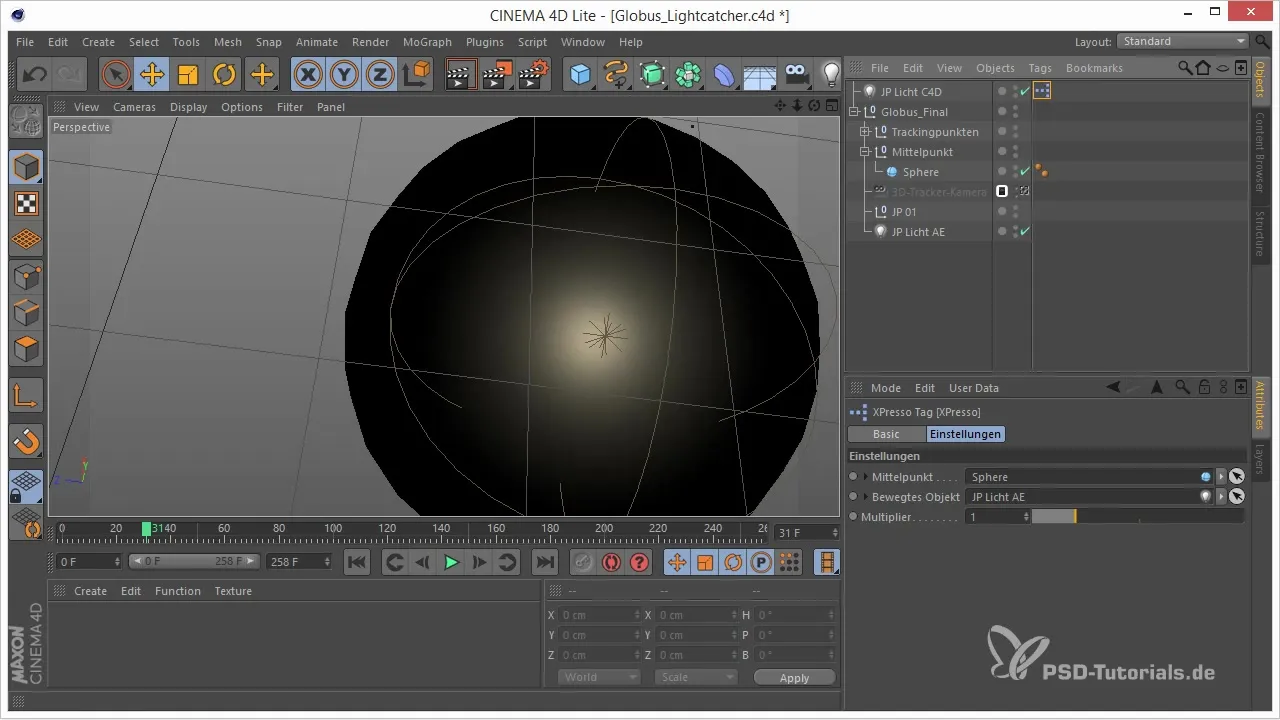
In the XPresso editor, you need to add user data. This defines which point is the center and which object acts as the light source. Go to the user data and switch to the user interface to add your data.
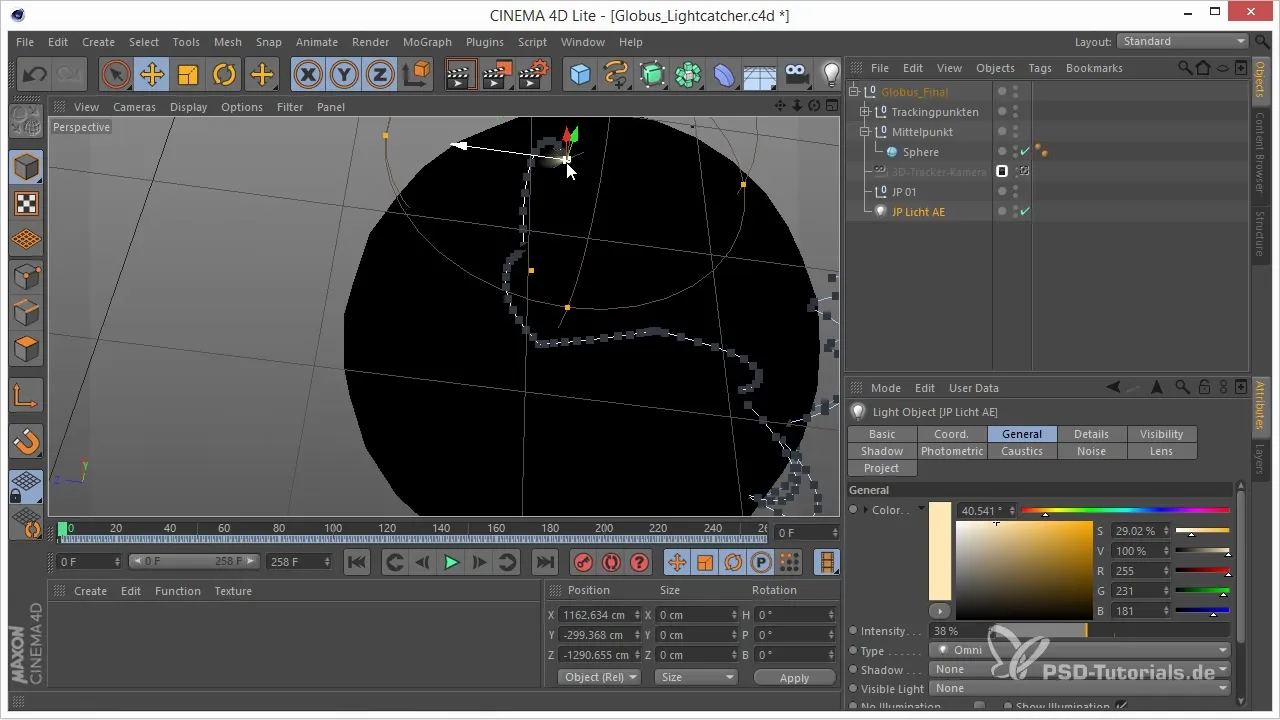
Step 4: Creating Data Fields
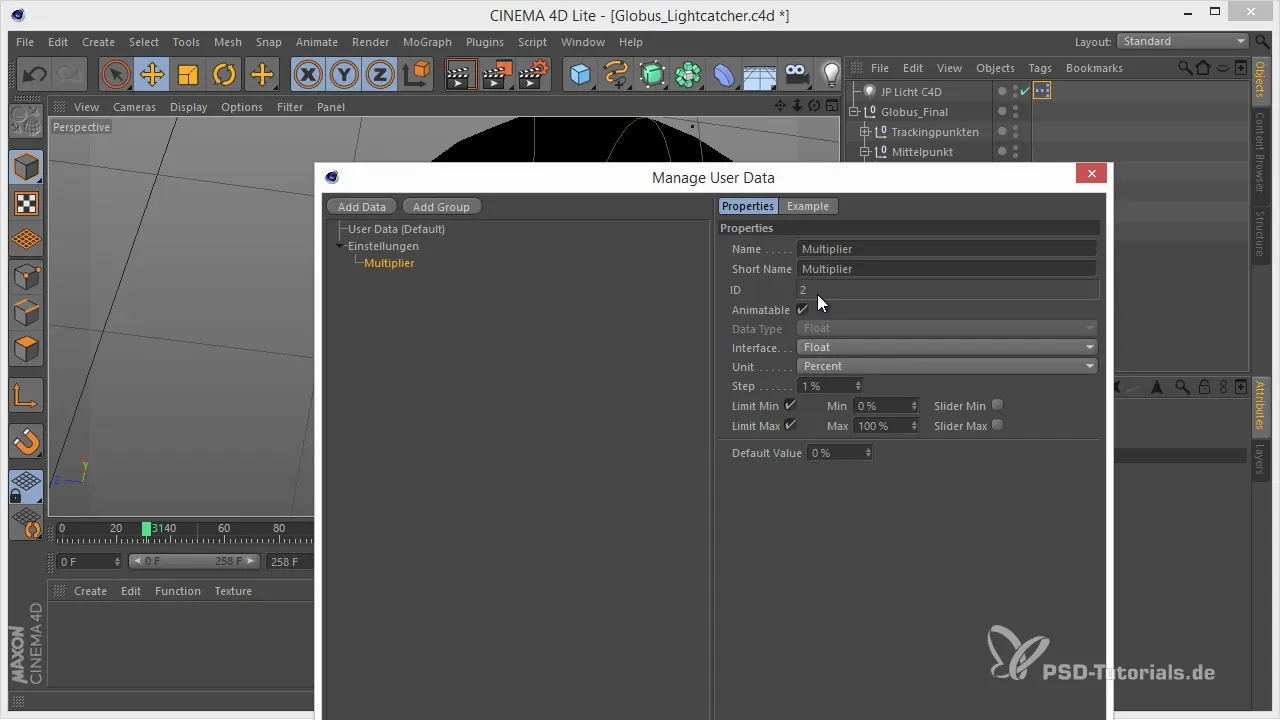
Add two user data fields: one for the center point and one for the multiplier. The multiplier will ultimately be used to move the light away from the sphere surface. Ensure that the data type for the center is set to “Link” and the multiplier is a “Float Slider”.
Step 5: Adjusting the Data Series
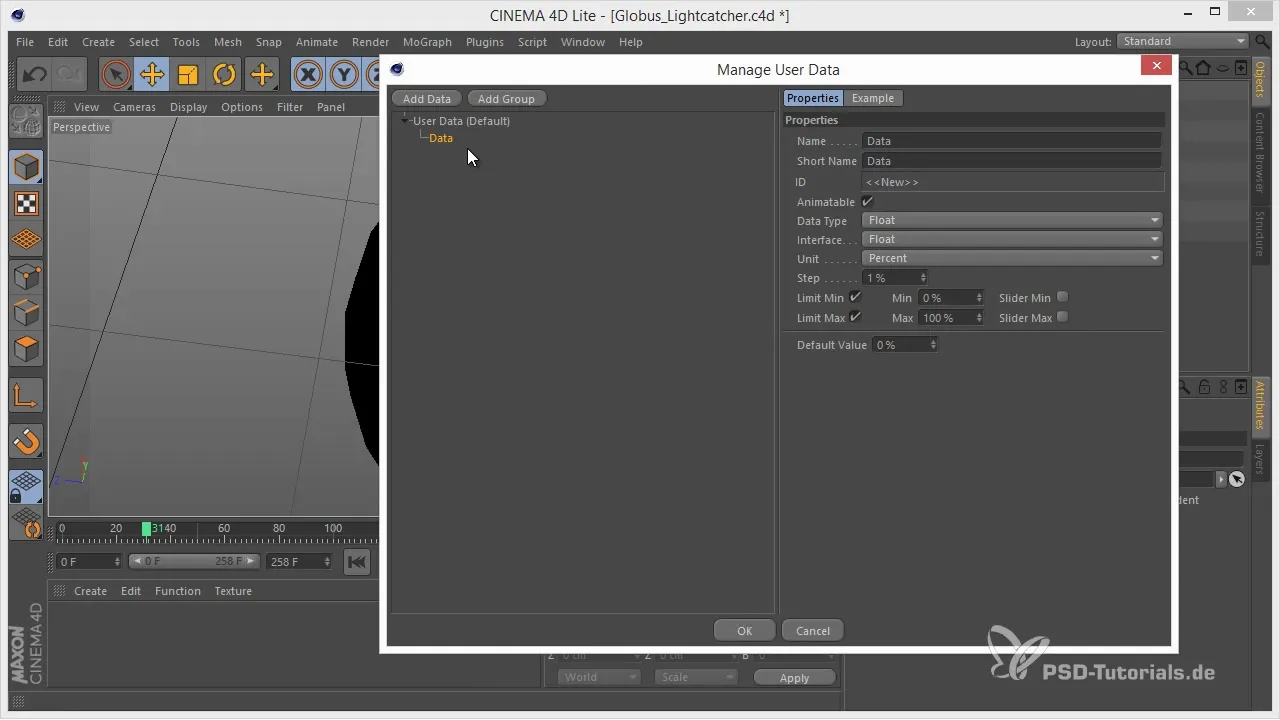
Delete the default data and create groups for your user data. To make the data clearer, you can create a group named “Settings”. Then add the values accordingly.
Step 6: Linking Light and Center Data
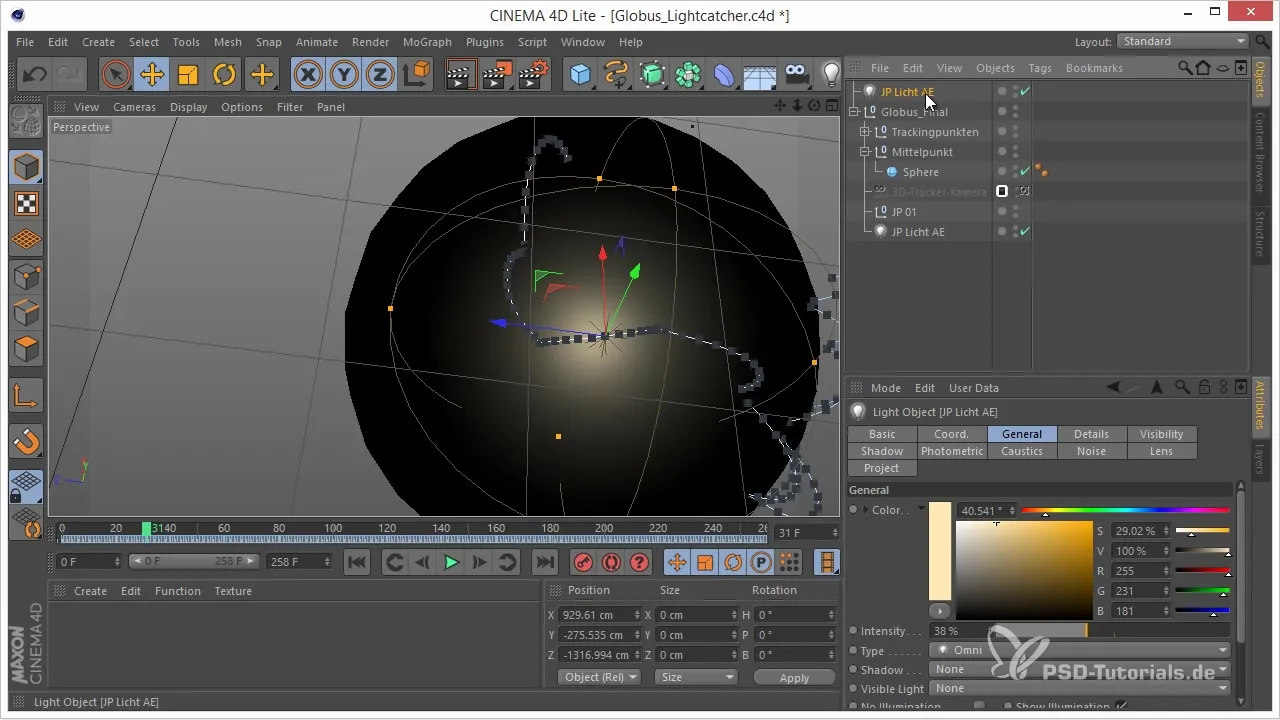
Now drag the user data into the XPresso editor and link the light and the center together. This is done by binding the user data from the XPresso tag to the corresponding objects in the current project.
Step 7: Calculating the Light Vector
To calculate how far the light should be from the sphere surface, you need the position of the light and the position of the center. Use the “Math Node” to calculate the vector between the sphere and the light with the multiplier.
Step 8: Creating a Multiplication of the Vector
Now link the calculated vector with the multiplier. Using another Math Node, you can perform the calculation. Make sure the correct function for multiplication is selected to adjust the distance between the light and the sphere dynamically.
Step 9: Adjusting the Light Position
Now it's time to merge the calculated values. You take the global position of the light and add the calculated vector to define the final position.
Step 10: Test the Settings
Now you can test the functionality. Set the multiplier to 1 to check if the light aligns with the sphere. Then change the value, and the light should dynamically move away from the sphere. This indicates that the XPresso setup is working correctly.
Step 11: Refine the Setup
If the difference between the positions is not pronounced enough, check the settings in the corresponding Math Node. Make sure that the function is correctly set to “Multiply” to achieve the desired effect.
Step 12: Control Over the Light Animation
Make sure that the light adjusts according to the size of the sphere. You can further refine the settings of the XPresso setup and experiment to get the best out of your animation.
Summary – 3D Projects in After Effects: Xpresso Setup – Globe Light
Through this process, you have learned how to control the coordination of light over a sphere surface using the XPresso tag in Cinema 4D Lite, without it colliding with the sphere itself. The application of mathematical nodes in conjunction with user data allows you to create dynamic and customizable light effects in your 3D projects.
Frequently Asked Questions
How can I change the position of the light in real-time?Use the multiplier in the XPresso tag to dynamically adjust the light position.
What can I do if the light still appears inside the sphere?Ensure that the multiplier is correctly input and that all nodes are wired properly.
Can I use the XPresso setup for other objects as well?Yes, XPresso setups can be used for a variety of objects and animations in Cinema 4D Lite.


