When you create animations in After Effects, it often becomes evident that fast movements can appear a bit unnatural. This is because the standard motion blur in After Effects works particularly well for 2D animations but presents challenges with 3D elements. In this tutorial, you will learn how to effectively use motion blur in your 3D animations to simulate the natural look of movement. We will go through steps to avoid banding and take your animations to the next level.
Main Takeaways
- Motion blur is crucial for realistic animations.
- 3D objects often require more adjustments than 2D objects.
- Increasing the samples per frame can improve the quality of the motion blur.
- Rendering with a higher sample count is render-intensive but should be considered for final animations.
Step-by-Step Guide
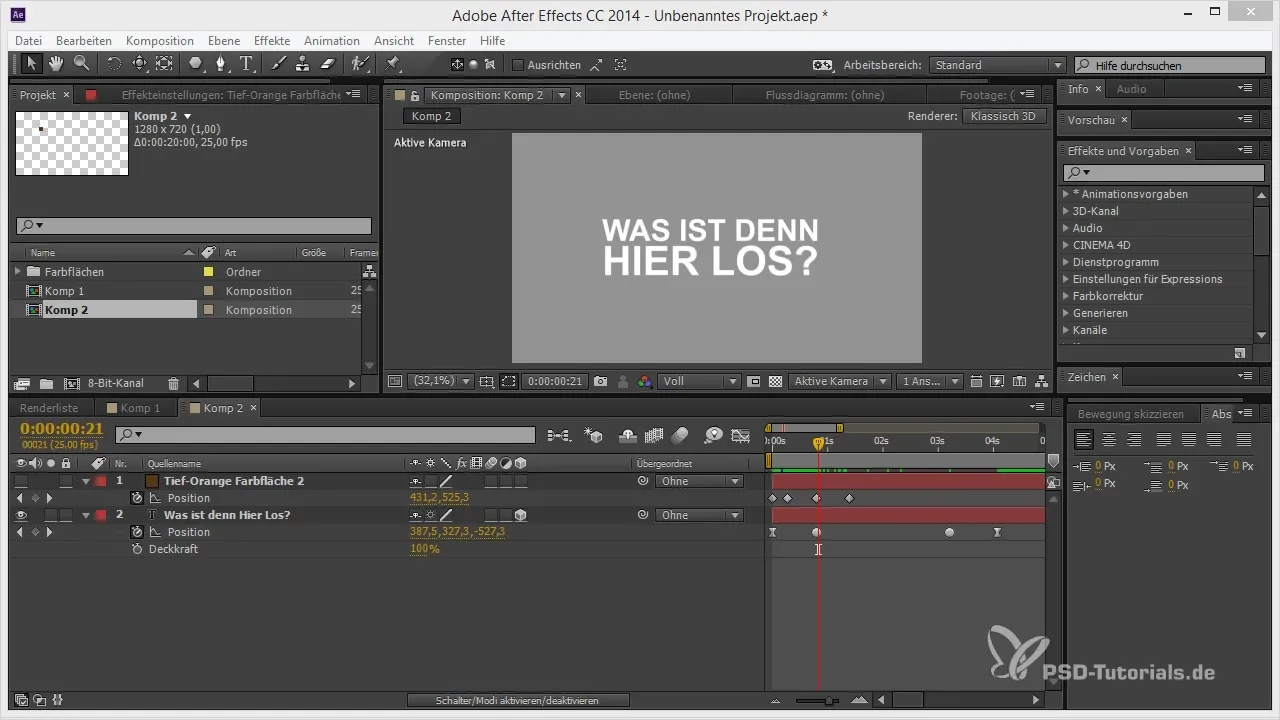
Before you start editing, make sure you have After Effects open and a new project created. It's also helpful to have a 2D and a 3D layer to compare.
To capture the points and instructions clearly, use the following steps as a guide.
1. Understand the Basics of Motion Blur
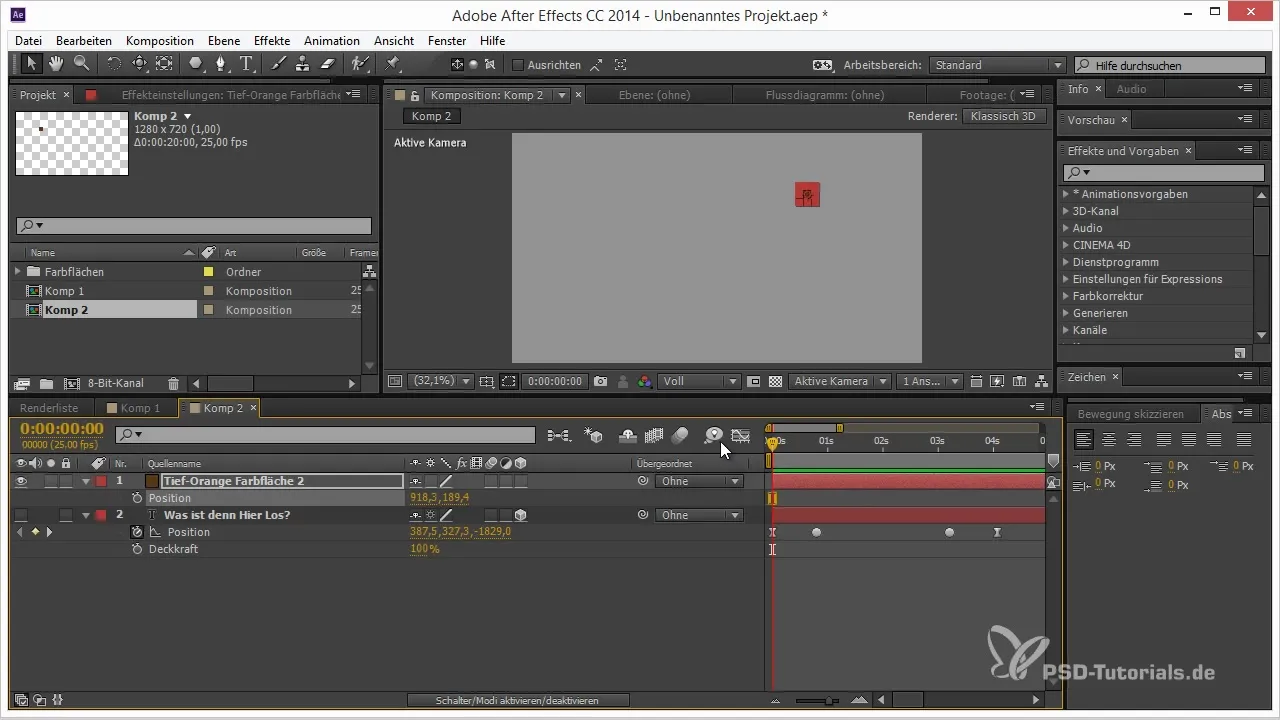
Motion blur is a technique created when an object moves quickly during the shot. This blur can only be simulated by adjusting the movements of the objects accordingly. Activate the motion blur for a 2D object and observe how this technique affects the representation. Start by deleting all keyframes and moving the object from point A to B at a fast pace.

2. Activate 2D Motion Blur
Select your 2D object and activate the motion blur. You will notice that the motion appears smoother and more engaging due to the blur. Observe the banding that may be visible in the blur and play with the settings to adjust it. Increasing the sample count can bring significant improvements here.

3. Add 3D Objects
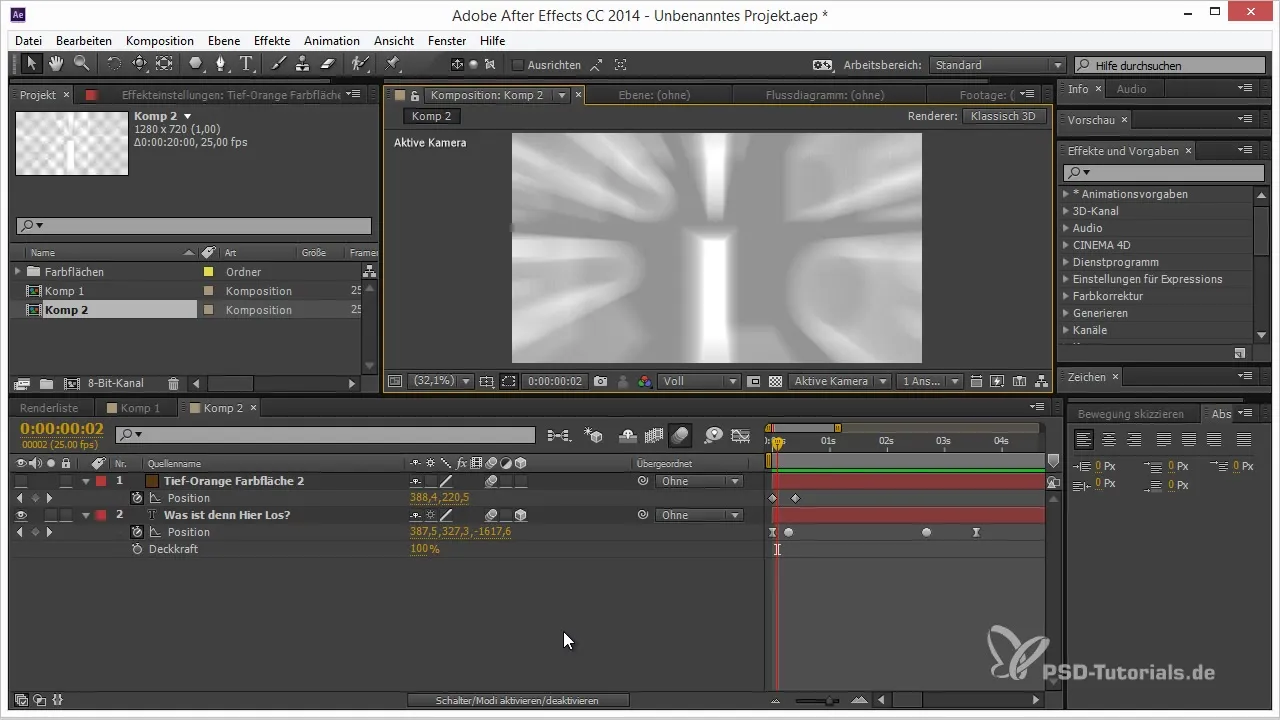
Add a 3D object to observe the difference. When you activate the motion blur effect, you will likely find that the banding becomes more pronounced than with 2D objects. This is due to the fact that 3D objects require complex calculations for motion blur.
4. Adjust 3D Motion Blur
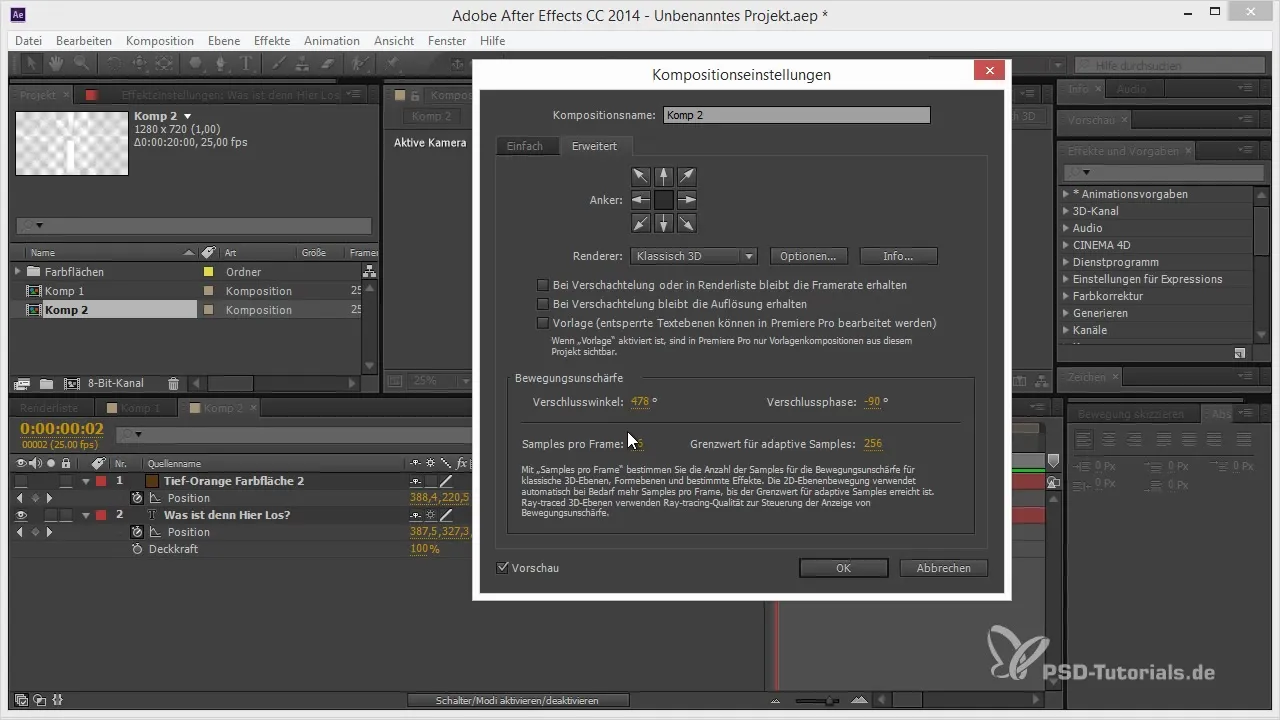
Now it’s time to edit the motion blur settings for your 3D object. Go into the advanced settings and increase the number of samples per frame. Instead of the standard 16, you can increase this to 32 or more. You will find that the quality of the motion blur improves significantly.

5. Render and Final Check
It is essential that you make the final settings for motion blur during rendering. Create a preview of your animation to check if the motion blur looks realistic and appealing. Pay attention to the banding and see if you are satisfied with the results. The final render session may take longer but will offer you the best possible quality.

Summary – Tips and Tricks for 3D in After Effects: Effectively Integrate Motion Blur
Integrating motion blur into 3D animations can significantly enhance the visual appeal of your projects. By adjusting the correct settings and increasing the number of samples, you can achieve a more realistic result. Don’t forget to pay attention to quality during rendering to achieve the best results.
Frequently Asked Questions
How do I enable motion blur for a 3D object?Activate the motion blur for the layer and adjust the settings in the advanced options.
Why do 3D motion blurs look unnatural?Because the calculations for 3D are more complex and often result in visible banding.
How can I improve the quality of motion blur?Increase the number of samples processed per frame.
When should I use motion blur in my animation?It is best to enable motion blur during the final rendering to ensure the best quality.


