The combination of visual and acoustic design is essential for high-quality animations. Sometimes it's a challenge to find the right rhythm and the suitable effects to match the music or a speaker's script. In this guide, I will focus on the crucial aspects of how you can make optimal use of sound in After Effects to improve your workflow and achieve impressive results.
Key Insights
- The comma key on the NumPad allows for easy audio preview.
- Markers are essential for setting precise cut points and animations.
- By scrubbing and previewing, you can effectively work in sync with the tempo of the music.
Step-by-Step Guide to Working with Audio in After Effects
Start the process by importing your audio file into After Effects. First, it is important to listen to the sound properly. To activate the audio preview, simply press the comma key on your NumPad. This allows you to hear the sound from the current position. This is useful to immediately determine where exactly you want to begin with your animation or effects.

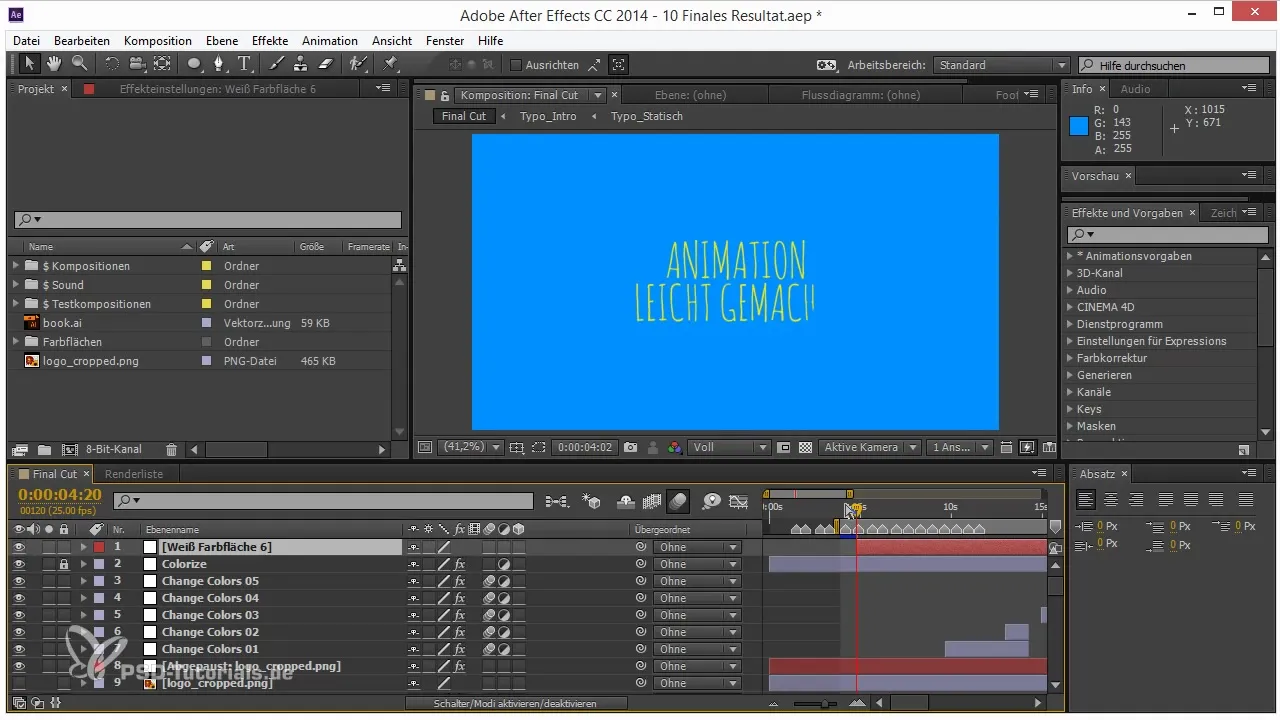
Once you have a feel for the rhythm and structure of the sound, you can start setting markers. Setting markers is one of the best methods for managing audio in the timeline. You can set markers either on the composition layer or specific markers on a particular layer, such as a null object or the sound file.
To add a marker, use the star key on the NumPad. If that is not available, Mac users have the option to set a marker using the Control + 8 keyboard shortcut. This method also works while playing an audio preview or RAM preview, allowing you to make precise adjustments at any time if the timing is not quite right.

Another useful tip when working with markers is that you can quickly navigate between marker positions by holding down the shift key. When you click on a marker, you can easily jump to it and edit it. You can also delete markers or protect them to avoid accidental shifts.
If you can’t quite remember what’s behind a specific marker, there is a handy solution. Hold down the control key and scrub through your audio. This will give you the opportunity to listen to specific sections of the sound directly. If you stop at a point, a preview of the next part will be shown, making fine-tuning and selecting suitable moments easier.
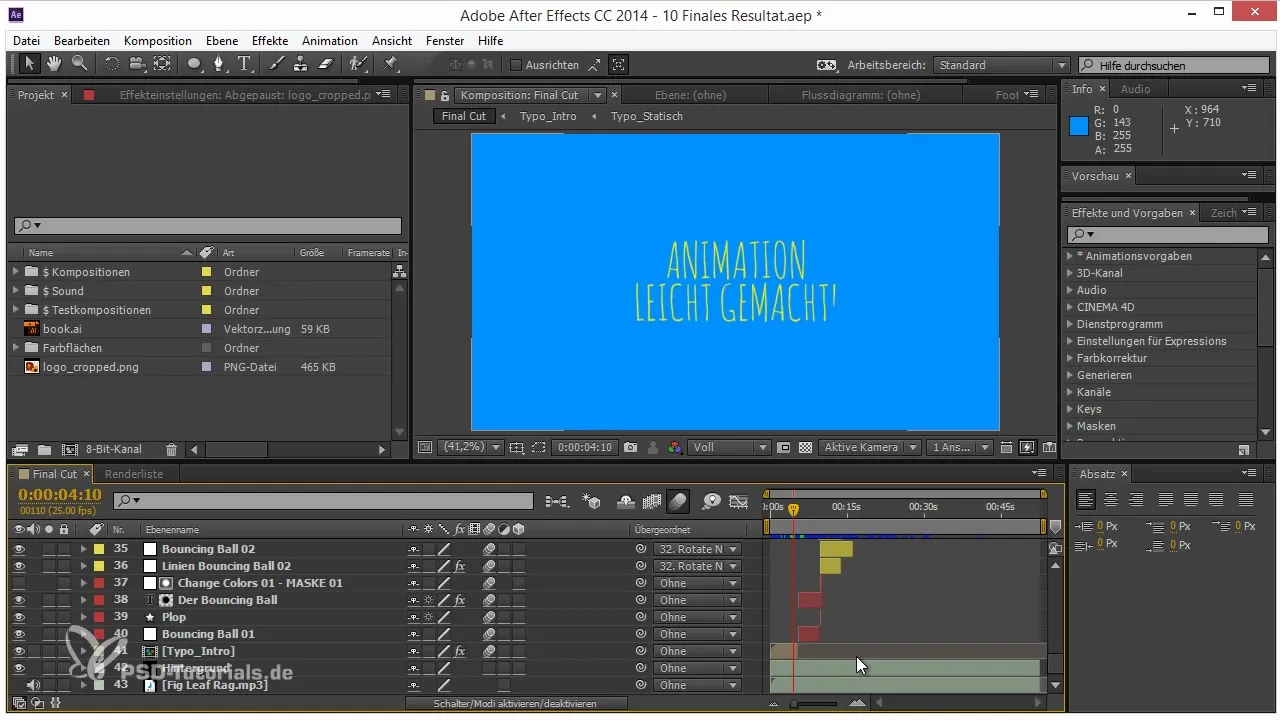
After you have set the markers and identified the best spots in the music, you can add graphic elements to your composition. For example, select a shape layer and place it where desired. By holding the Alt key, you can set the in-point, with the shape appearing in sync with the desired point in the music.

Utilize these techniques in your projects to enhance the precision of your animations. Often, it helps to work simultaneously on animating and cutting to seamlessly connect the effects and sound. The markers and scrubbing function provide you with an unprecedented level of control, allowing you to fully focus on the creative work.

Summary – Tips and Tricks for Effective Work with Audio in After Effects
In this guide, you have learned how important audio preview and markers are for a dynamic workflow in After Effects. The connection of sound and animation can be crucial for the overall impression of your projects. Keep the tips in mind to achieve exceptional results and improve your skills in audio integration.
Frequently Asked Questions
How do I set a marker in After Effects?You can set a marker by pressing the star key on the NumPad in the timeline area or using Control + 8 on the Mac.
What do I do if I don't have a NumPad?Use the Control + 8 keyboard shortcut on a Mac to add a marker.
How do I navigate between markers?Hold down the shift key while moving between marker positions.
How can I hear the sound while scrubbing?Hold down the control key while scrubbing through your audio.
Can I delete markers?Yes, you can delete markers by right-clicking or protect them to prevent accidental movement.


