After constant updates and improvements, After Effects has gained numerous new features with the Creative Cloud version that revolutionize working in 3D space. One of these features is Snapping. This technique greatly simplifies precise positioning of 3D objects, saving time and nerves. In this guide, you will learn how to effectively use Snapping in After Effects to create quick and accurate 3D animations.
Key Insights
- Snapping optimizes the alignment of 3D objects in your composition.
- You can effortlessly position 3D objects without having to calculate pixel-perfect placements.
- The tool also works with anchor points to facilitate animations.
Step-by-Step Guide
1. Creating a 3D Layer
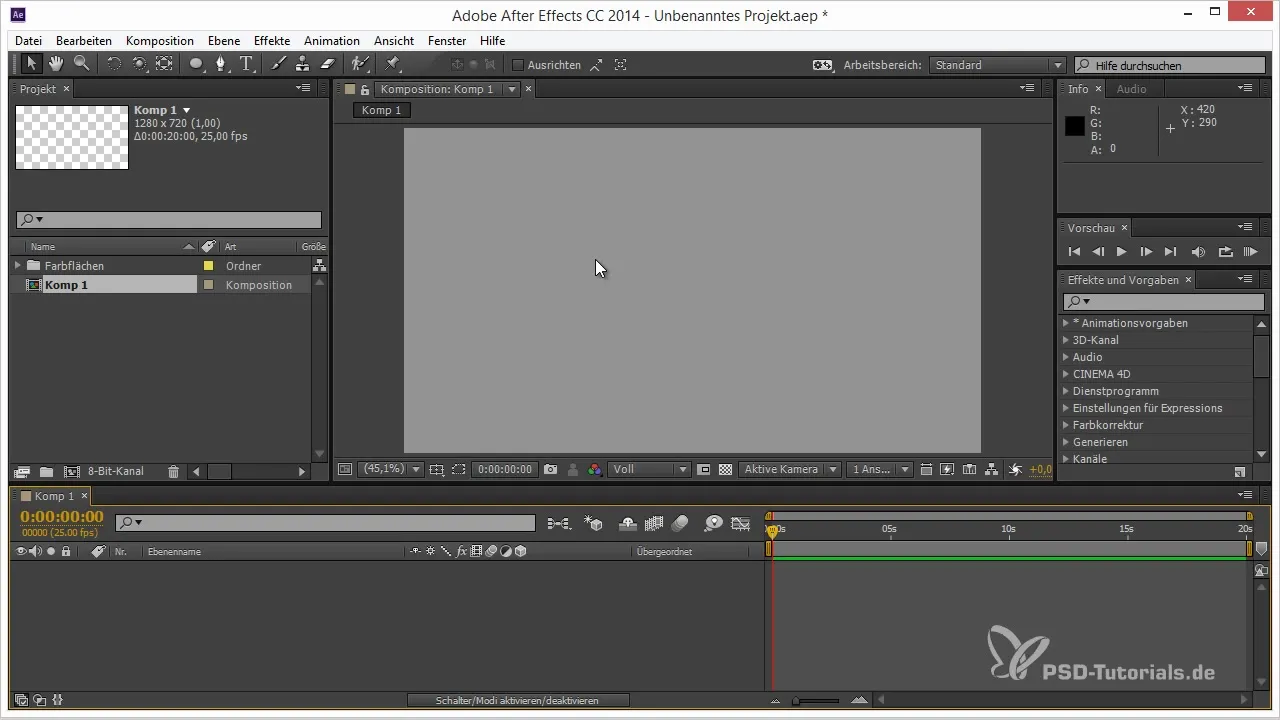
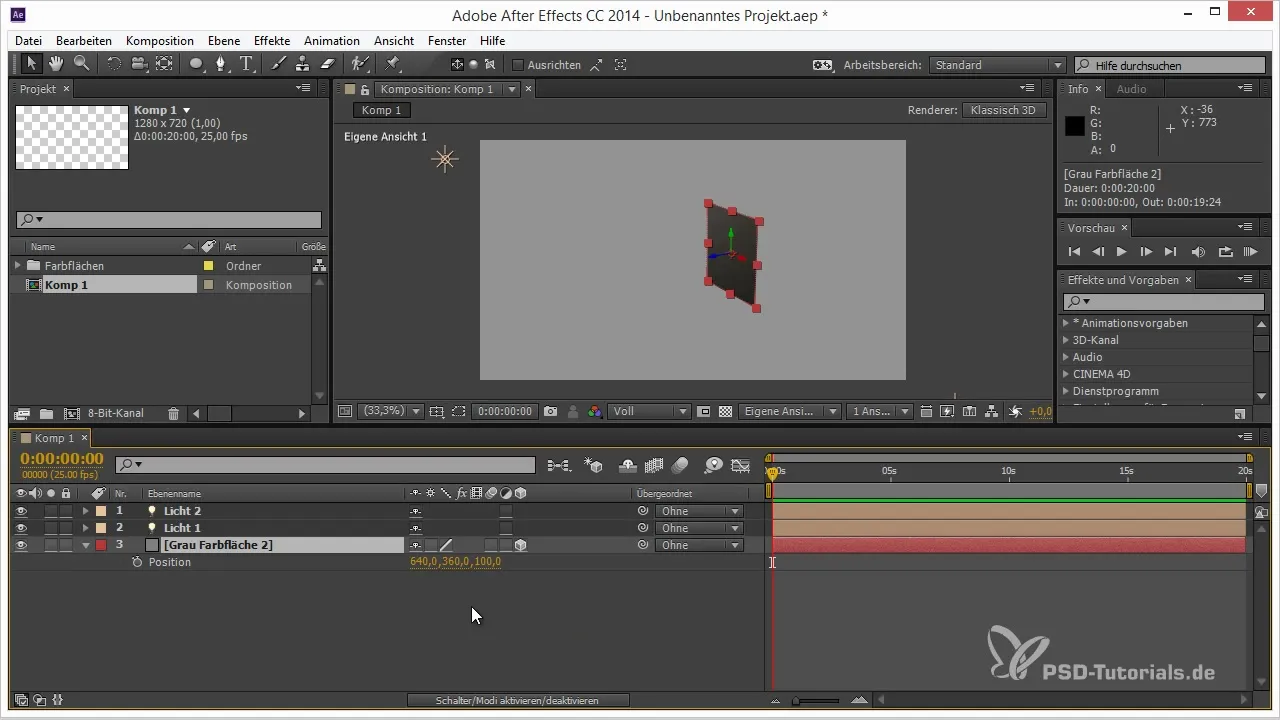
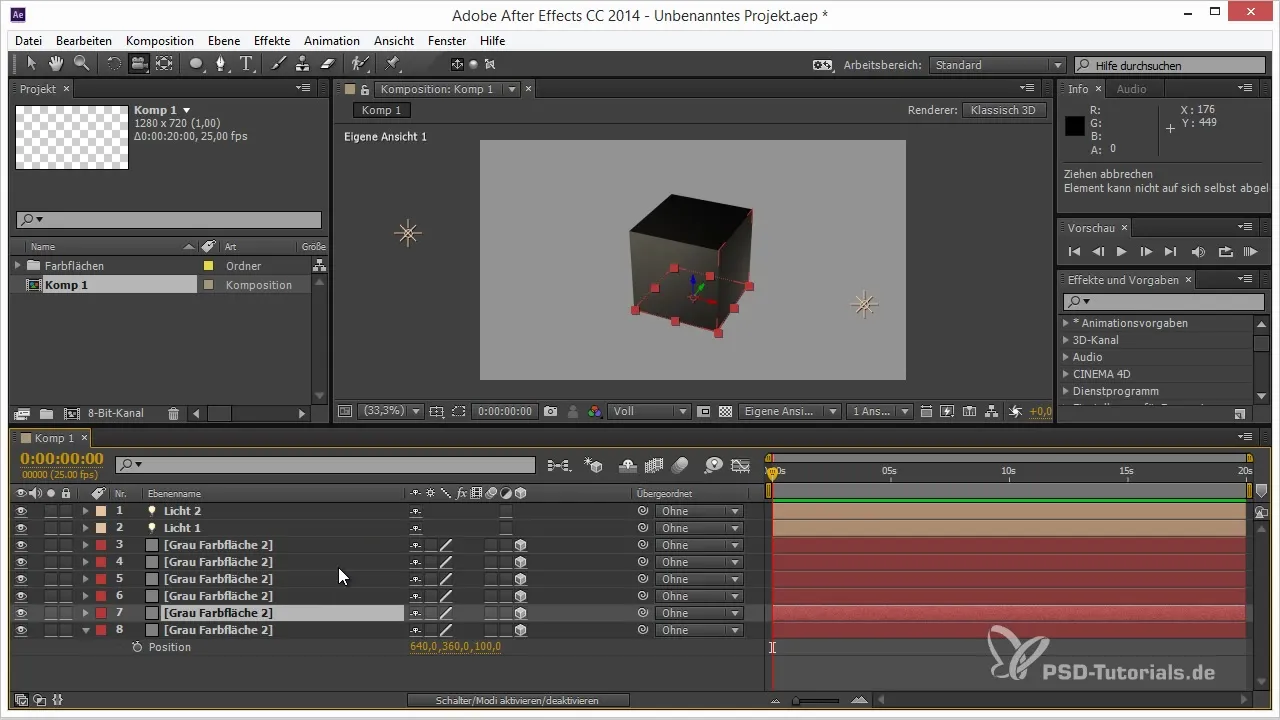
To use Snapping, you first need to have a 3D layer in your composition. Create a simple cube in After Effects by generating a layer and setting it to 3D.
2. Aligning the Cube
When manually creating a cube, you had to spend time on precise calculations and placements. With Snapping, this process becomes much more efficient. Activate the Snapping tool to automatically align the edges of your cube.
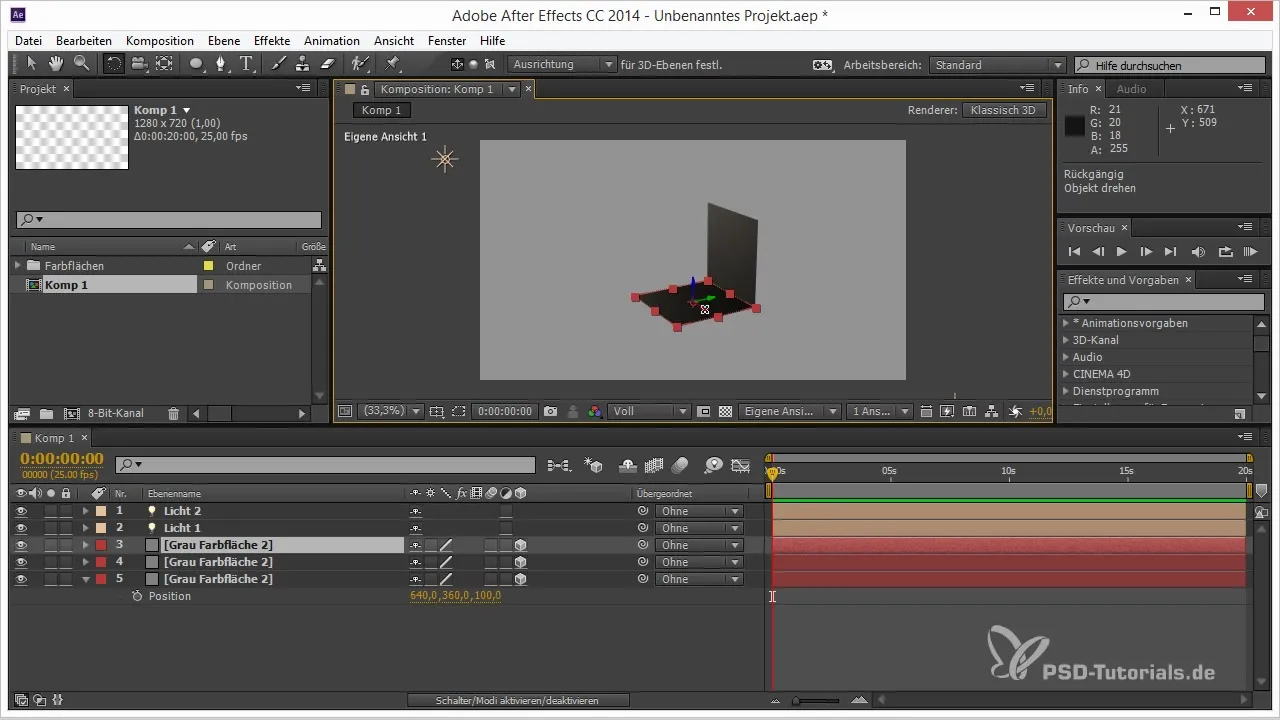
3. Duplicating and Adjusting
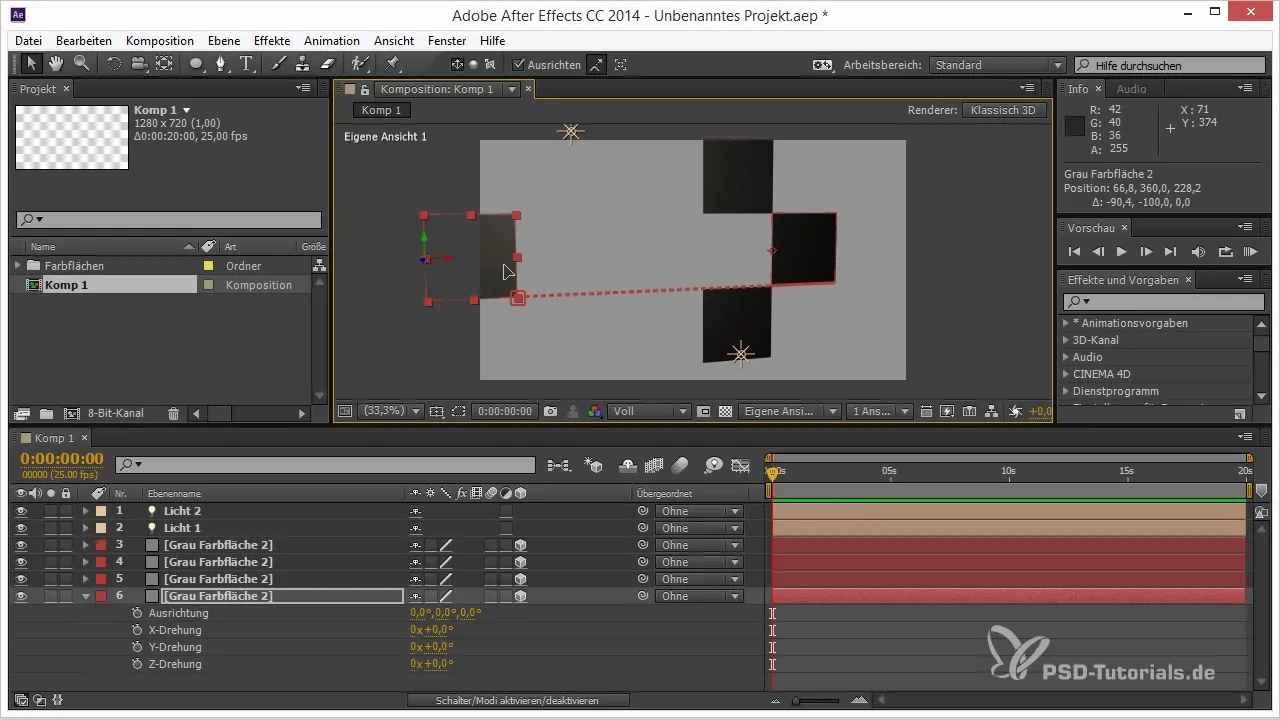
Duplicate the original cube layer and rotate it accordingly. Snapping ensures that the corners and edges automatically align while positioning. This saves you calculations and allows you to focus on design.
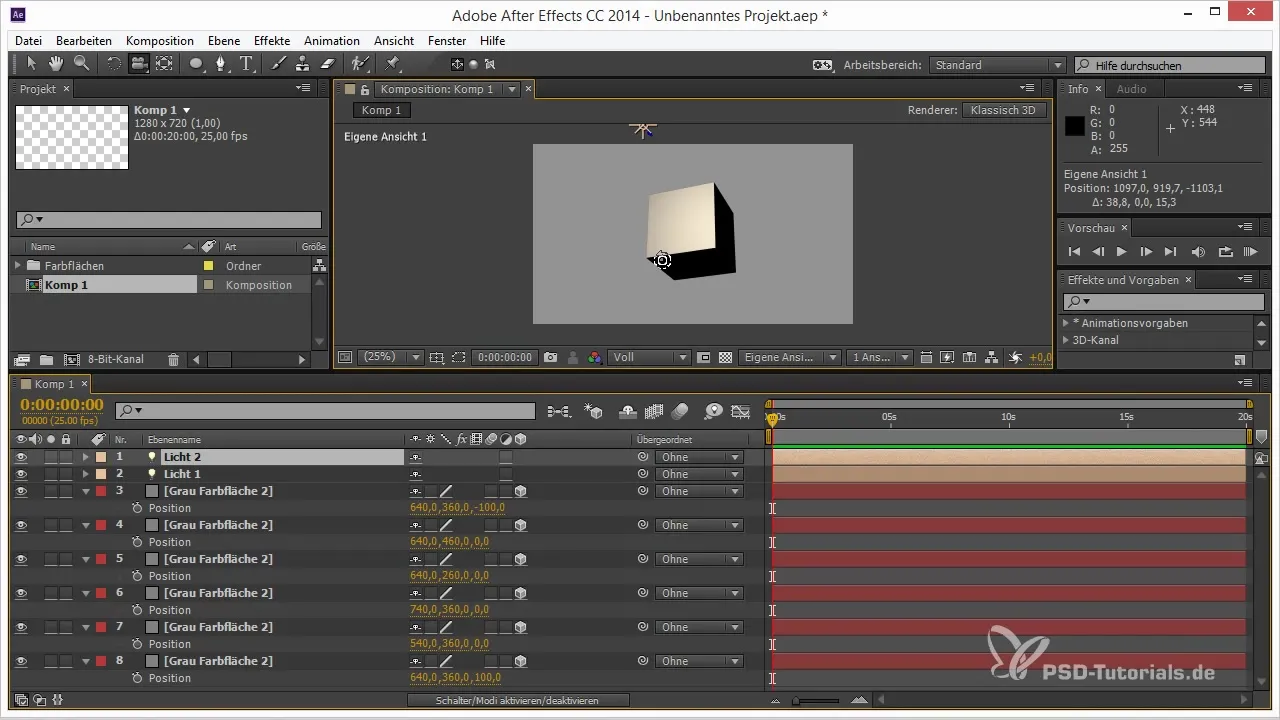
4. Adding Light Sources
To give your cube a more realistic effect, add light sources. You should position these strategically to achieve the right shadows and lighting effects. Again, you can use Snapping to place the lights exactly where you need them.
5. Adding More Details
When your cube is finished, you can add further details such as textures or additional light sources. Snapping also helps you to integrate these elements harmoniously into the composition without constantly switching between layers.
6. Setting Anchor Points Precisely
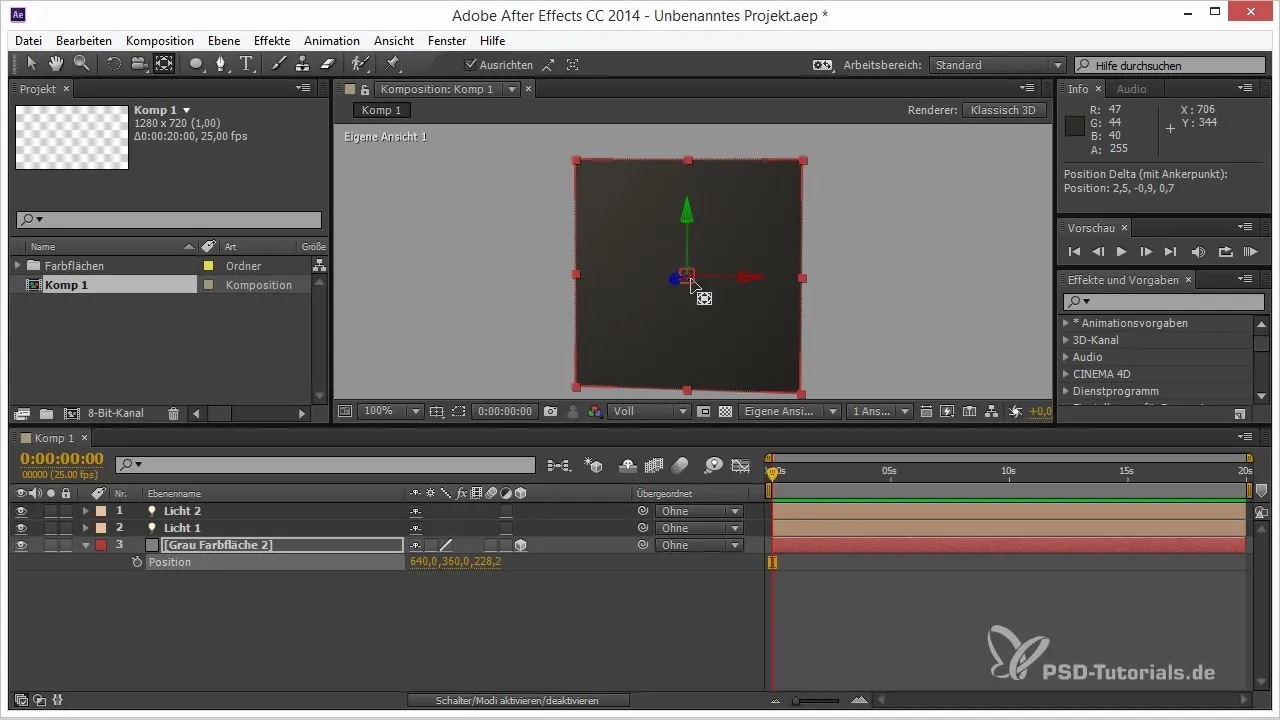
Another useful feature of Snapping is the ability to easily move anchor points. With the Anchor Point tool, you can snap your anchor point to a side or corner of your 3D object, which greatly simplifies creating animations.
7. Ensuring Alignment
The Snapping tool not only allows you to create 3D layers but also to check and adjust the alignments of overlapping objects. This ensures an overall more harmonious appearance of your animation.
8. Working with Folded Transformation Layers
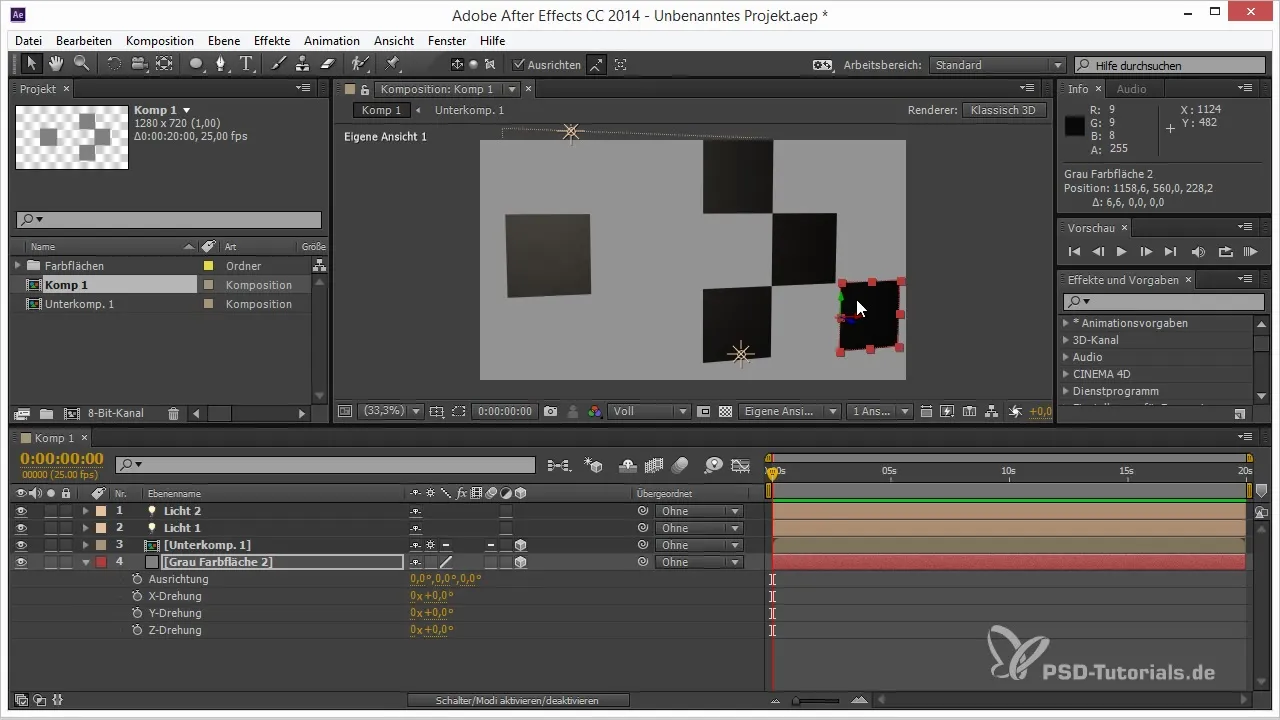
With folded transformations, Snapping becomes even more effective. By activating this feature, you can also perfectly align objects within folded compositions. This significantly simplifies the structure of complex animations.
Summary - Tips and Tricks for 3D in After Effects: Snapping
In this guide, you have learned how to use Snapping in After Effects to simplify the creation and positioning of 3D objects. This function not only saves you time but also produces more precise results.
Frequently Asked Questions
How do I activate Snapping in After Effects?Snapping can be easily activated via the corresponding tool in the upper toolbar.
Can I also use Snapping with folded layers?Yes, if you activate folded transformations, Snapping will work with those layers as well.
What can I do if the layers I want do not snap?Make sure Snapping is activated and that the layers are actually close to the edges or corners.
Does Snapping work with all 3D objects?Yes, Snapping should work with all 3D objects in your composition, regardless of their type or size.


