Creative ideas can sometimes be hard to articulate, especially when it comes to visually representing them. How do you turn your thoughts into a sketch that captures your vision? In this guide, I'll show you how to quickly and effectively sketch with Photoshop to capture your ideas for photo shoots. Whether for project planning or simply as a tool – a sketch helps you visualize ideas clearly and optimize your approach to the shoot.
Main insights
- A sketch helps you visualize ideas clearly.
- Setting the perspective and lighting is crucial.
- You don't need to be an artist to create effective sketches.
- Use tools in Photoshop to clearly represent your visions.
Step-by-Step Guide
1. Set the right horizon
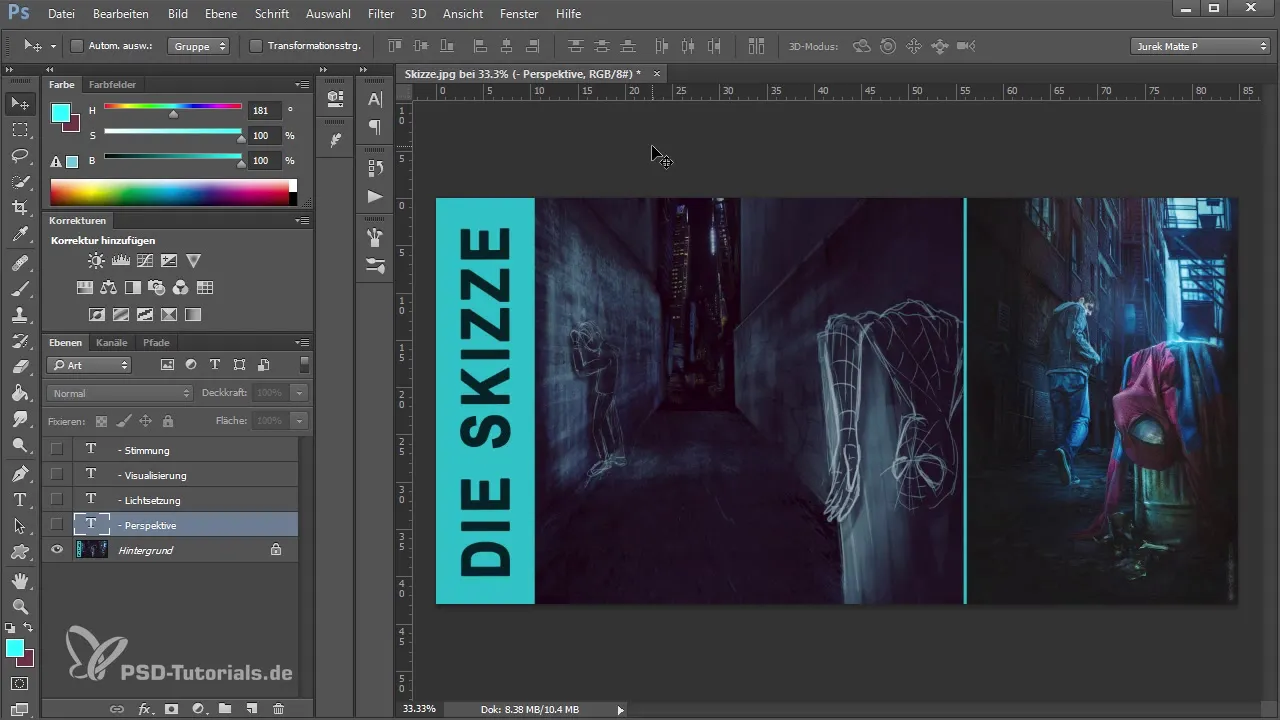
Start by determining the perspective of your sketch. The horizon is crucial for how your image is perceived. If you want to shoot from above, set the horizon in the upper third of the image. However, if the horizon is in the lower area, you will create a completely different mood. This is an effective starting point for your image.
2. Sketch the basic shape
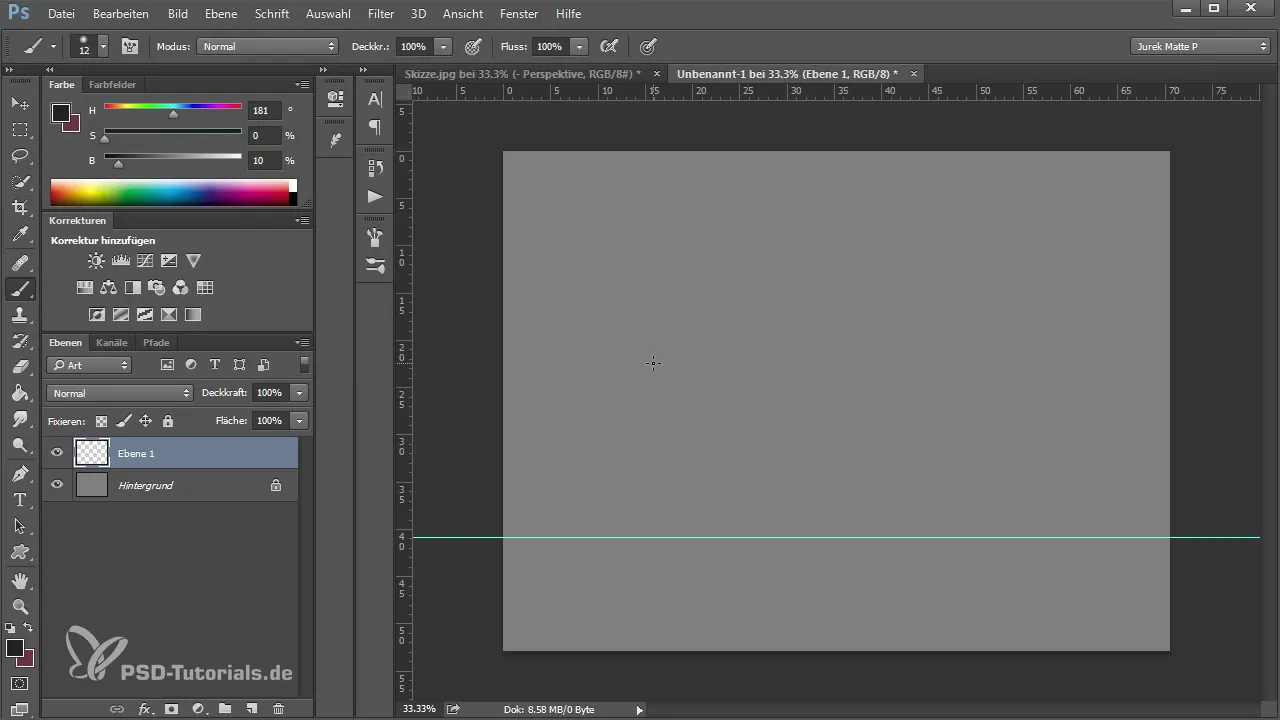
Create a new layer in Photoshop and start sketching the basic shapes of your image. First, draw the dividing lines for walls or other objects. These rough lines help you establish the main components and their positions relative to each other.
3. Insert the main figures
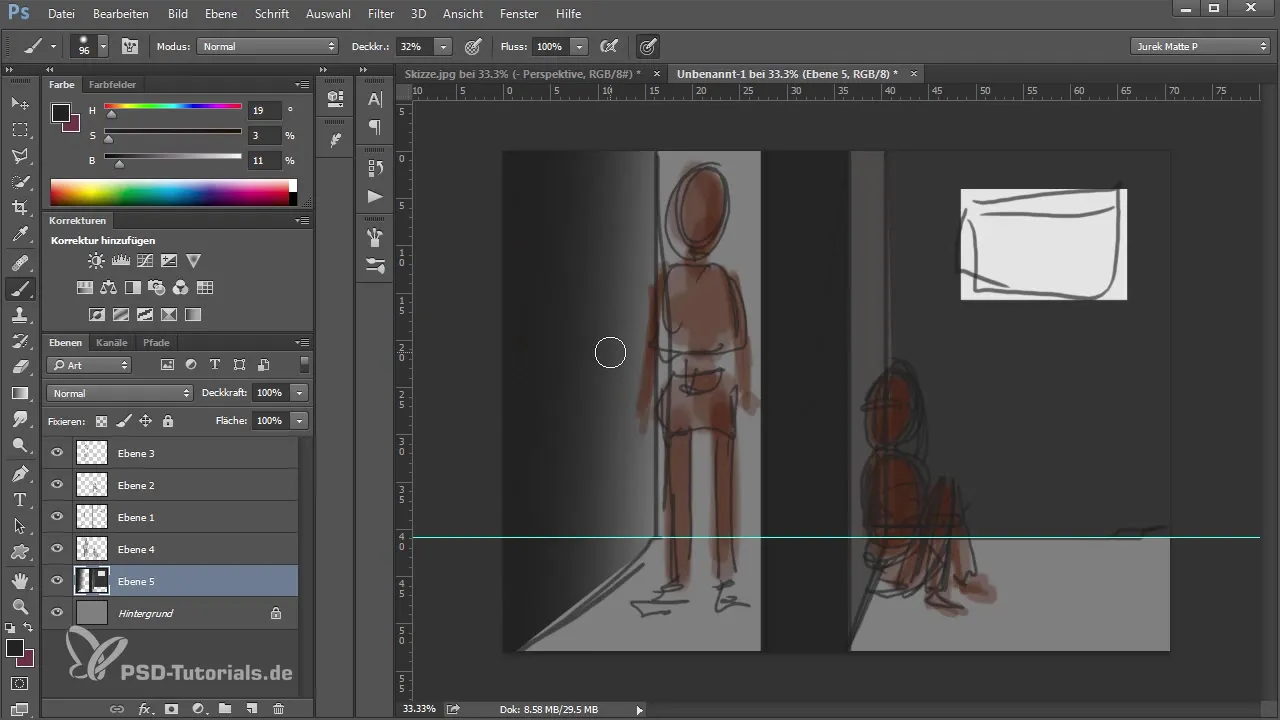
Now add the main figures to your sketch. Draw them roughly, so their position and pose are recognizable. This could be, for example, a person leaning against a wall. Keep in mind that the proportions do not need to be perfect at this stage; it's more about visualizing your idea.
4. Add details
Once you've drawn the main figures, you can start adding details. This includes coloring the figures with basic colors to give them some depth. Here, you can also use various shades of brown to further outline the contours.
5. Integrate textures
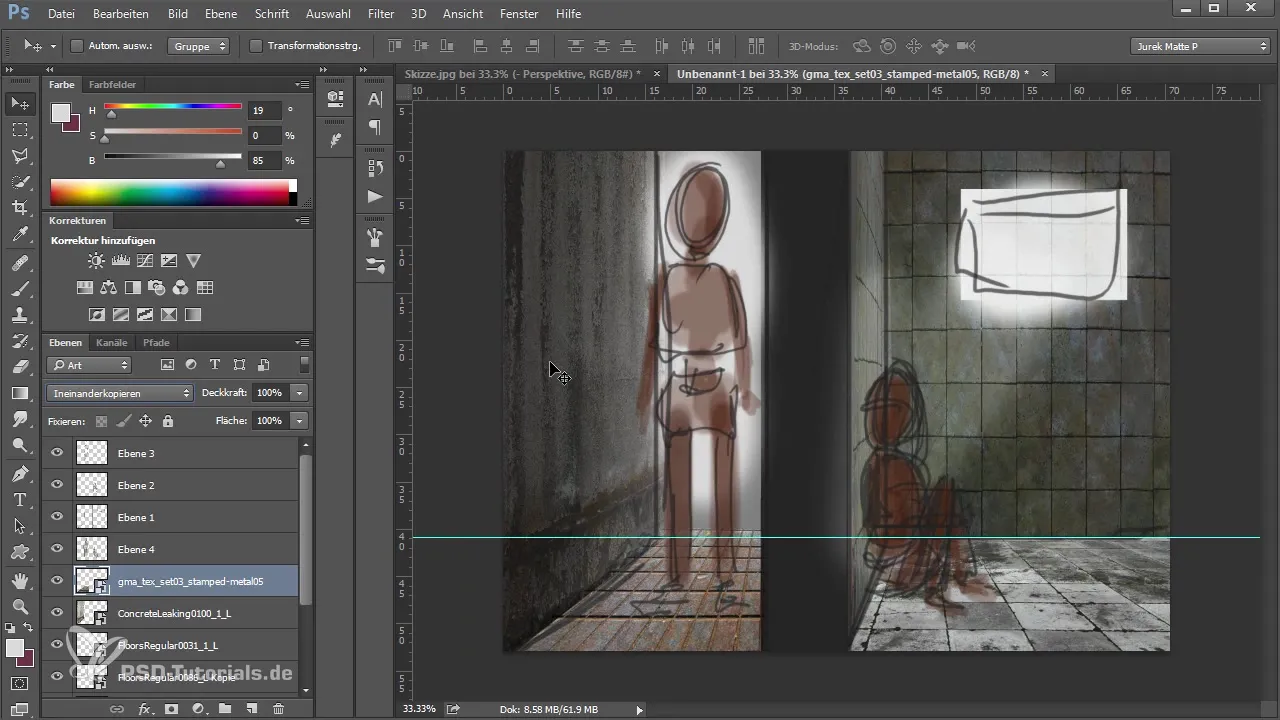
To give your sketch more life and depth, add textures. Use existing textures from the internet or your own. Simply drag the textures into your document and position them accordingly; they will add more realism to your sketch.
6. Sketch light sources
Think about the light source(s) in your image. Sketch where the light hits your subject. This will help you prepare for the next step if you want to take the picture in the studio. Lighting conditions are crucial for the impact of the image.
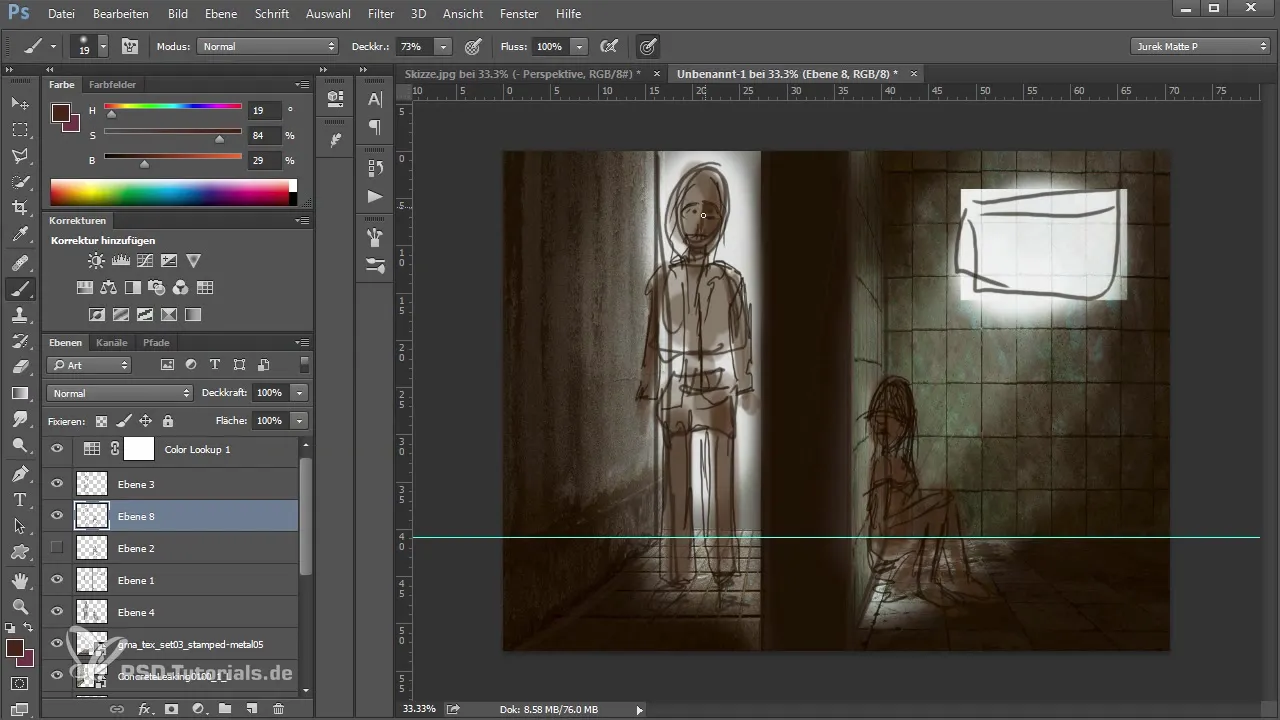
7. Define the mood
Now you can set the overall mood. Consider what color moods your image should convey – should it feel cheerful, dark, or mysterious? Mark the areas in your sketch to clearly define the coloring later in the shoot.
8. Show the overall composition
When you have completed the sketch, you may want to hide the guidelines to see how your composition looks overall. Check if everything aligns with your original idea and if you're satisfied with the overall picture.
Summary – Creative Sketches for Photo Shoots in Photoshop
Creating sketches in Photoshop is an efficient way to visualize your creative ideas. It allows you to establish perspectives, lighting conditions, and moods before you start the actual shoot. A simple sketch can be a great help in communicating your vision clearly and understandably.
Frequently Asked Questions
How do I start the sketch?Start by setting the horizon and the basic image composition.
Do I need artistic talent?No, the sketch should just clearly capture your ideas. Rough drafts are sufficient.
How can I insert textures into my sketch?Download textures and drag them into your Photoshop document.
How important is lighting?Lighting is crucial for influencing the mood of the image and conveying your emotional message.
Can I share the sketch with others?Yes, the sketch is an excellent communication tool to present your ideas to others.


