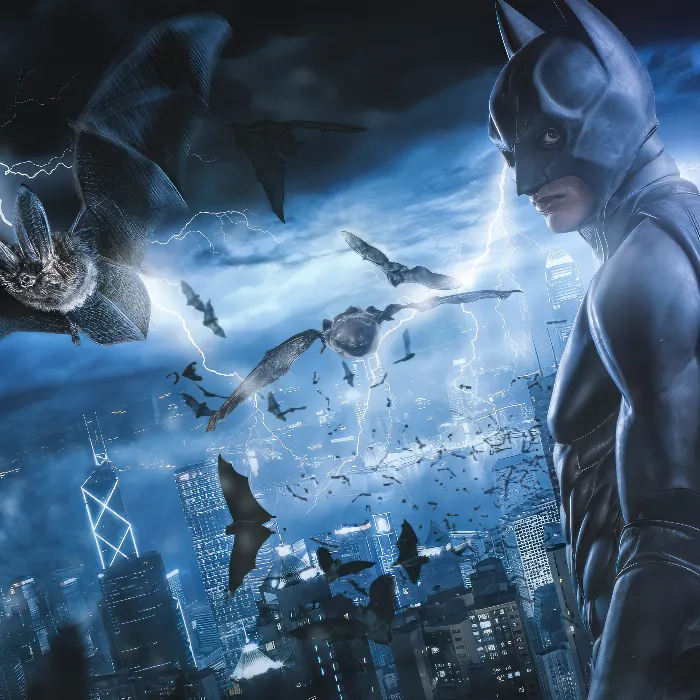
The insertion of bats into an image can change the entire mood and depth of an artwork. In this guide, you will focus on how to create impressive bats in the background of your work using brush tips and stock images. Aspects such as the choice of brushes and the proper placement of elements are crucial to achieving a harmonious end result.
Key insights
- The choice of the right brush affects the dynamics of your work.
- Background settings can control the visibility and impact of the inserted elements.
- A skillful use of layers can increase the depth of the image.
Step-by-step guide
First, it is important to select the appropriate brushes. Download a set of bat brushes from a site like DeviantArt. Double-click the file to load it into Photoshop.
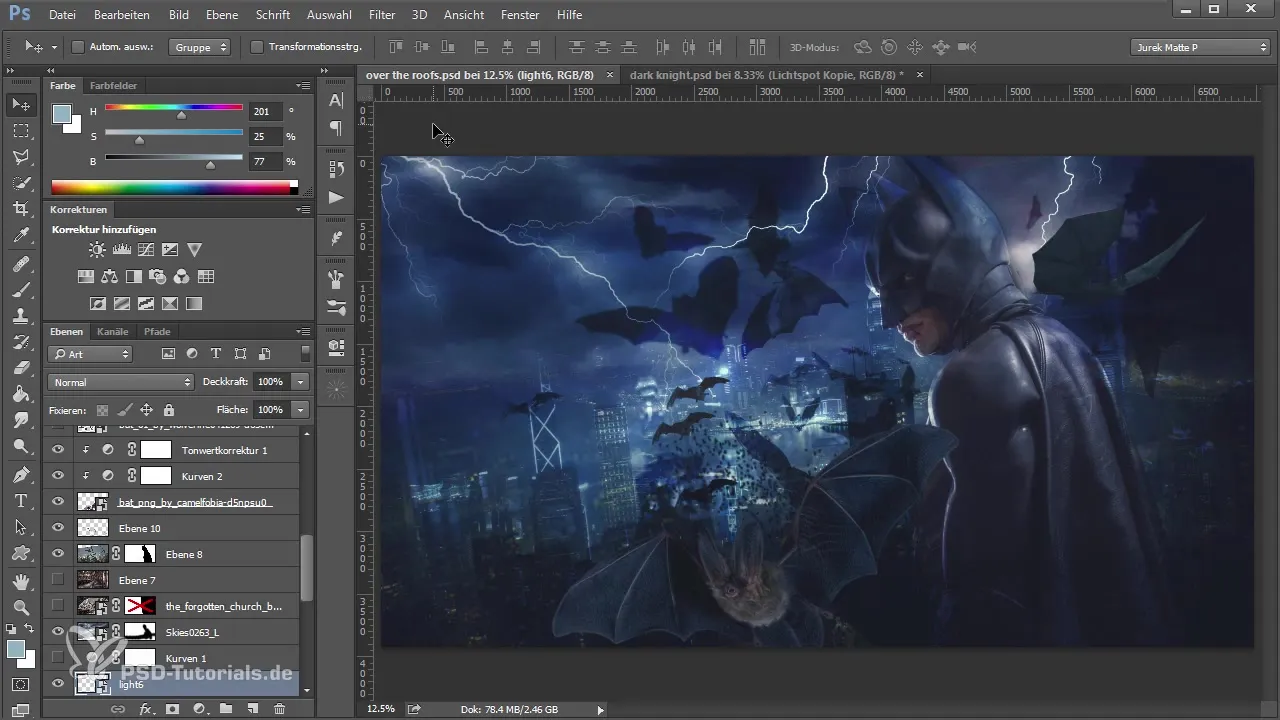
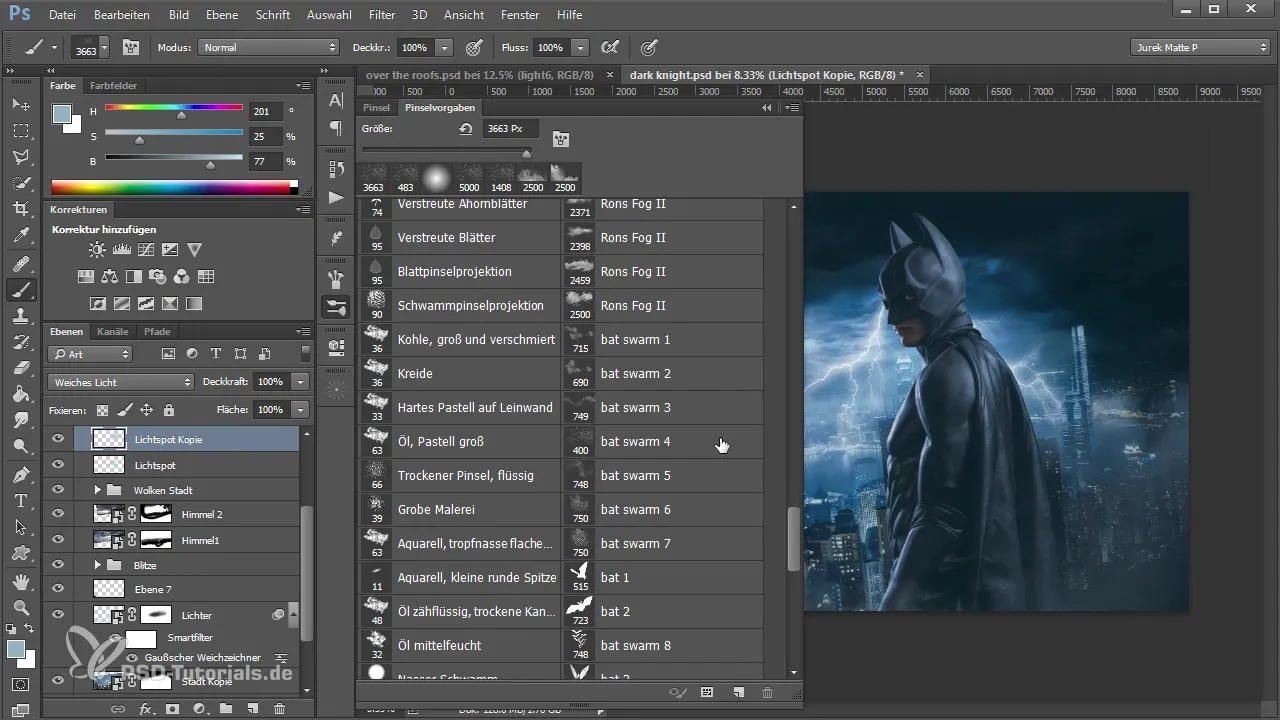
Once the brushes are loaded, you can explore the different bat brushes in the brush menu. Select the brush that you like best – for the background, it is often helpful to choose a brush design that is not too compact.
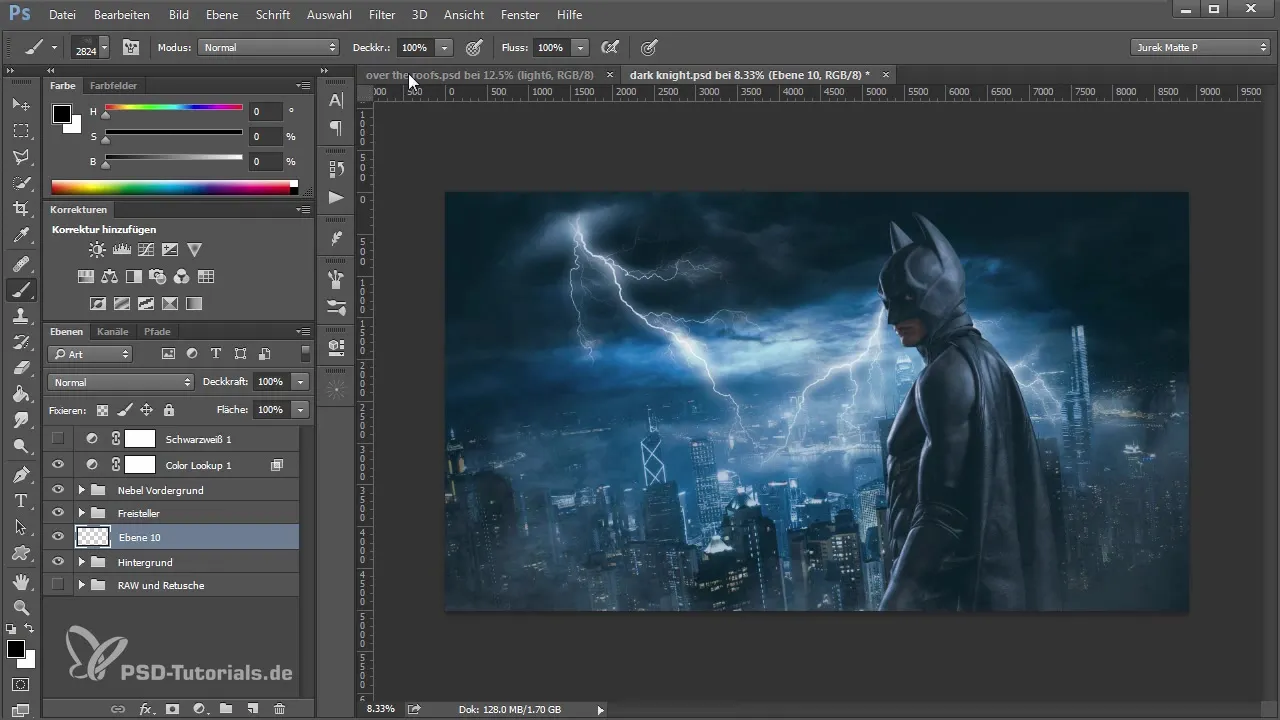
Now it's about integrating the bats into the background. Create a new layer and choose the brush that seems best to you. When choosing the color, you should use black and set the brush opacity to 100%.
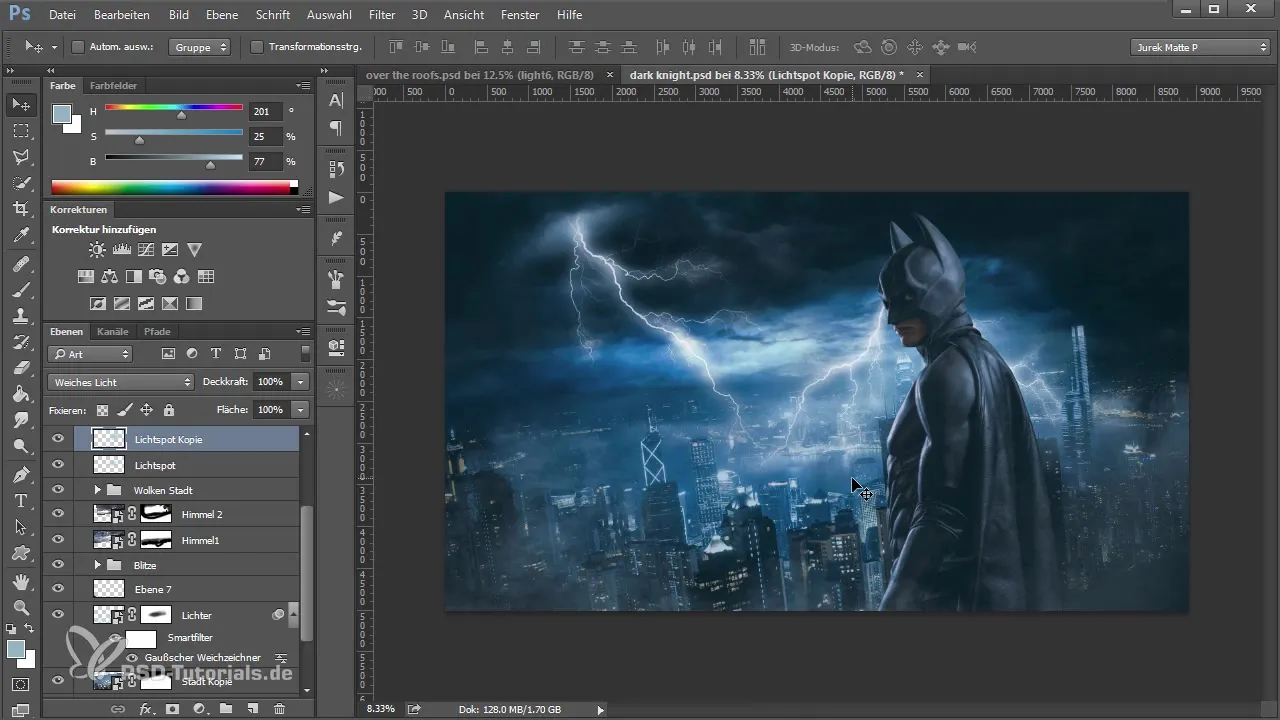
Start by adding the bats to the lower area of your image. Simply click in the areas where you want them to insert the little bats. If you notice any unsightly elements, that's not a problem – the details will be adjusted later.
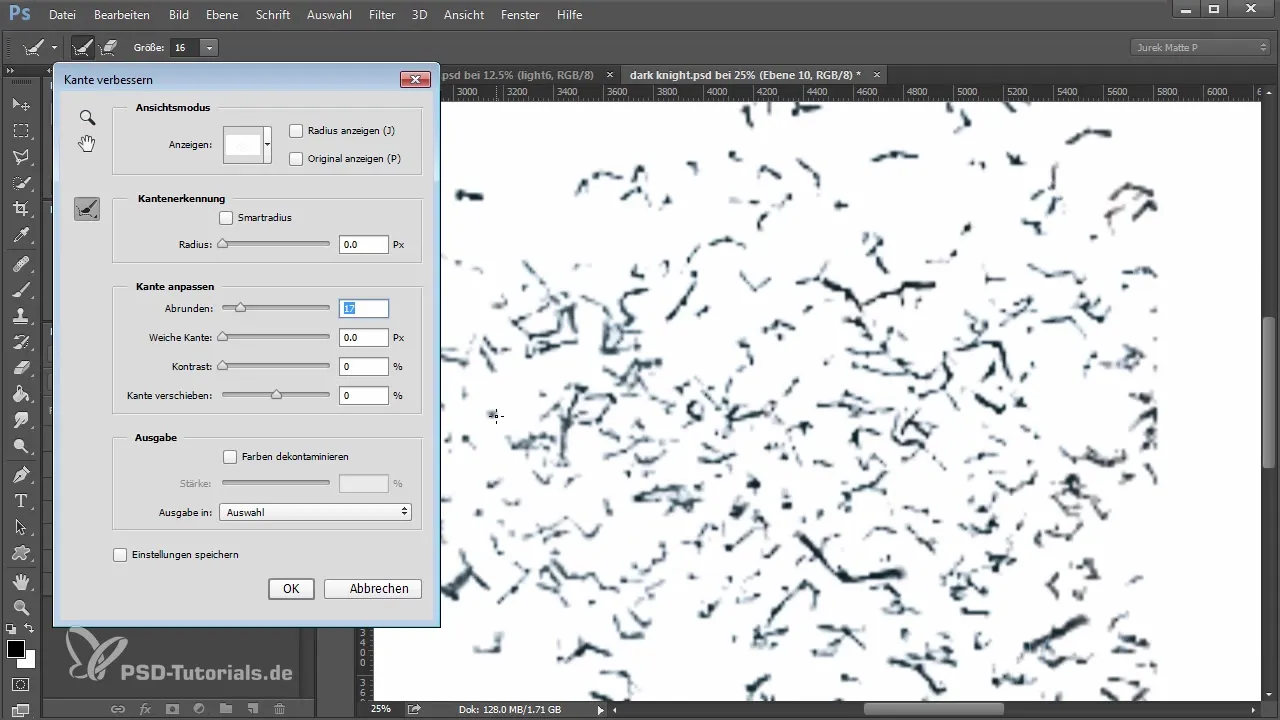
To improve the edges of the added bats, transform the layer to enlarge it slightly. Hold down the Ctrl key to create a selection of the bats and then use the “Refine Edge” function.
With the “Refine Edge” tool, you can smooth the edges and create a more harmonious design. Experiment with the settings to achieve the best result. Energy and dedication will now be clearly noticeable!
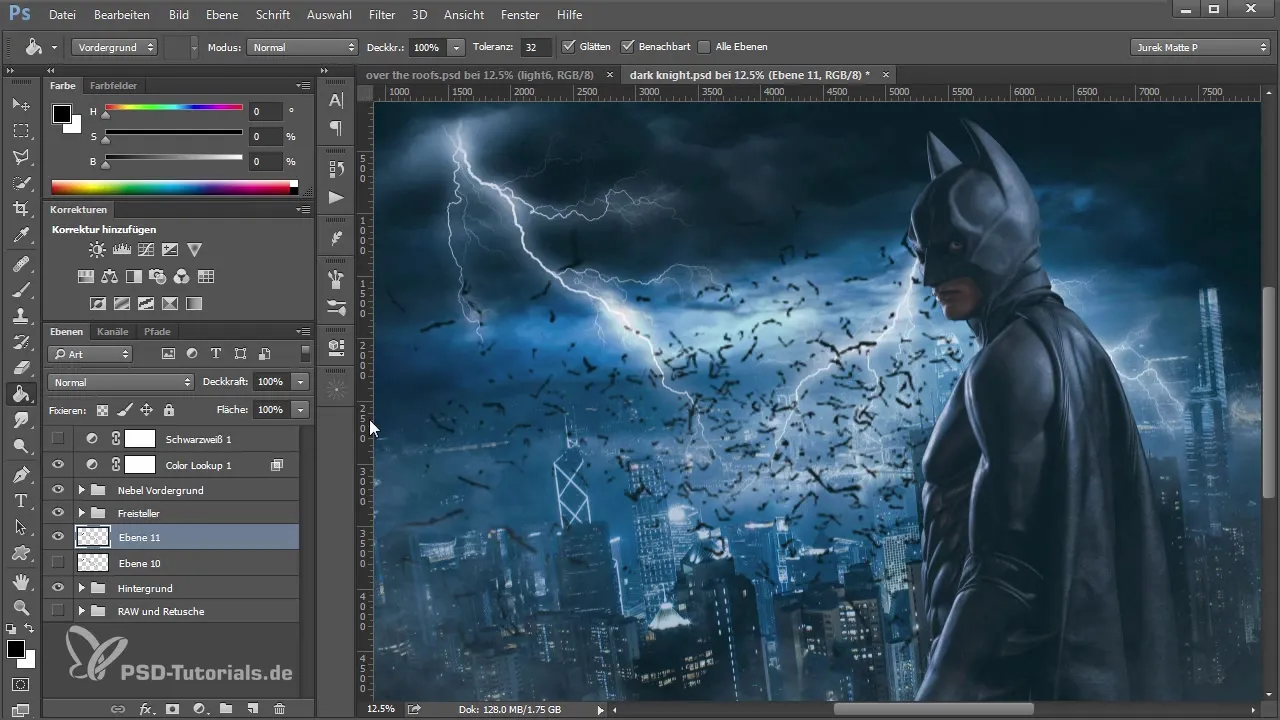
Next, create a new layer above and use the fill tool to fill it with black. Set the whole thing back as a new bottom layer to bring the bats into the background. Do this as long as you like the result better.
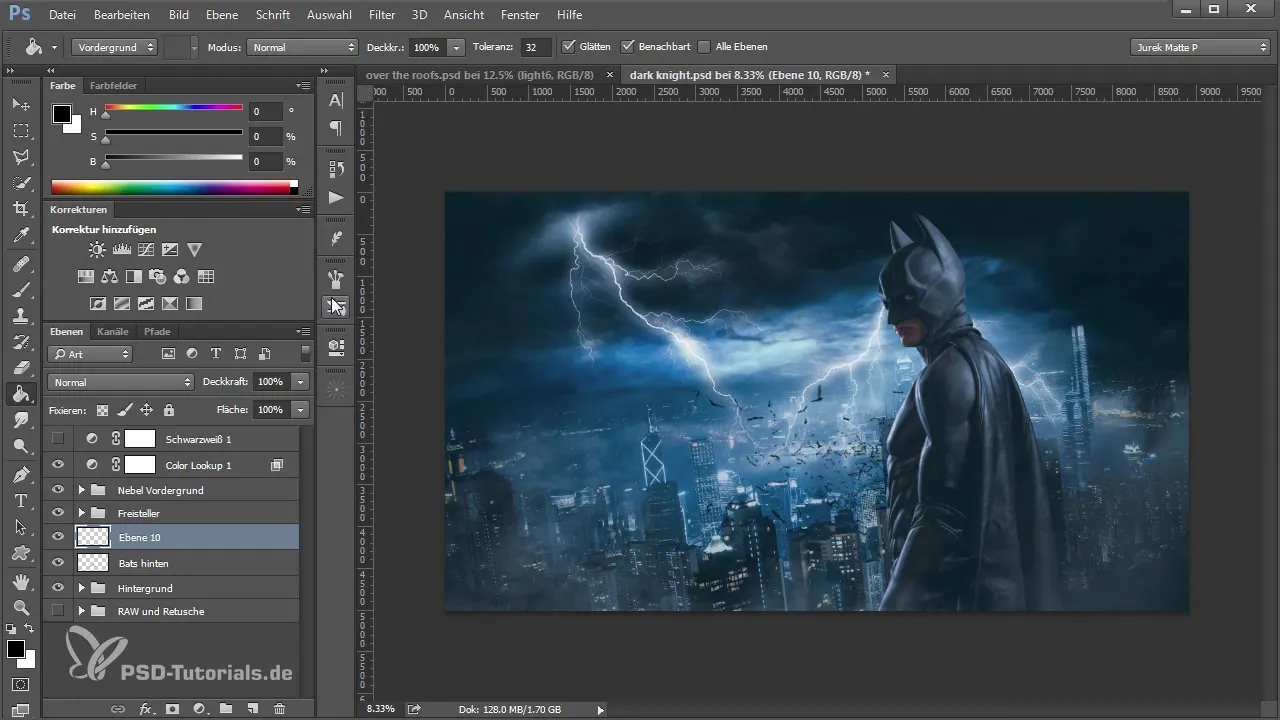
Now it's time to adjust the visibility of the bats to make them appear less dominant. Reduce the opacity a bit. This gives the image depth and ensures that the bats do not stand out too much.
Continue to select new brushes to ensure variety in your work. It can be helpful to vary the brush size for different groups of bats to create a dynamic image.
As you add more bats to your image, check the presence of the houses in the background. They should not be covered by the bats. This keeps the overall image clear.
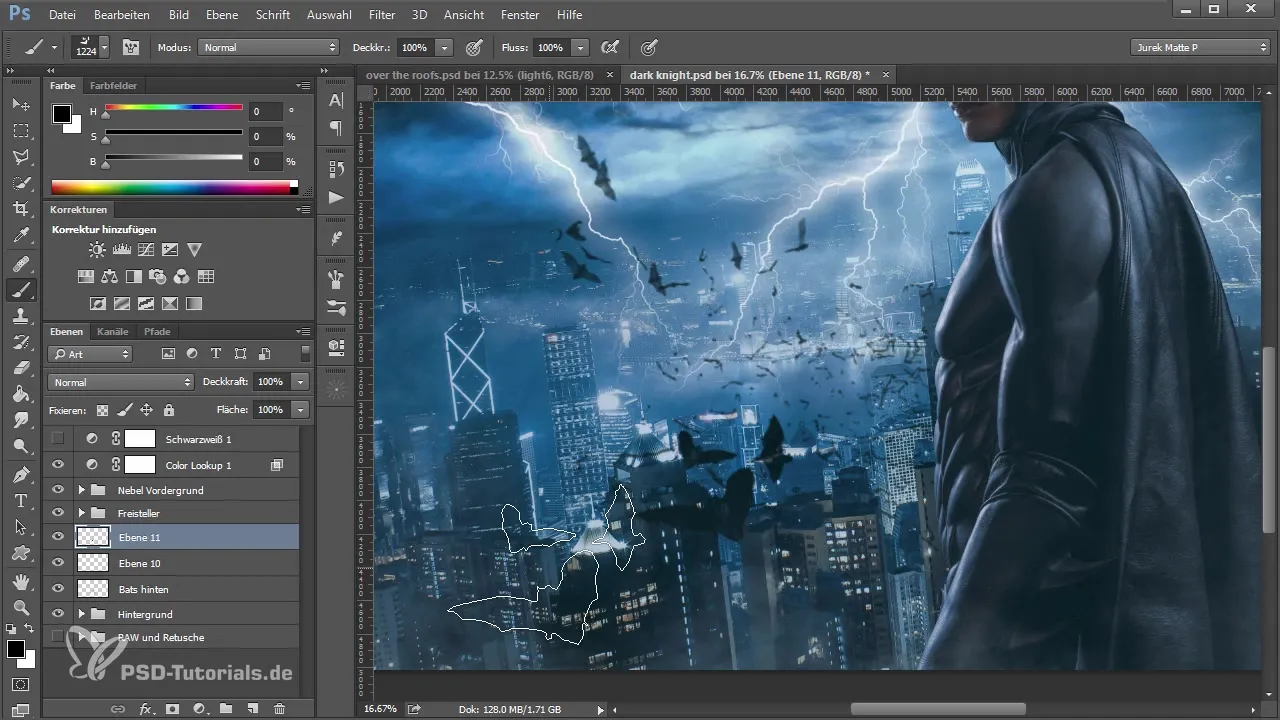
Now create an additional layer and start editing the color to optimize the contrast. A tone correction can be helpful here to experiment with the midtones and black levels and further adjust the visibility of the bats.
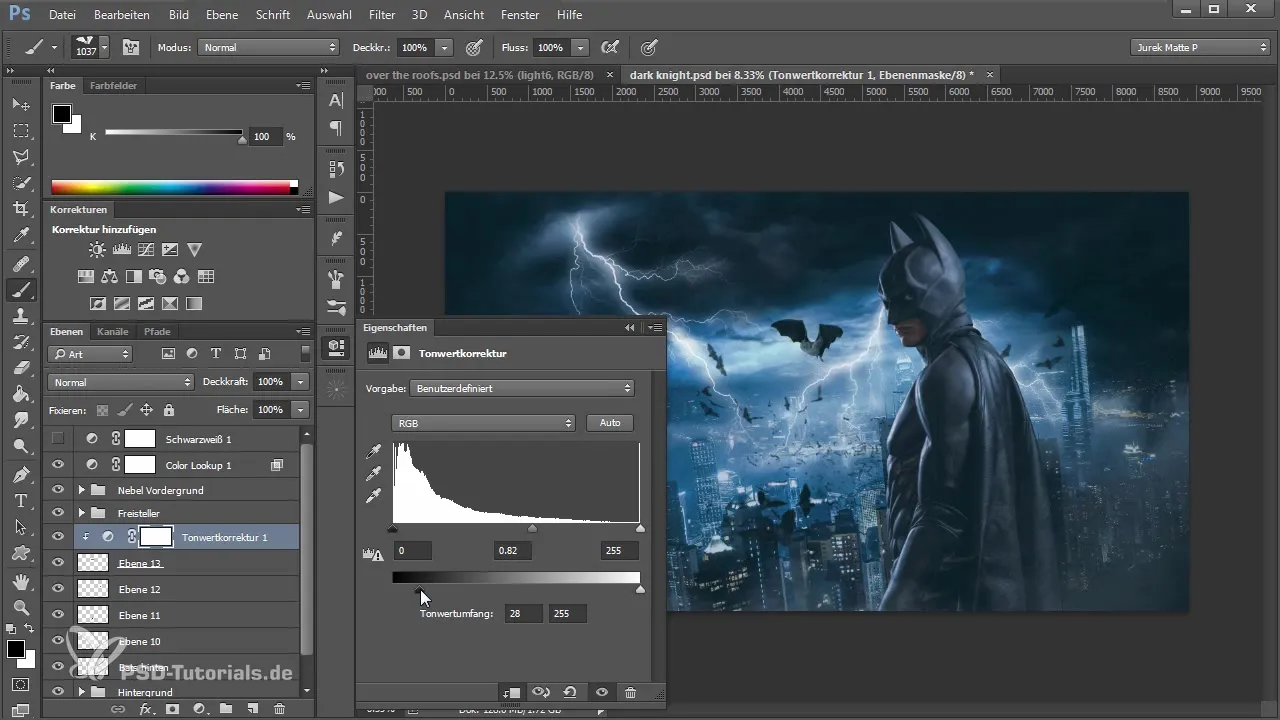
It is important to give each inserted bat customized opacity. This allows the bats to harmoniously blend into the overall image. Be sure to continually reduce the different layers in your project.
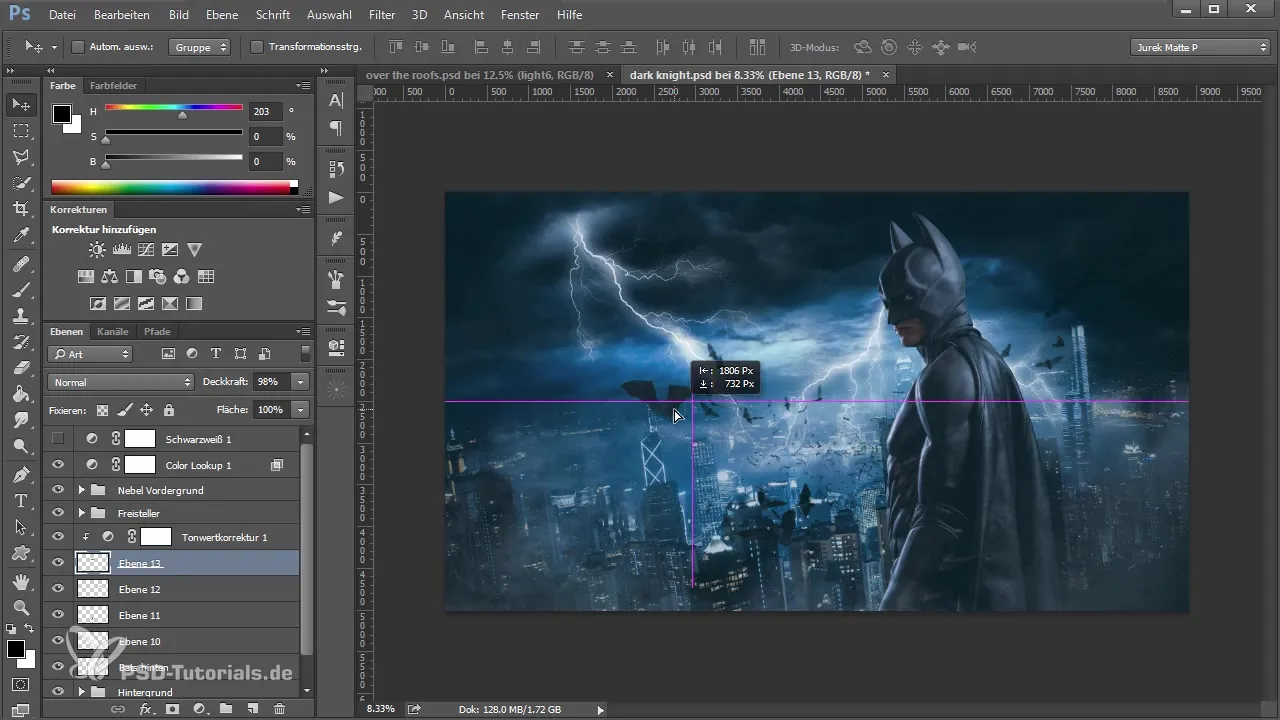
Finally, you can add even more bats to give the image more fullness without overwhelming the overall picture. With each additional element, the composition should create a sense of depth and movement.
Summary – The Art of Bats in Photoshop: Step-by-Step Guide to Inserting Bats in the Background
Adding bats in Photoshop requires attention to detail and flexible handling of brushes and layers. By correctly selecting and adjusting the elements, you can create an appealing artwork that gains impressive depth and dynamics through fine-tuning.
Frequently Asked Questions
What are good places to insert bats in the image?It is beneficial to place bats in the lower area of the image so that they blend well into the background.
How do I choose the right brushes for bats?Download brushes from platforms like DeviantArt and pick the ones that best fit your desired style.
How can I adjust the visibility of bats?You can reduce the opacity of the layers in Photoshop to make the bats appear less dominant.
Can I use multiple brushes for different bat effects?Yes, using different brushes makes the image more interesting and creates more dynamism.
How do I edit the edges of my bats?Use the “Refine Edge” function in Photoshop to smooth the edges of the inserted bats.
