When editing images, especially in the fields of fashion and character design, form corrections are of great importance. In this tutorial, I want to show you how to make your model more harmonious and attractive using simple techniques in Photoshop. We will use various tools to correct wrinkles, seams, and other imperfections.
Key findings
- Use a new layer for corrections so that you can undo changes at any time.
- Use the liquify filter for fine adjustments of body proportions.
- Work precisely and with light pressure to create natural transitions.
Step-by-step guide
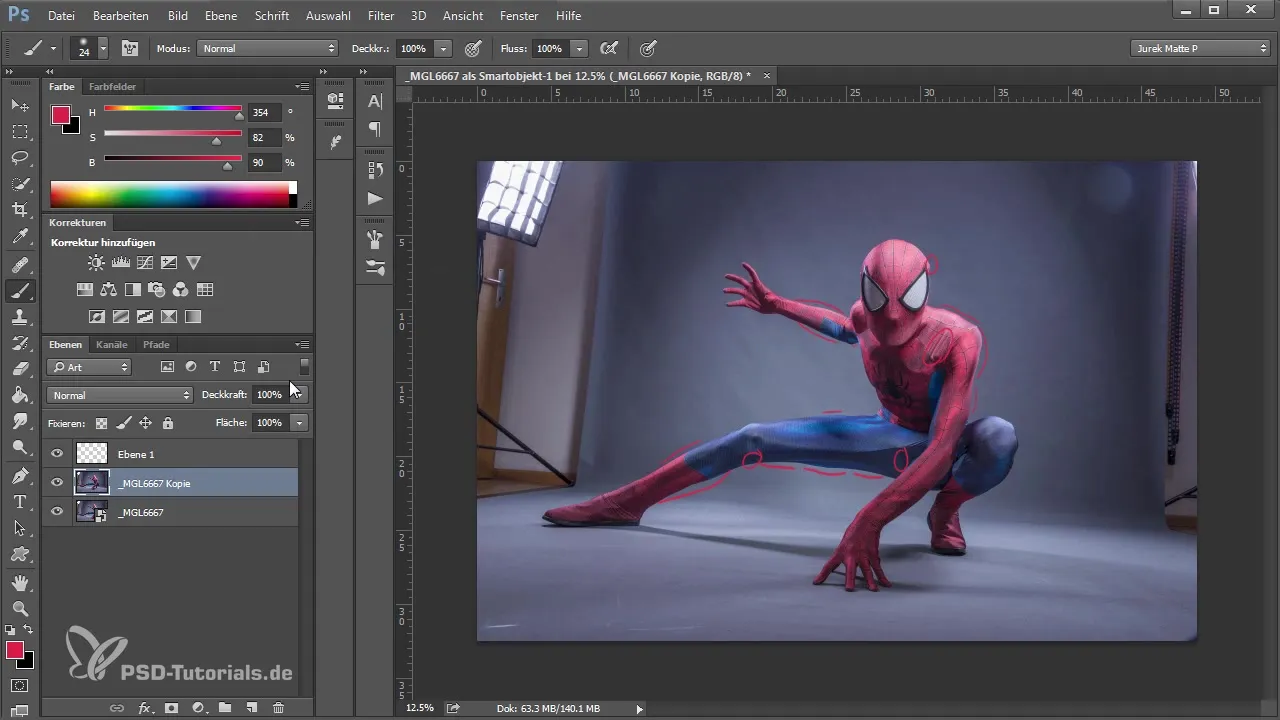
First, you should open your image in Photoshop. For corrections, I recommend creating a new layer and working with a striking color, such as red. This step helps you visually highlight the areas you want to correct.
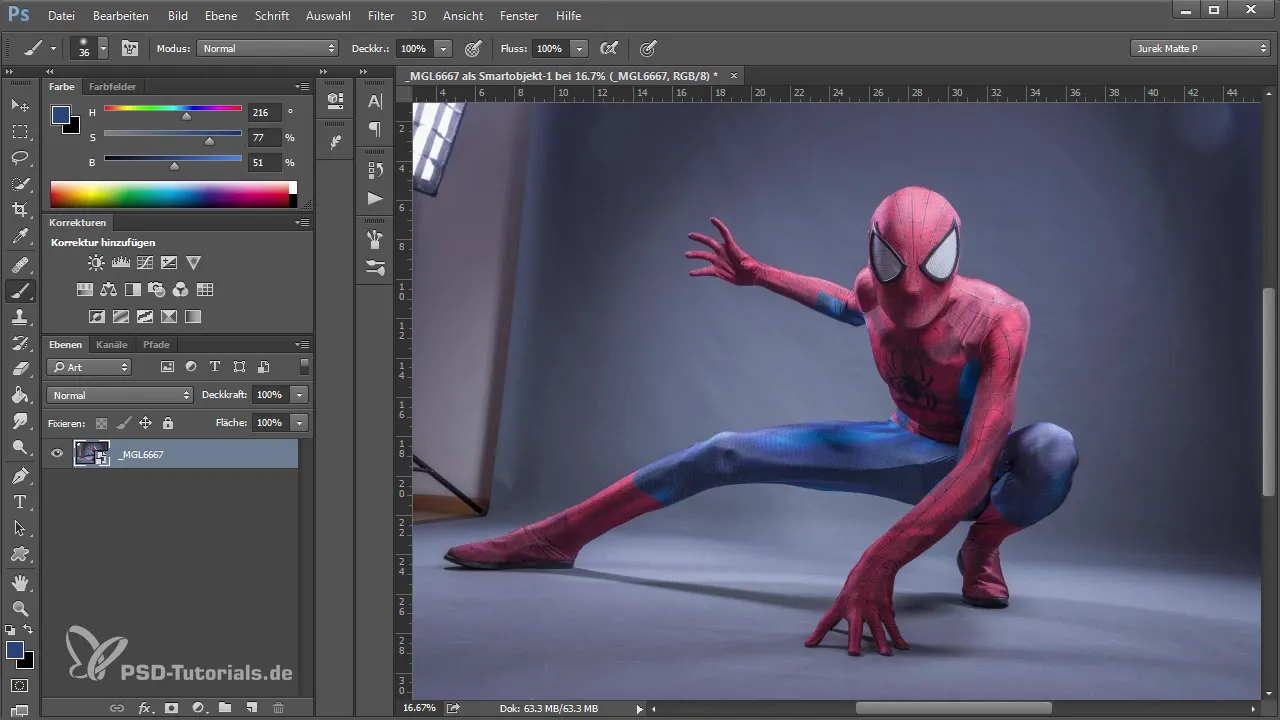
Start by selecting the model and observing where corrections are necessary. For example, you might notice that the calf looks too flat. It is important to adjust this shape so that it appears more proportionate.
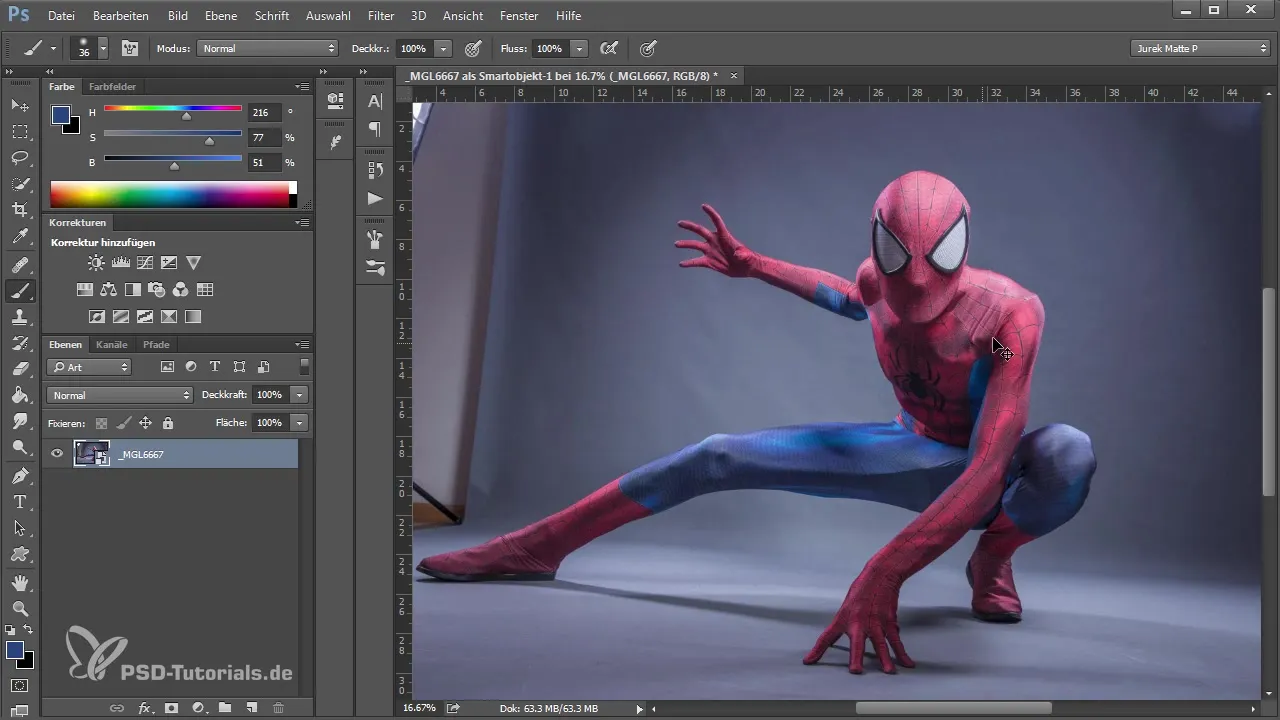
For the adjustments, duplicate your layer and rasterize it so that you can work on a pixel level. You can now switch to the liquify filter and make adjustments with the tools.
An important tool is the push-left tool. Use this with low pressure to make the calf more muscular. Apply a technique of flowing movements to avoid unnatural transitions. Proceed slowly and work on the details.
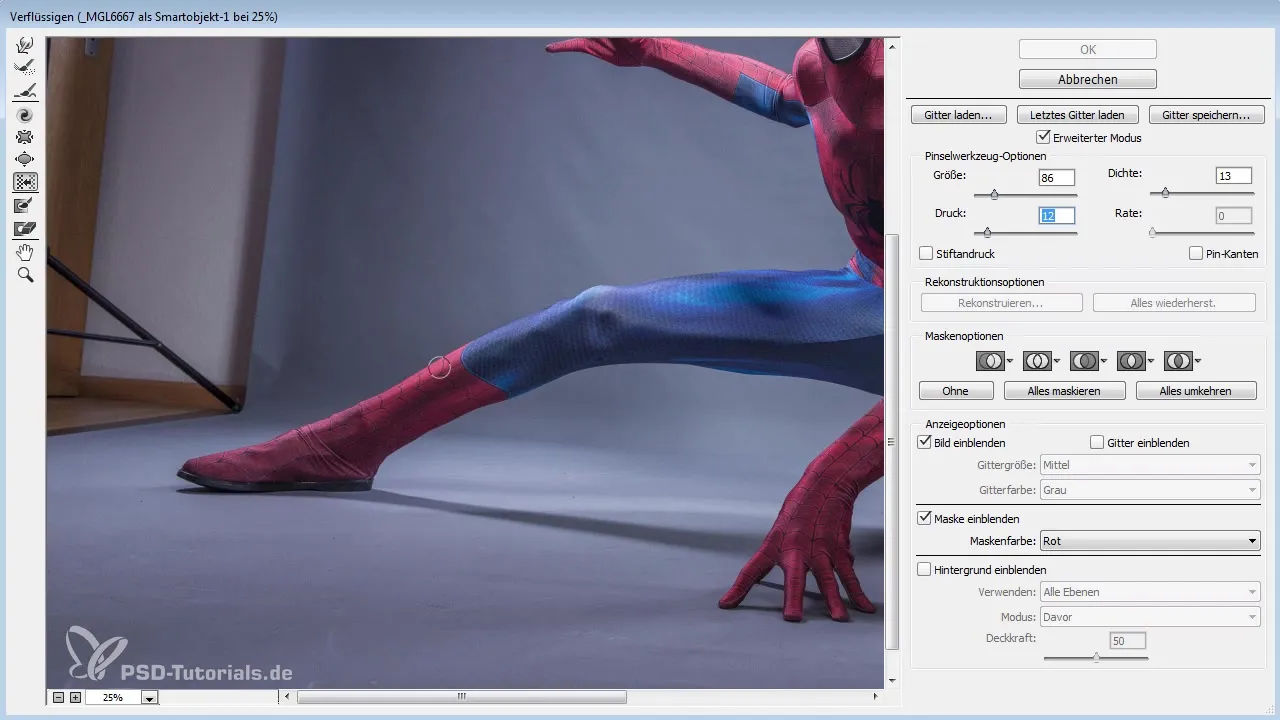
If you see a dent in an area, you should start to correct it there. Let the image appear realistic by not exaggerating: a gentle and controlled technique is key here.
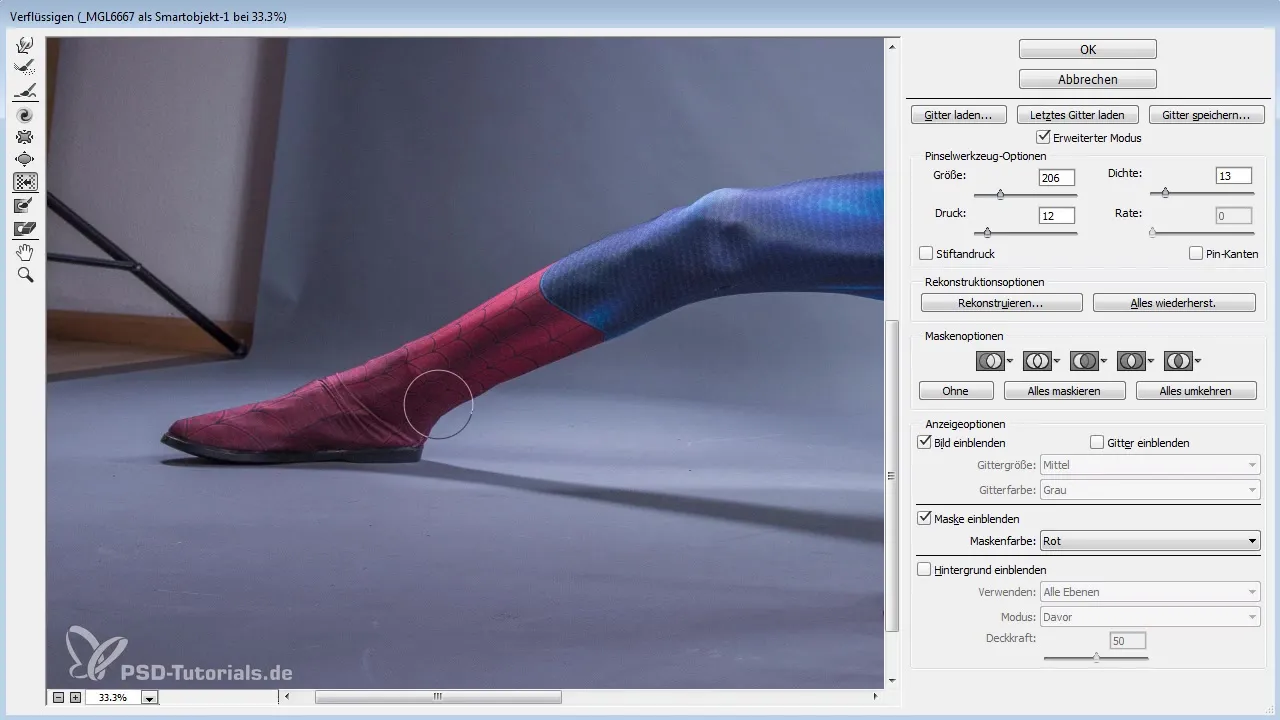
After you have made your changes, confirm the edit and look at the result. You will notice a significant difference in the overall proportion, and you may also need to adjust other areas like the thigh to achieve a harmonious overall image.
Now switch back to the liquify filter and focus on the muscles of the thigh. With a larger brush size, you can apply more pressure to achieve the desired muscular effect.
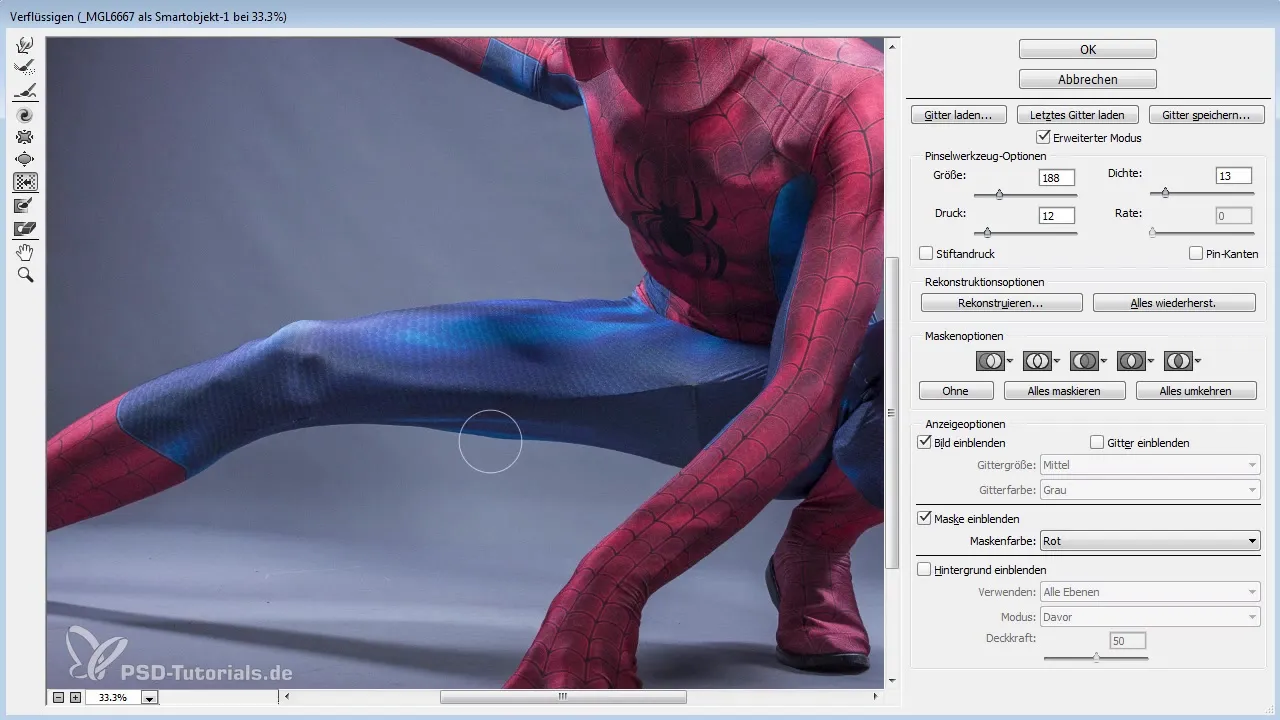
If you are satisfied with the result, you can focus on the model's arm. Here you can again use the liquify tools to make this area appear stronger as well. It is advisable to regularly exit the dialog to keep an overview of the changes made.
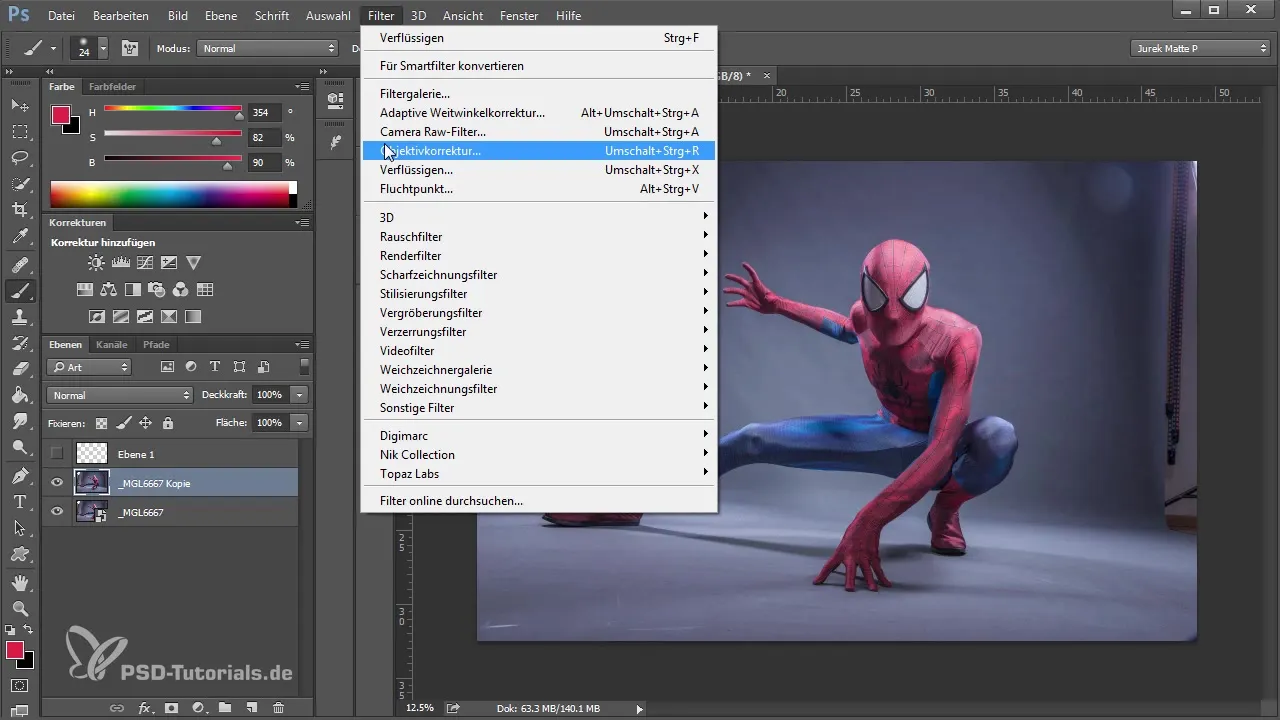
Another aspect is the design of the shoulder, which should appear wider. Pull the model out slightly here to accommodate this adjustment. With the same approach, you can define the contours of the wrist to make it appear a bit stronger.
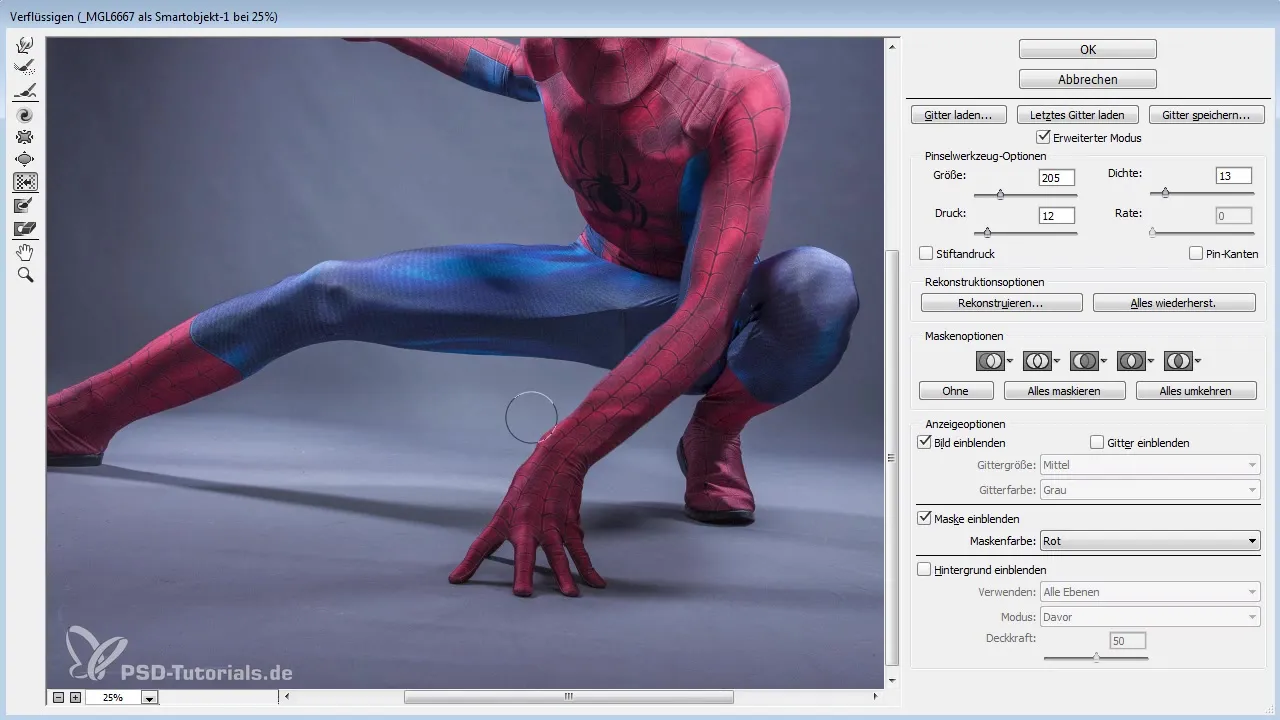
Regularly compare the changes with the previous version. This way, you can see what looks good and where further adjustments might be necessary.
For the final touches, go back into the liquify dialog and check the small corner areas to ensure that they are harmoniously integrated into the overall image. The finer you work here, the more natural the end product will look.
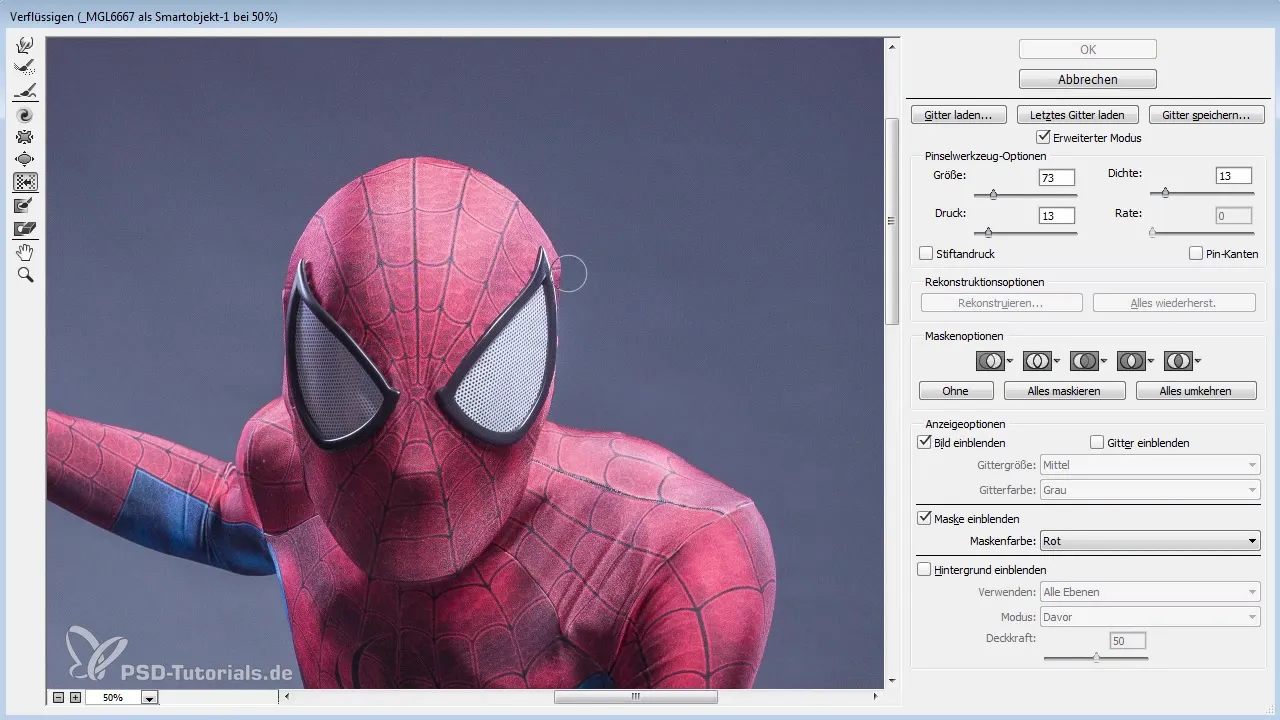
When you have completed all corrections, check the overall effect. The small details often make the decisive difference. Your goal is to create an image that looks not only talented but also heroic.
Summary - Form Corrections in Photoshop: A Practical Guide
In summary, with the right techniques in Photoshop, you can make form corrections that strongly influence the character of your image. By working precisely and utilizing the various tools, you can achieve a great result at any time.
Frequently Asked Questions
How can I remove wrinkles in Photoshop?Use the liquify filter and the push-left tool to gently smooth out the wrinkles.
What layers should I use for form corrections?First, create a new layer for the corrections so that you can make changes at any time.
Why is it important to work with light pressure?Too much pressure can lead to unnatural results, making the image appear artificial. Therefore, gentle work is important.
How often should I review my changes?Regularly reviewing your work helps you keep track and ensure that the changes look harmonious.
What are the best tools for form corrections in Photoshop?The best tools are the liquify filter and the push-left tool, which allow you to make targeted adjustments.


