The art of digital image editing requires not only creativity but also knowledge of effective techniques and methods. One of the key techniques is texture overlay. This technique allows you to enhance images visually and create a deeper connection between the elements in the image. In this guide, I will show you how to effectively use texture overlay in Photoshop to improve your compositions.
Key Takeaways
- Texture overlay is crucial for integrating elements in an image.
- Using Smart Objects optimizes the editing process.
- The Gaussian Blur removes fine structures while preserving colors.
- Hue and lighting adjustments are important for harmonious compositions.
Step-by-Step Guide
Preparing the Textures
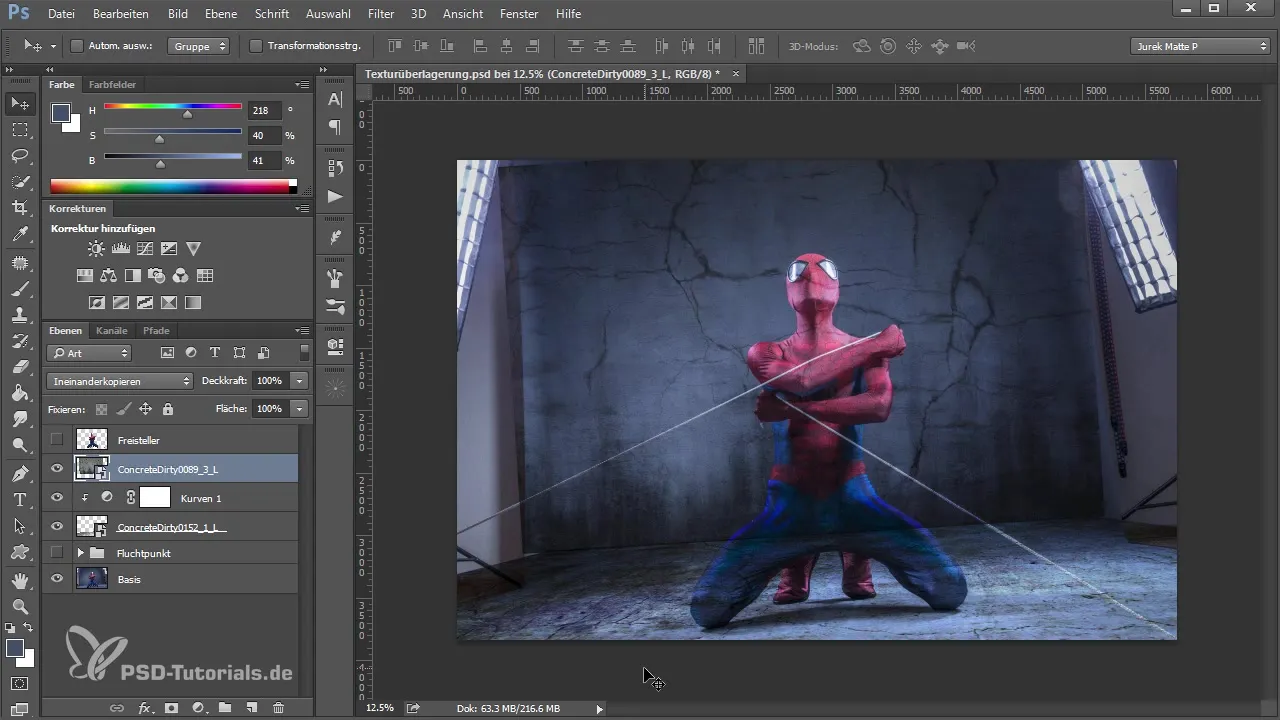
To start your texture overlay, first open the image you want to edit. Make sure you have two different textures that you want to apply to your model. To increase flexibility, convert your image layer into a Smart Object if you haven't done so yet.
Applying the Gaussian Blur
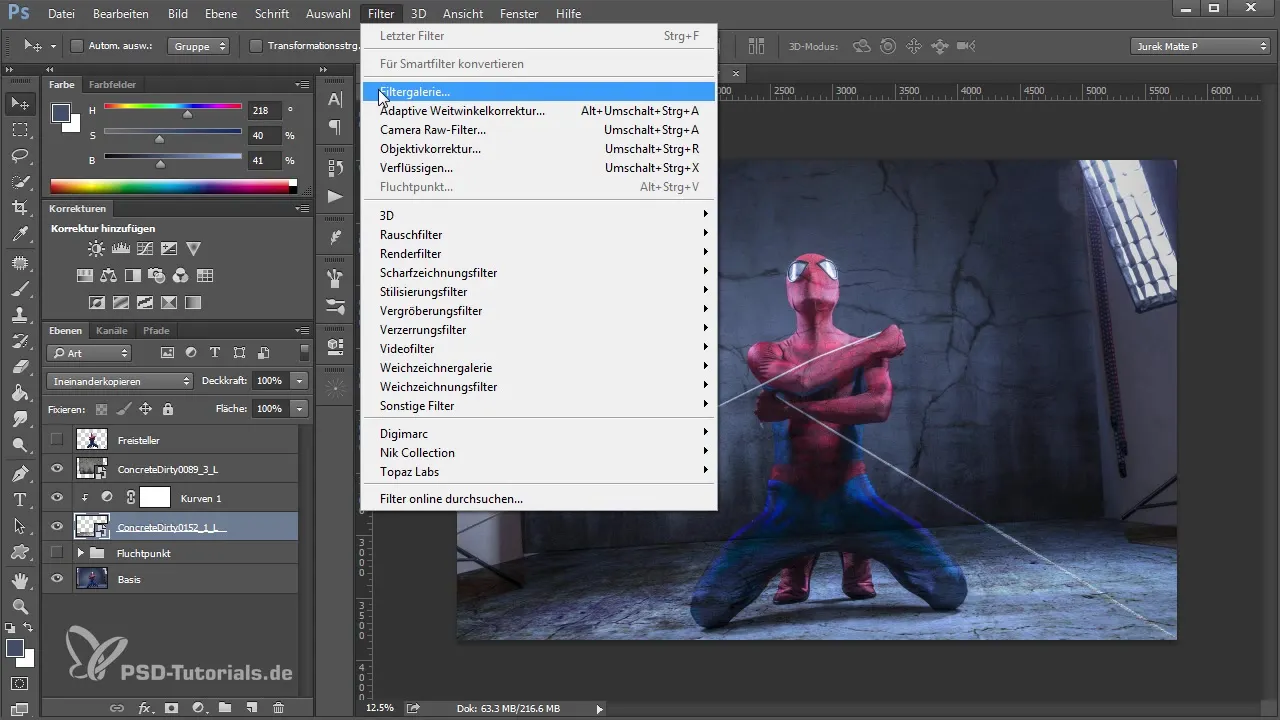
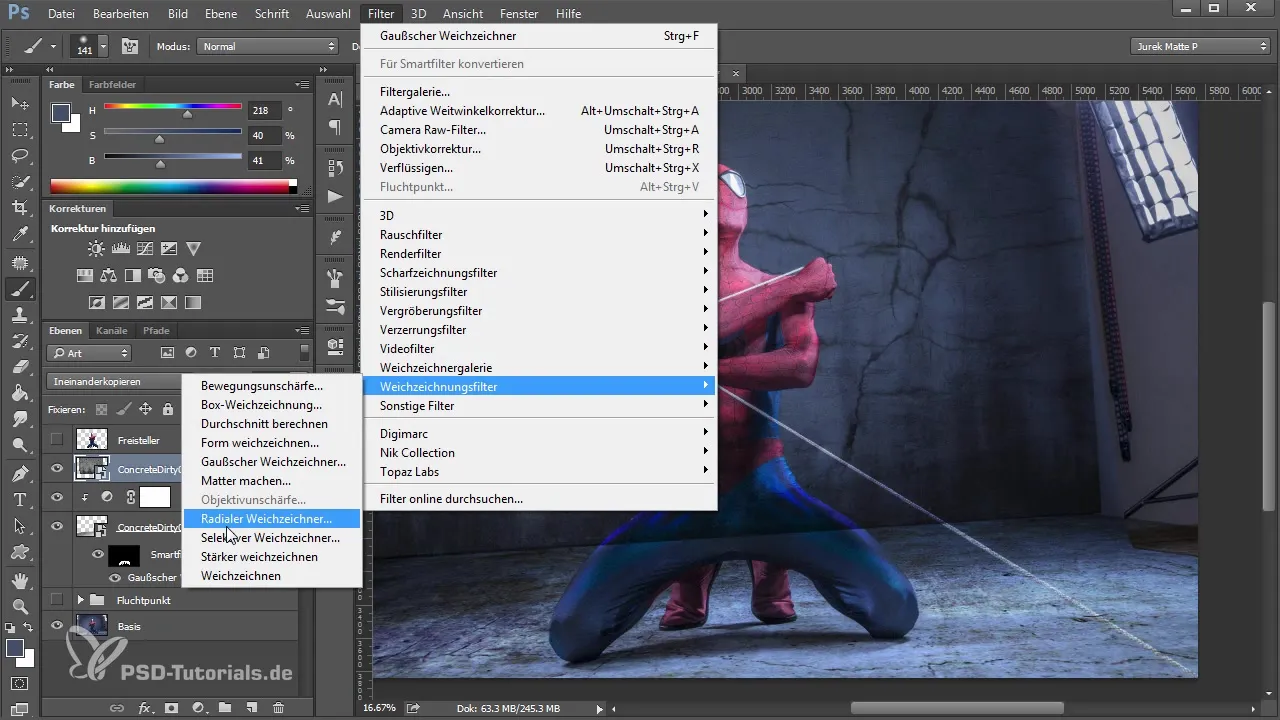
Once your image is a Smart Object, go to the filters and select the Gaussian Blur. Apply a strong blur to minimize the structures of the texture while keeping the hues intact.
Inverting the Filter Mask
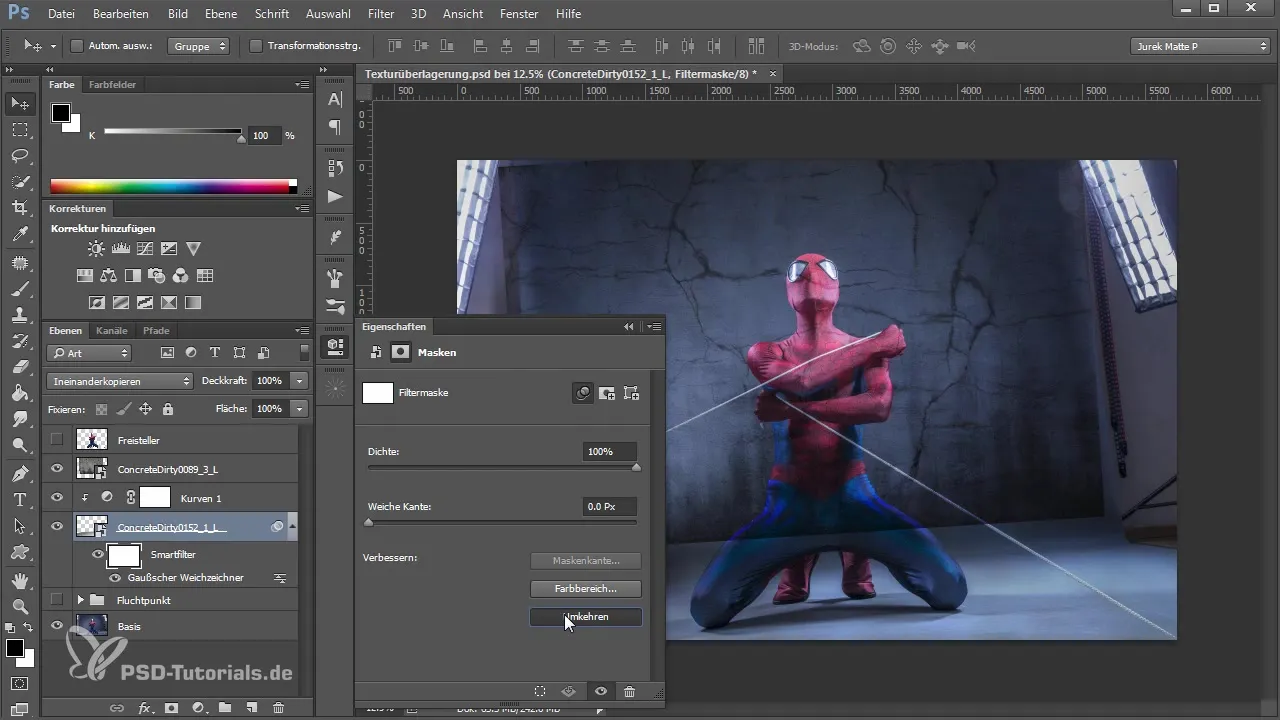
After applying the blur, a filter mask is automatically generated. Click on the mask and invert it (CMD/CTRL + I). This will make the blur initially invisible.
Painting with the Mask
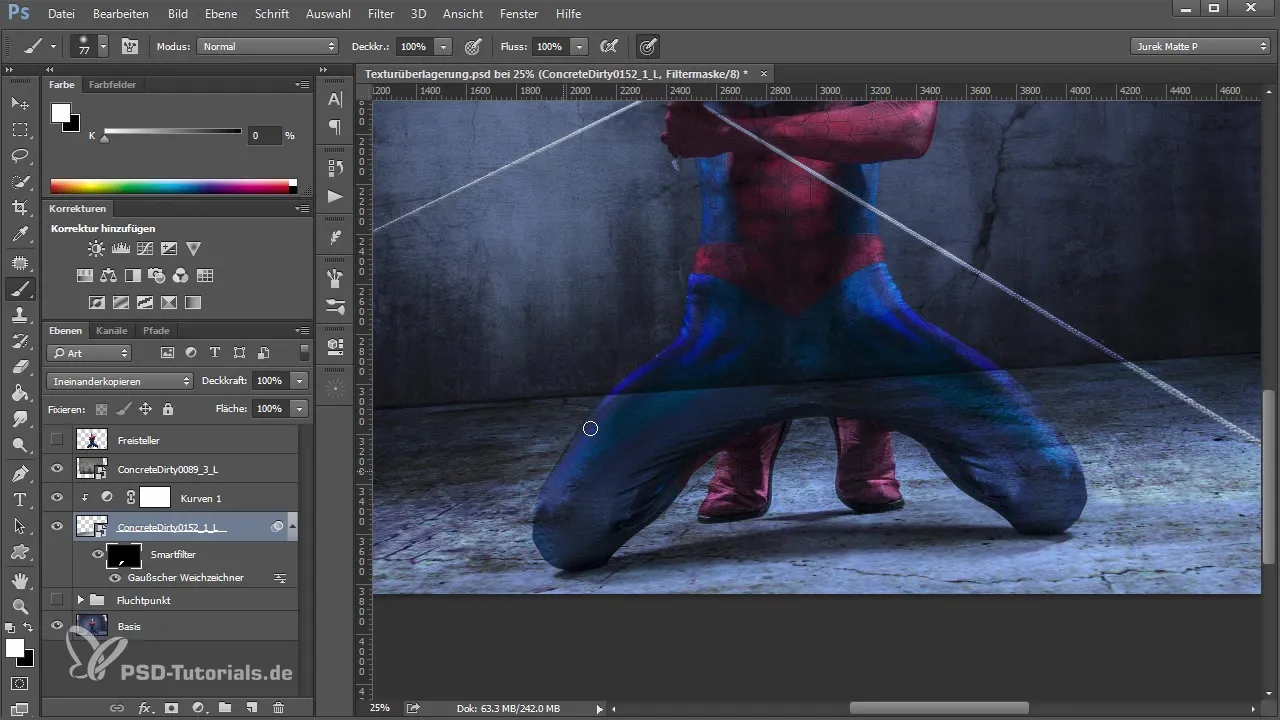
Now comes the exciting part: With the brush tool set to 100% opacity and a soft brush tip, paint with white color on the mask. Be careful not to work too hard to avoid losing the edges of the model. The goal is to gently blend the texture over the model.
Repeating for the Second Texture
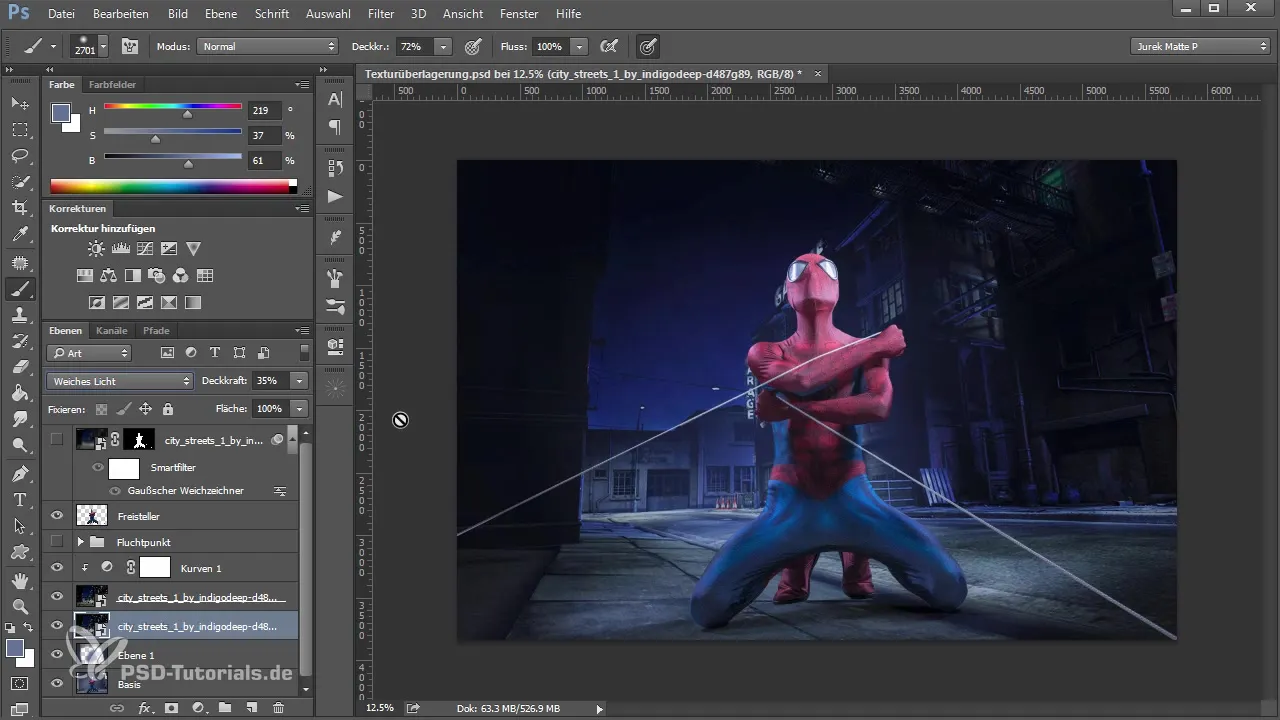
Now go to the second texture. This texture should also be applied as a Smart Object. Repeat the process of blurring and painting the mask. Artistic guidelines and textures combine in a similar way to the first texture.
Comparing Your Progress
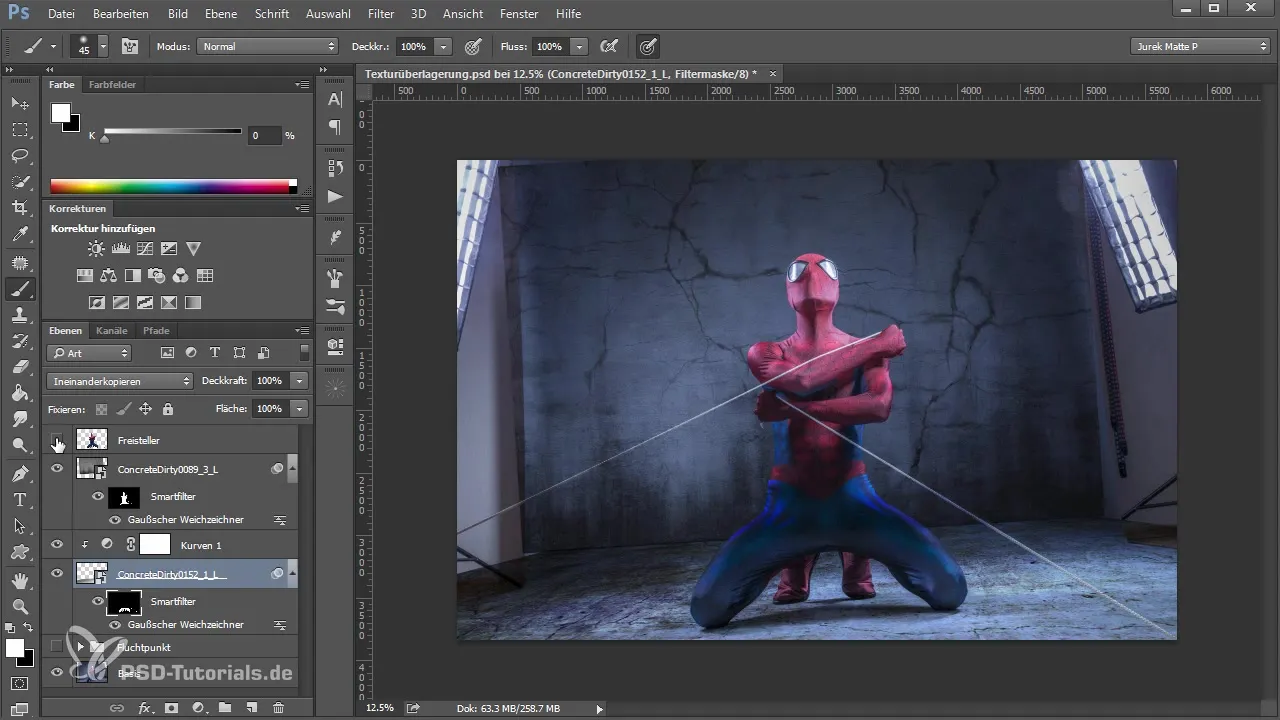
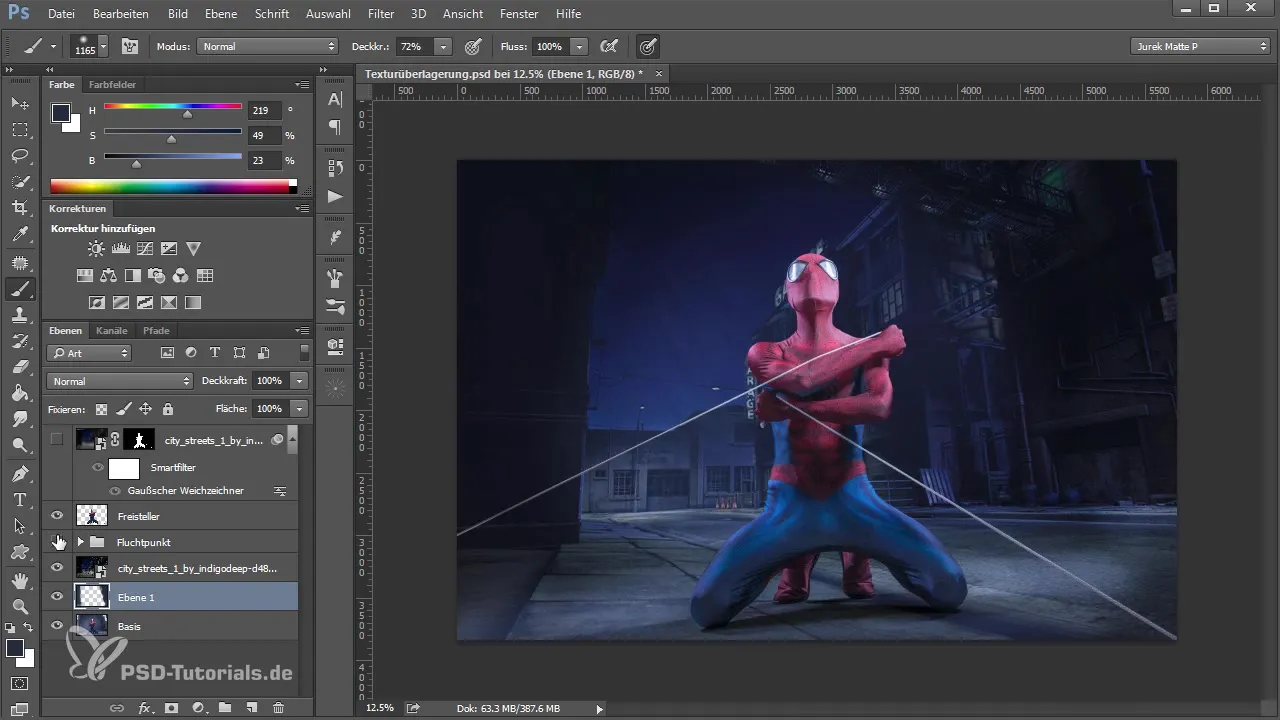
Show your progress so far by toggling the previous cutout. Notice the color look created by the overlay of the textures. This harmonious adjustment is crucial for the visual quality of the compositing.
Alternative Approach with Cutouts
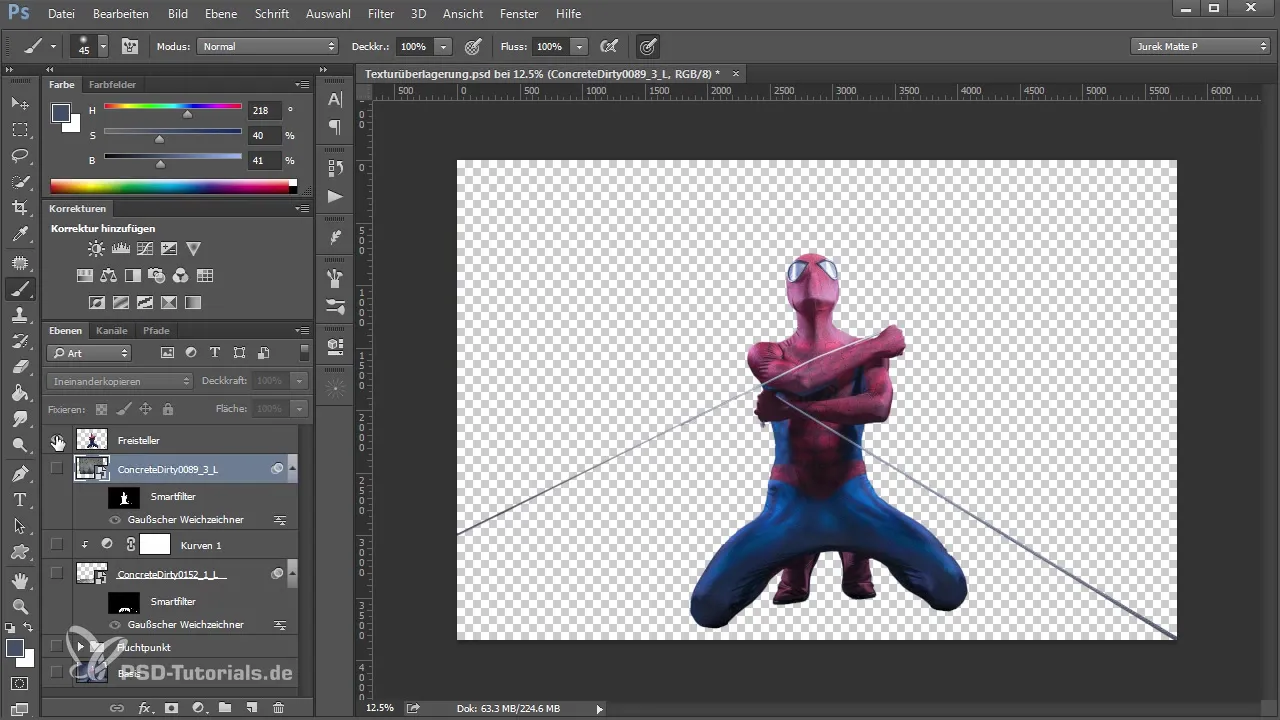
An alternative approach is to create a cutout of the model and apply the textures directly to it. This ensures that no unwanted structures arise. Experiment with color connections between the environment and the model to create a seamless look.
Applying Filter Masks
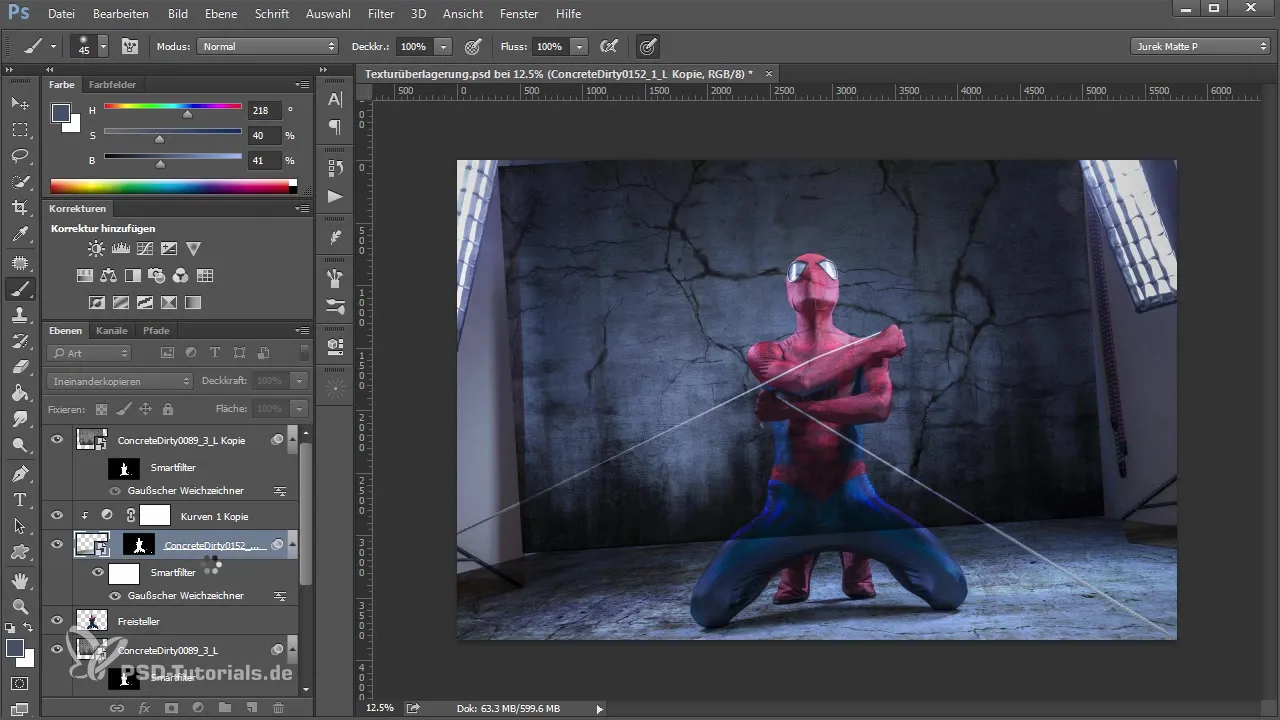
After applying the textures and building the cutouts, you can apply filters again. Use the Gaussian Blur to soften the transitions. Make sure the mask is only applied to the model and not to the background.
Perspective Adjustments
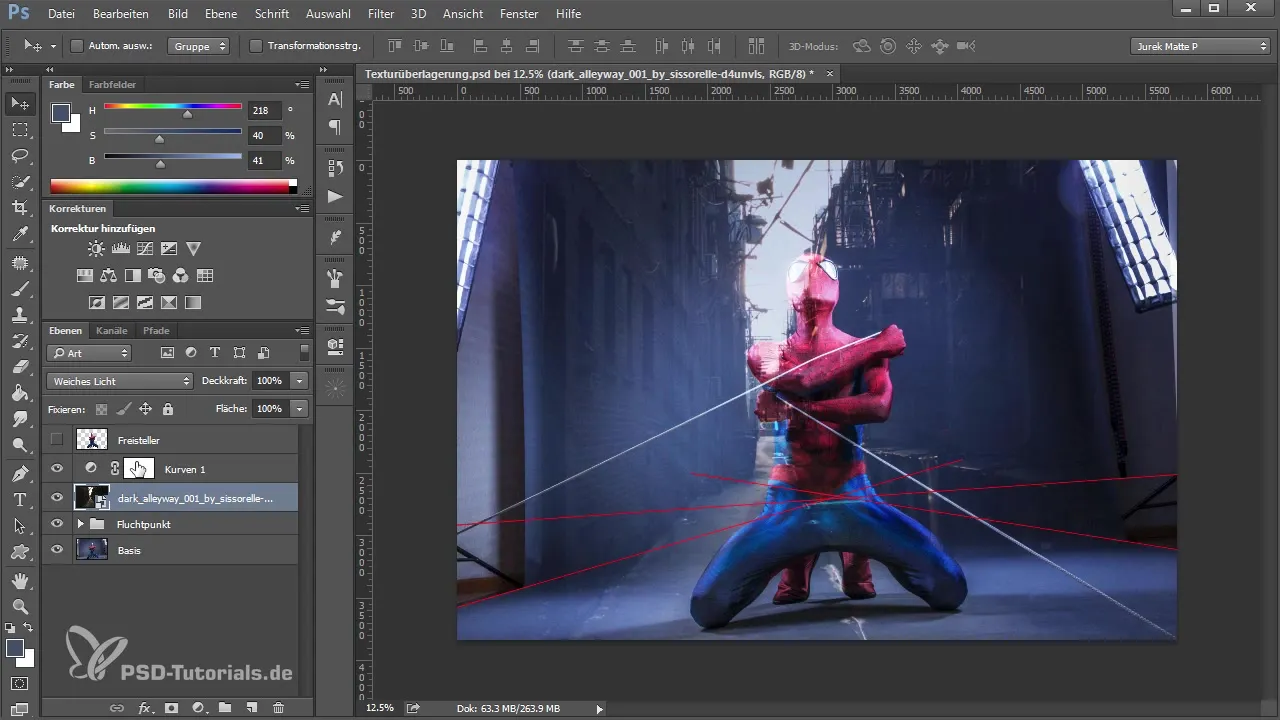
If you want to work with additional images, ensure that the perspective of the new elements matches the existing ones. Otherwise, the image may not appear credible. Stable height differences and angles should be consistent.
Adjusting Light and Shadows
To create a cohesive overall image, consider the direction of light in your image. Create atmosphere by using darker areas and light adjustments. Every element should contribute to the overall composition without being distracting.
Final Fine-tuning
Before considering your artwork complete, you should do a final review and fine-tuning. Play with the opacity settings of the different layers to achieve the best balance between the textures and the background.
Summary – Texture Overlay in Photoshop: Step-by-Step Guide to Creating Compelling Compositions
The texture overlay provides you with the opportunity to create deeper visual effects in your images. By combining blurring, masking techniques, and hue adjustments, you can elevate your compositions to the next level. Use the methods described to develop your own style and achieve impressive results.
Frequently Asked Questions
What is a texture overlay in Photoshop?The texture overlay is a method of layering different textures over an image to give it more depth and dimension.
How can I ensure that my textures blend well together?Make sure the color palette of the textures harmonizes with the background and experiment with layer modes.
Why should textures be used as Smart Objects?Smart Objects allow for non-destructive editing, so you can make changes at any time without losing the original images.
How can I adjust light and shadow in my compositions?Use brushes and masks to shape light and shadow by adding or removing color.
How often should I save my work?Save regularly in different versions to keep track of your progress.


