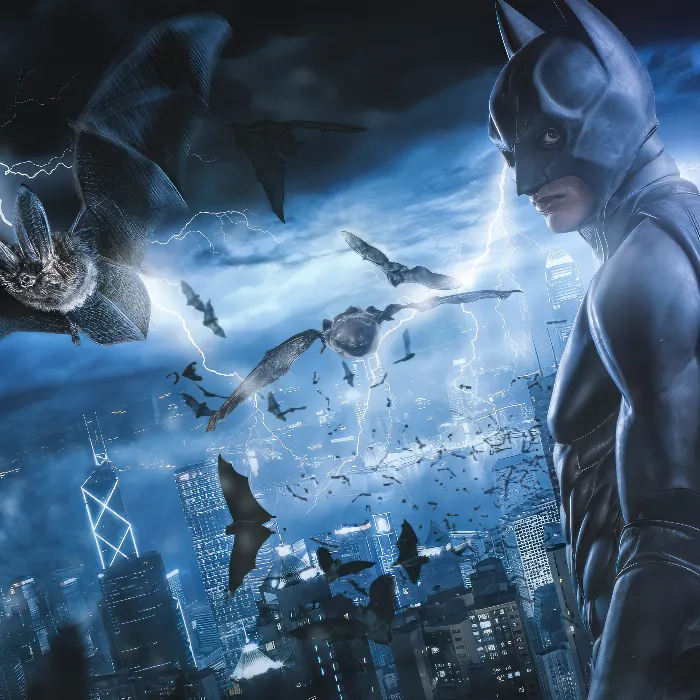
Creating images in Photoshop opens up endless possibilities for you. One of the most effective techniques for creating depth and dimension is the so-called "Dodge and Burn" technique. This method allows you to deliberately use light and shadow to bring your image to life and achieve a three-dimensional effect. In this guide, you will learn how to implement this technique effectively in your work. The goal is to highlight contrasts and optimize the lighting conditions, for example, in portraits or fantasy art.
Key Insights
- The Dodge-and-Burn technique helps you control and highlight light and shadow in your images.
- With layers and different blending modes, you can make effective, subtle adjustments.
- The use of brush and tool switches is crucial for the flexibility of your work.
Step-by-Step Guide
Preparing the Workspace
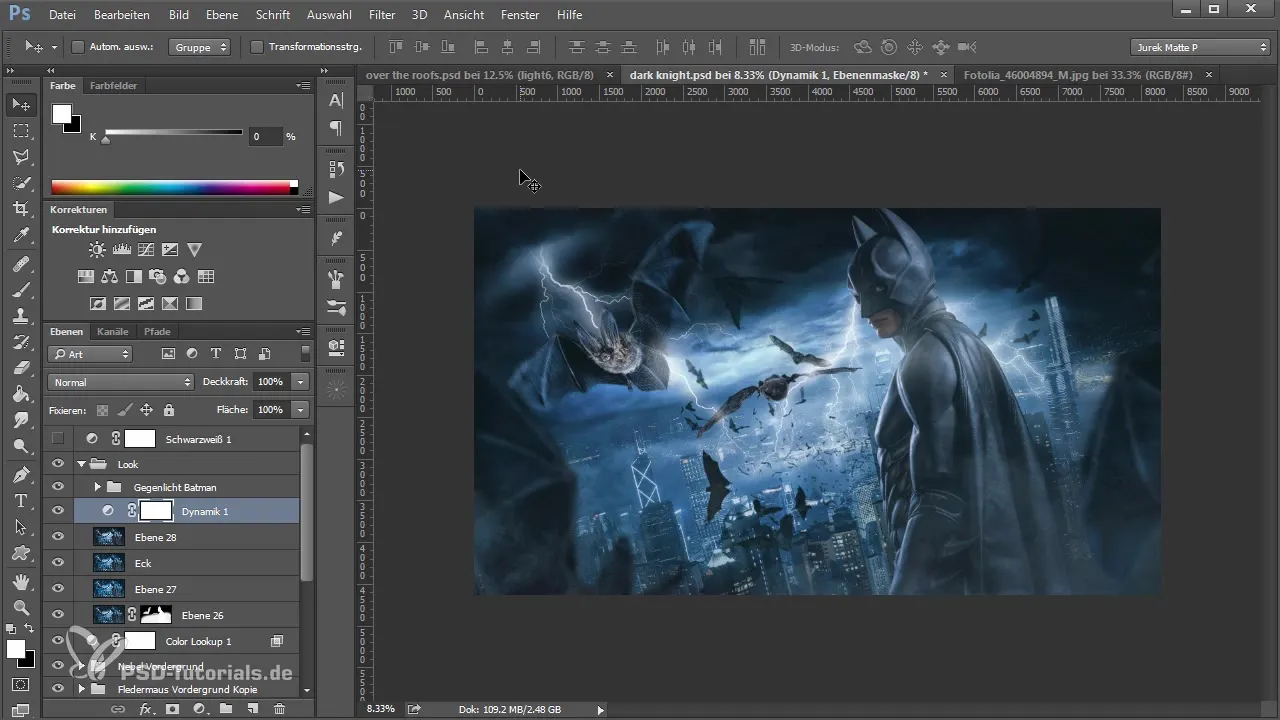
To start with the Dodge-and-Burn technique, first, create new layers. Open Photoshop and select the layer of your image where you want to adjust light and shadow. You can create a new layer by clicking on the "+" symbol in the layers window.
Creating Dodge and Burn Layers
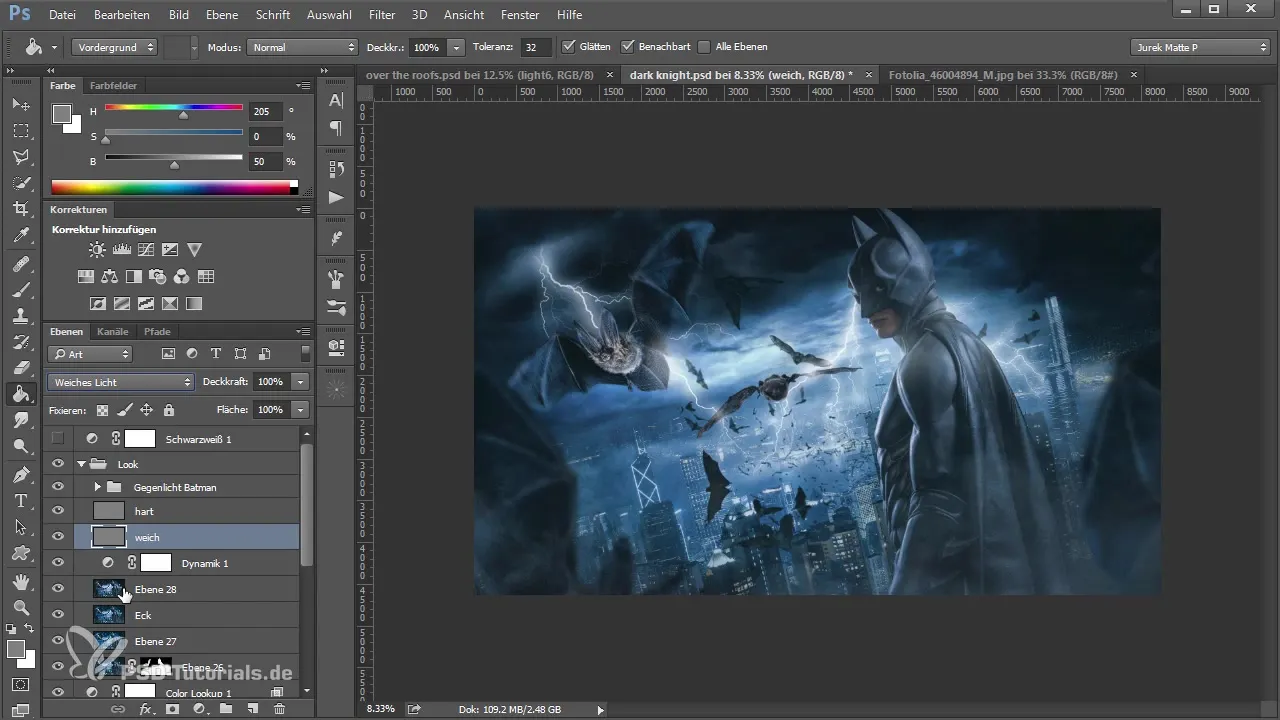
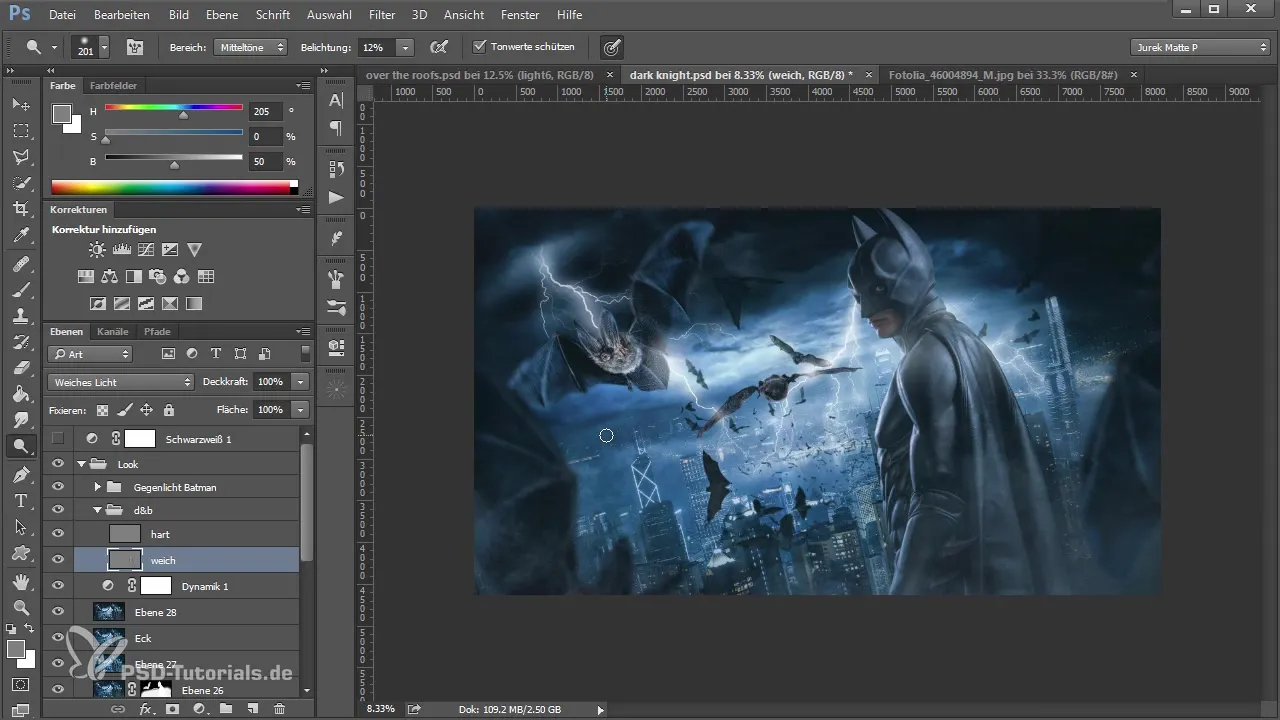
You should create two different layers: one for Dodge (lightening) and one for Burn (darkening). Choose a fill method for both to regulate transparency. For example, fill a bottom layer with 50% gray and name this layer "soft." A second layer should also have 50% gray and be named "hard." These layers will now be used to specifically select and alter lights and shadows in your image.
Setting Layer Modes
Set the bottom soft layer to the "Soft Light" mode. This will give you the ability to make adjustments without producing immediately visible, drastic effects. Initially, you will not see any difference; this is normal because your neutral gray will not affect the colors of the image.
Tool Selection
To tackle the challenge of making your image more vibrant and three-dimensional, the Dodge and Burn tools are essential. Select the Dodge tool and hold down the Alt key to switch between the two tools. This way, you can work more easily and quickly toggle between lightening (Dodge) and darkening (Burn).
First Lightenings and Darkenings
Start by lightening areas of your image with an exposure of around 100%. Be careful: too much lightening can look unnatural. Try it out gently at first and observe the effects on the center of the image. Switch between lightening and darkening to achieve the desired intensity.
Detail Work
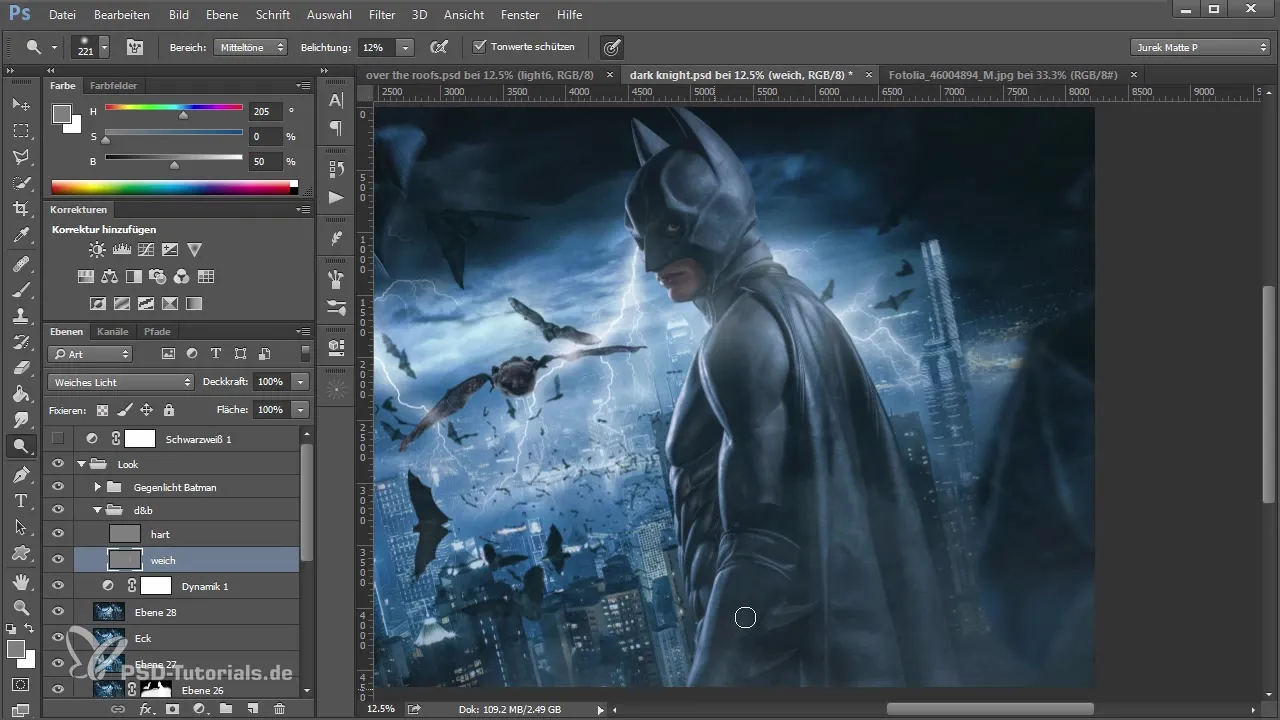
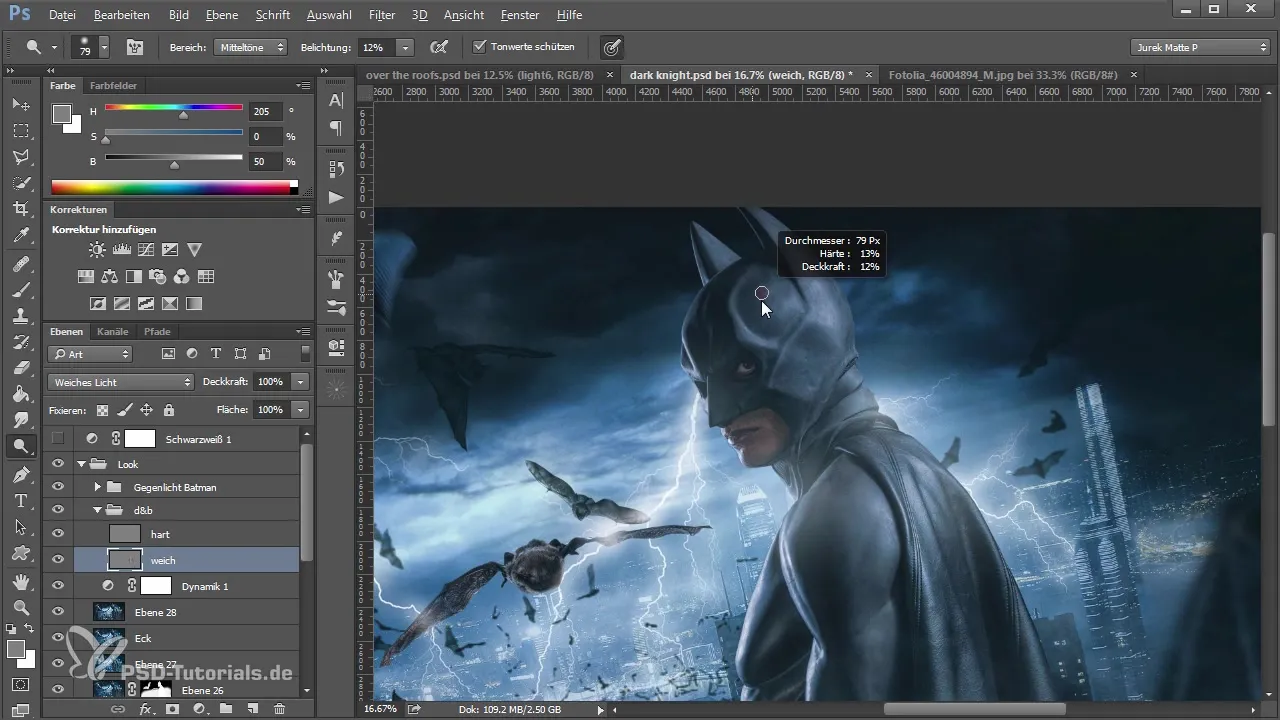
Now it's time to get into the details: use a white brush to intensify shading in the bright areas of the model – like the arm. Be careful not to overdo it. The technique requires a certain sensitivity to avoid artificial representation. Less is often more here.
Enhancing Contrasts
Once you have worked through the entire area, analyze your image. Hide the soft layer and observe the effect of the Dodge-and-Burn adjustments. You should already notice a significant increase in contrasts and dimension.
Fine Tuning
Focus your attention on smaller details. A brush that is lightly stroked over the edges of the image can enhance the effect. Also consider the light sources of your subject – where does the light come from? For a bat, it could come from an overhead light source or from snapshots taken with a digital camera.
Further Adjustments
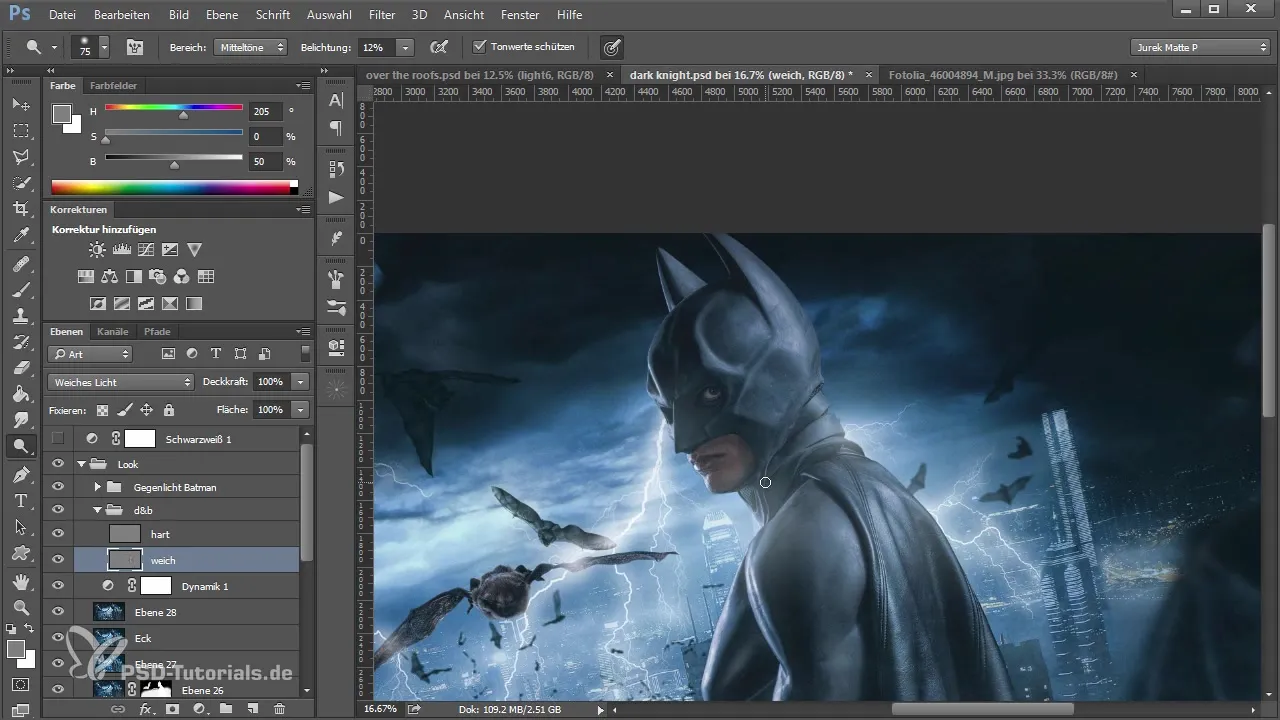
Continue the process by deliberately darkening dark areas, such as the neck or wing areas of the bat, while keeping the main light source on the other side. It is important to find balance between light and dark tones to maximize the dynamic impression.
Completion and Review
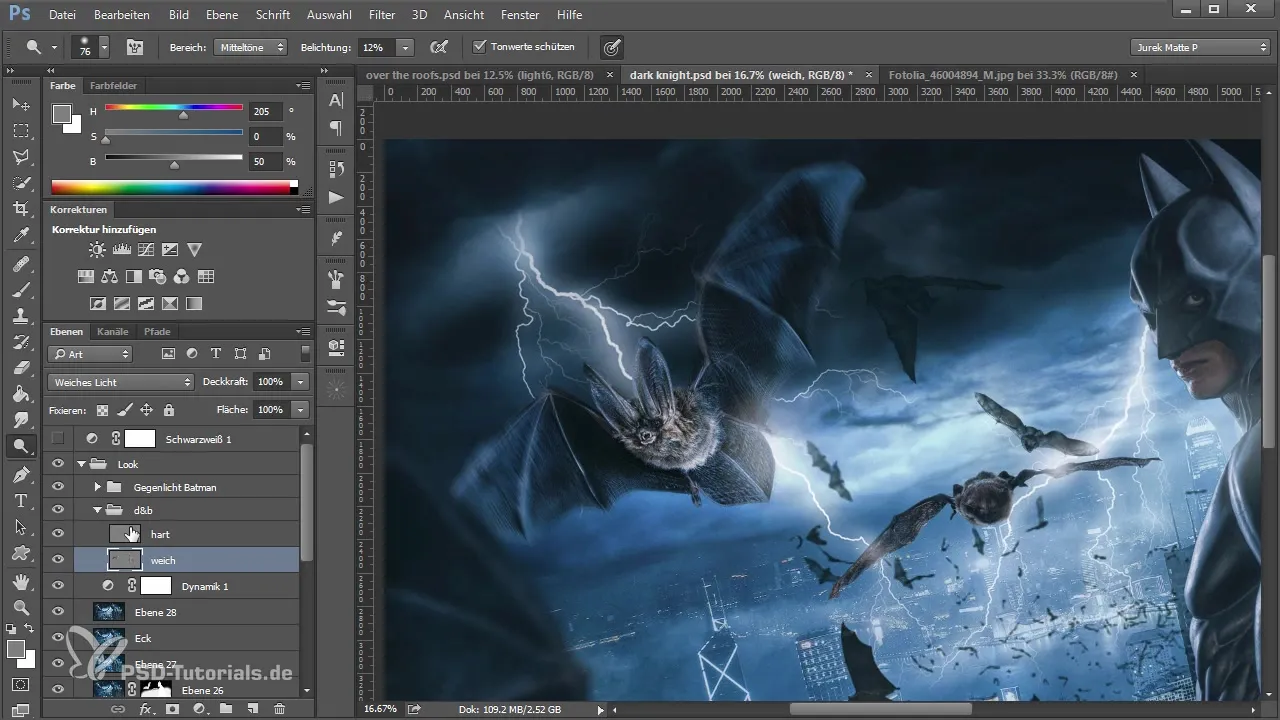
Once you are satisfied with your image editing, do a final review. Ensure that all light and shadow areas harmonize well. A clear view of the overall image will help you decide whether you want to make further adjustments.
Summary – Light and Shadow: Efficient Painting with the Dodge-and-Burn Technique in Photoshop
In this tutorial, you learned the fundamentals of the Dodge-and-Burn technique. You learned how to create new layers, set them to the right blending modes, and work with the Dodge and Burn tools. Through careful adjustments and sensitive work on light and shadow, your image will not only stand out from others, but you will also give it remarkable depth and dynamism.
Frequently Asked Questions
How does the Dodge-and-Burn technique work?The technique utilizes the light and dark areas of an image to emphasize contrasts and enhance the three-dimensional effect.
What tools are needed for the technique?The main tools are the Dodge and Burn tools, along with various brush sizes for precise adjustments.
How do I prevent the image from looking unnatural?Make sure to work with low opacity and carefully paint in multiple steps rather than changing everything in one go.
In what areas can I use the technique?This technique is especially helpful in portraits, illustrations, and digital paintings to increase depth and drama.
Can I also use the technique for other digital content?Yes, you can apply the Dodge-and-Burn technique in both photography and digital art to create visual effects.
