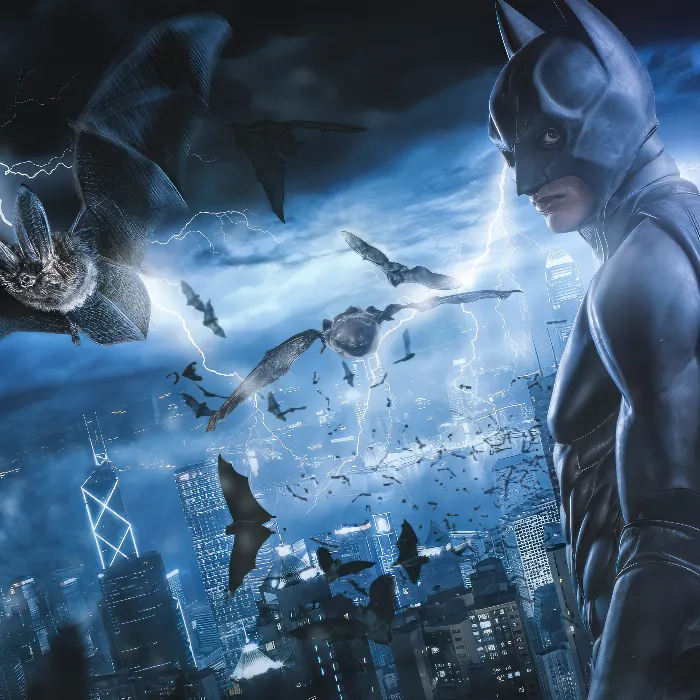
Are you looking for an effective way to create dramatic portraits with Photoshop? The tutorial that deals with the use of clamp light and two flashes will provide you with valuable insights and techniques. We focus on how to position the light to give the image the desired dramatic look and highlight the key details.
Key Insights
- Clamp light is ideal for dramatic portraits.
- The positioning of the model and light sources is crucial.
- Small details, such as the alignment of clothing and hair, contribute to the overall image.
- Reflectors can help brighten dark areas and create a harmonious light setup.
Step-by-Step Guide
1. Prepare the Set
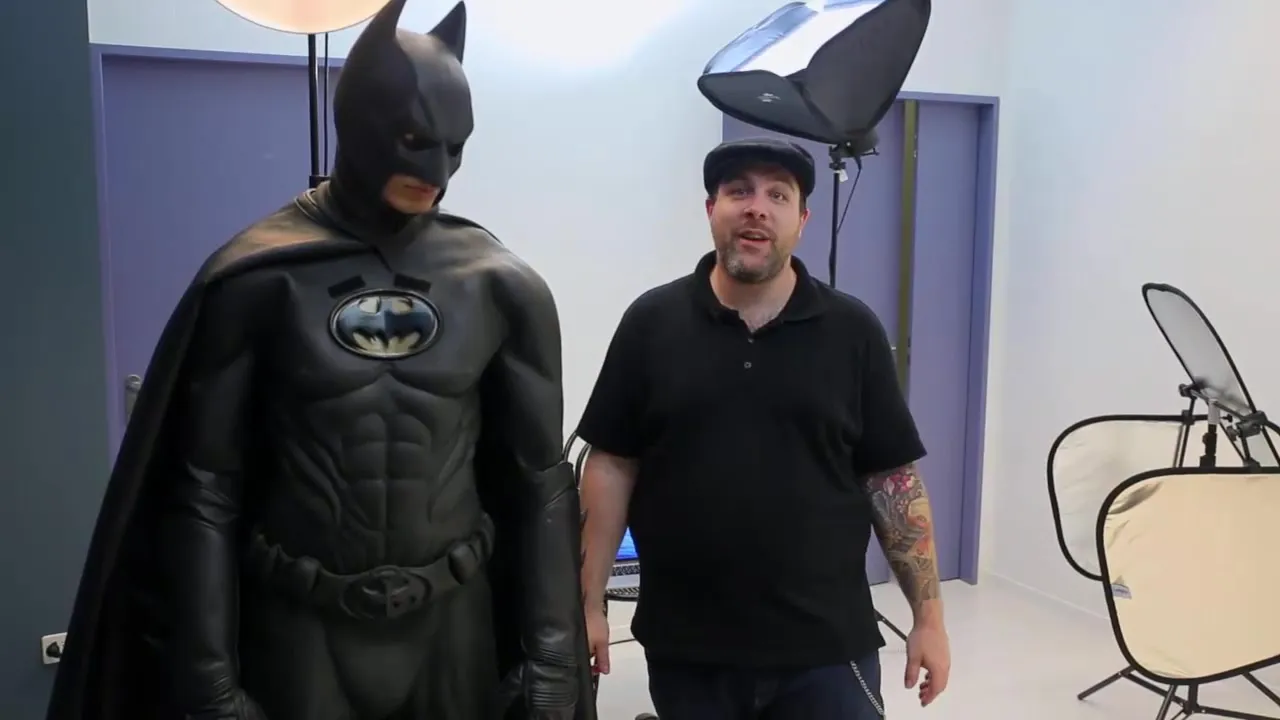
First, it’s important to optimally prepare the set for the shoot. Make sure your model – in this case Dennis – is well positioned. Check small details, such as hair placement or the alignment of the cloak. It will save you a lot of time later in Photoshop if everything is right during the shoot.
2. Set the Light Setup
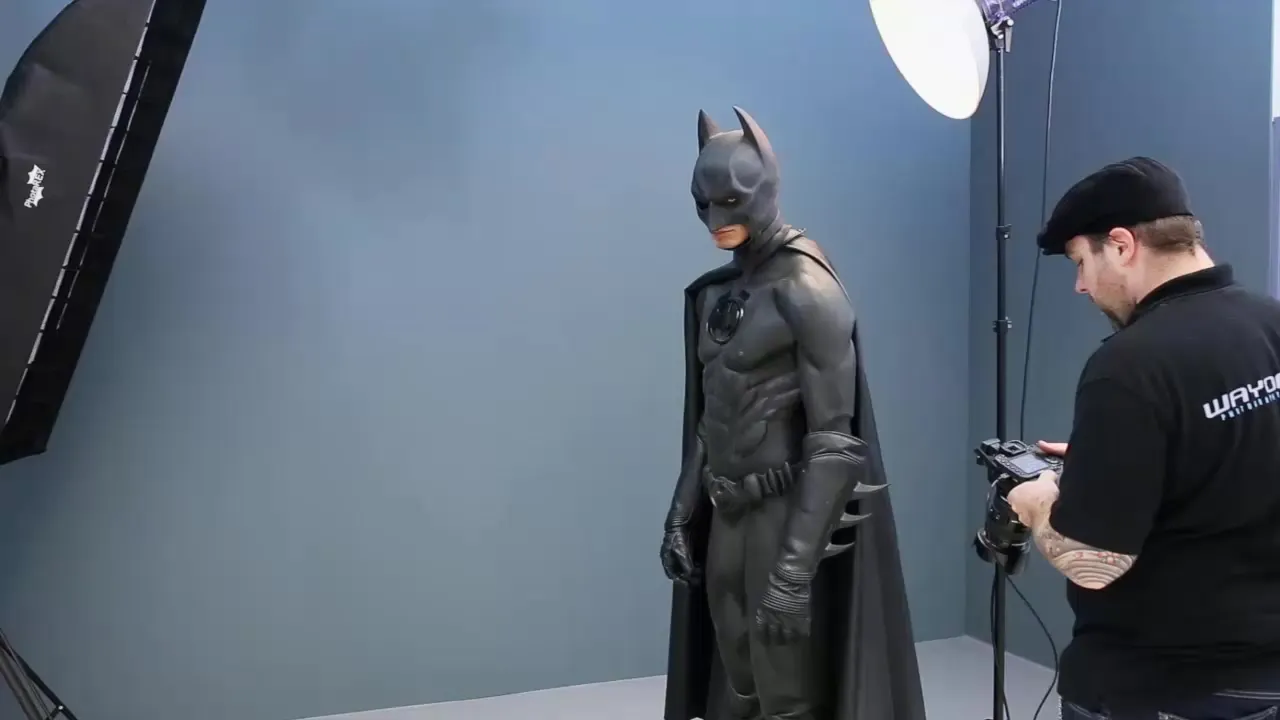
This shoot will use a light setup with two flashes: a beauty dish and a strip light. The beauty dish is positioned closer to the model to create the main light spot. This ensures that the light softly flows out of the head area and creates a vignette on the model.
3. Adjust the Light Intensity
The matte black of the suit absorbs a lot of light, so you need to adjust the power of the flashes to achieve the right exposure. Experiment a bit with the light intensity to get the best results.
4. Choose the Camera Settings
Set your camera to an aperture of f/10 to f/11 and use ISO 100. These settings are ideal for achieving maximum sharpness and detail fidelity. Test your settings with an initial picture to ensure everything looks good.
5. Shoot the Portrait
Start photographing. Remember that perspective is crucial. Shoot slightly from below, so the model looks more powerful and dominant. The first image should give a clear idea of the lighting and composition.
6. Adding the Strip Light
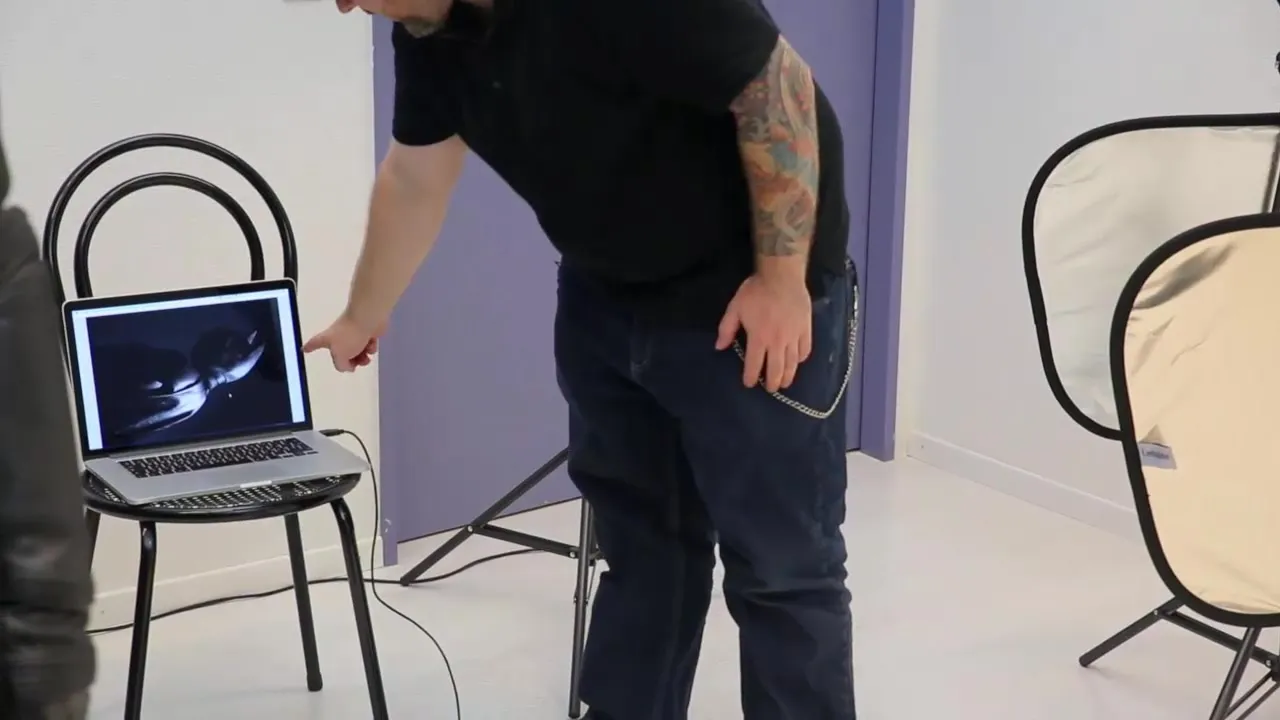
To create more dimension and contrast, add the strip light. Position it so that it only highlights the contours of the model without directly lighting the face. This ensures that the model stands out clearly from the background.
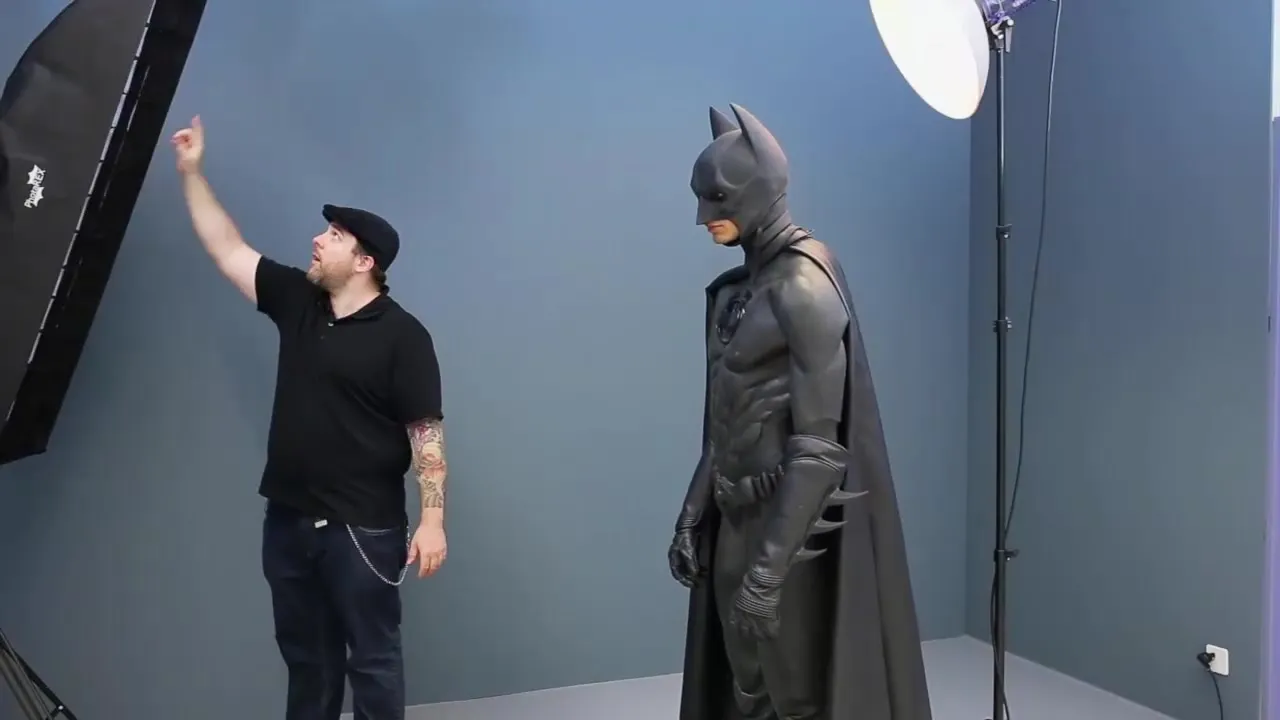
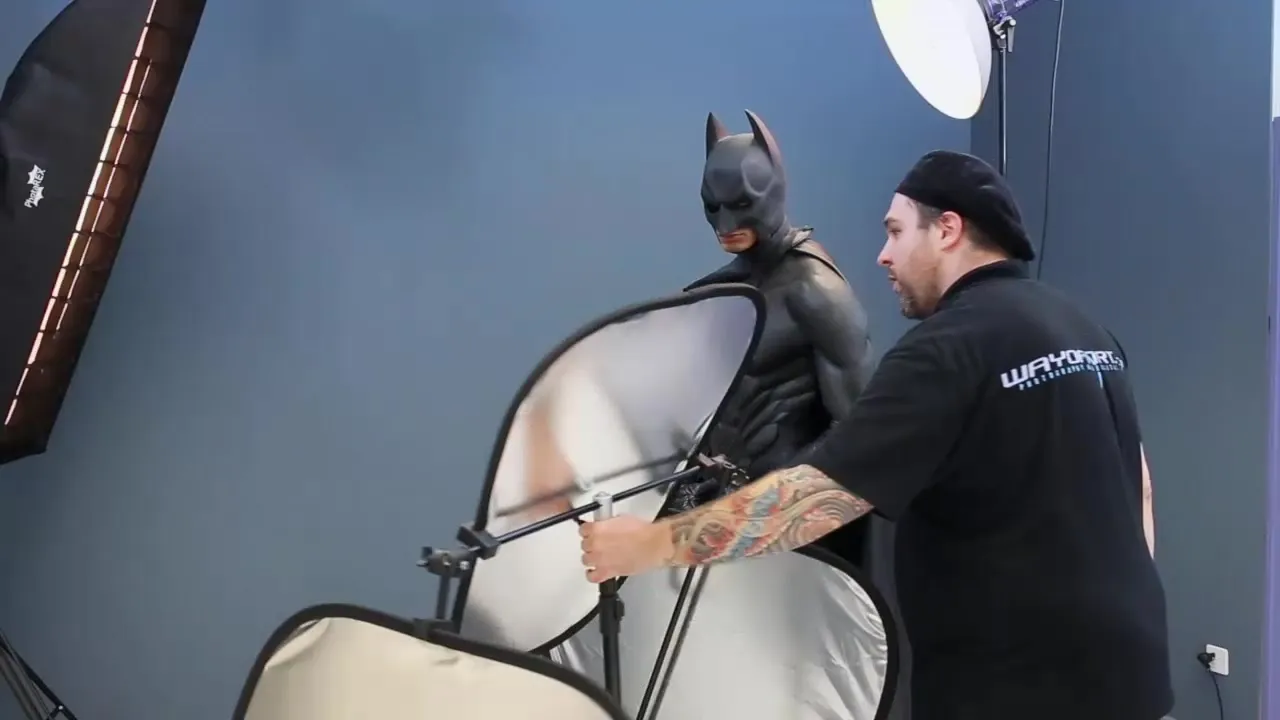
7. Using a Reflector
If you notice that parts of the face, especially the eyes, are too dark, use a reflector. This should be positioned to bounce the light from the beauty dish back and brighten dark areas without overexposing the entire picture.
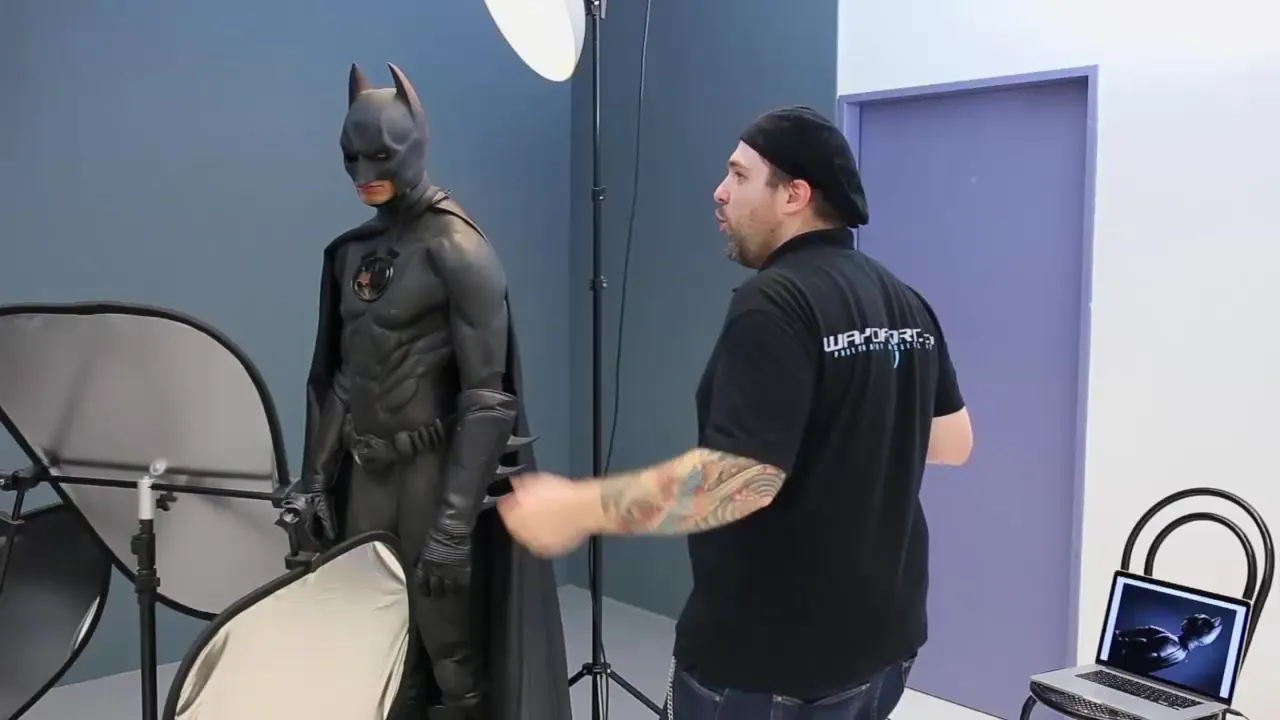
8. Fine-tuning the Exposure
If the image appears too dark overall, change the aperture from f/11 to f/10. Such adjustments help you achieve the perfect ratio between light and shadow.
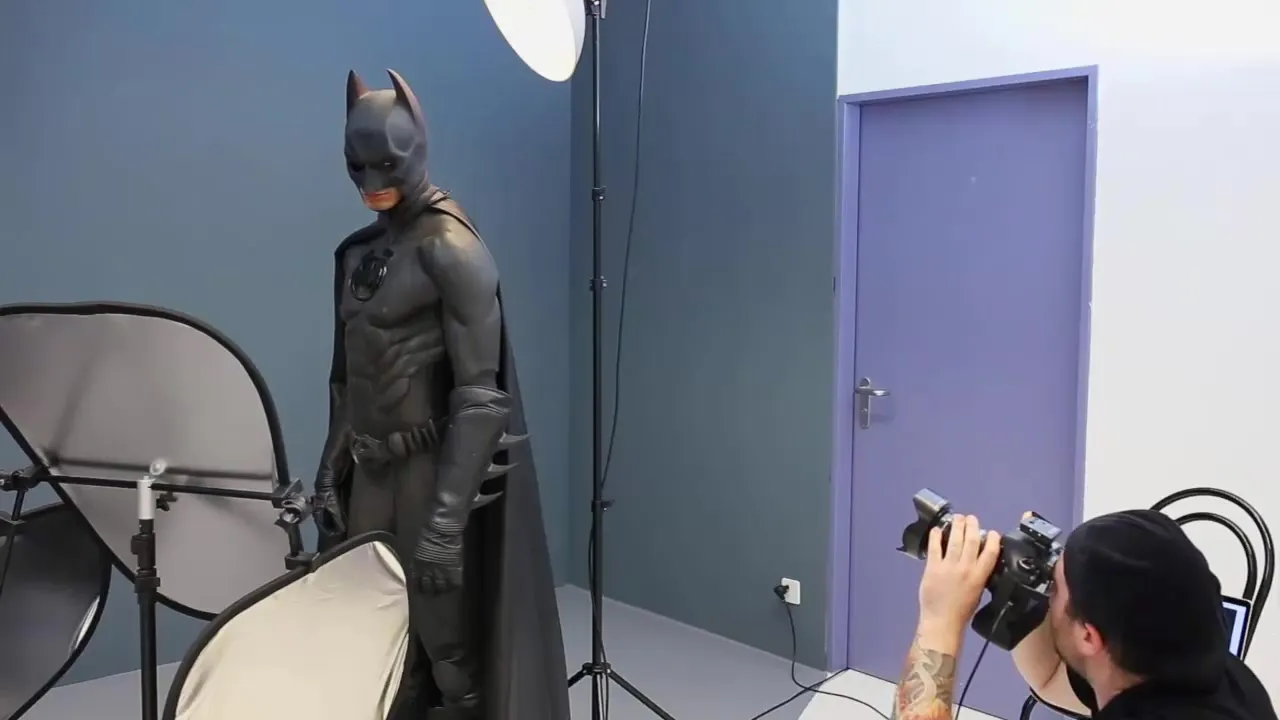
9. Experimenting with Perspectives and Cropping
Try to experiment with different crops during the shoot. Play with portrait and landscape orientations and be sure not to place your model directly in the center of the image for a more engaging layout.
10. Post-processing in Photoshop
Be aware that after the shoot you can make various adjustments in Photoshop. You can improve the cropping, light intensity, and other details that you couldn't quickly adjust on the camera.
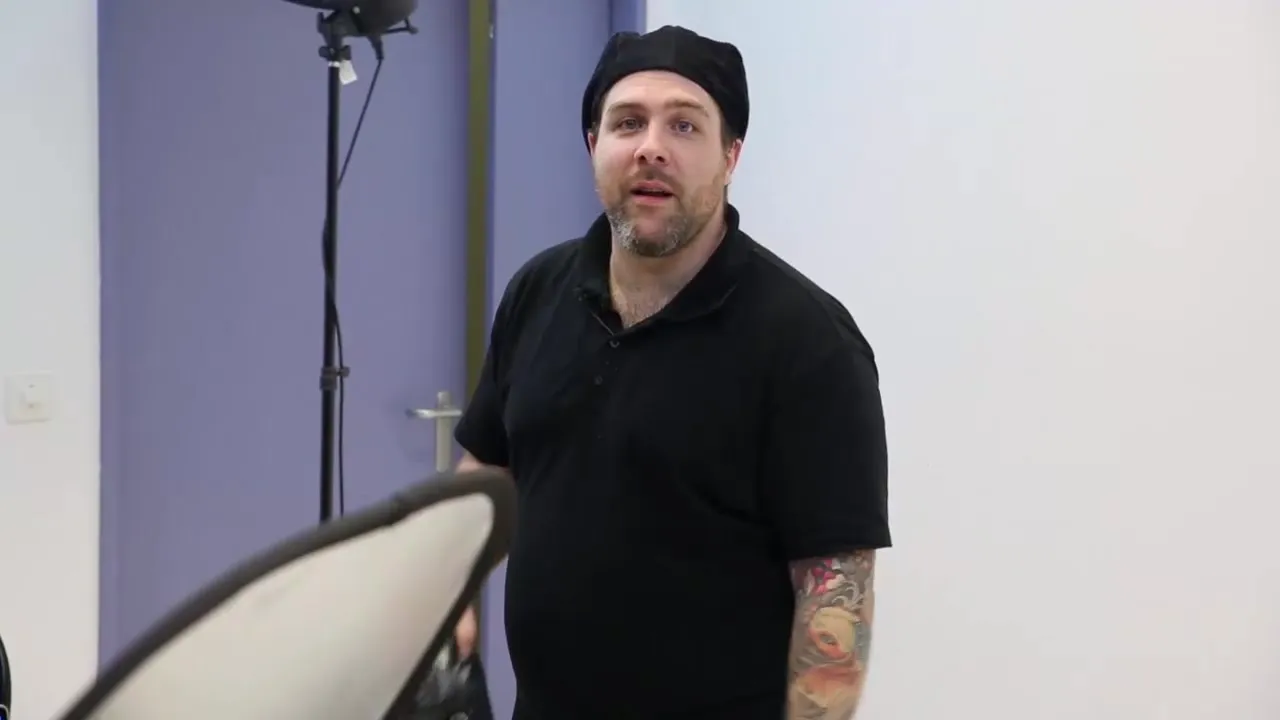
Summary – Dramatic Portraits with Clamp Light in Photoshop
In this guide, you learned the key steps to creating dramatic portraits with clamp light and two flashes. Pay attention to the details during the shoot and harness the power of light and shadow to create impressive images.
Frequently Asked Questions
How can I effectively use light for portraits?Use a combination of key light and accent lights to create dimension and depth.
What should I consider when photographing with flashes?Make sure to adjust the light intensity and position of the flashes to achieve the best results.
Are reflectors really necessary?Yes, they help brighten dark areas and can significantly enhance the overall image.
How important is camera technique during the shoot?The right camera technique is essential for the final result, ensuring you achieve the highest quality.
How can I ensure that my image is well-composed?Experiment with different perspectives and cropping during the shoot to get the best out of your portrait.
