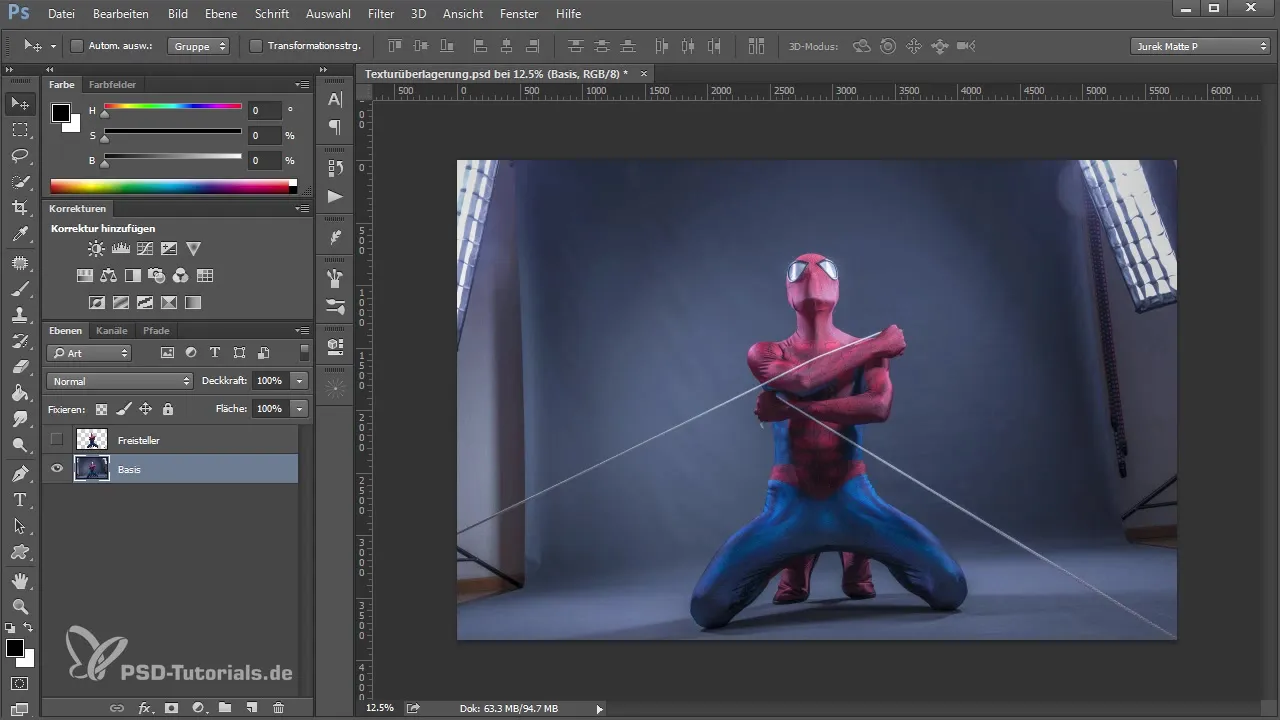
Texture Overlay is an essential technique that allows you to add depth and naturalness to your images. It enables you to combine textures with other images while utilizing different blending modes. In this tutorial, I will explain the basic steps to effectively use texture overlays in Photoshop.
Key Insights
- Texture overlays enrich your images and enhance their visual impact.
- Gray backgrounds facilitate the overlay.
- The choice of perspective plays a crucial role.
Step-by-Step Guide
Step 1: Choose the Right Base
Start by selecting an image that will serve as your base. It is important to choose a neutral, gray background while photographing, so you can integrate the textures more effectively later. Such a background ensures that the colors and textures harmonize with each other.

Step 2: Establish Perspective
To establish perspective in your image, it is helpful to define vanishing lines. Use the pen tool to draw a line along the edges of your background image. These lines are crucial to ensure that all elements in your composition fit well together.
Step 3: Determine the Vanishing Point
Once you have drawn your lines, you can determine the vanishing point. This not only helps you in the perspective arrangement of objects but also in placing the textures. Make sure the lines intersect in an area that represents the vanishing point.
Step 4: Draw the Horizon Line
To create a horizon line that considers your vanishing point, use the path tool. Connect the baseboards or other prominent points in the image to get a visual aid. This connecting line is especially important when you want to add more elements to the image.
Step 5: Select and Add Texture
After establishing the perspective, you can select the desired texture. Import the texture into your image and position it above the base. Then choose the appropriate blending mode to blend the texture. The modes "Soft Light" or "Multiply" are particularly effective for this.
Step 6: Fine-Tuning
After adding the texture, you should make adjustments to optimize its integration into your image. Use Photoshop's transformation tools to align and possibly scale the texture. Ensure that the perspective and lighting conditions match.
Step 7: Shadows and Details
To make the image appear even more realistic, you can add additional shadows or light effects. These details are crucial to round out the overall picture. Experiment with layers and blending modes until you are satisfied with the result.
Summary - Texture Overlay in Photoshop: Here's How It Works
The texture overlay in Photoshop is a powerful technique for enhancing your compositions. By choosing the right background and the correct perspective, you can achieve impressive results. With patient fine-tuning and attention to detail, you can elevate your images to a new level.
Frequently Asked Questions
How important is the gray background in texture overlay?A gray background facilitates the overlay and ensures more harmonious results.
Which blending modes are the most effective?The "Soft Light" and "Multiply" modes have proven to be very effective in practice.
Can I also work without vanishing lines?Yes, it is possible, but it increases the likelihood that the elements will not appear harmonious.
How can I add shadows?Shadows can be created by adding additional layers and adjustments to the transparency.


