Design is an art that encompasses much more than just cropping images. In this tutorial, we will focus on optimizing backgrounds in Photoshop so you can take your images to the next level. You will learn how to effectively adjust the crop and prepare the gray background for a texture overlay.
Main Insights
- The crop is crucial for image composition.
- Targeted retouching can help remove unwanted elements.
- Vignettes and blurring create a harmonious image atmosphere.
- Adjustments in Camera Raw significantly affect image quality.
Step-by-Step Guide
1. Adjust the Crop
First, we look at our original image. It's important to adjust the crop according to the desired composition. Make sure you create the image in a 16:9 format to achieve the desired look. Use the crop tool to effectively set the framing and ensure that all relevant elements remain in the image.
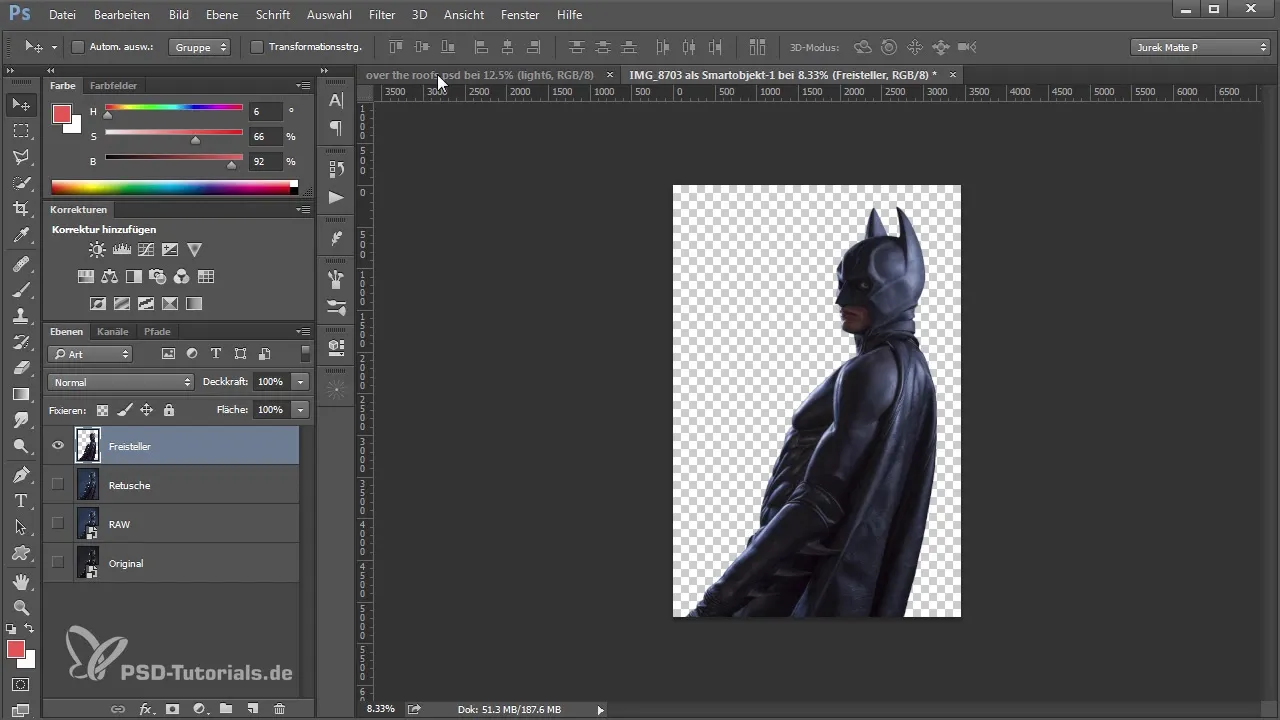
To adjust the framing, select the crop tool and set the preset to 16:9. Overlap the image until the key elements are in the right position.
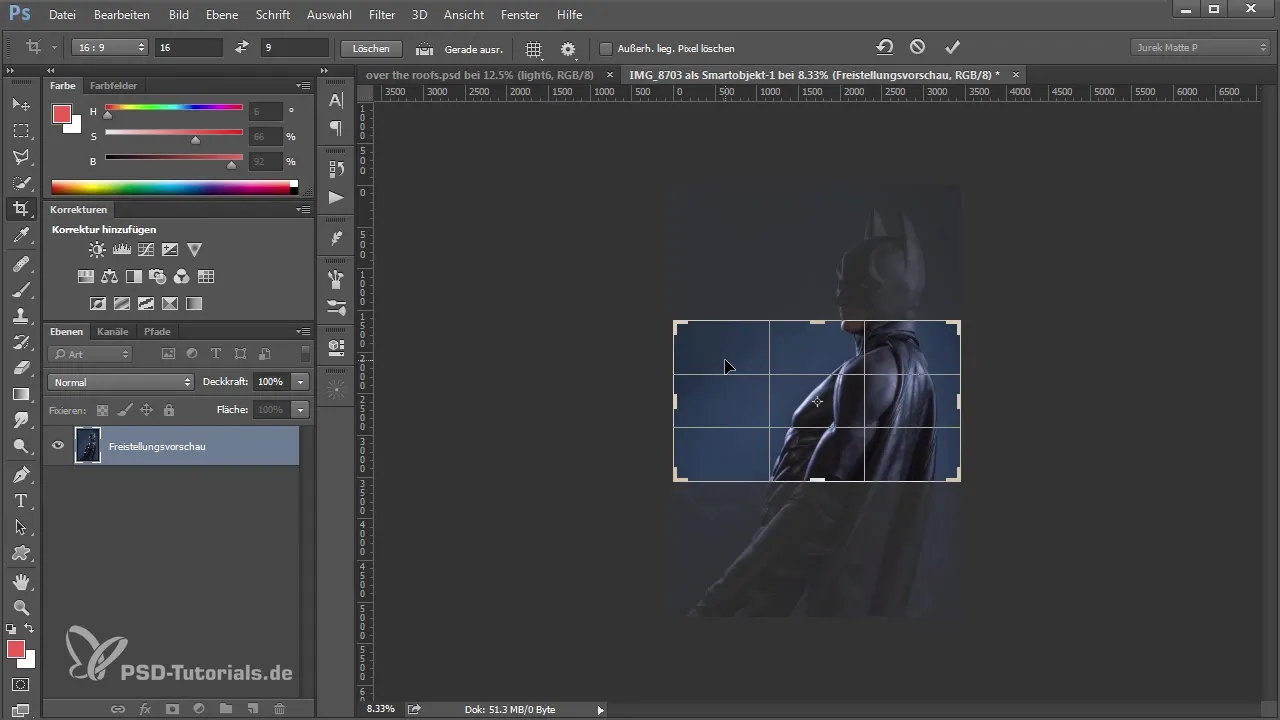
Now we should ensure that the image is in the correct aspect ratio. You can rotate the image as needed to improve the composition.
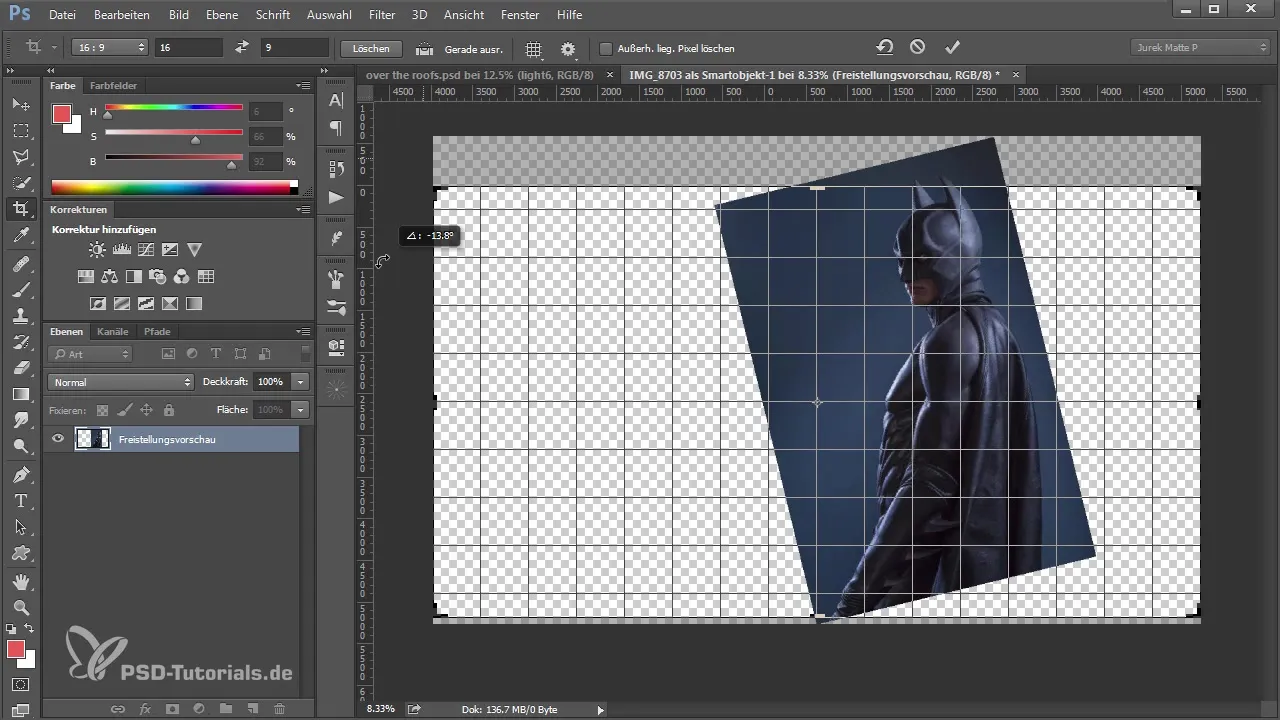
2. Retouch for a Clean Look
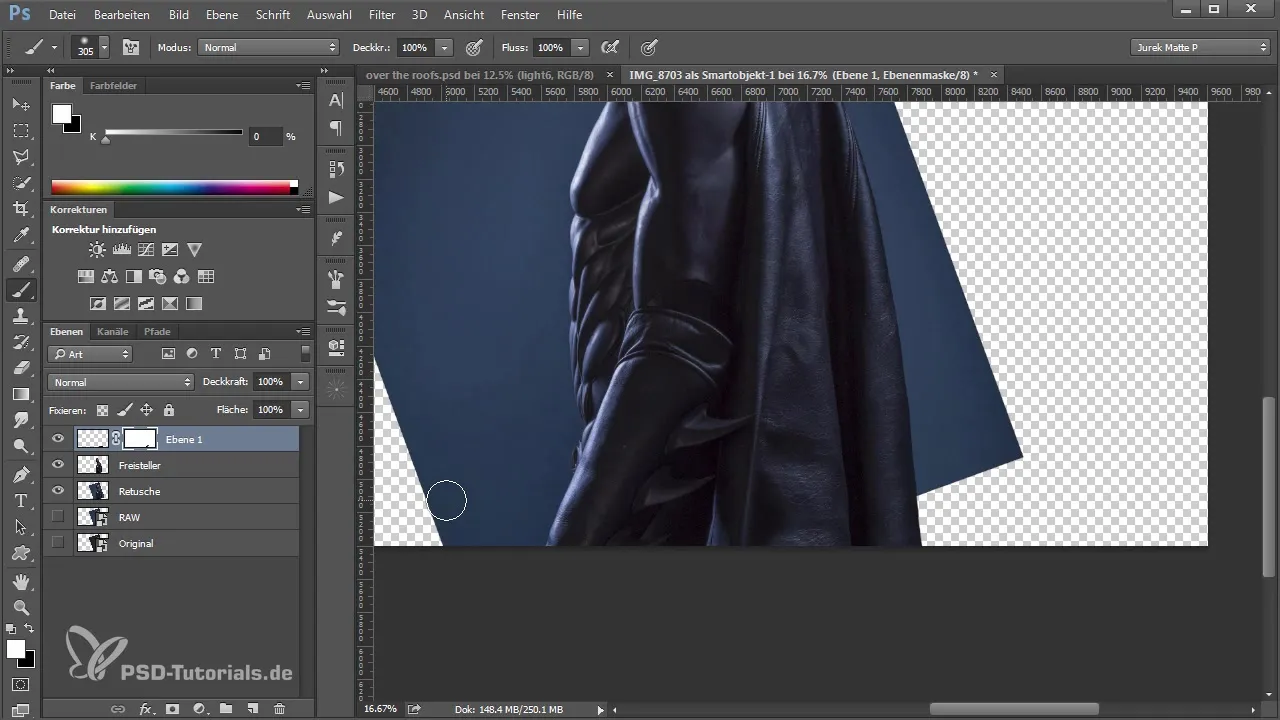
After cropping, it is advisable to remove unwanted elements. The clone or stamp tool can help retouch areas such as Batman's cape. Select the relevant area and copy it to a new layer. This way, you have the flexibility to make adjustments without damaging the original image.
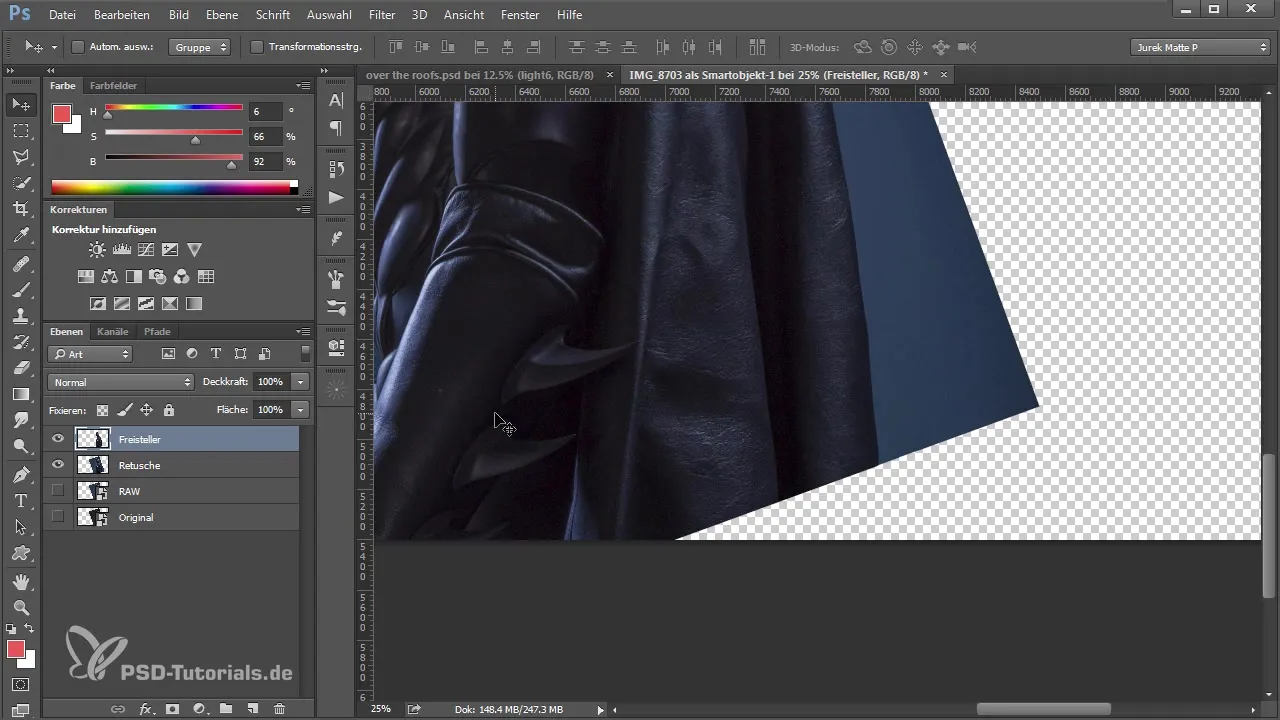
Now retouch with the stamp tool to smooth out the edges and create a uniform appearance. This way, you create a perfect base for your further steps.
3. Adjust the Background
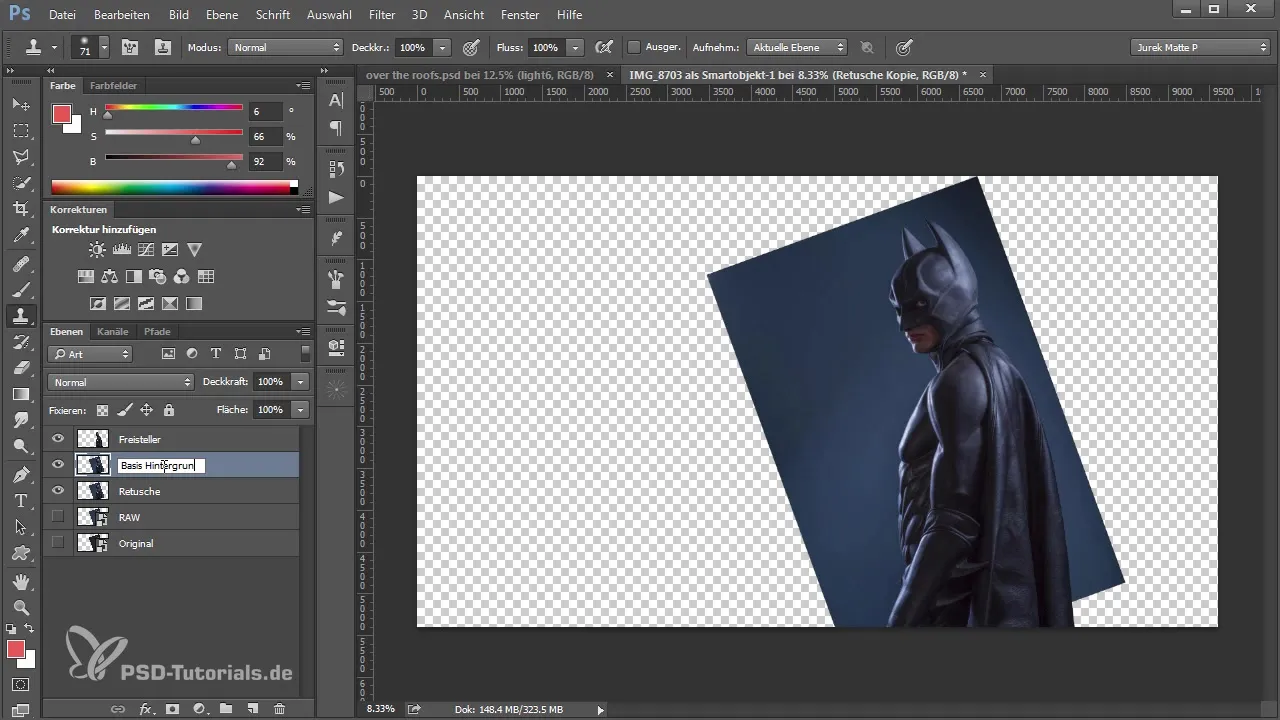
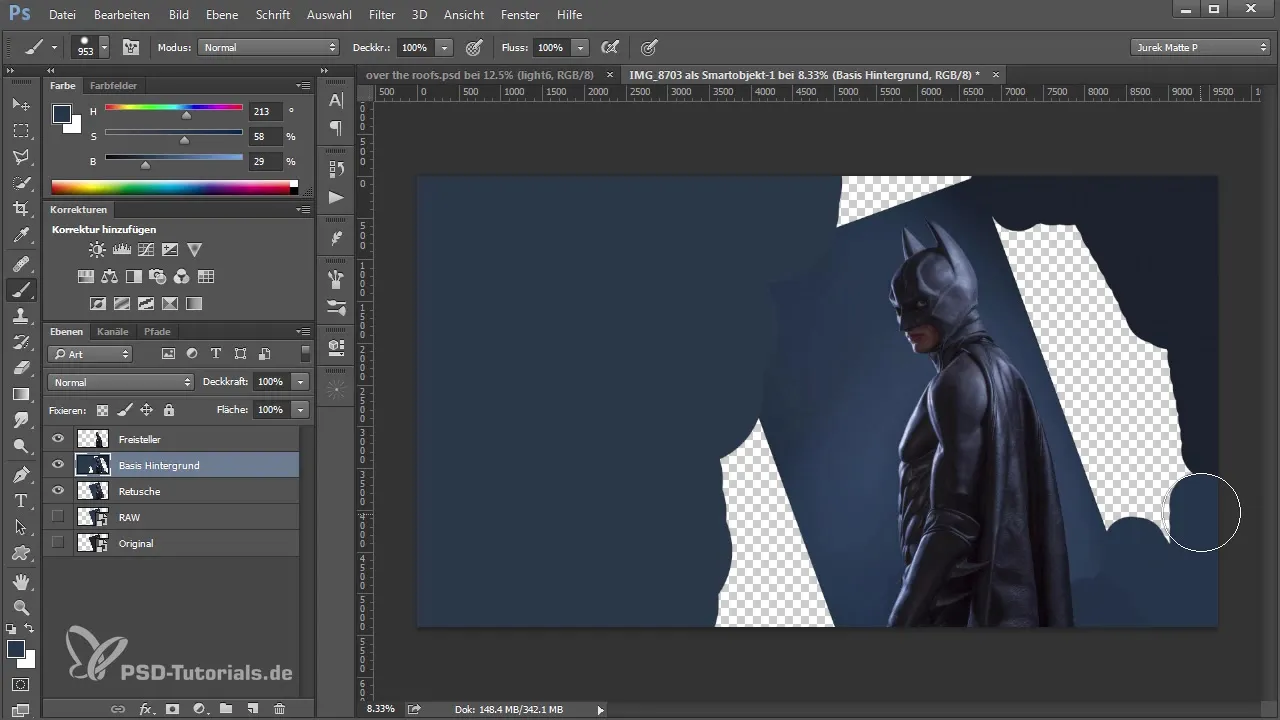
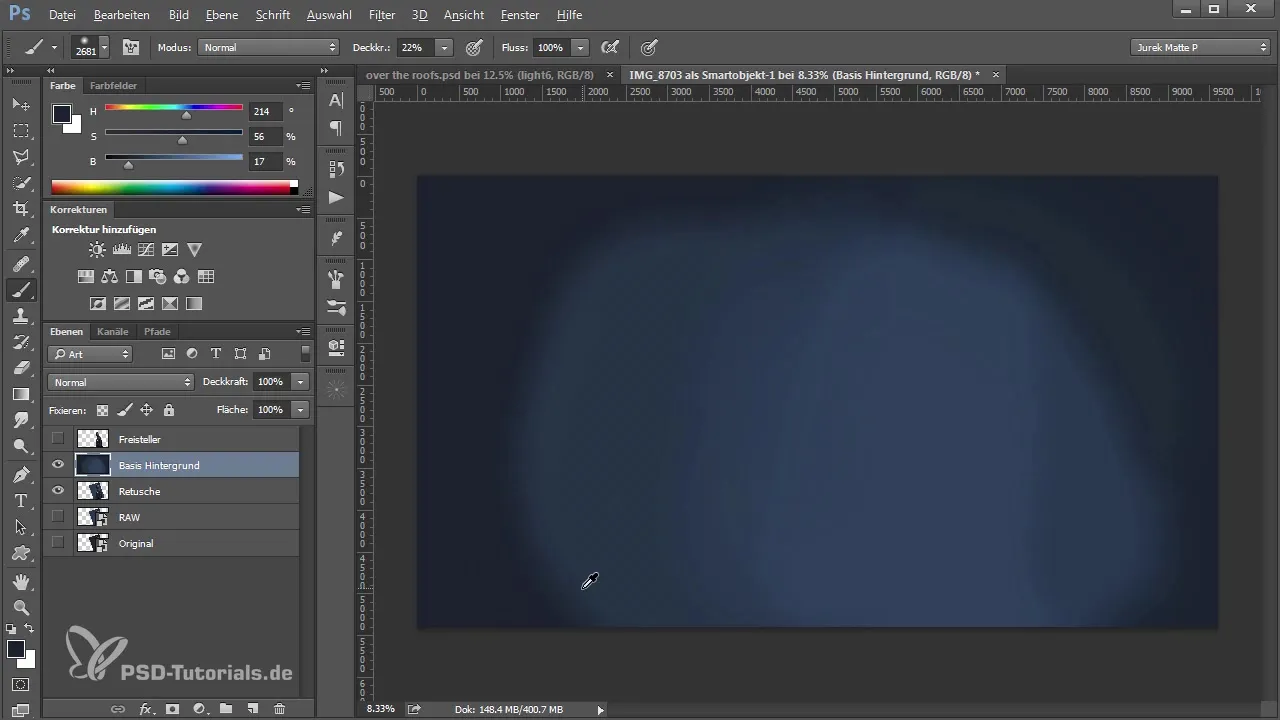
Once you are satisfied with the retouching, it’s time to prepare the gray background for the texture overlay. Duplicate the retouch layer and name it "Base Background". Use a brush to paint the background evenly. Make sure to choose a soft brush tip to create smoother transitions.
The goal is to create a harmonious background that can later interact well with the textures. You can adjust the color values and try different shades to achieve the desired mood.
4. Vignette and Blurring
To further adjust the image, add a vignette. Use a blur filter to smooth out the edges and adjust the softness to your liking.
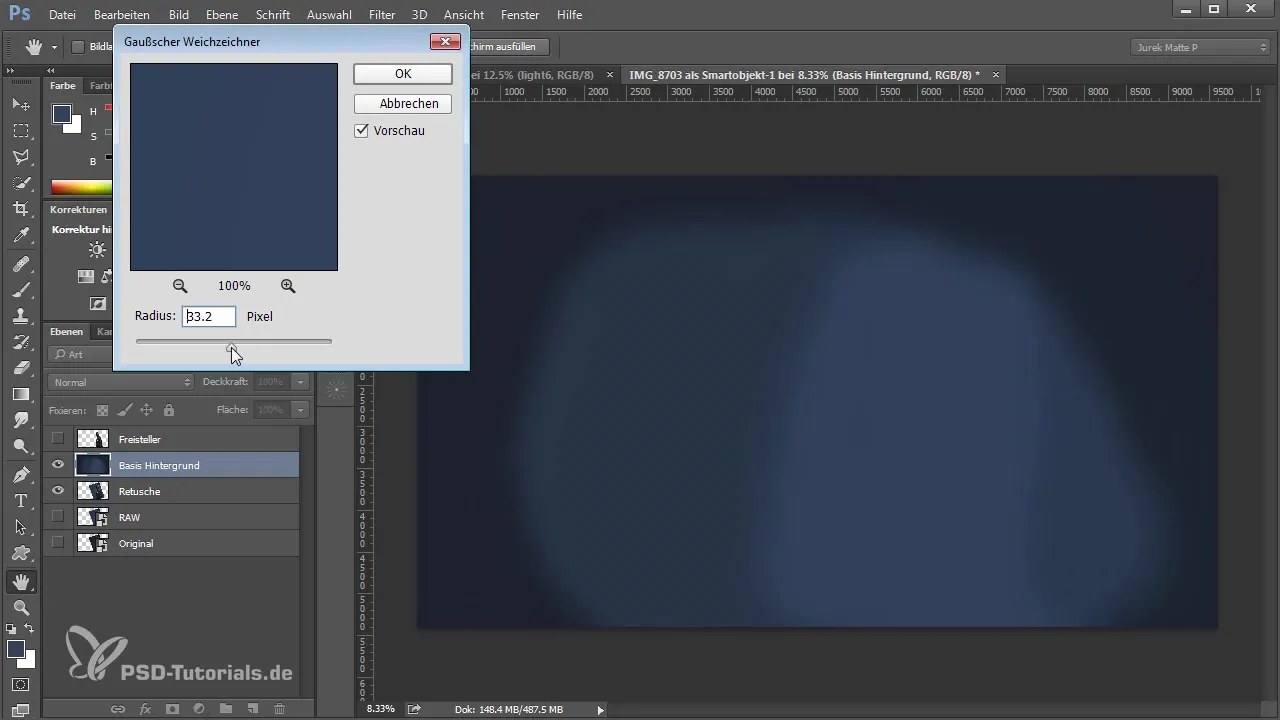
With the vignette, you can further draw attention to the main subject by making the outer part of the image appear softer. This enhances the overall image and gives the viewer a clearer idea of the main subject.
5. Add Background Images
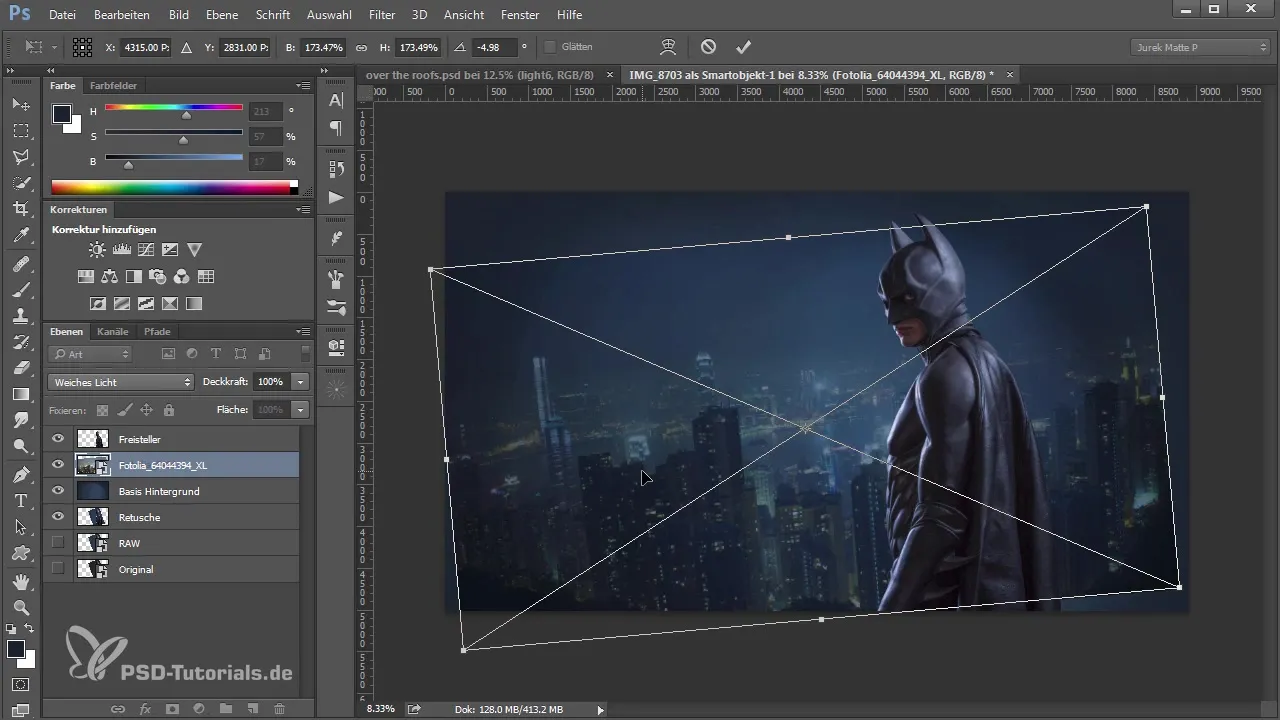
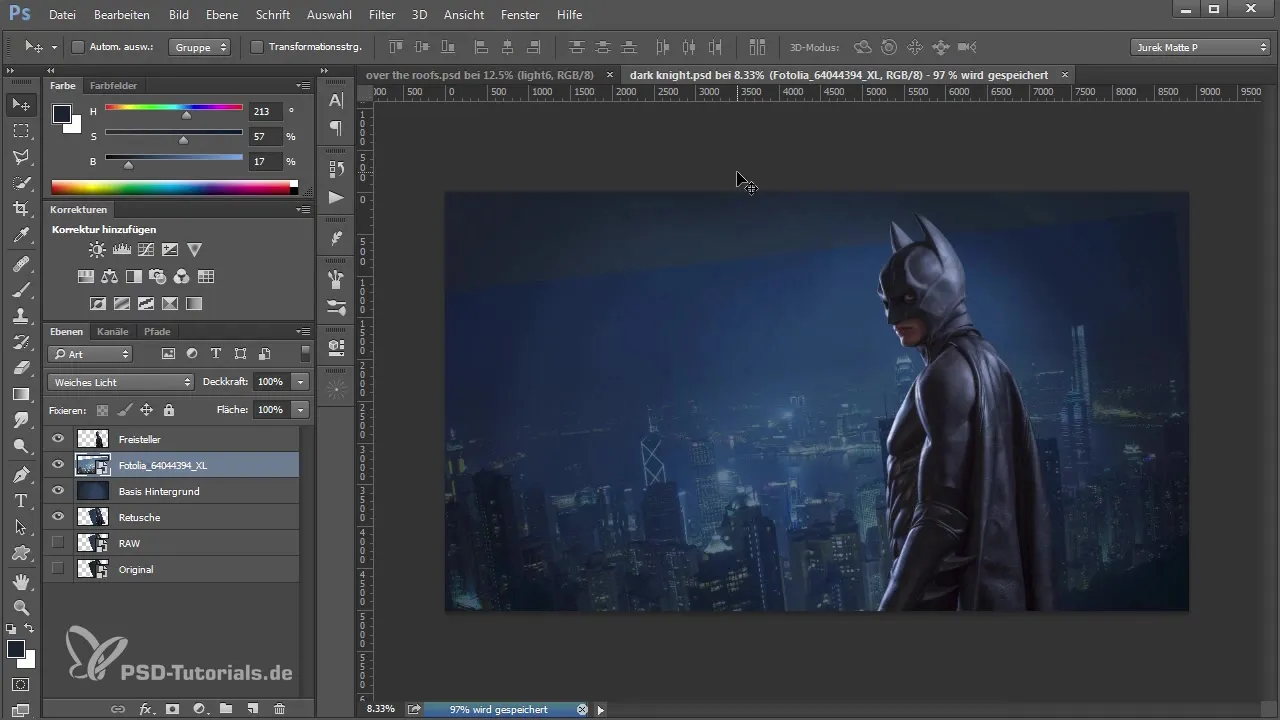
Now that the background is set up, let's add a new background image. Import a high-quality image from your collection and place it behind your main subject. Choose the "Soft Light" mode for the new background layer to create a harmonious lighting mood.
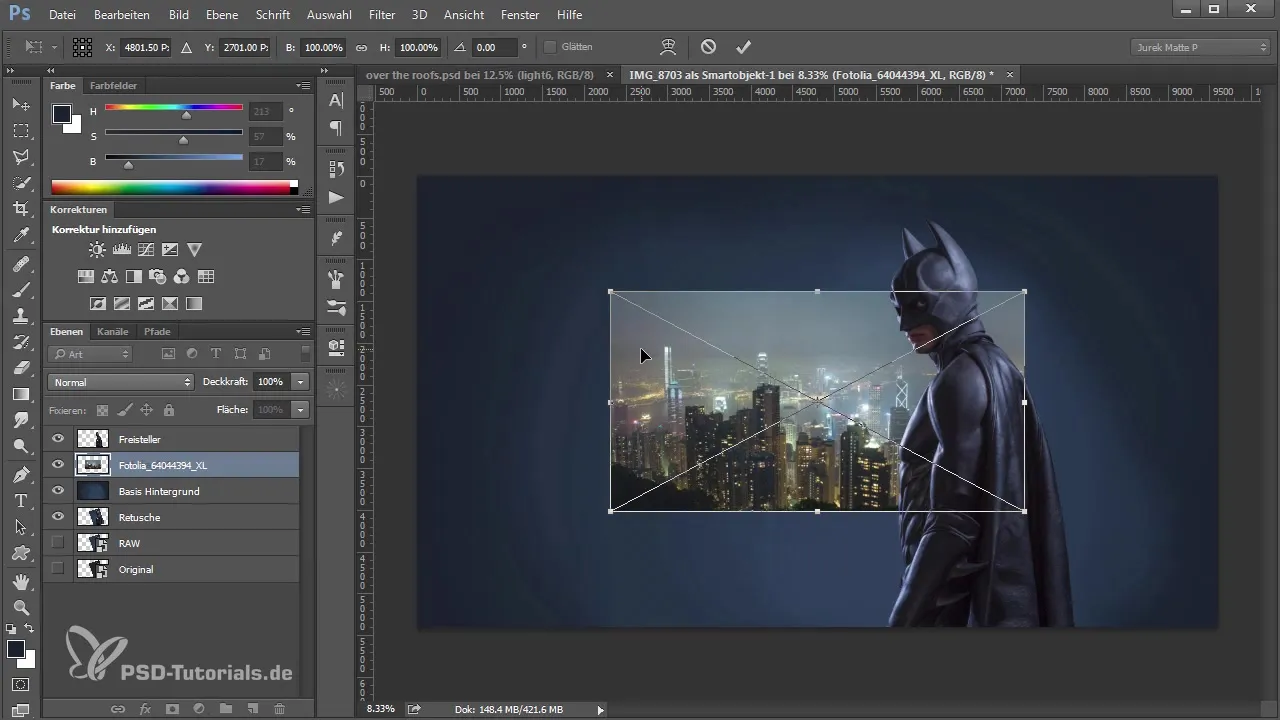
Make sure that the horizon of the background image matches the horizon of your main subject. You can transform the image if necessary to achieve the right perspective.
6. Color and Image Adjustments
After adding the background, it makes sense to do a final check to ensure that all colors harmonize. Go to the Camera Raw filter and adjust the color temperature and contrast. Be sure to adjust the saturation and clarity to make the image livelier.
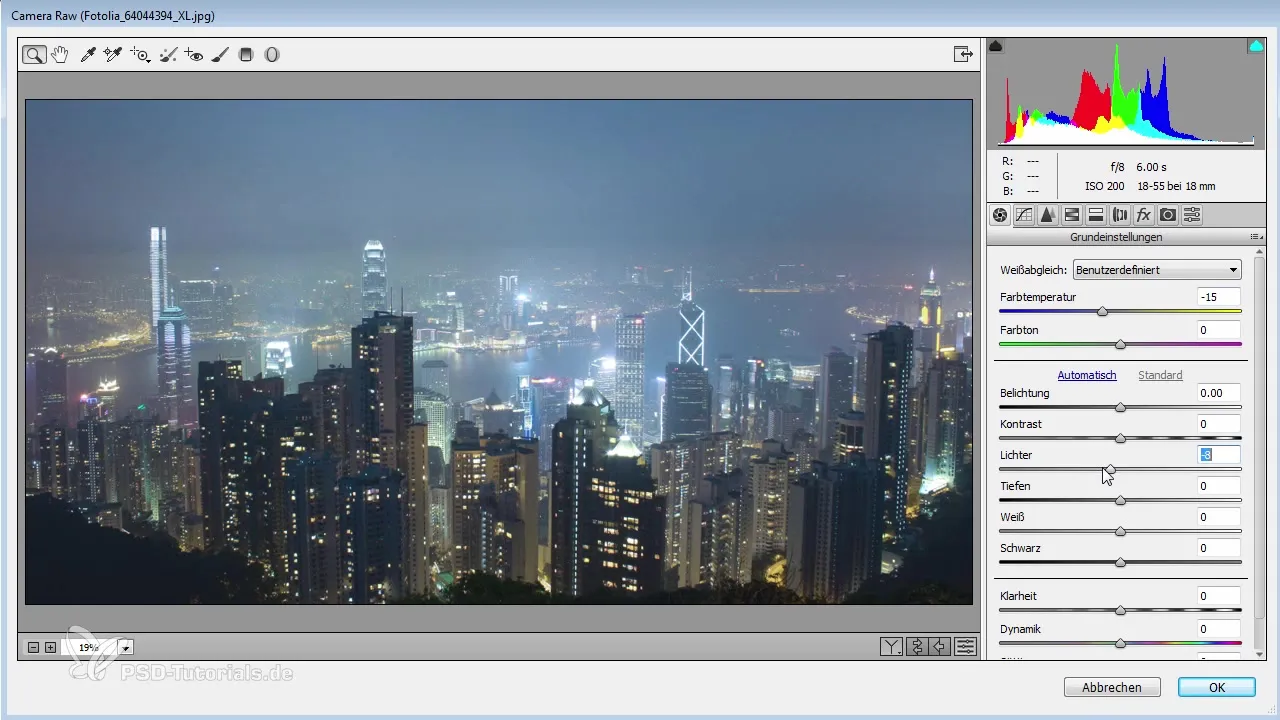
Remember that small changes can have a big impact on the overall image. Save your progress regularly and test different combinations to achieve the best results.
Summary – The Creative Way to Image Design in Photoshop: Background Design and Optimization
In this guide, you have been walked through the creative process of image editing in Photoshop. You have learned how to effectively adjust the crop, optimize the background, and harmonize the colors. Use these techniques to achieve impressive results and further develop your skills in digital art.
Frequently Asked Questions
How can I adjust the crop in Photoshop?You can adjust the crop by selecting the crop tool and setting your desired proportions, such as 16:9.
What is the best way to remove unwanted elements?The stamp tool or clone tool are ideal for effectively retouching and removing unwanted elements.
How do I add a vignette to my image?You can achieve a vignette by applying blur filters and adjusting the brush tips to create smooth transitions.
How important is color correction for my image?Color correction is crucial to influence the mood of your image and ensure harmonious colors.
How can I ensure that my background looks harmonious?Make sure to set the background to "Soft Light" mode and adjust the colors and perspective of the background to match the main subject.


