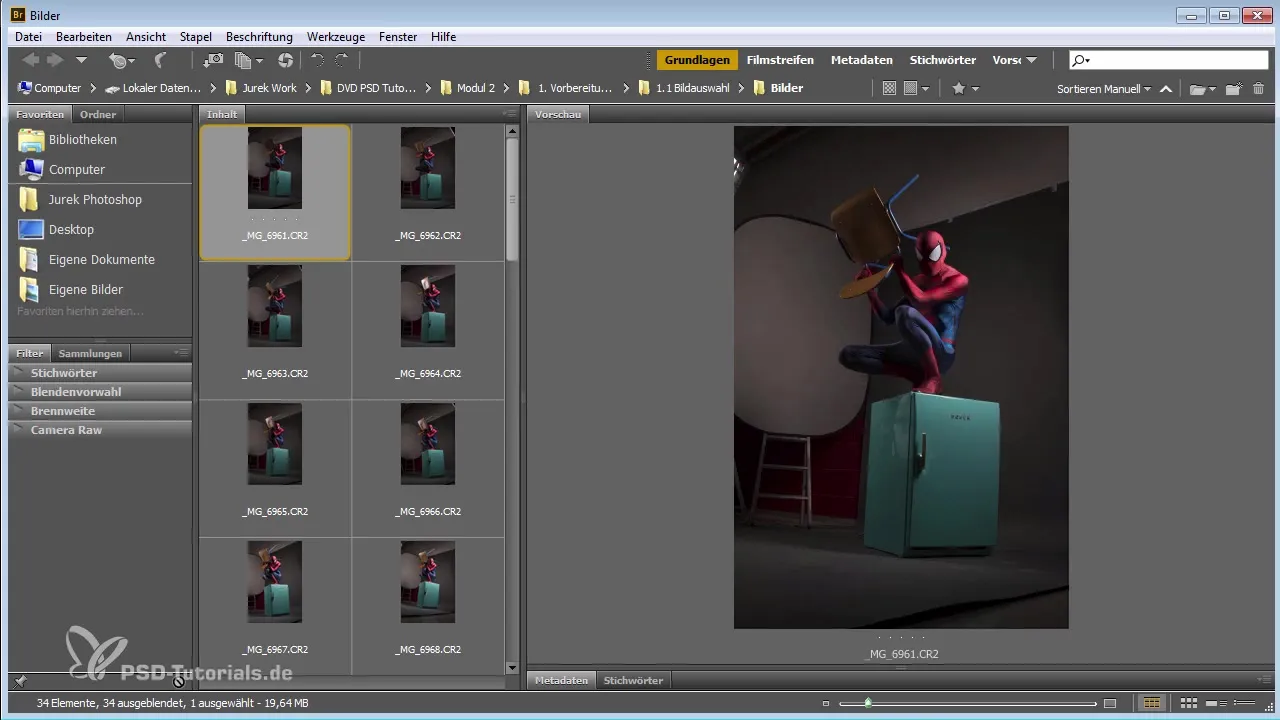
The selection of the right image can be a challenge, especially after an extensive shoot. You are faced with a variety of similar photos and must decide which image provides the best basis for your post-processing. Every photographer has their own criteria and techniques to make this selection. In this guide, I will explain an effective process that I use in Adobe Bridge to choose the best images from a large collection.
Key Insights
- The selection process is crucial for the quality of the final compositing.
- Details such as lighting conditions, posing, and overall image composition are decisive.
- A structured approach in Adobe Bridge helps make the selection process more efficient.
Step-by-Step Guide
First, I want to emphasize how important it is to take a moment to carefully review the images after a shoot. The selection process is not just a mechanical flipping through, but rather a creative engagement with the images you have captured.

When I load the images into Adobe Bridge, I make sure to have a good overview of the thumbnails. This helps me grasp the overall composition of the photos faster and gather first impressions.
The first pass is often fairly quick. At the beginning, many images might not be optimal, as the posing or lighting conditions may not be right. While I flip through the images, I pay attention to these elements.
For example, let's take an image from a shoot where the protagonist is depicted in a Spider-Man costume. Here, I wanted to create a specific atmosphere by later adding spiders in Photoshop.
The challenge is that the character's facial expression is not visible. Therefore, body language and pose must convey the emotions I desire.
Once I have found some images that I like, I mark them with a star. This helps me make a pre-selection and easily find the best images later.
Editing the exposure can often make the difference between a usable image and an excellent one. I test different settings in the Camera RAW environment to optimize the lighting conditions.
I then observe the other images and compare them in terms of posing and light. It is normal for the images to vary. Pay special attention to nuances like head position or body posture.
After making an initial selection, I can now apply a more specific filter in Bridge to display only the selected images.
In the final step, I compare the last two or three images in detail. Here, I focus on the details that are crucial for me, such as shadows and reflections in the image.
Once I have finally made my choice, I have found my image for further compositing – the work can begin!
Summary – Image Selection in Photoshop: Strategies for the Perfect Choice
The effective selection of images from a shoot requires patience and a structured approach. By using Adobe Bridge, you can optimize the selection process and ultimately find the best image for your projects.
Frequently Asked Questions
How can I select the best images from a shoot?Use a structured approach in Adobe Bridge to go through your images and assess them based on light, posing, and composition.
Why are details important in image selection?Details can be crucial in conveying the emotions and desired message of the final image.
How can I improve image exposure afterwards?Use the Camera RAW environment to adjust highlights and shadows and optimize the overall exposure of your images.
How do I deal with many similar images?Mark the promising images with stars and filter them for later comparisons to facilitate the final selection.
What do I do after the image selection?Start editing in Photoshop and prepare the image for your compositing.


