The combination of 3D-objects and Photoshop can create amazing depth and detail in your designs. In this tutorial, you will learn how to effectively integrate a 3D object created in Sketchup into an image and enhance it with various textures to create an appealing composition. You will be able to follow all the steps from importing the 3D object to applying textures.
Main findings
- Preparing your 3D object for integration into Photoshop.
- Using textures to improve the visual quality of your 3D objects.
- Applying clipping masks for targeted editing of textures and effects.
Step-by-step guide
First, start by preparing your 3D object. Make sure that all objects are converted into smart objects so you can edit them flexibly. You can do this by importing the objects into Photoshop and converting them into smart objects to facilitate editing.
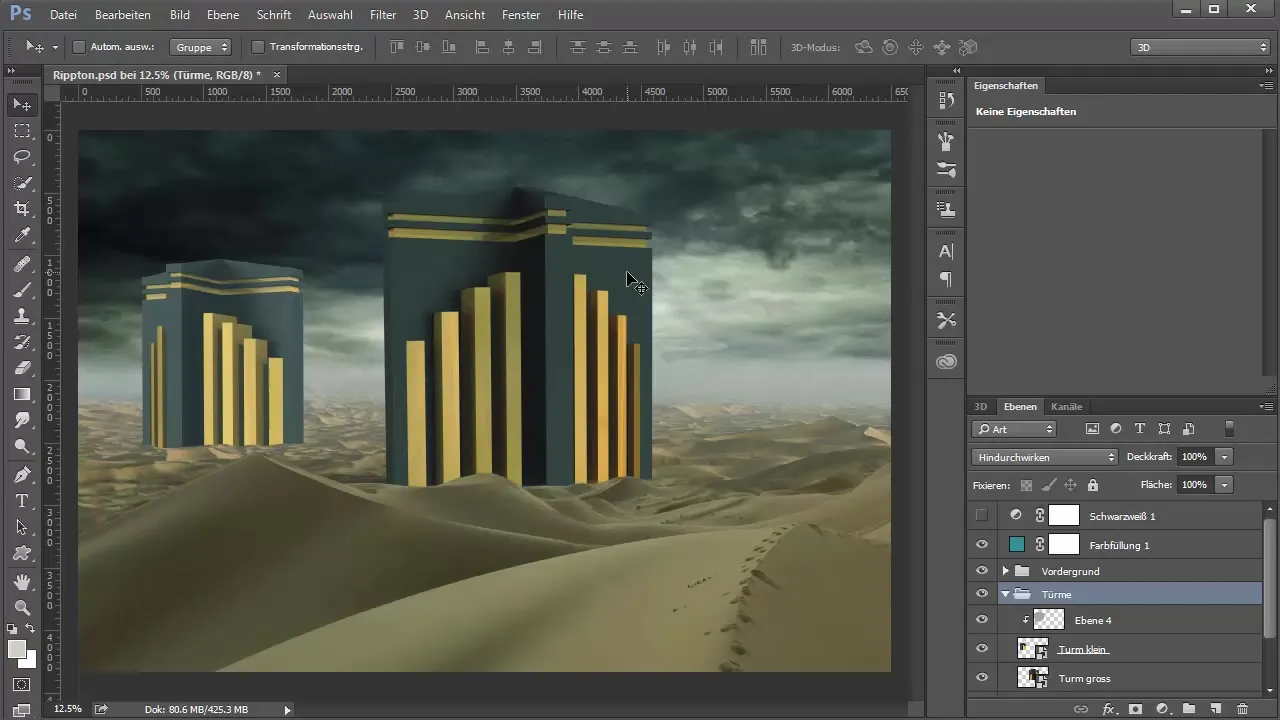
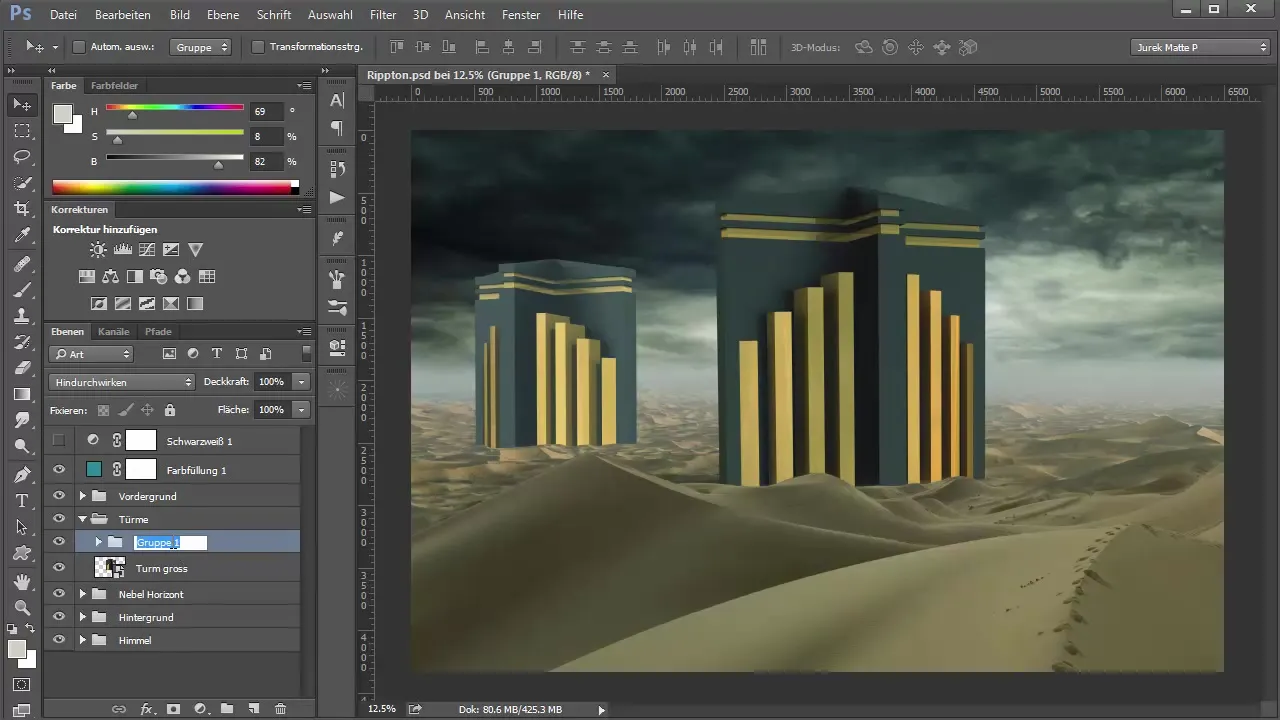
Next, position the objects appropriately in the image. You should ensure that they not only appear native in the image but are also harmoniously integrated. Group the objects accordingly, for example, “Small Tower” and “Large Tower,” to organize them based on their position in the image.
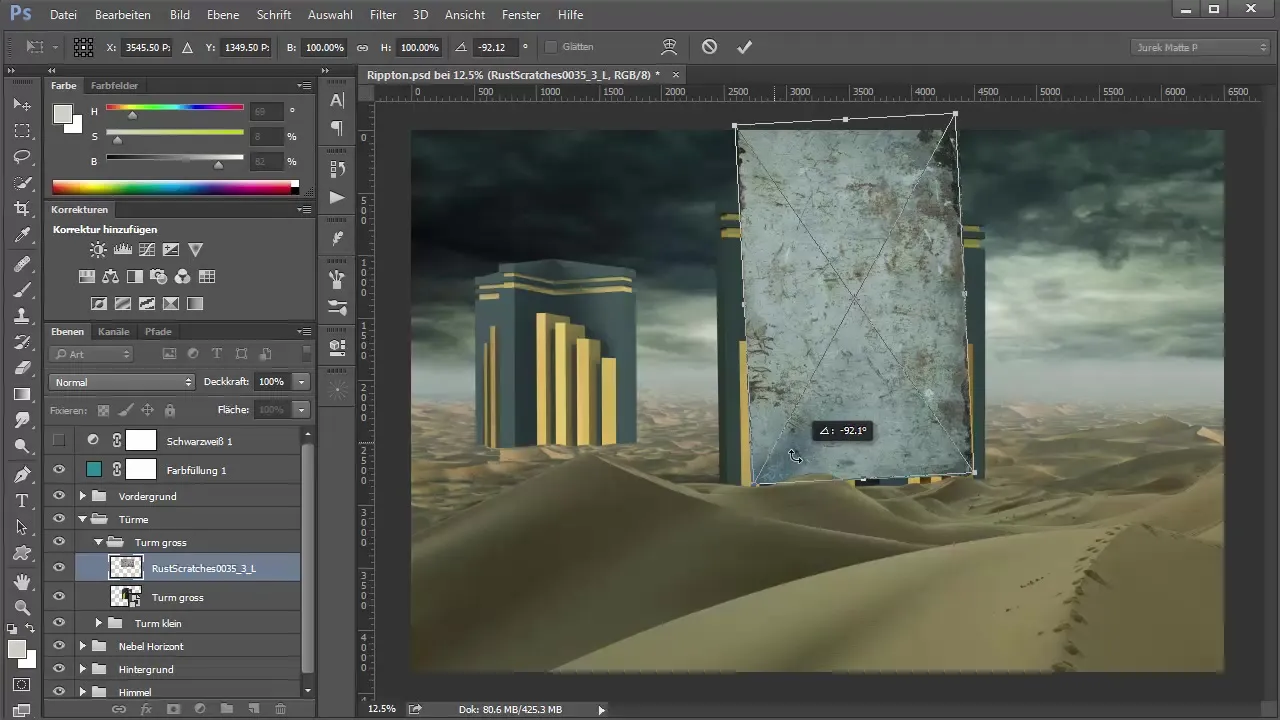
Now begins the actual textural editing. For the first step, choose the texture you want to apply to the large tower. An rust texture can be very effective here, so drag it into your project and place it over the object. Make sure that the texture is applied fully opaque.
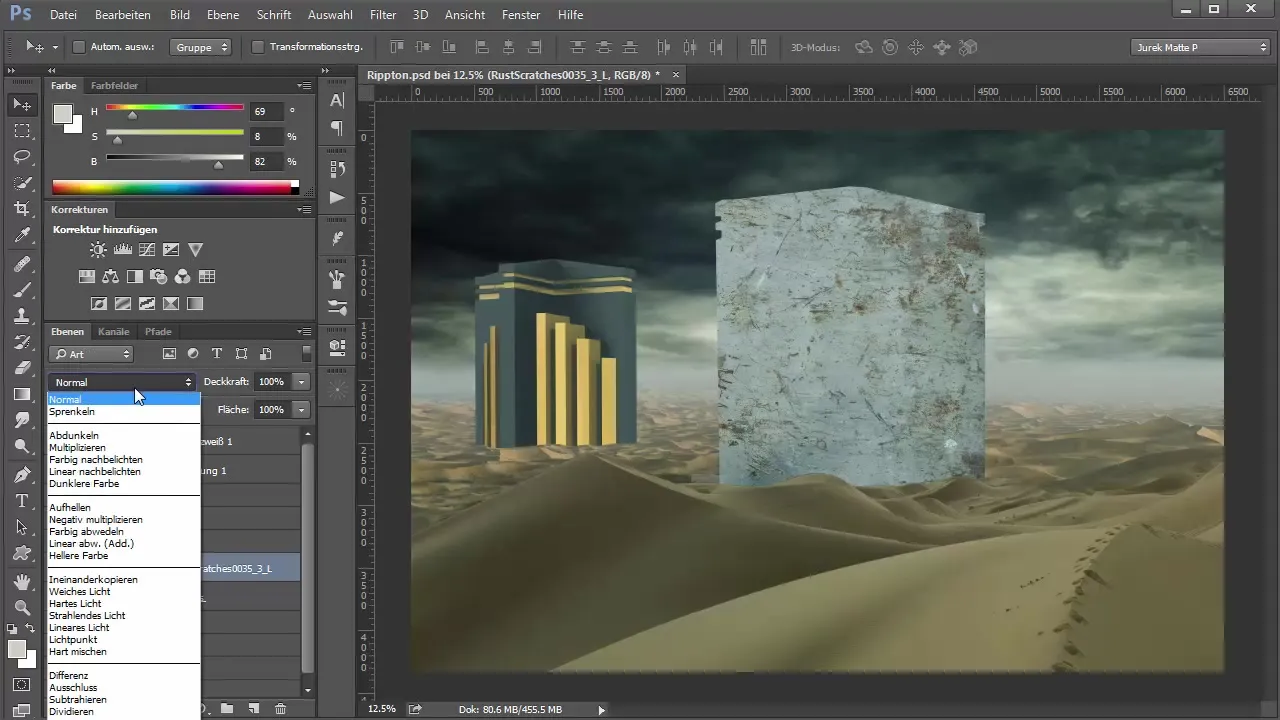
To make the texture visible only on the object, create a clipping mask. Activate the desired clipping mask by holding down the Alt key and clicking on the mask icon. After that, you can set the blending mode to “Soft Light” to combine the texture more gently with the object.
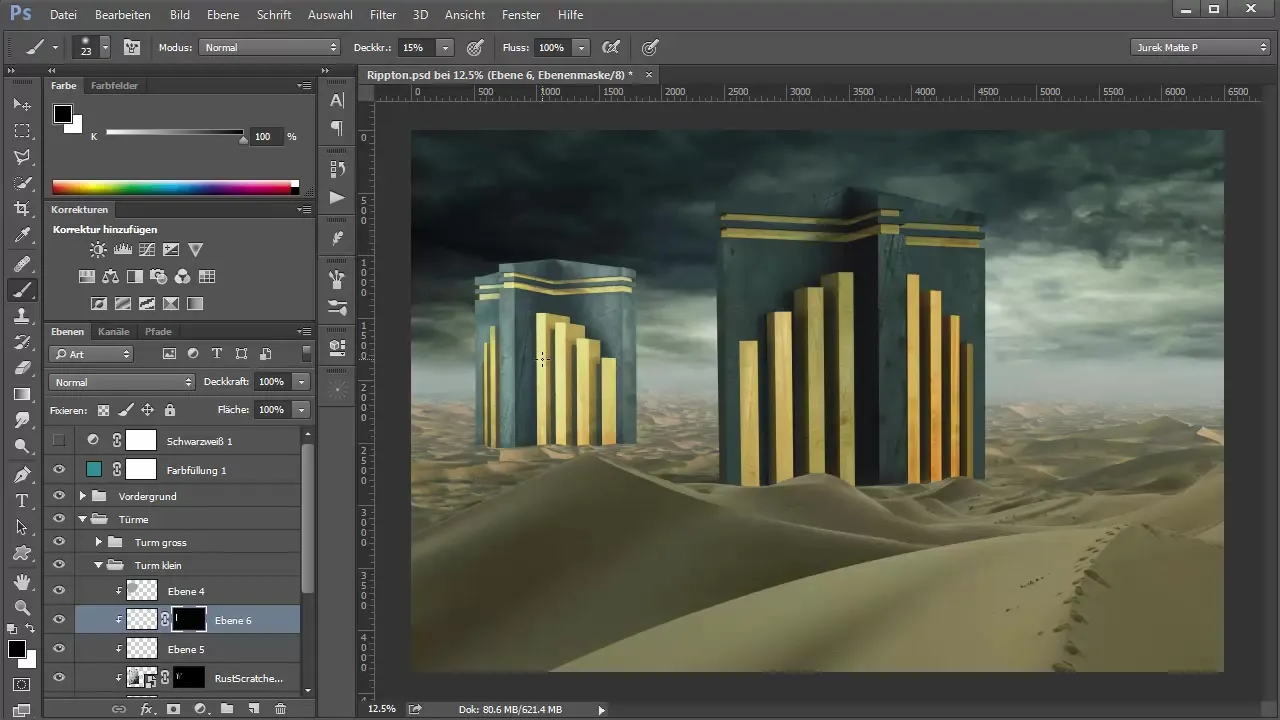
If the texture appears too strong, you can apply a mask to the texture and invert it. With a brush, perhaps a cloud brush for irregular patterns, paint with white where you want to make the texture appear subtler.
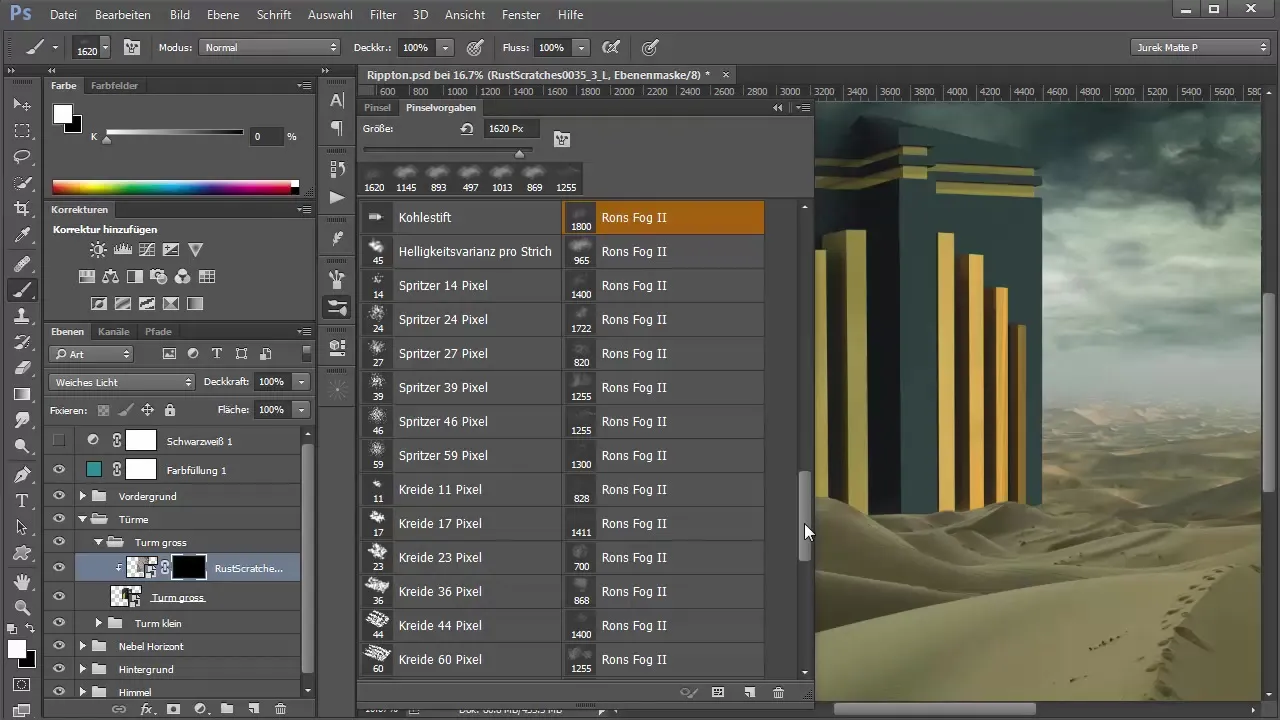
You should vary the opacity of the brush while doing this. Start with a low opacity and gradually build up to achieve a natural look. Repeat this step to make the texture more even and realistic.
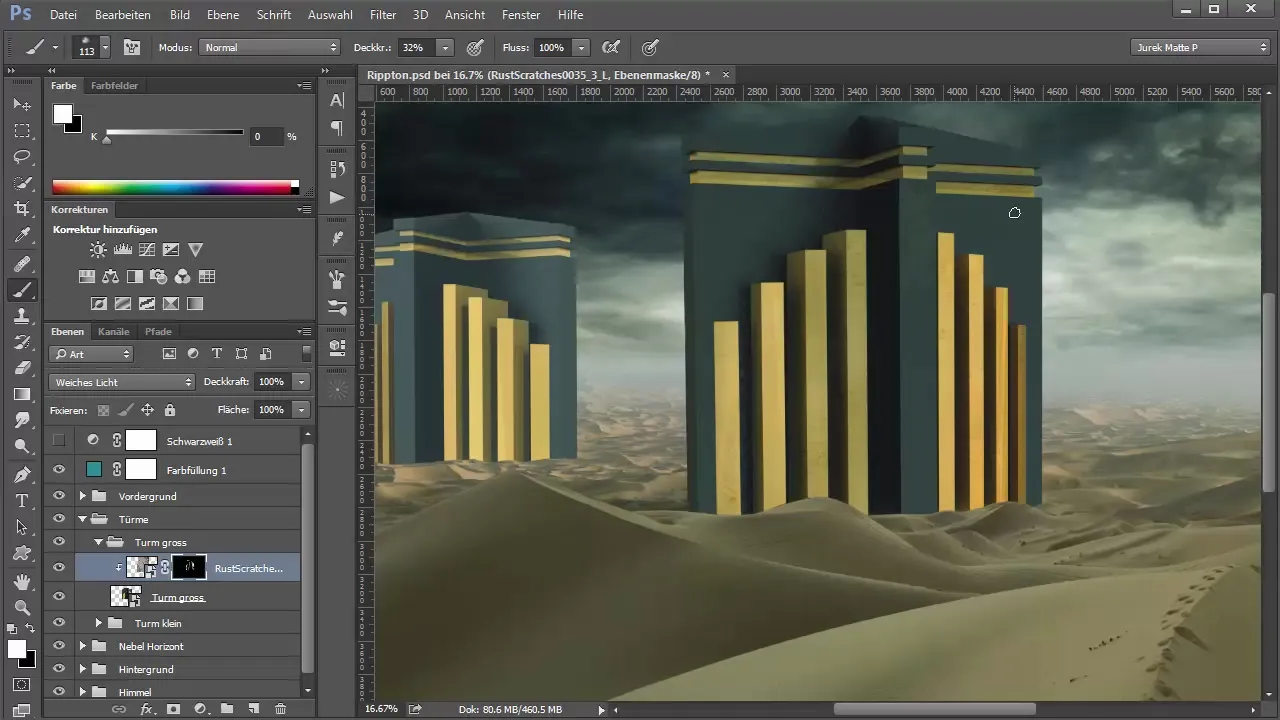
Once the texture looks good, move on to the next object, in this case, the small tower. Again, choose the appropriate texture, apply it as before, and use a clipping mask here as well. Also experiment with different blending modes to achieve the best effect, such as “Overlay”.
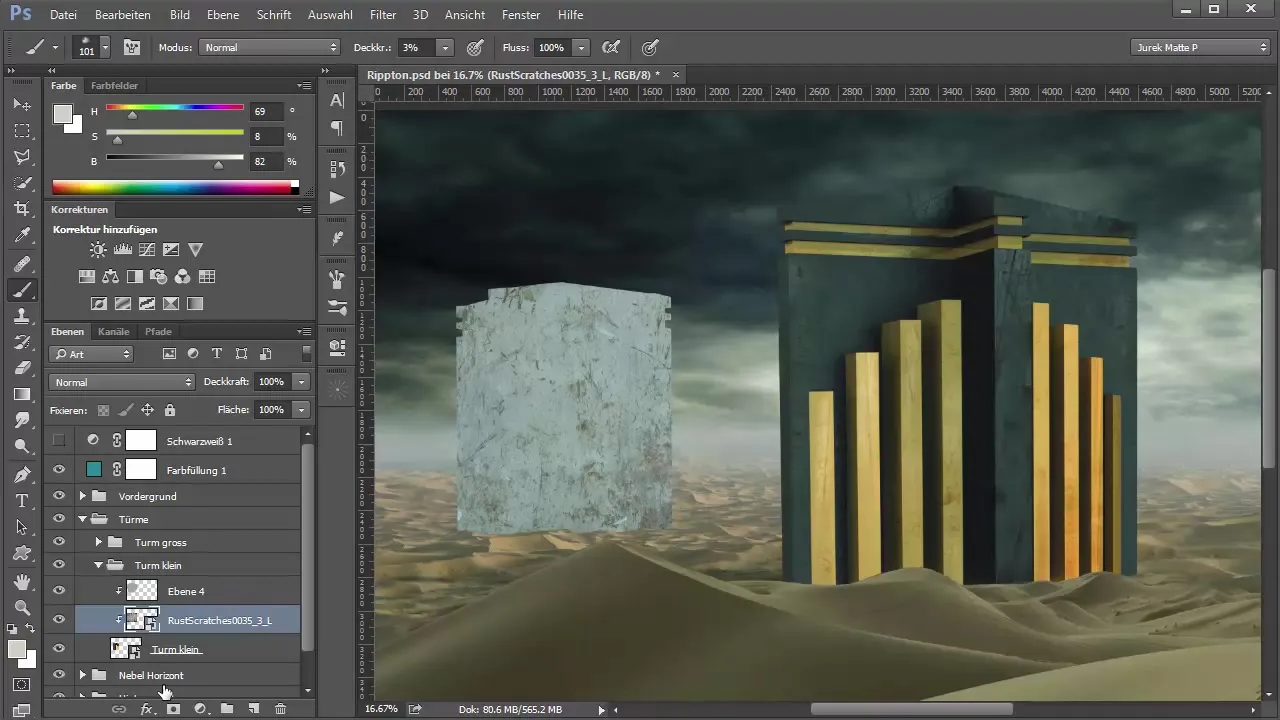
Additionally, you can layer different textures on top of each other to achieve a more complex and interesting look. Remember to adjust the visibility of the textures gradually through masks to highlight the desired effect subtly.
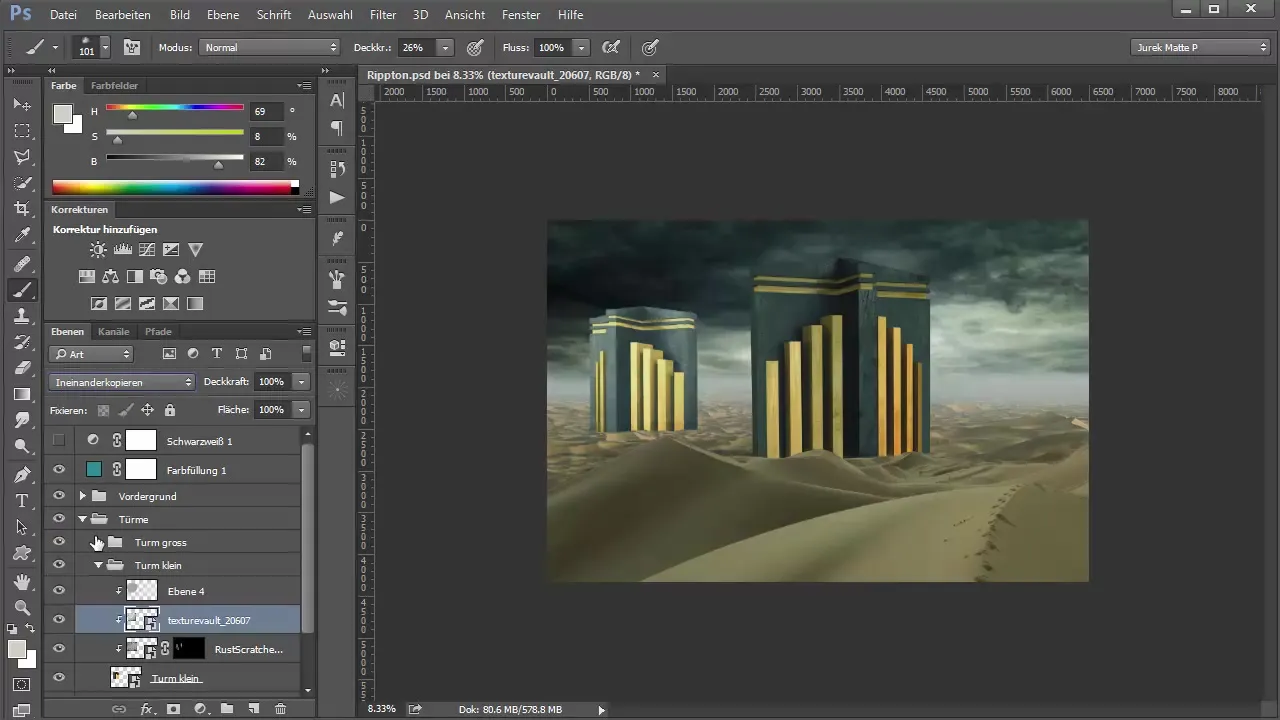
To round off the entire composition, be sure to add shadows and light effects. This can help you create depth and embed the objects into the environment.
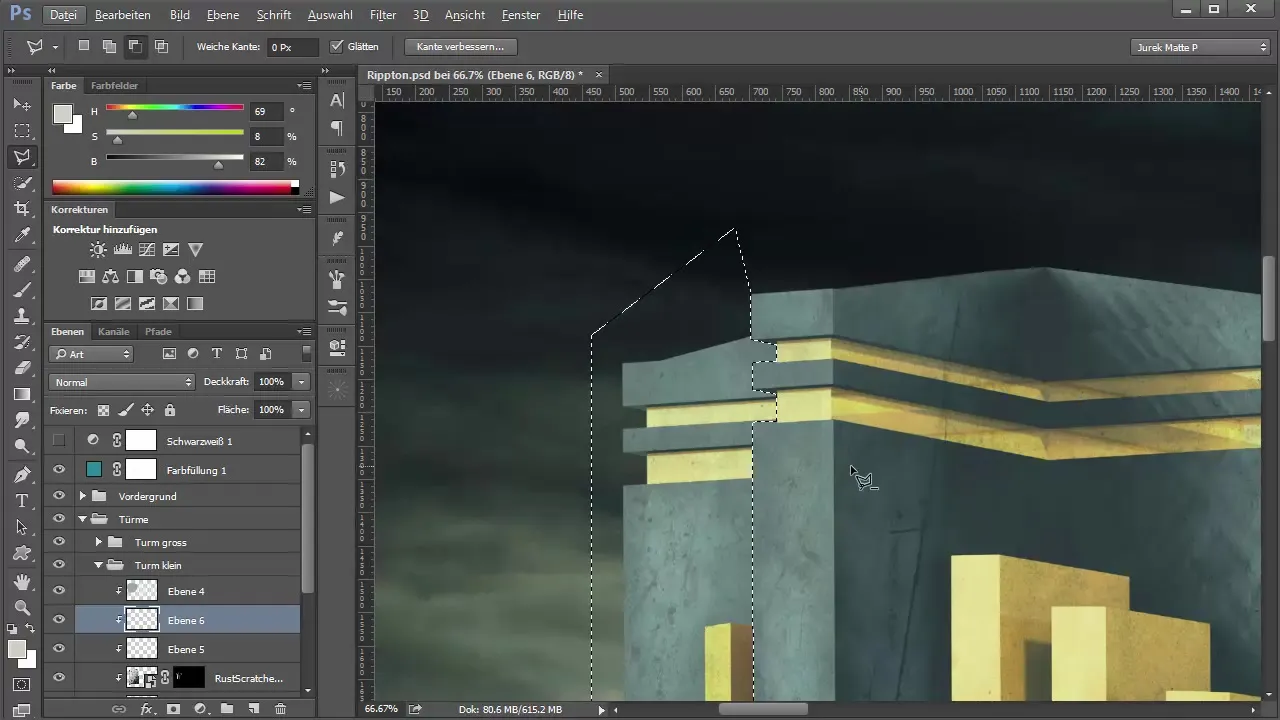
With the right combination of textures and color, you can create a realistic and appealing scene that harmonizes both the 3D object and the background. Always check how the elements interact with each other and make adjustments as necessary.
Summary - Integrating 3D objects into Photoshop and enhancing with textures
The integration of 3D objects into Photoshop and their enhancement through textures is a creative process that offers plenty of room for experimentation and personal touch. By skillfully using clipping masks and various textures, you can achieve a realistic and impressive representation that elevates the mood of your overall project.
Frequently Asked Questions
What are the advantages of smart objects in Photoshop?Smart objects allow for non-destructive editing, so you can undo changes at any time.
How do I choose the best textures for my project?Make sure the textures match the mood and style of your design and add the desired level of detail.
How can I adjust the visibility of a texture?You can adjust the opacity and blending mode of the texture, or use masks to selectively edit specific areas.


