In this tutorial, you will dive into the exciting world of image conception and analysis, particularly regarding the use of Photoshop. Starting from the preparation of your shooting to the final image editing – there are many steps you should consider to elevate your photography to a new level. The challenges you encounter during the shoot are often the decisive points for a successful end product. Based on the experiences and lessons from a specific shoot that will be analyzed in this tutorial, you can gain valuable insights for your own projects.
Main insights
- Planning and preparation steps are crucial for the success of the shoot.
- The right lighting significantly influences the image effect.
- Errors and problems during the shoot are learning opportunities for future projects.
- The post-processing in Photoshop can be used to further optimize the image.
Step-by-step guide
1. Preparing for the shoot
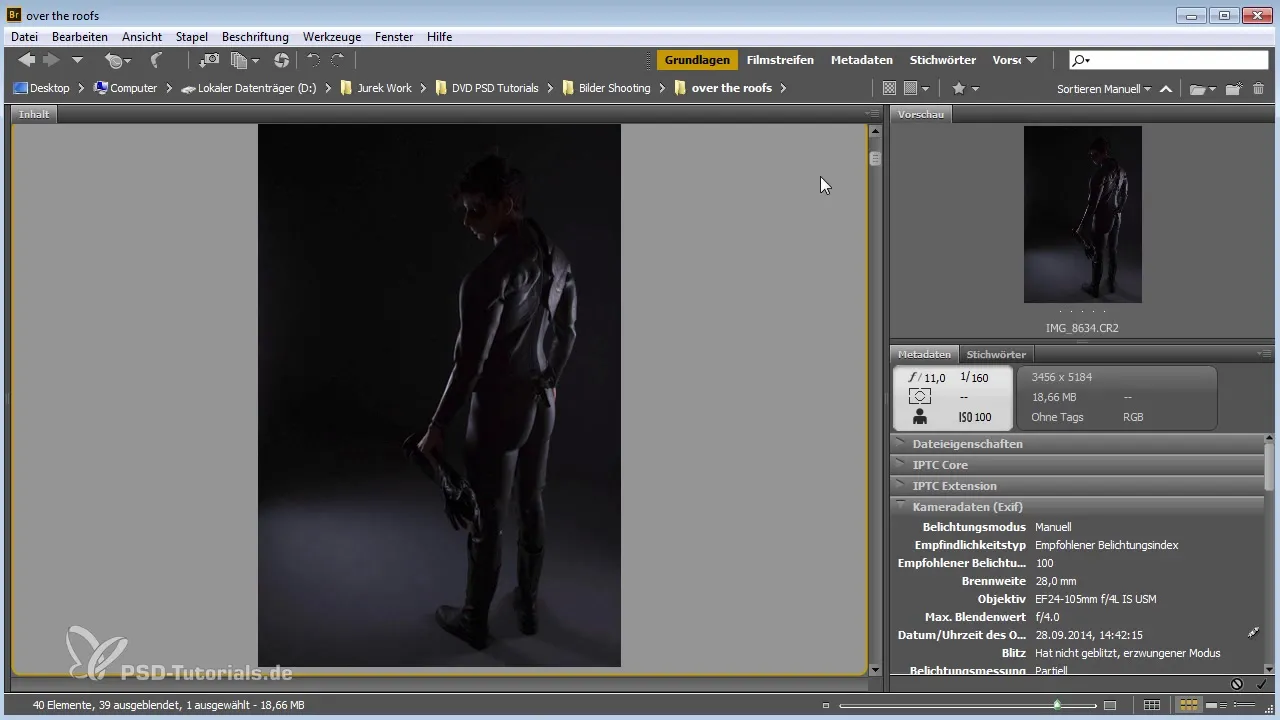
Before you start with the actual shots, it's important to test your lighting setup and perspective in advance. Pay attention to how the lights work and what specific effects they have on the model. In our example, we set up the strip lights to achieve an even flow of light and good detail in the image. During these tests, you have the freedom to try different light sources and observe their impact on your subject.
2. Choosing the perspective
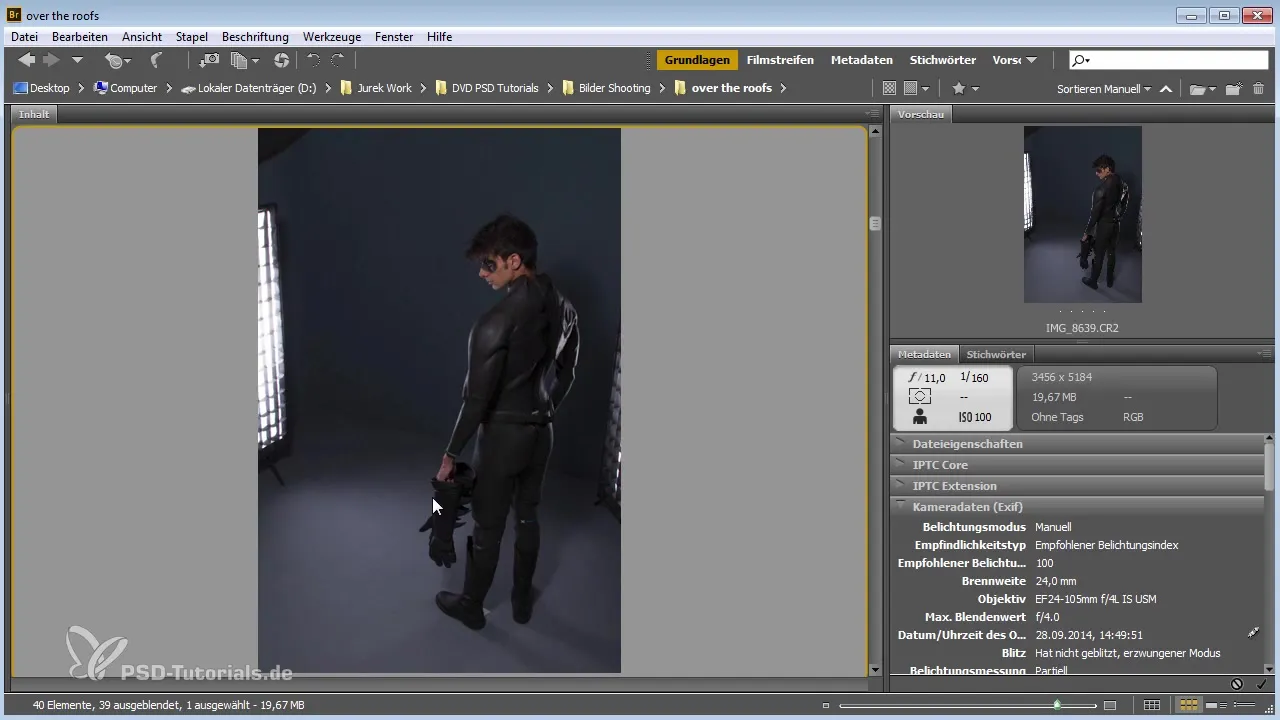
The perspective plays a fundamental role in the perception of your image. We tested different angles, including shots from higher up, to find out how to stage Batman. This perspective turned out to be beneficial as it highlighted the city in the background better. Make sure to explore different viewpoints to find the best representation of your model.
3. Challenges with the cape
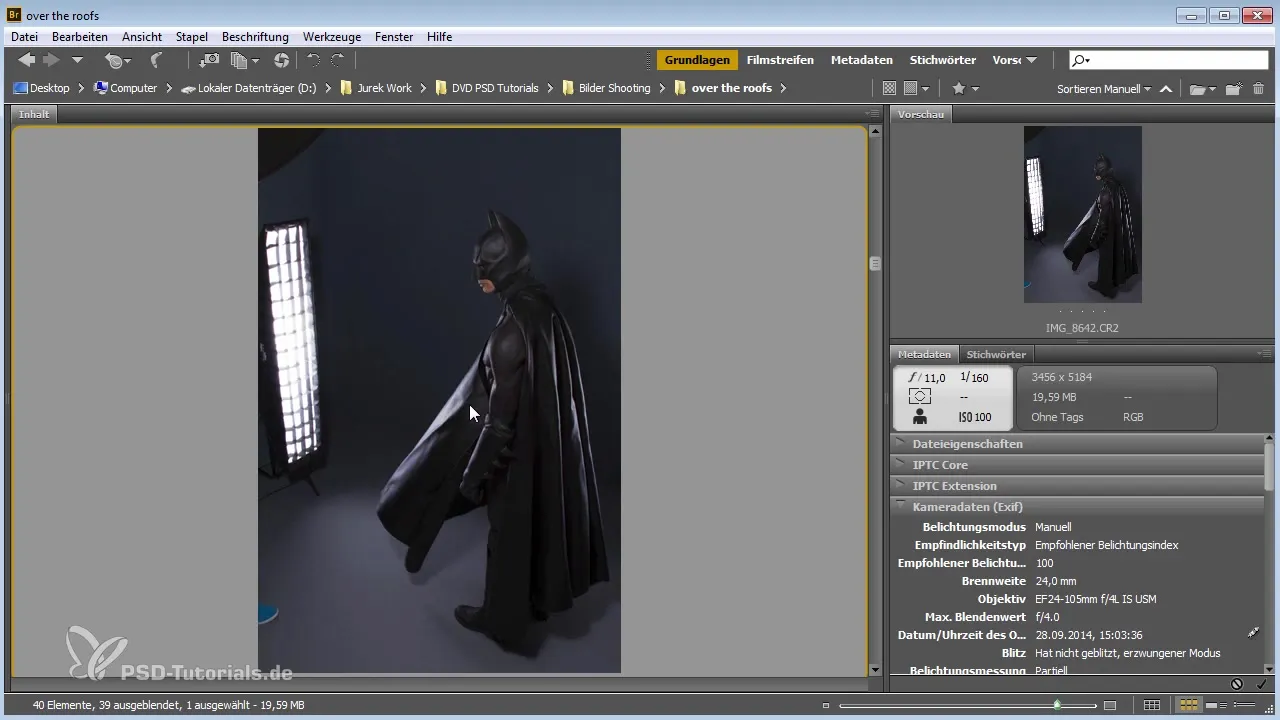
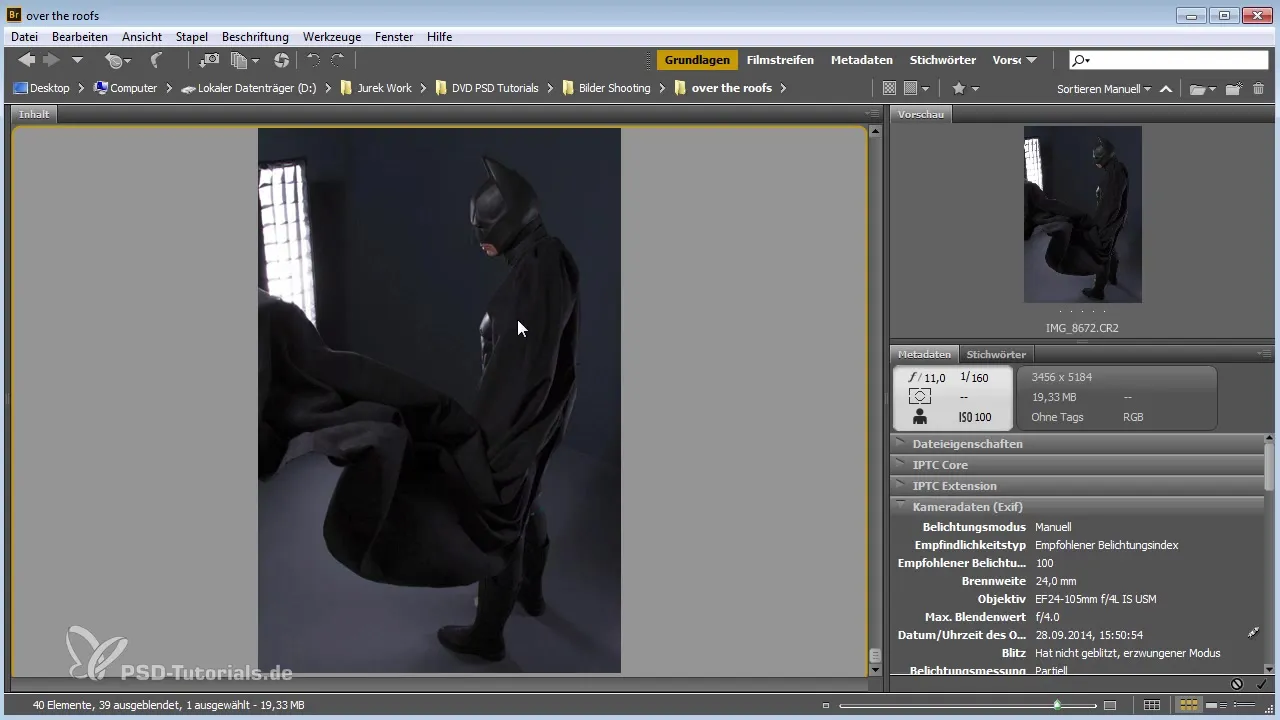
Another central element of the shot was Batman's cape. During the tests, we found that the material often looked too stiff. I tried different approaches to create a more dynamic shape. It can be helpful to either let the cape hang around the model or throw it into the air. These attempts showed that even small adjustments can make a big difference in the image effect.
4. Tests and adjustments
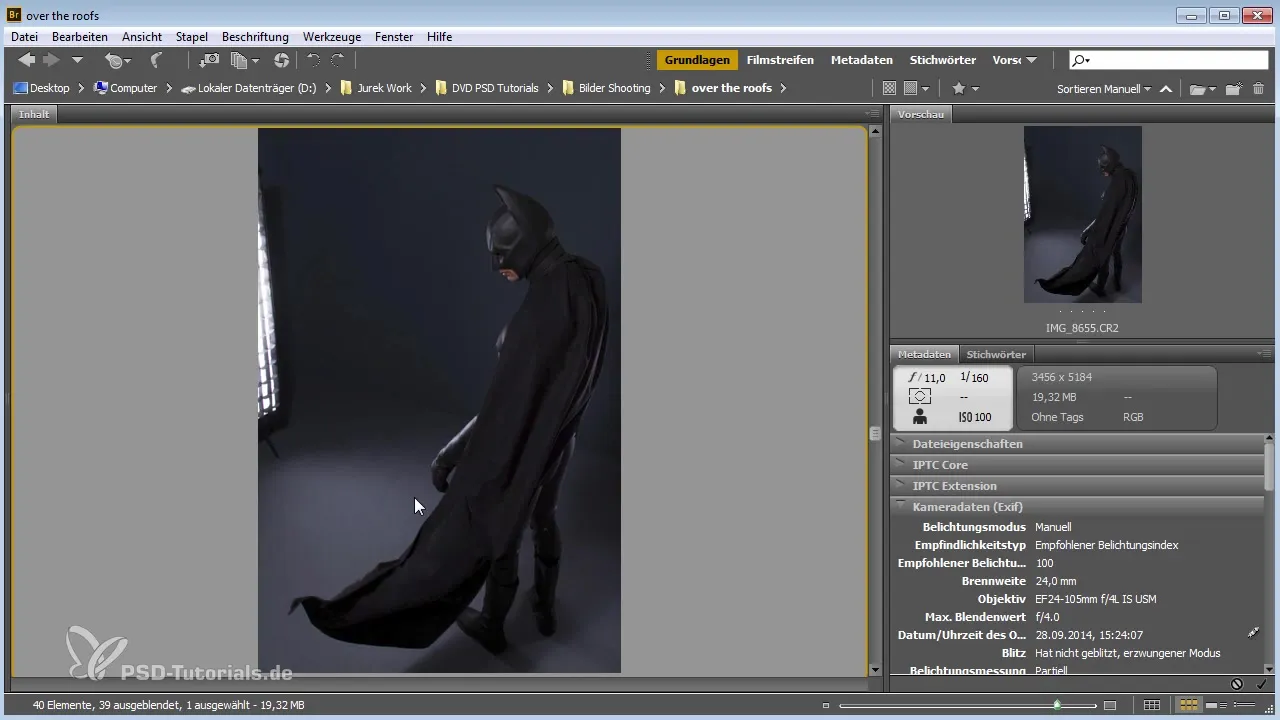
During the first shots, numerous tests needed to be conducted before an acceptable image was finally created. Sometimes multiple shots are necessary to find the optimal composition. Be sure to remain flexible during the shoot and creatively respond to challenges. In our case, using an old curtain instead of an ideal cape was an example of a solution that turned out to be successful.
5. Post-processing in Photoshop
After the shoot, the creative process begins in Photoshop. Here, you can work with the various elements captured to achieve the best result. This could include merging individual images or adjusting perspectives. It is important to learn from the mistakes made during the shoot and incorporate them into the image editing. Think carefully about how you can optimize the images and experiment with different photo editing techniques.
6. Reflection and learning
It is important to take time after a shoot to reflect on what worked well and what didn't. This reflection can be crucial for improving your technique and approach for future projects. It is helpful to review the individual steps of the process and note where mistakes occurred. You can then apply these insights to your next shoot.
Summary – Image concept and shooting: A detailed guide to image analysis in Photoshop
Learning the various aspects of image conception and editing takes time and patience. However, by following the steps in this guide and considering the challenges and solutions during the shoot, you will be able to work more effectively and improve your skills in image editing with Photoshop.
Frequently Asked Questions
What are the benefits of proper lighting?The lighting significantly influences the mood and detail rendering of your images.
How can I optimize the perspective during the shoot?Experiment with different camera angles and heights to find the best view of your subject.
Why is it important to reflect on mistakes?Errors provide learning opportunities and help you make future shoots more successful.
How long should I plan for post-processing?The time can vary, but plan enough time to experiment with different techniques and optimize the image.
Should I always consider a second shoot?If possible, a second shoot is always a good opportunity to make improvements and test new ideas.
