3D graphics provide the opportunity to create impressive visualizations that are essential in most digital applications. In Photoshop, you have access to a powerful 3D tool that allows you to design stunning graphics. This guide will walk you through the basics of 3D editing in Photoshop and show you how to work creatively with space and light.
Key Insights
- The 3D features in Photoshop enable the creation and editing of 3D objects directly within the software.
- You can add various materials, textures, and lighting effects to personalize your designs.
- Rendering is a critical step in achieving the final look of your 3D project.
Step-by-Step Guide to Using 3D in Photoshop
1. Getting Started with the 3D Workspace
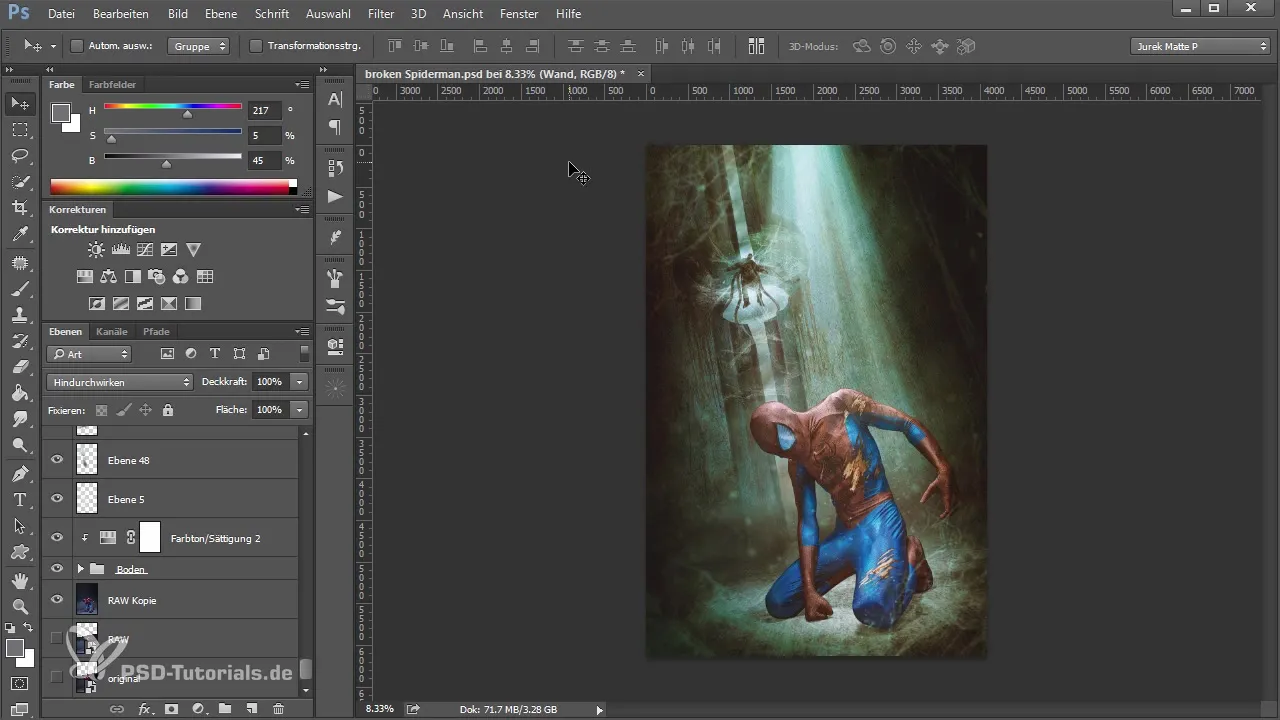
To start with 3D in Photoshop, it’s important to set up your workspace first. Open Photoshop and click on “Window” > “3D” to activate the 3D workspace. Here you will find all the tools and menus you need to create and edit 3D objects.
2. Creating a New 3D File
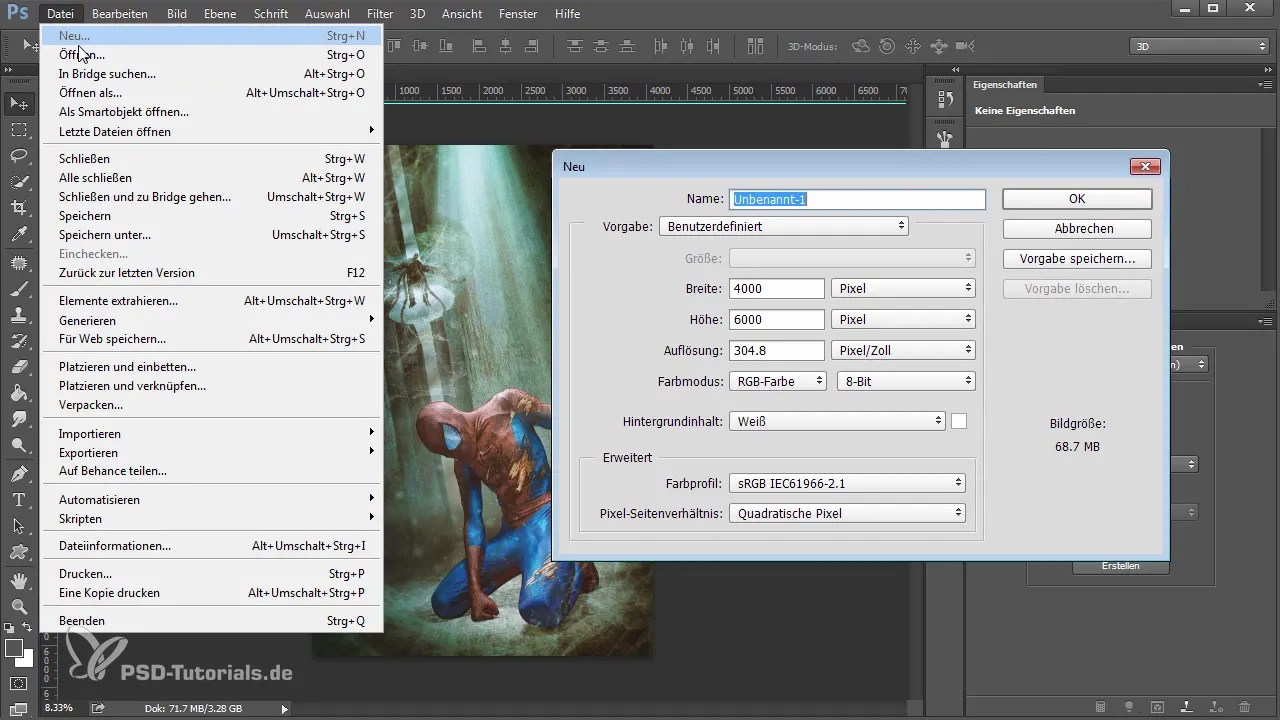
Create a new file with a size of 4000 x 6000 pixels. Start with a white background layer. This will be the base for your 3D models. To prepare the layer, color it a neutral gray.
3. Generating a 3D Object
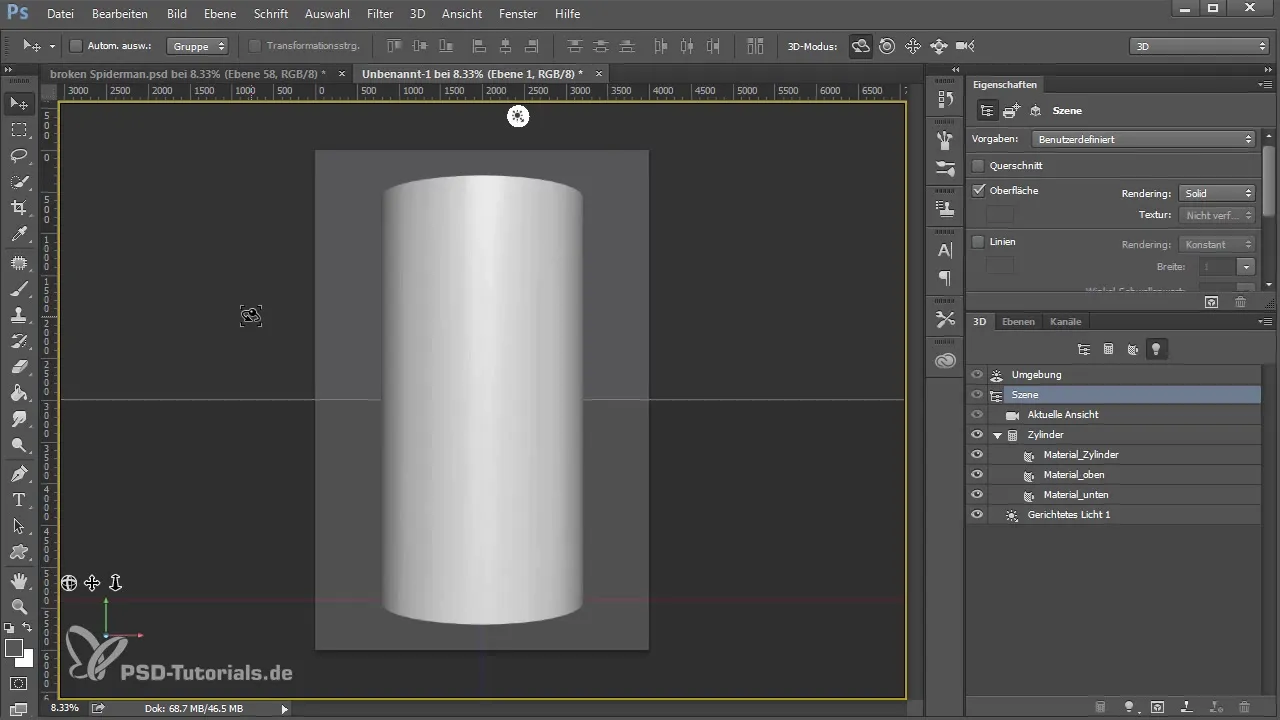
Go to “3D” > “New Mesh from Visibility” and select “Mesh Preset” to create a geometric shape. For example, you can create a cylinder to get familiar with the program.
4. Controlling the 3D Scene
After creating the 3D object, you will see the scene controls. Here, you can rotate, move, and adjust the perspective of your cylinder. Use the various control tools to ensure your object is aligned correctly.
5. Working with the Camera
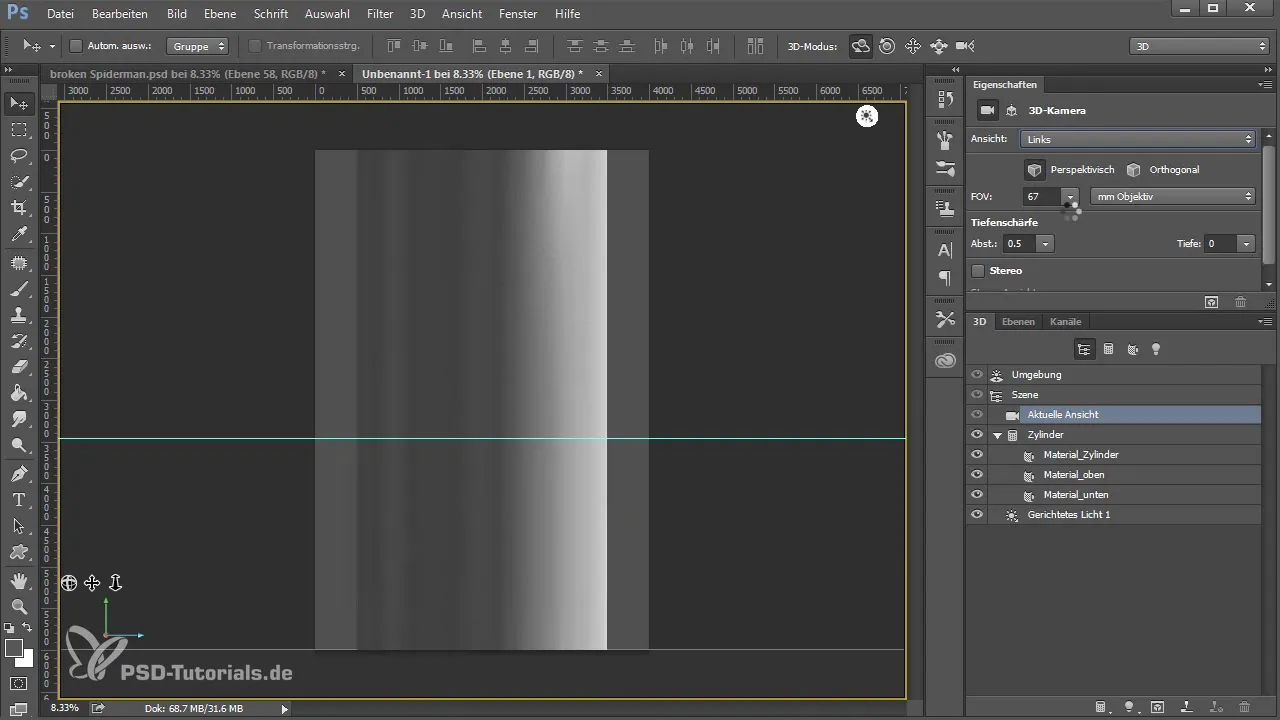
Photoshop allows you to save different camera views. Choose a view you like and save it. This way you can quickly return to it if you want to change the perspective.
6. Adding Light Sources
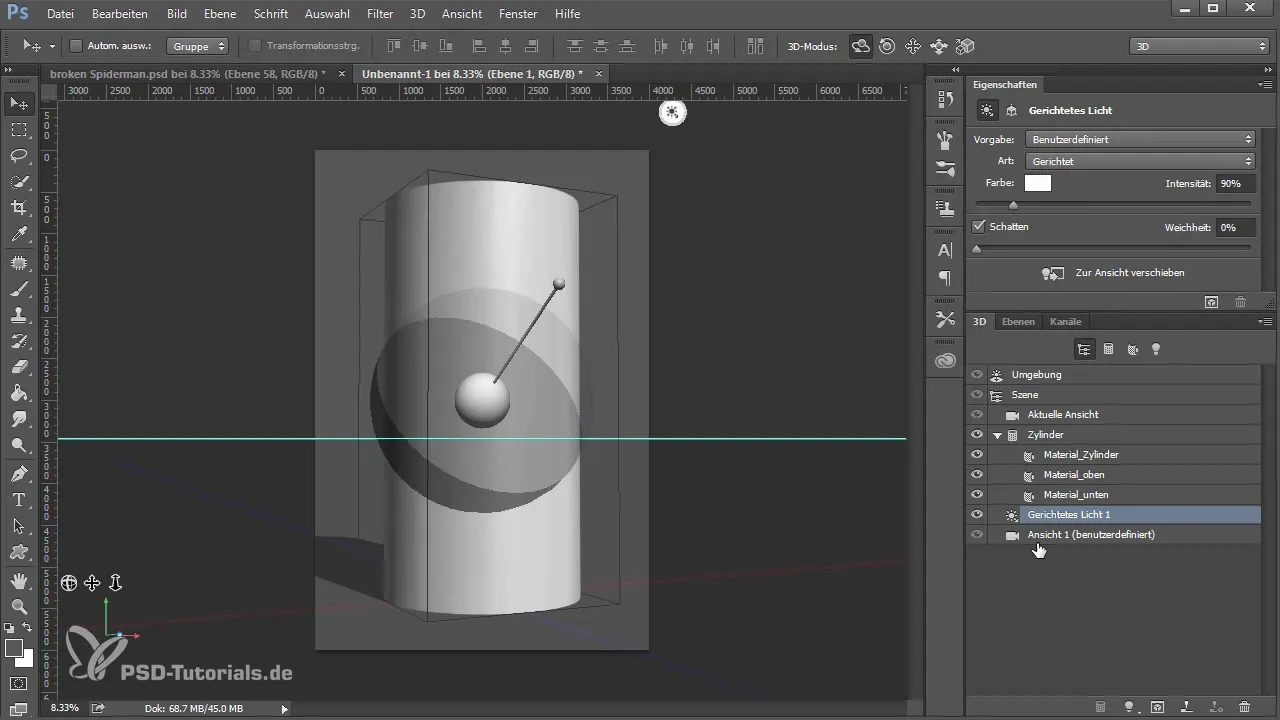
Add light sources to your scene to illuminate your 3D object effectively. Choose from directional lights, point lights, or spotlights. Adjust the intensity, color, and position of the lights to create the desired mood.
7. Applying Materials and Textures
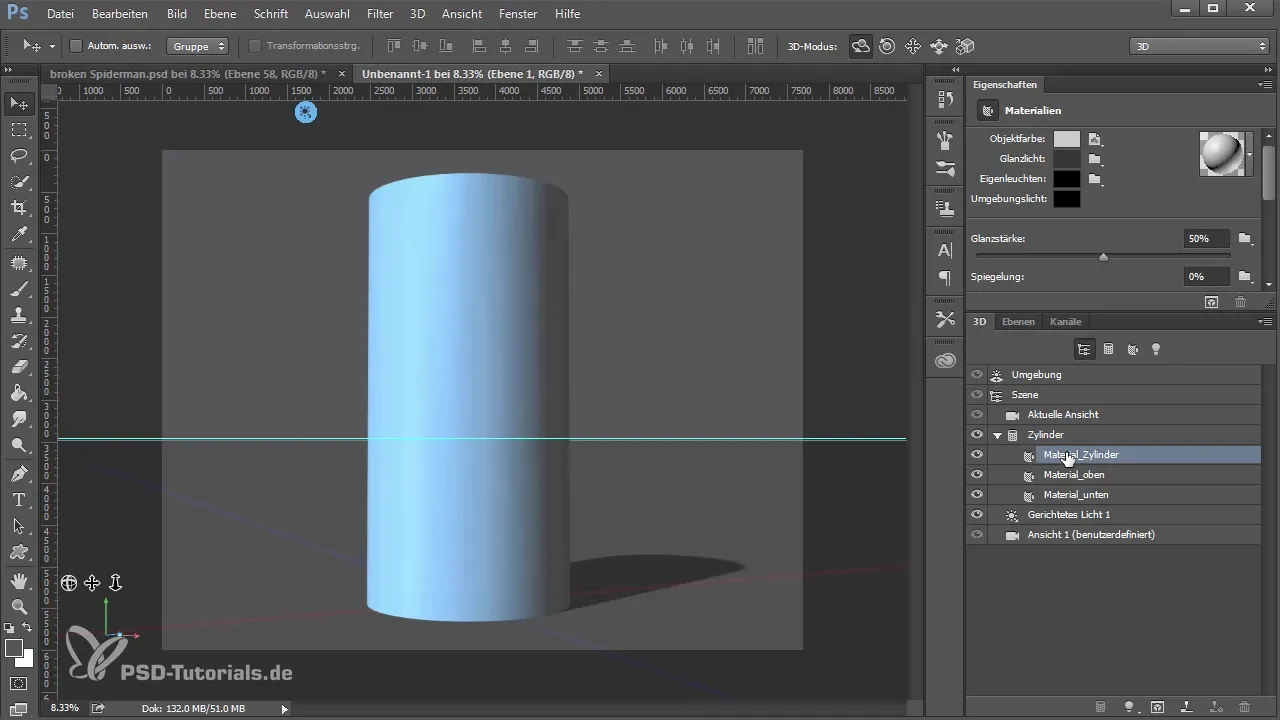
Now it's time to add materials and textures. Select the material from the list and drag it onto your 3D object. You can experiment with different material properties to achieve the desired effect.
8. Adjusting the Materials
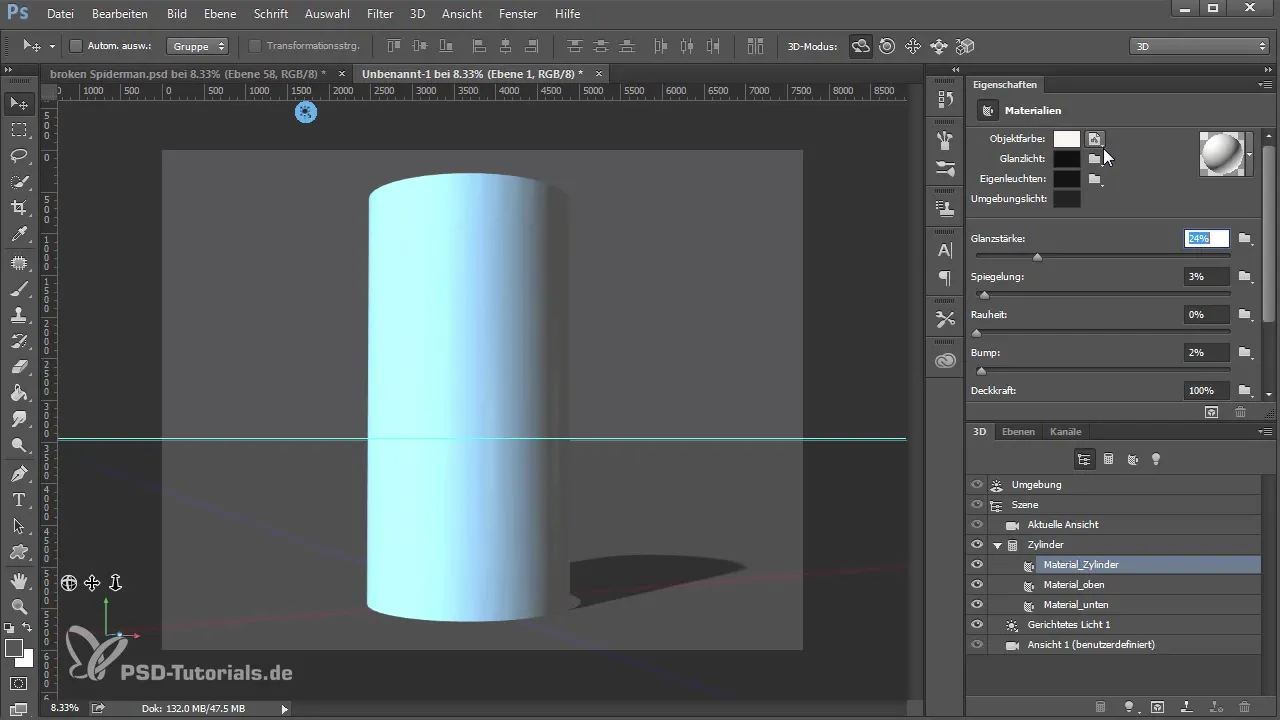
Edit the properties of your materials by adjusting the texture, glossiness, and transparency. Use bump maps to create interesting surface textures. This will give your 3D object more depth and realism.
9. Preparing for Rendering
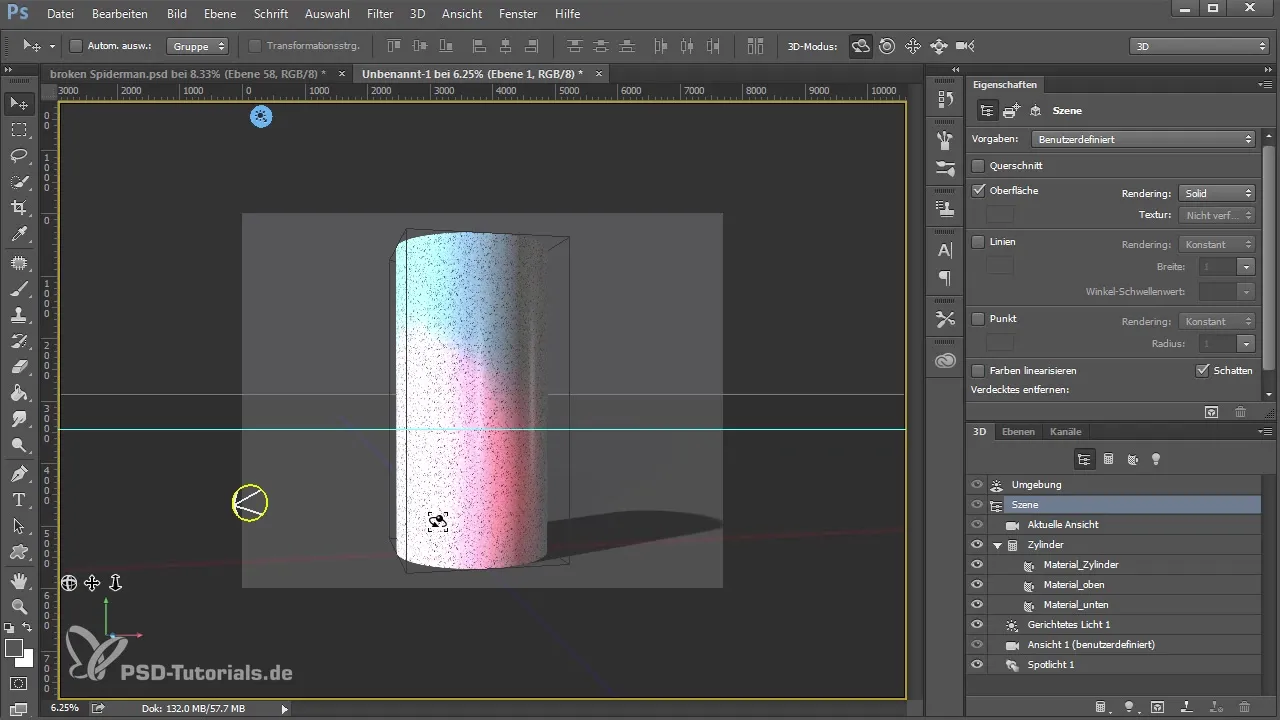
Before you render your final 3D image, ensure all elements are correctly placed and lit. Select the area you wish to render and click on “Render.” Please note that rendering may take time, depending on the complexity of the scene.
10. Finishing Up and Saving
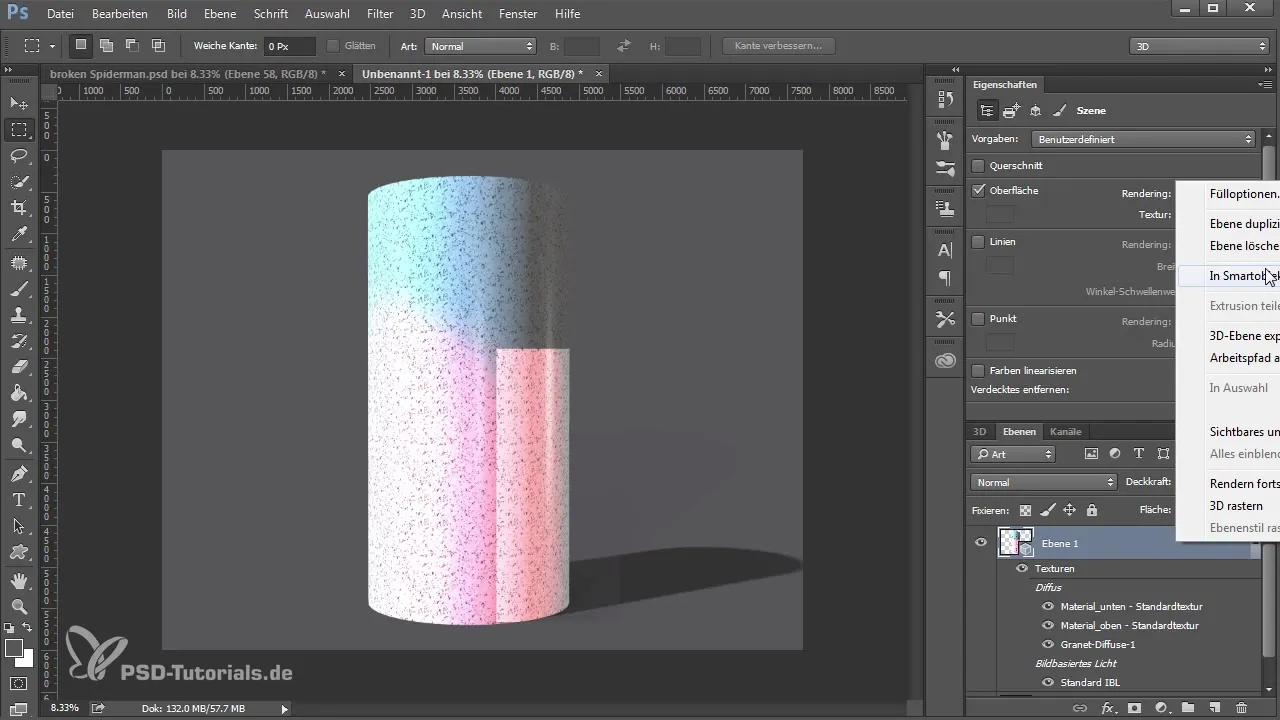
Once the rendering is complete, you can save the project as a Smart Object. This allows you to make changes at any time without compromising the quality of the image.
Summary – Introduction to 3D with Photoshop: Basics and Techniques
Working with 3D in Photoshop opens up a multitude of creative possibilities. With the right understanding of the tools and techniques, you can create unique and impressive 3D visualizations. Rendering provides the final touch while you develop your skills through patience and experimentation.
Frequently Asked Questions
How do I create a 3D object in Photoshop?Go to “3D” and select “New Mesh from Visibility” to generate a 3D object.
Can I change materials and textures?Yes, you can select and customize various materials and textures to change the appearance of your object.
What is the difference between rendering and previewing?Rendering creates the final image with all lighting effects and textures, while previewing only provides a quick view.
How long does it take to render a 3D image?Rendering can take up to an hour or longer, depending on the complexity of the scene and the number of lights.
Can I save my 3D objects as Smart Objects?Yes, after rendering you can save your 3D object as a Smart Object for future adjustments.


