If you want to implement your creative ideas in Photoshop, the clean cutout of a model is of crucial importance. In this guide, you will learn how to effectively cut out an image using the Pen Tool while creating precise edges, to then add a suitable background in the next step. The step-by-step guide will help you perfect your result.
Main Takeaways
- The use of the Pen Tool allows for precise cutouts.
- Zooming in to about 200% increases detail accuracy when working on edges.
- Using aids such as music can promote patience and creativity during the work process.
Step-by-Step Guide
Start by renaming the layer in which your retouching takes place. Call the layer "Retouching" and delete unnecessary corrections that you no longer need.
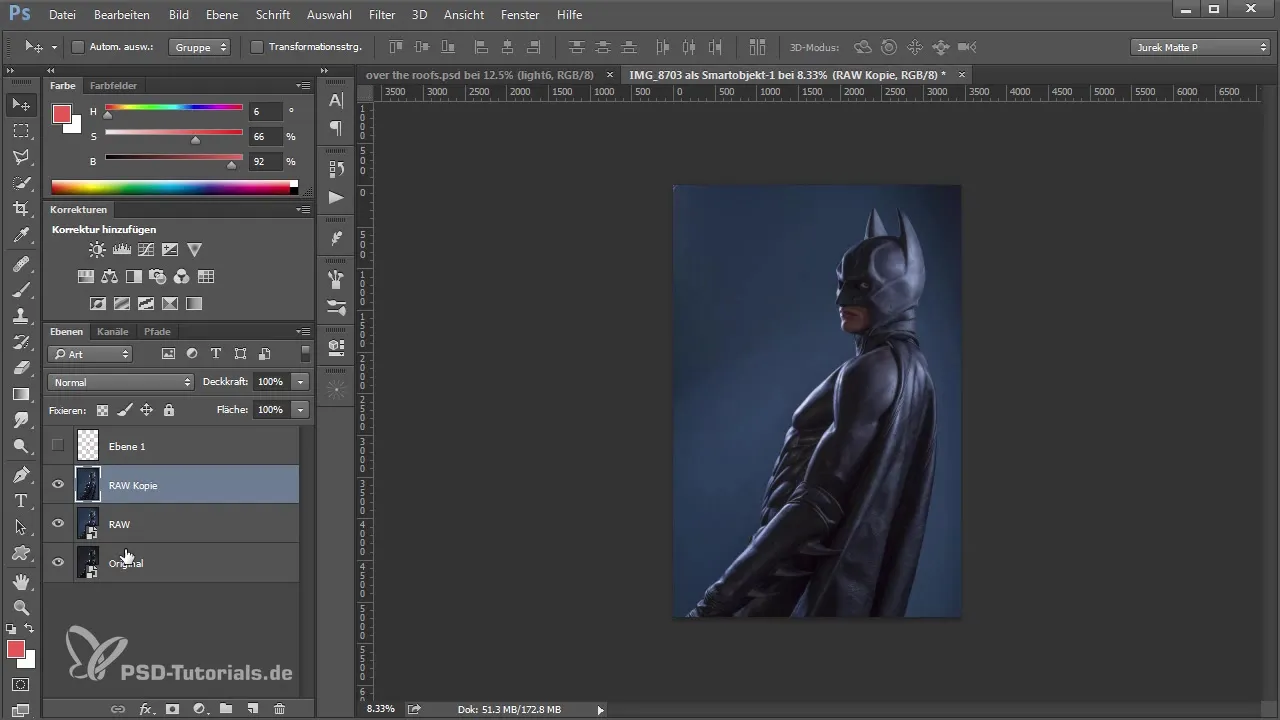
To cut out the image, first try to create a selection using the Focus Area and see what suggestions Photoshop offers you. However, sometimes this method may not yield the best results.
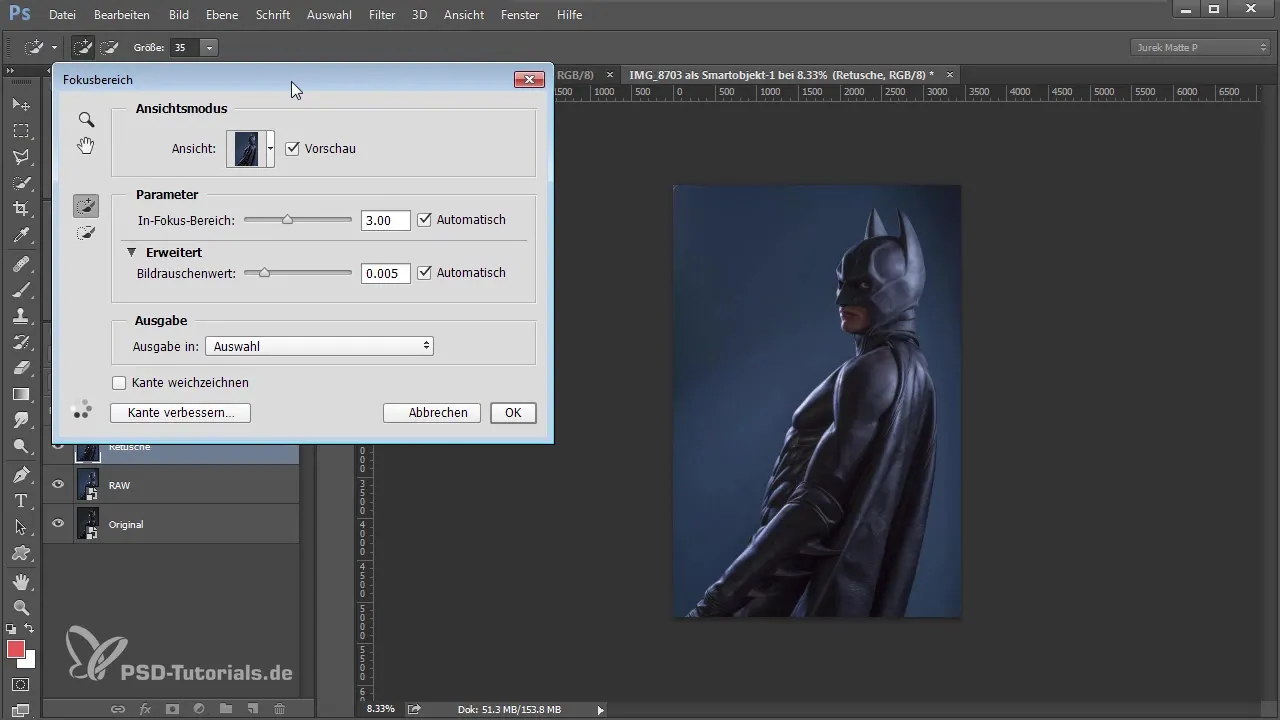
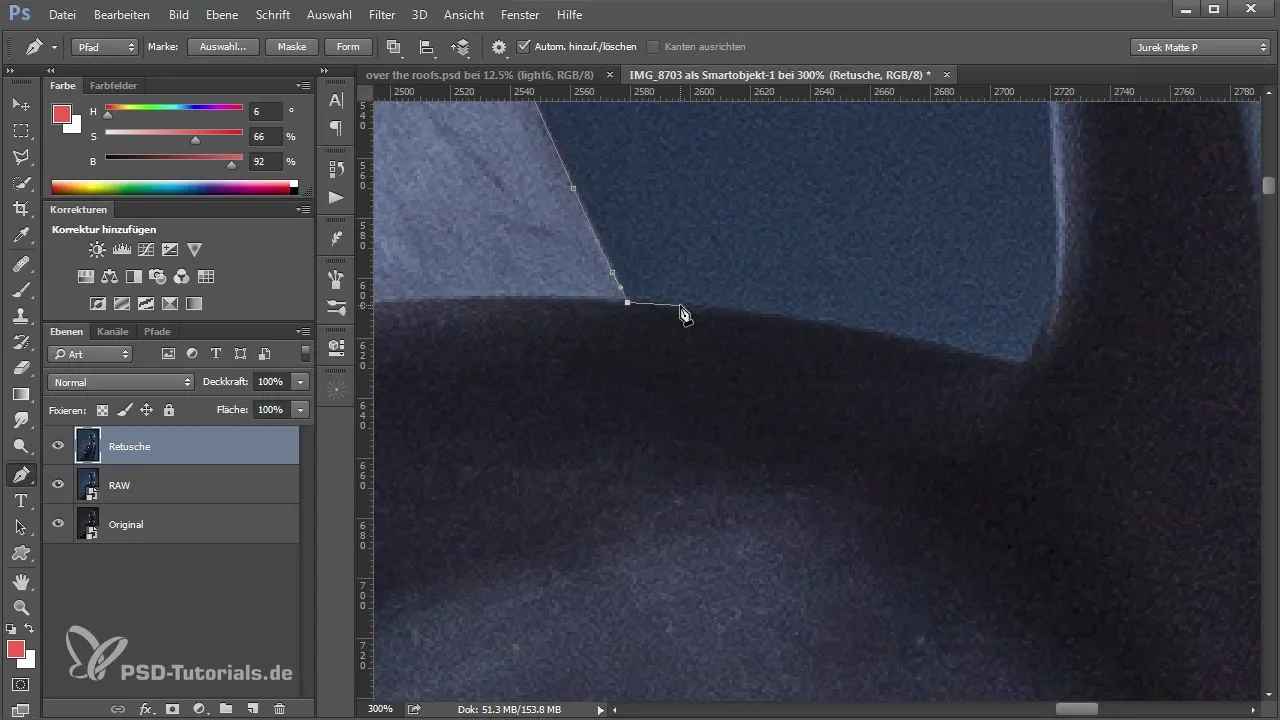
If you find the result to be insufficient, you should use the Pen Tool. Select the Pen Tool and make sure you switch to path mode. Also, ensure that the rubber band option is activated for better control over the line drawing.
Now it's time to zoom in closer to the image. Set the zoom to about 200% to better see the edges and work more precisely.
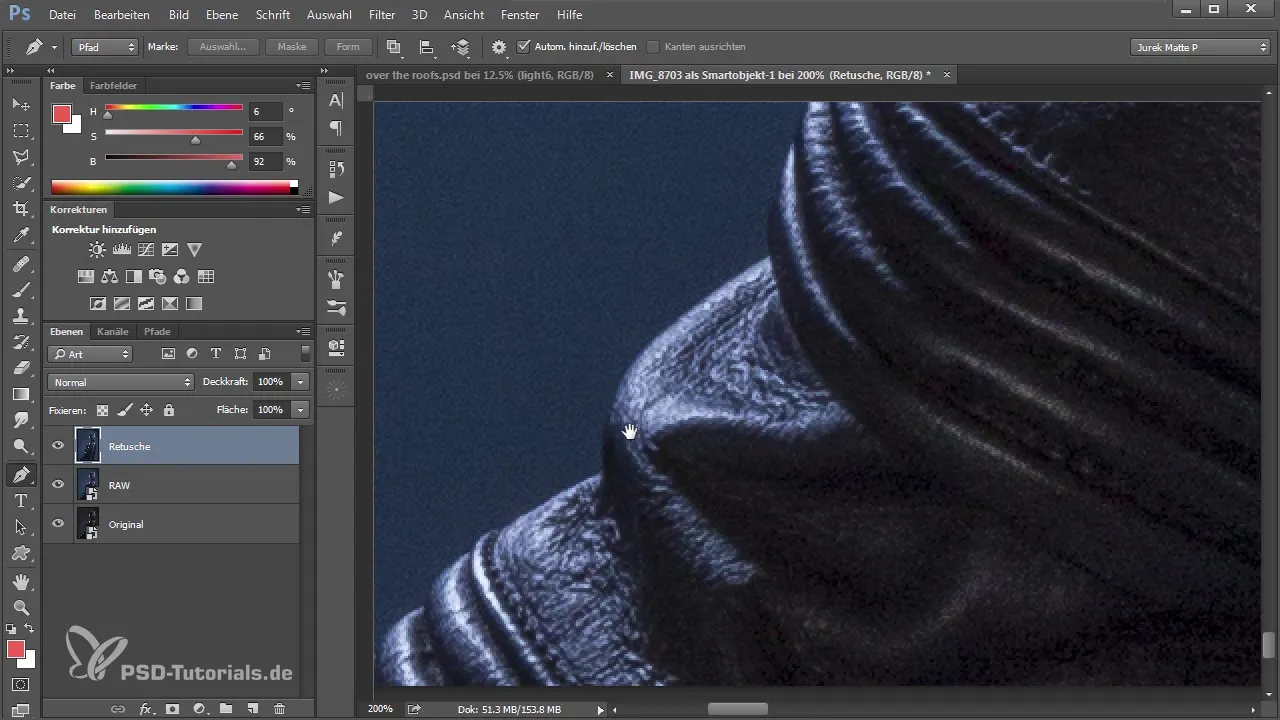
Begin clicking along the edges of the model to create your path. Use the tool to adjust points in fine curves and uneven areas by pressing the spacebar. This gives you the opportunity to maintain control over the curves.
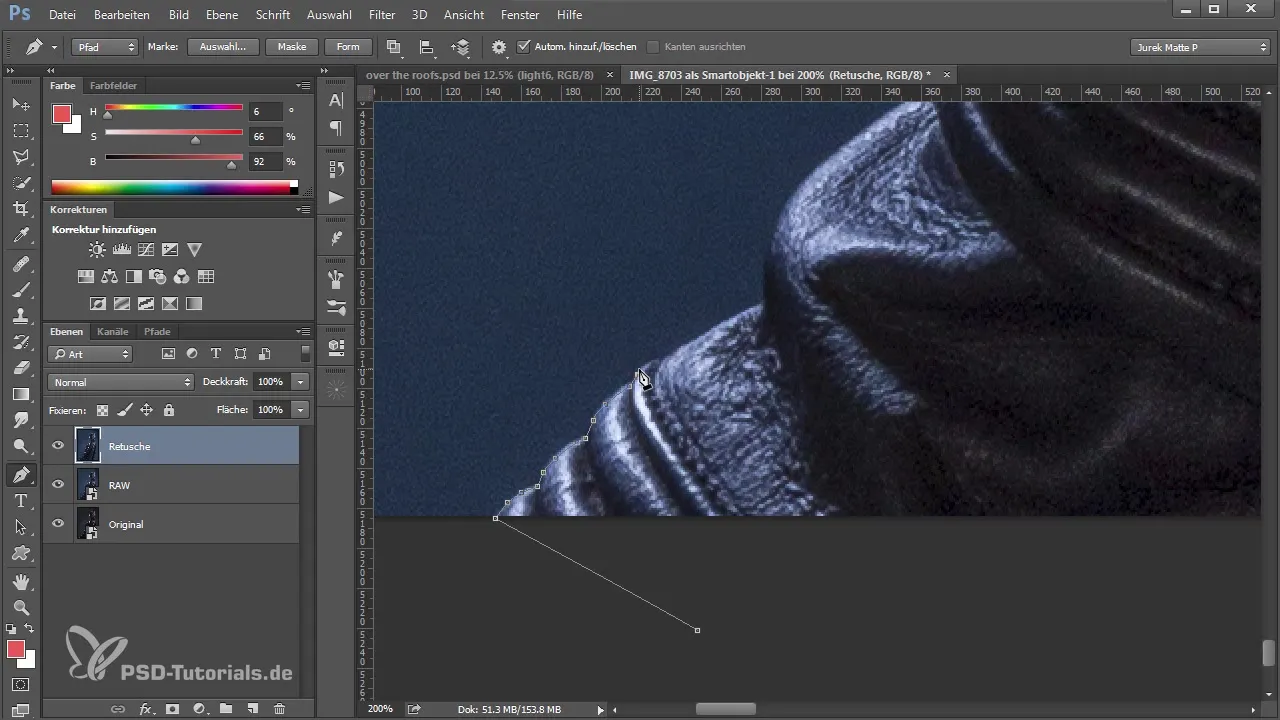
It may require some patience until the entire path is created, but this care is essential for achieving a successful cutout. The more accurately you work, the better the end result will be.
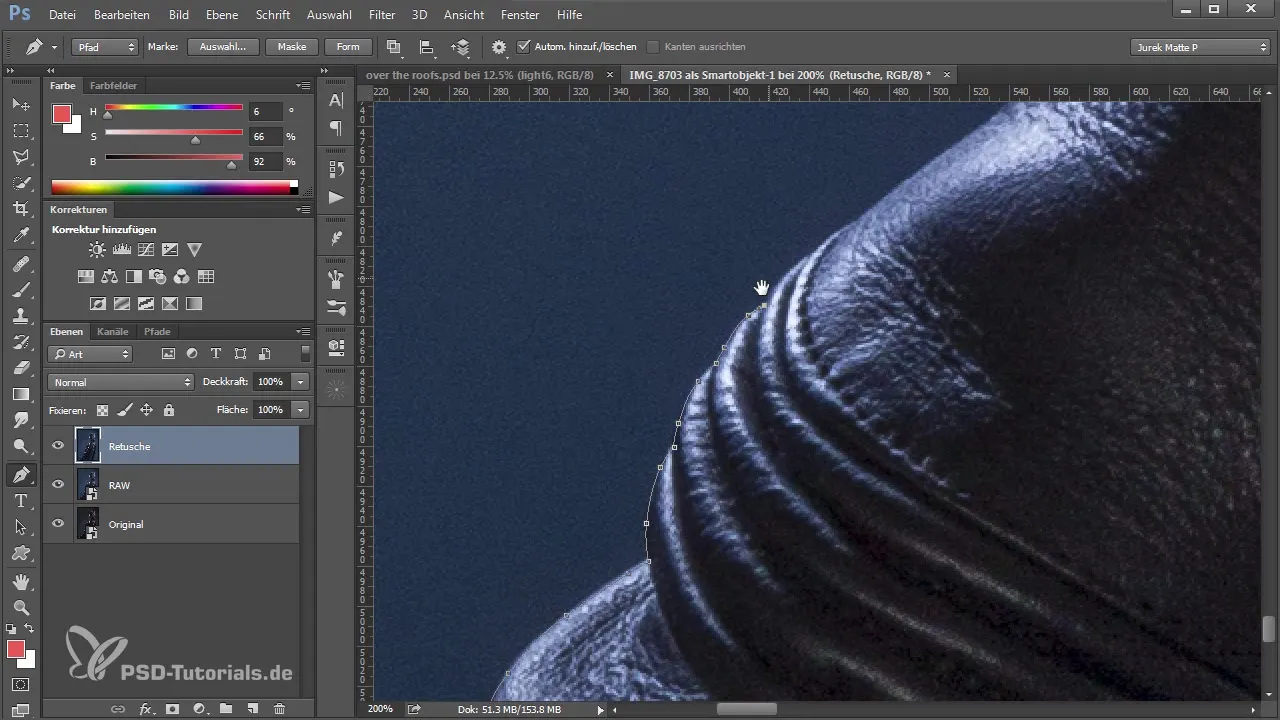
Consistency in editing helps you navigate through the image more smoothly. Pay special attention to places where contrasts between the model and background are not strong. Here, working with the Pen Tool can be particularly helpful.
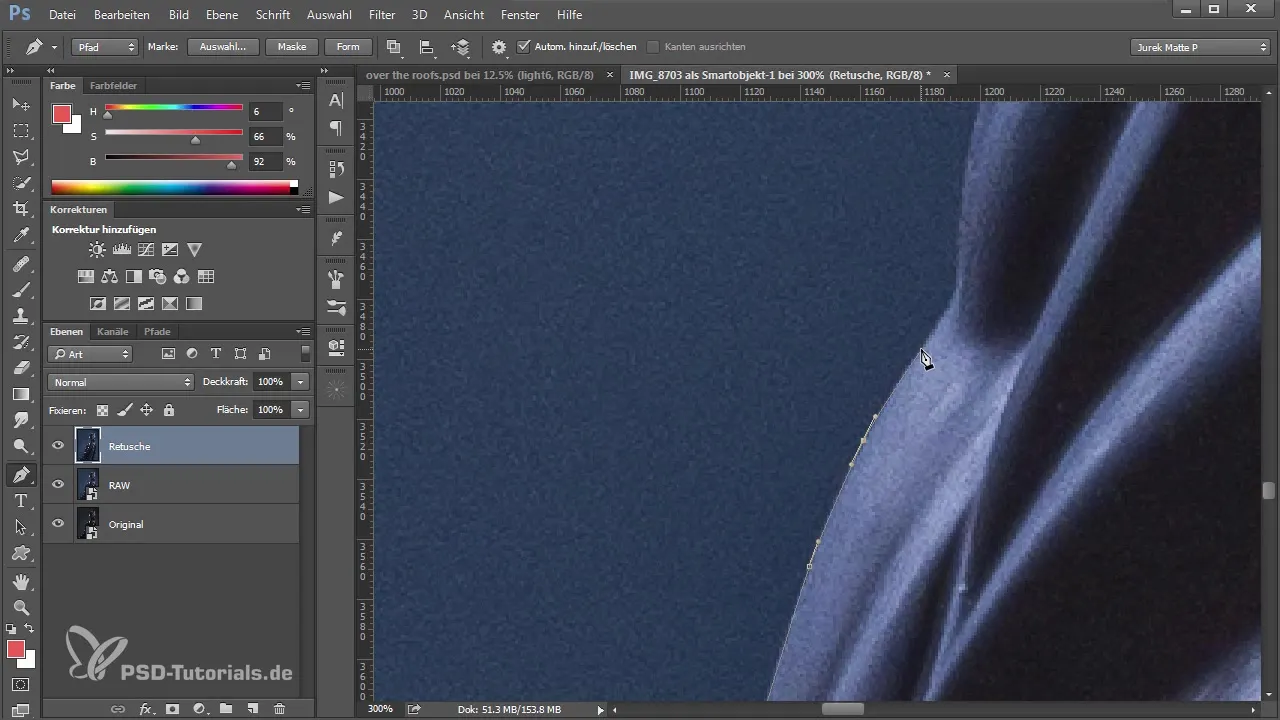
Once you have worked on a large part of the model, you can relax your ongoing work by listening to music. This helps you get through the less interesting steps.
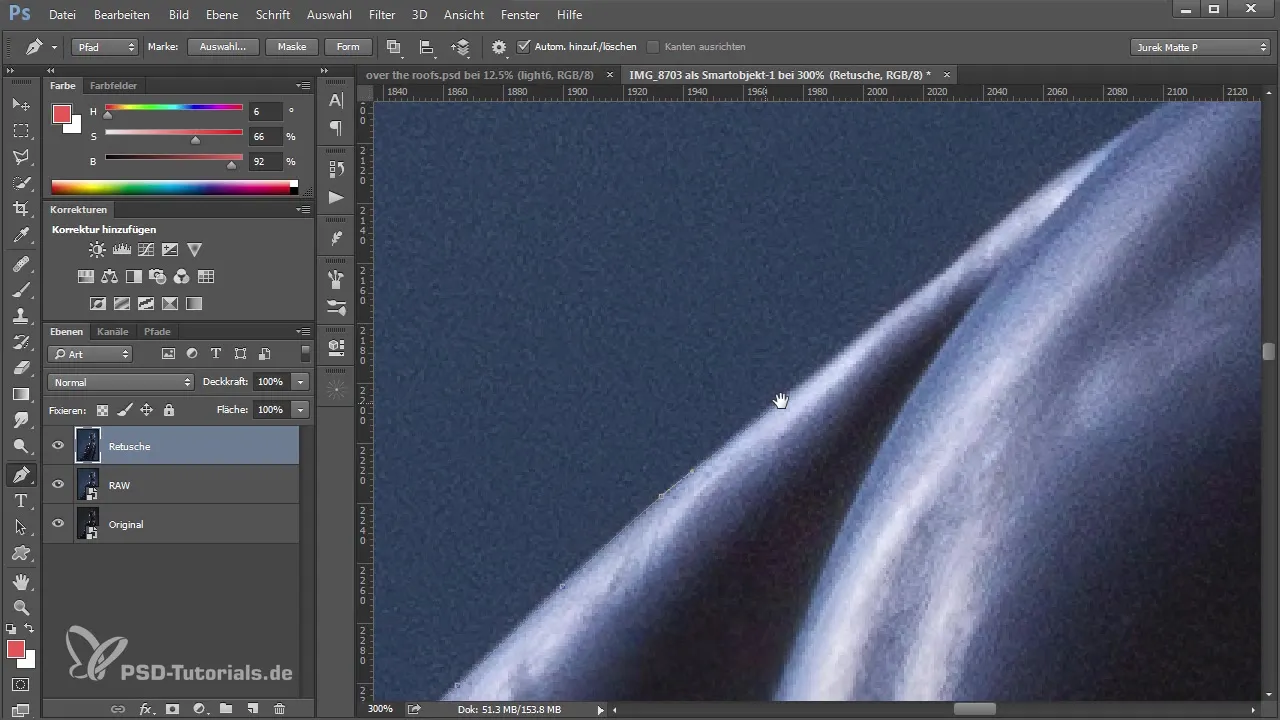
At all times, keep your fingers away from the Escape key – if you accidentally press it, the path will be closed, making it harder to make changes.
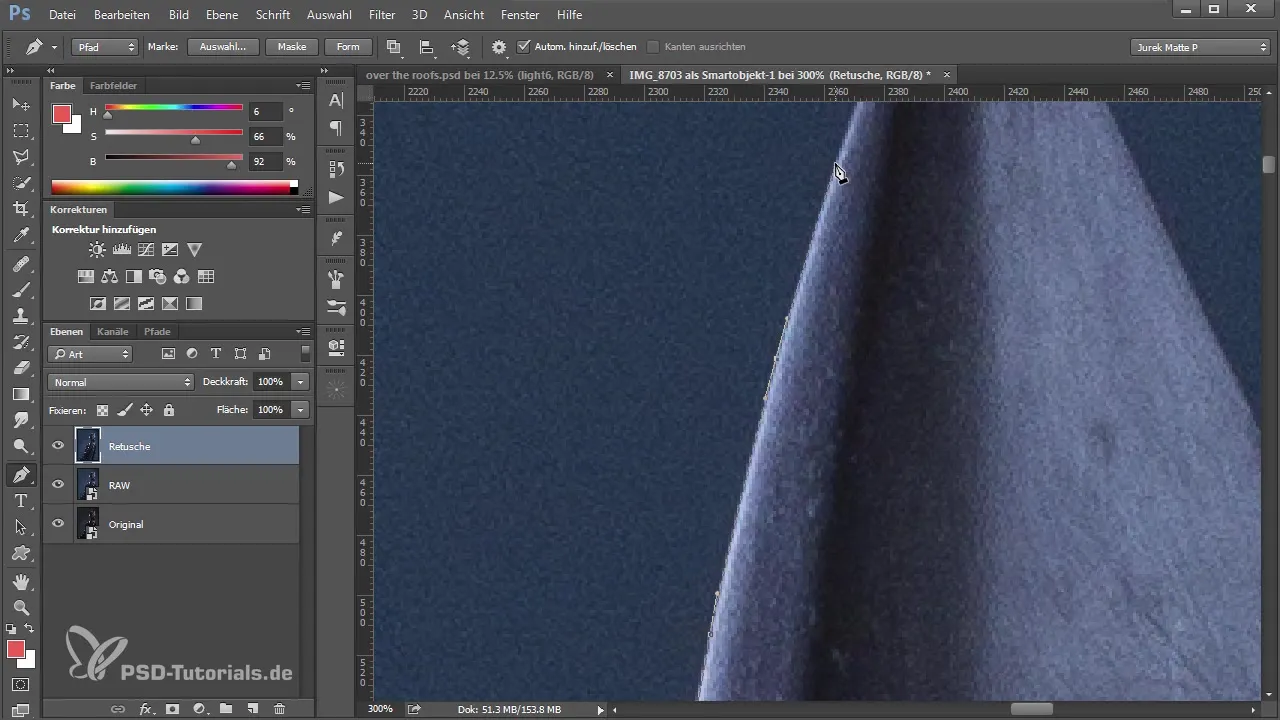
When you reach difficult areas, such as sharp angles, and need to set a point, you can do so and make the edge much easier.
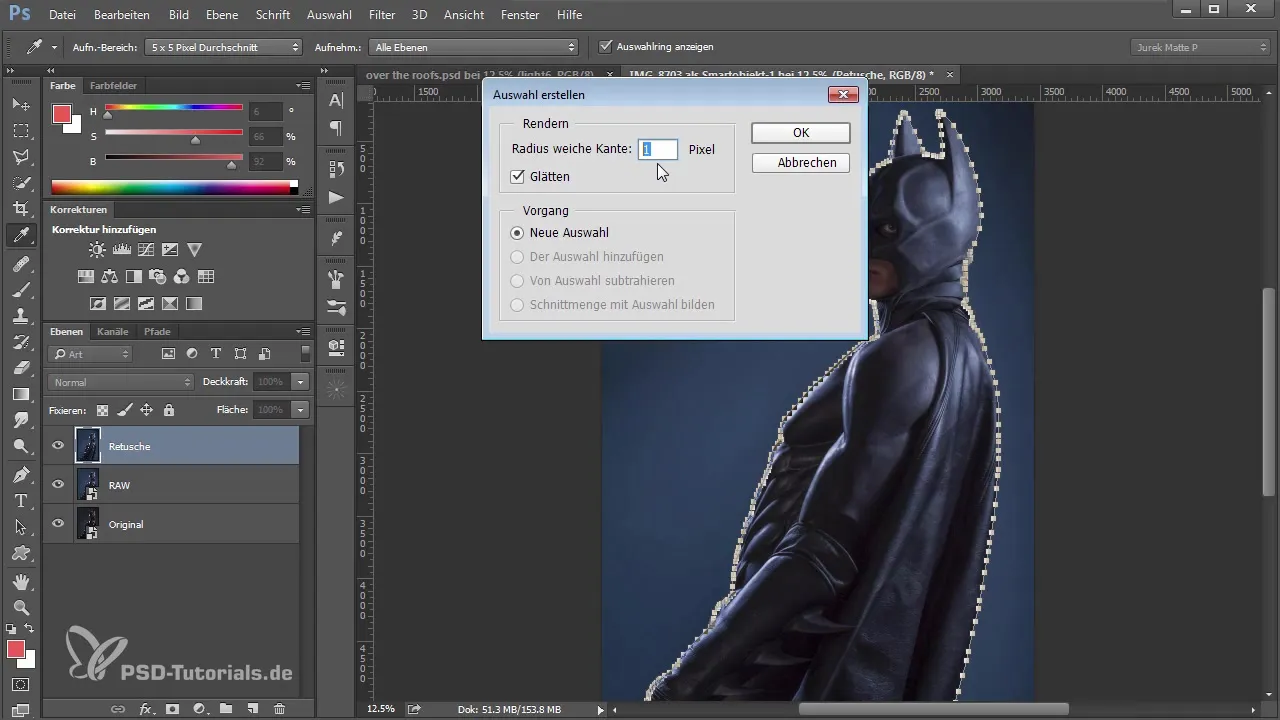
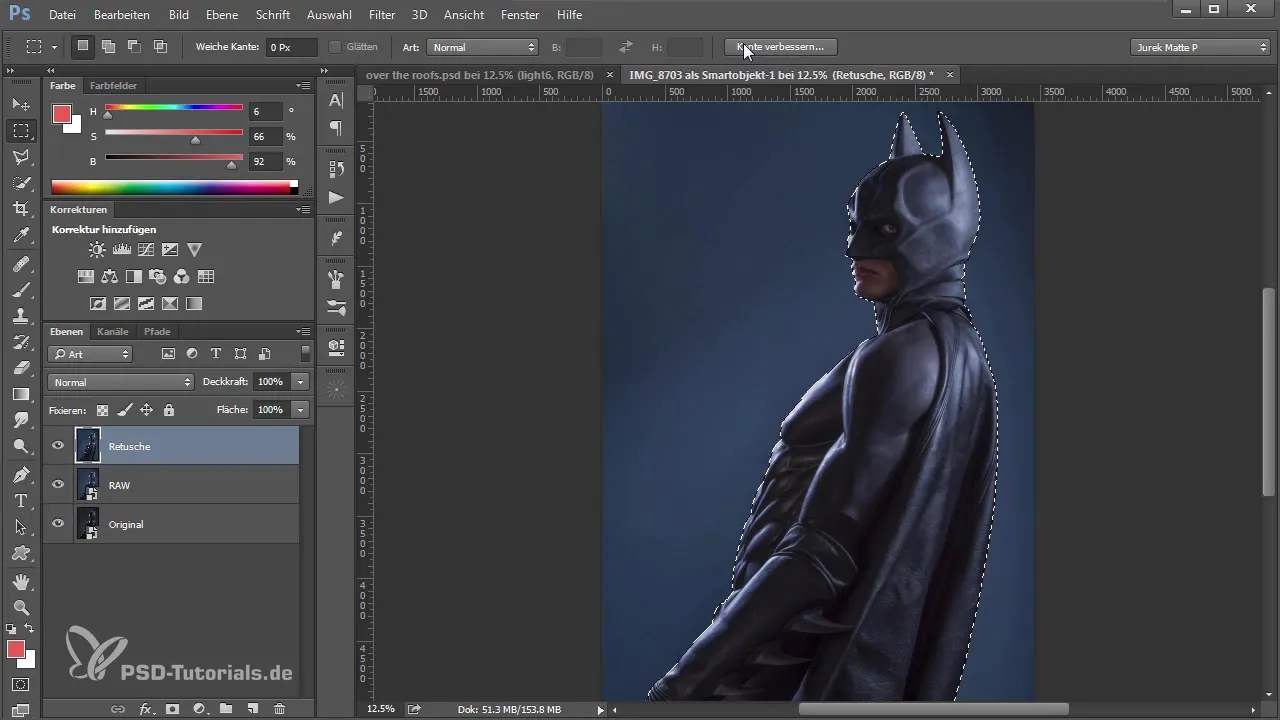
Before you complete the entire path, ensure that you have covered all areas. After you have created your path, you can right-click and create a selection with a radius of 1 pixel.
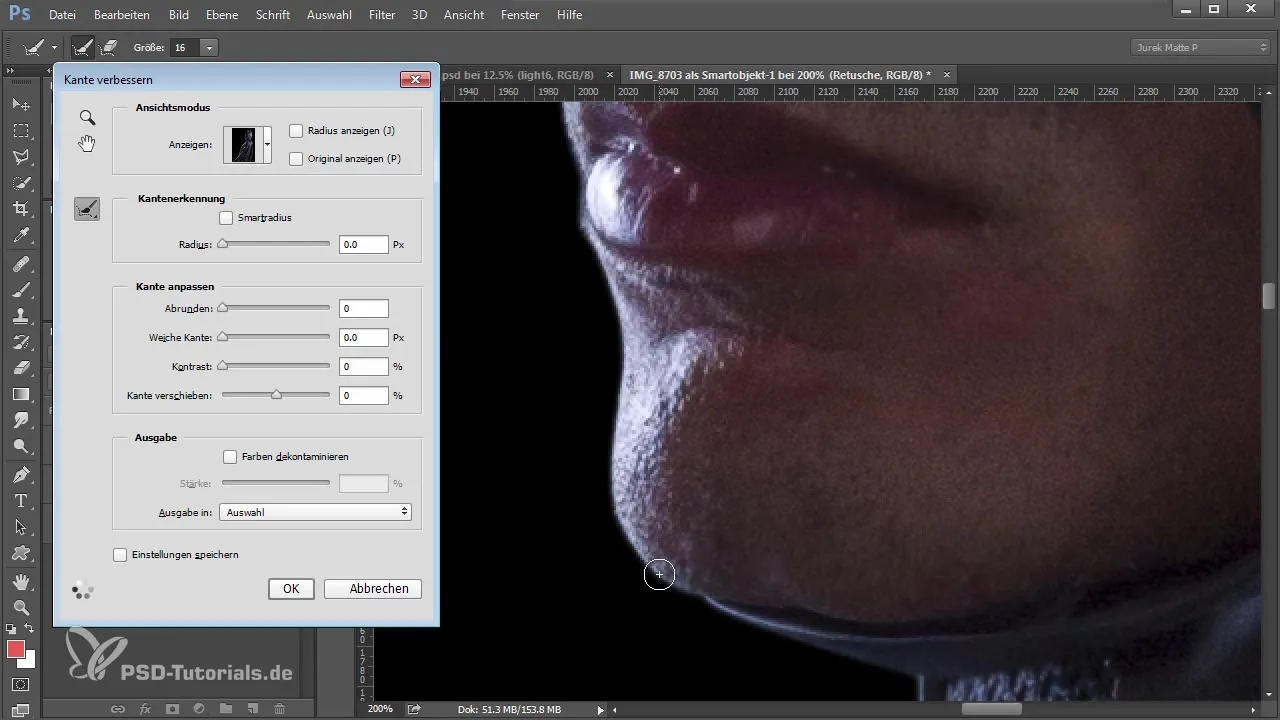
To ensure that all details are appealing, use a selection tool to make further adjustments in specific areas, such as the face. The goal is to create a clean and seamless edge.
When working with hair and other fine details, it is important to be patient and do the fine work to ensure a realistic look.
Once you are done with the cutout, copy the selection to a new layer by pressing Ctrl + J. This gives you your cutout in a new layer and you can continue working with the background.
The edges should now be clean and clear, the image retains its quality, and you are ready to take the next step.
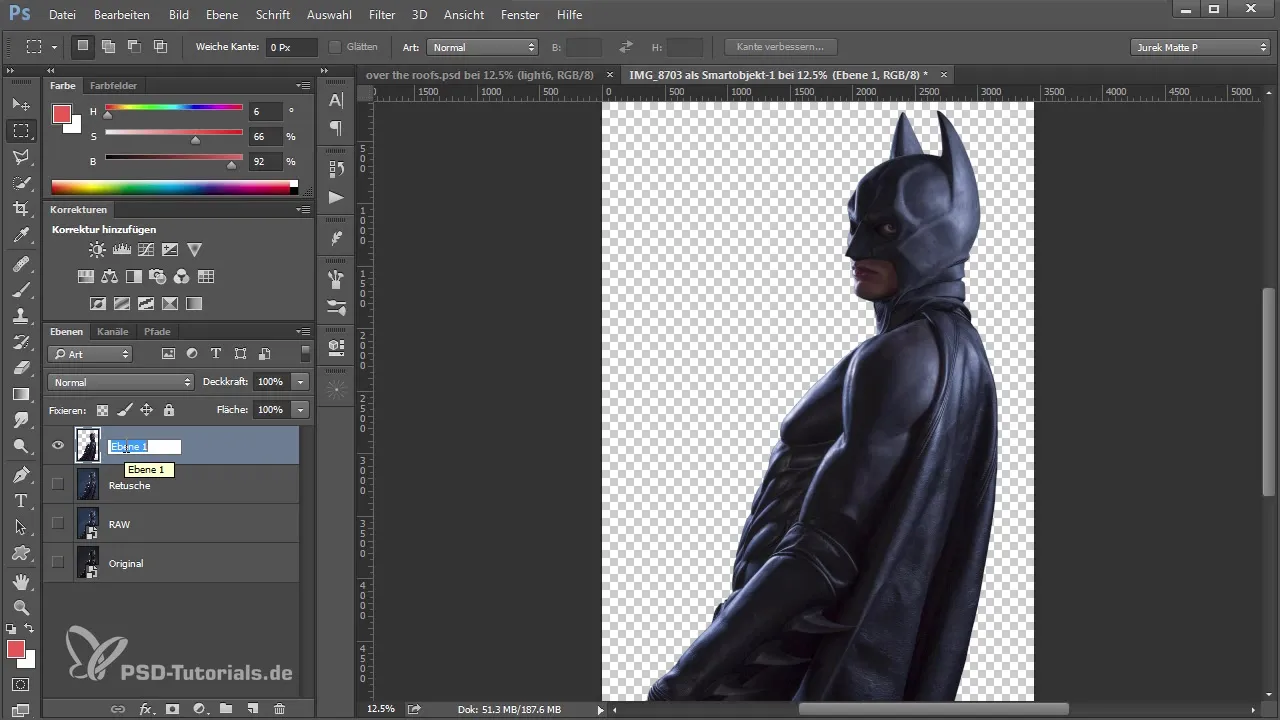
Summary – Cutting Out in Photoshop: From Image to Perfect Result
You have now learned the basics of cutting out a model in Photoshop, including the use of the Pen Tool and precise edge editing. With patience and practice, your cutouts will continue to improve.
Frequently Asked Questions
How can I improve the selection after cutting out?Use the selection tool to make targeted adjustments in problematic areas.
What tips are there for using the Pen Tool?Keep the Escape key away to avoid accidentally closing the path and use the spacebar to adjust points.
How important is zooming in when cutting out?A zoom of 200% allows for more precise work on the edges and improves detail accuracy.


