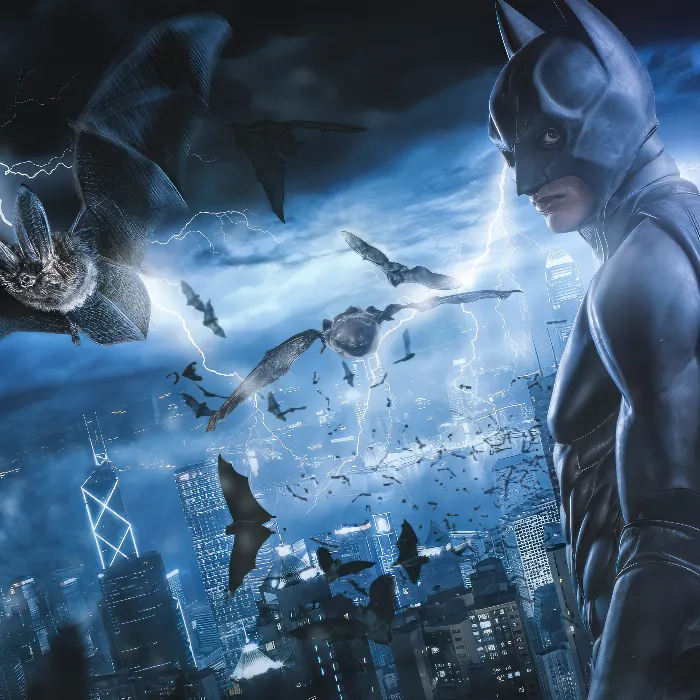
Your creative project in Photoshop will come to life by adding flying elements like bats. In this guide, you will learn how to integrate bats effectively into your image, using both stock images and brush techniques. The goal is to create an impressive result that conveys depth and dynamism.
Key Insights
- Stock images provide a quick way to add interesting elements to your designs.
- By removing backgrounds and adjusting edges, you achieve clean transitions.
- Using image adjustments and effects ensures that the bats are harmoniously integrated into the overall picture.
Step-by-Step Guide
First, you have created the basic elements of your image and placed some bats in the background. Now we will focus on the bats in the center of the image. You have already selected some stock images, so you are ready to edit them.
Step 1: Select and Insert Image
Open the stock image of a bat in a separate file in Photoshop to prepare it for removal. This selection consists of an image from Fotolia and one from DeviantArt.
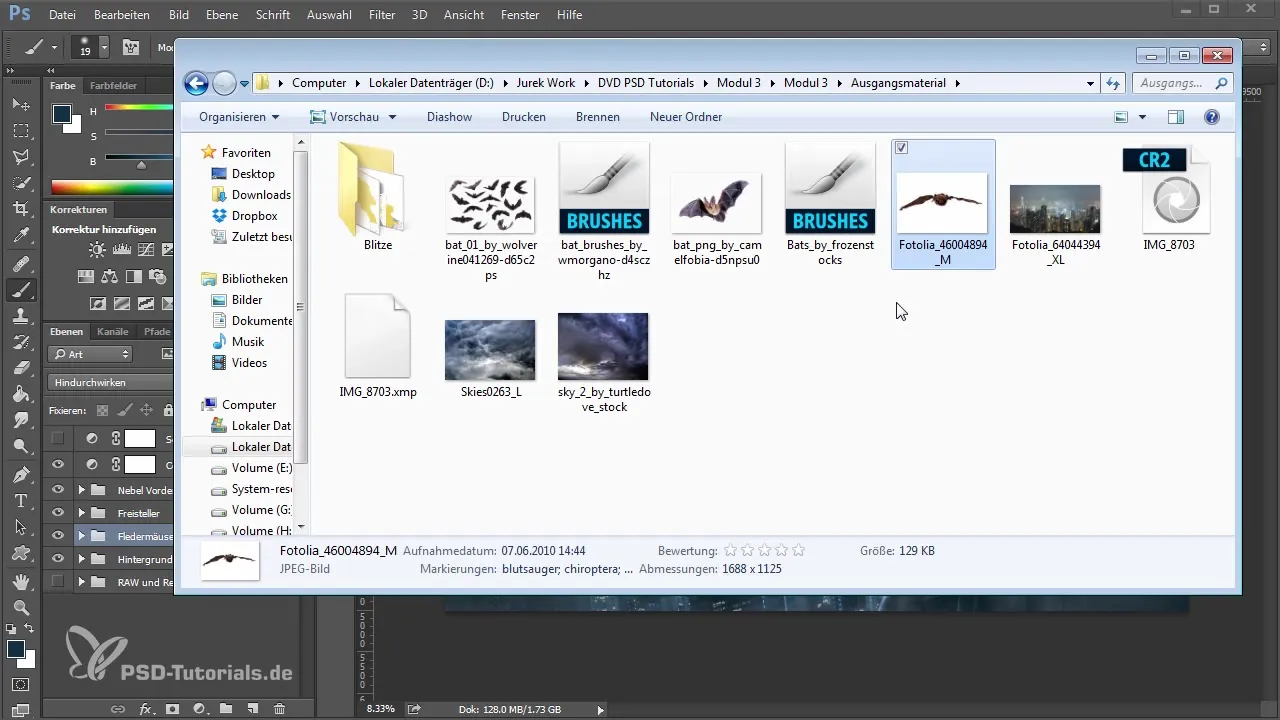
Step 2: Isolate the Bat
To isolate the bat from the background, use the selection tools. An automatic background removal in the focus area can be helpful. Pay attention to the details that you need to manually adjust to edit edges and unsightly borders.
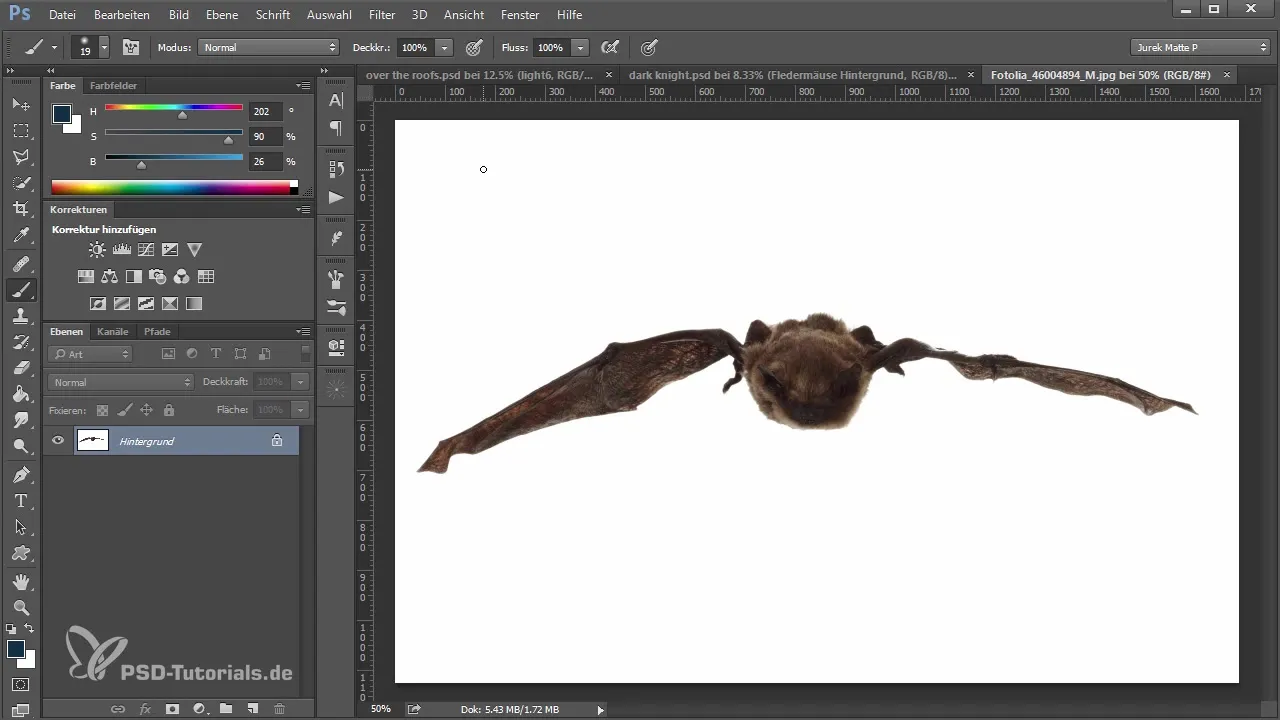
Step 3: Make Corrections to the Removal
After the initial removal, you may still have some unwanted edges. Use edge refinement to optimize these areas. Adjust the edges and cut away unnecessary parts. You want to ensure that the edges of the bat appear soft and natural.
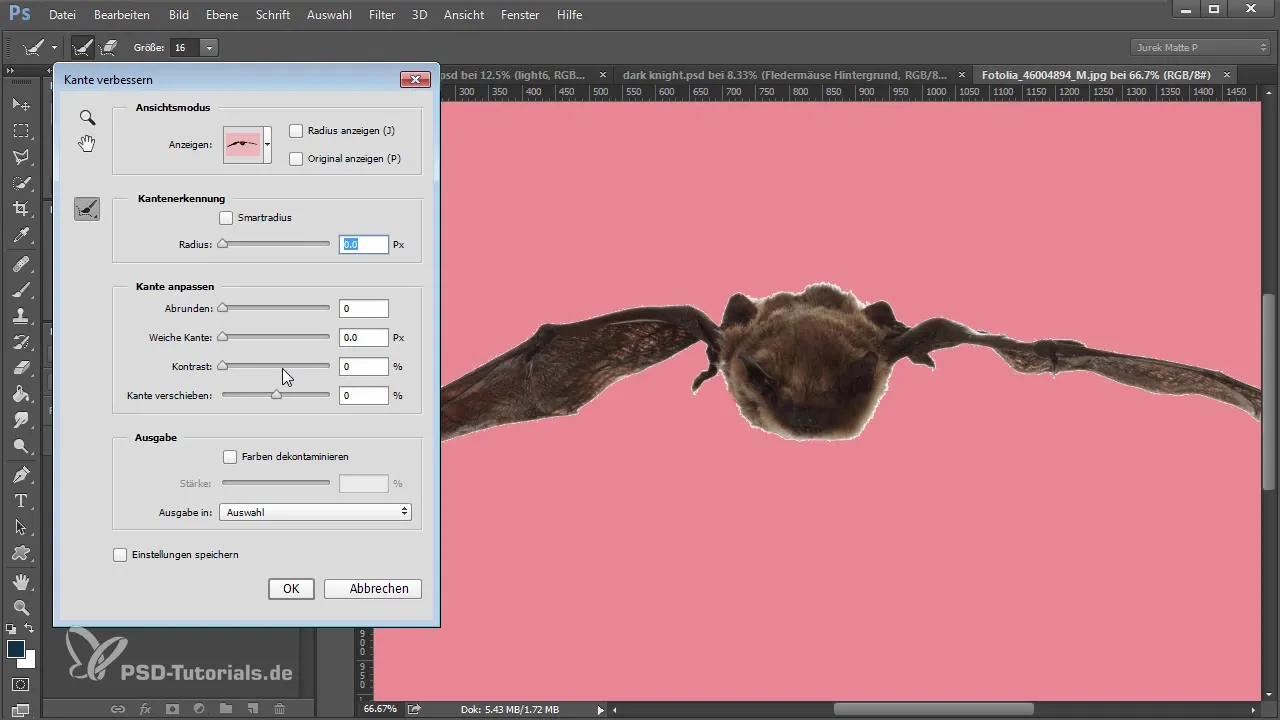
Step 4: Positioning and Transforming the Image
Copy the isolated bat into your main image. Change the size and position of the bat so that it is well placed in the image. Here, you can enlarge and angle it to achieve a dynamic effect.
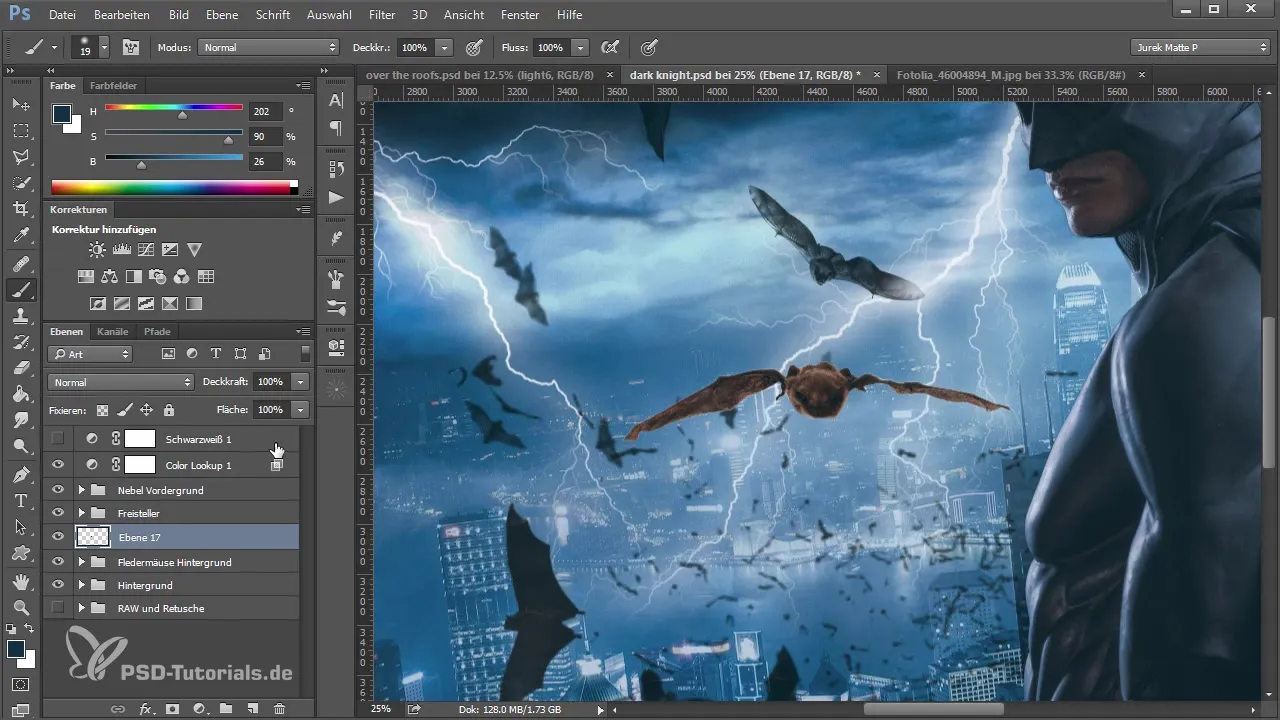
Step 5: Create Transitions with Brush Technique
Create a new layer to shape the transitions between the bat and the background using a brush tool. Make sure to edit the hair and fur of the bat so that it looks realistic and blends seamlessly into the image.
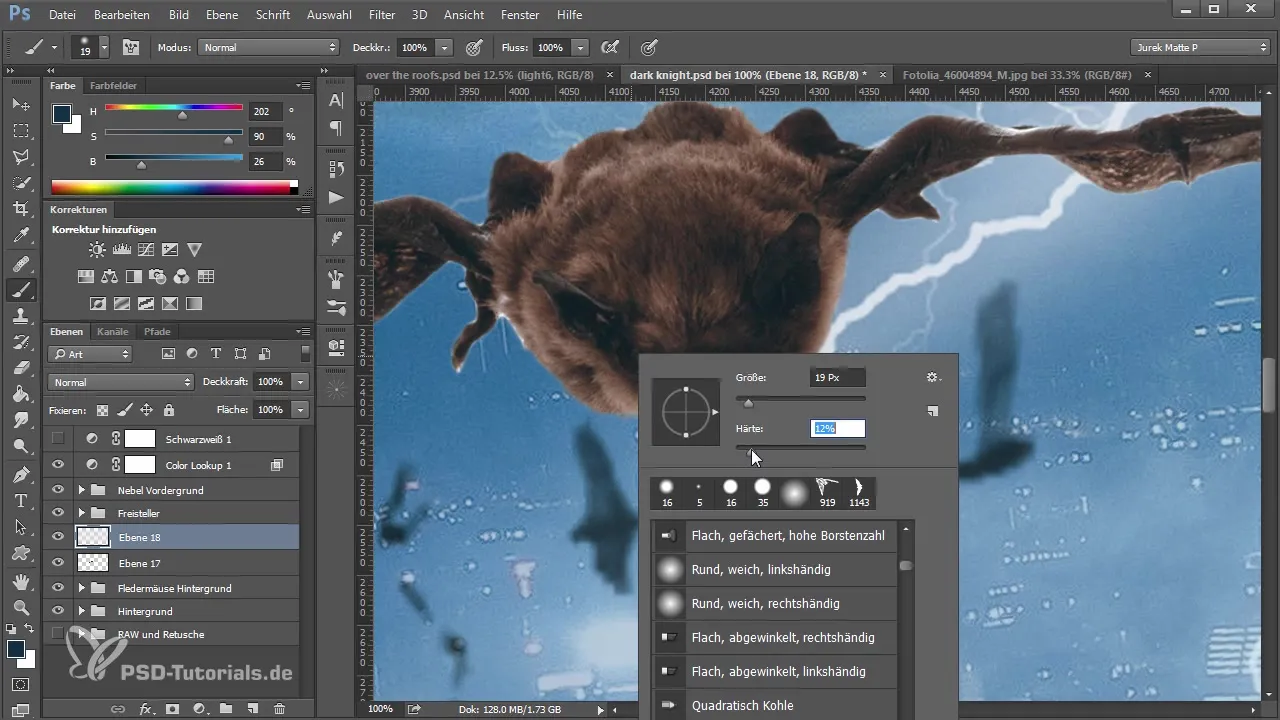
Step 6: Adjust Color and Lighting Settings
To harmoniously integrate the bats into the scene, adjust the brightness, contrast, and colors. Experiment with image setting modifications to ensure that the bat matches the background in color and lighting.
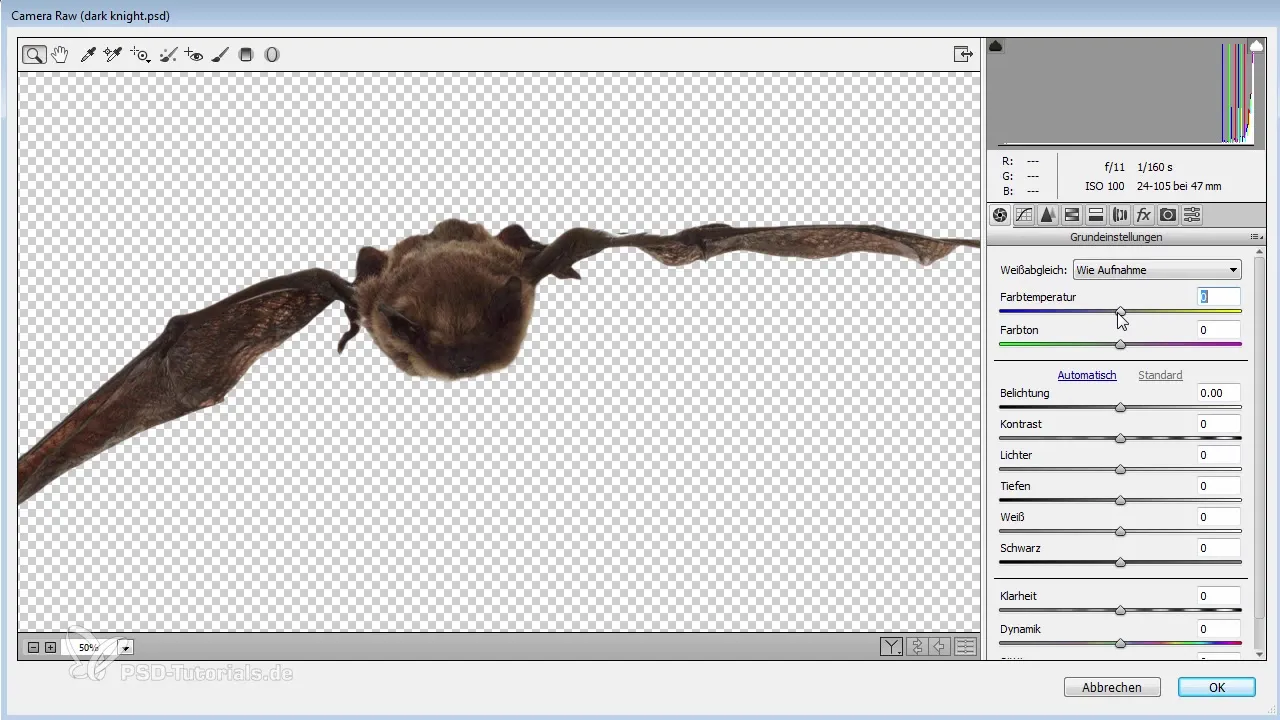
Step 7: Add Effects
To invigorate the bat, you should add subtle effects. This includes light reflections that are balanced through digital editing to make the image appear more vibrant. Create a new layer for this and paint gentle light spots.
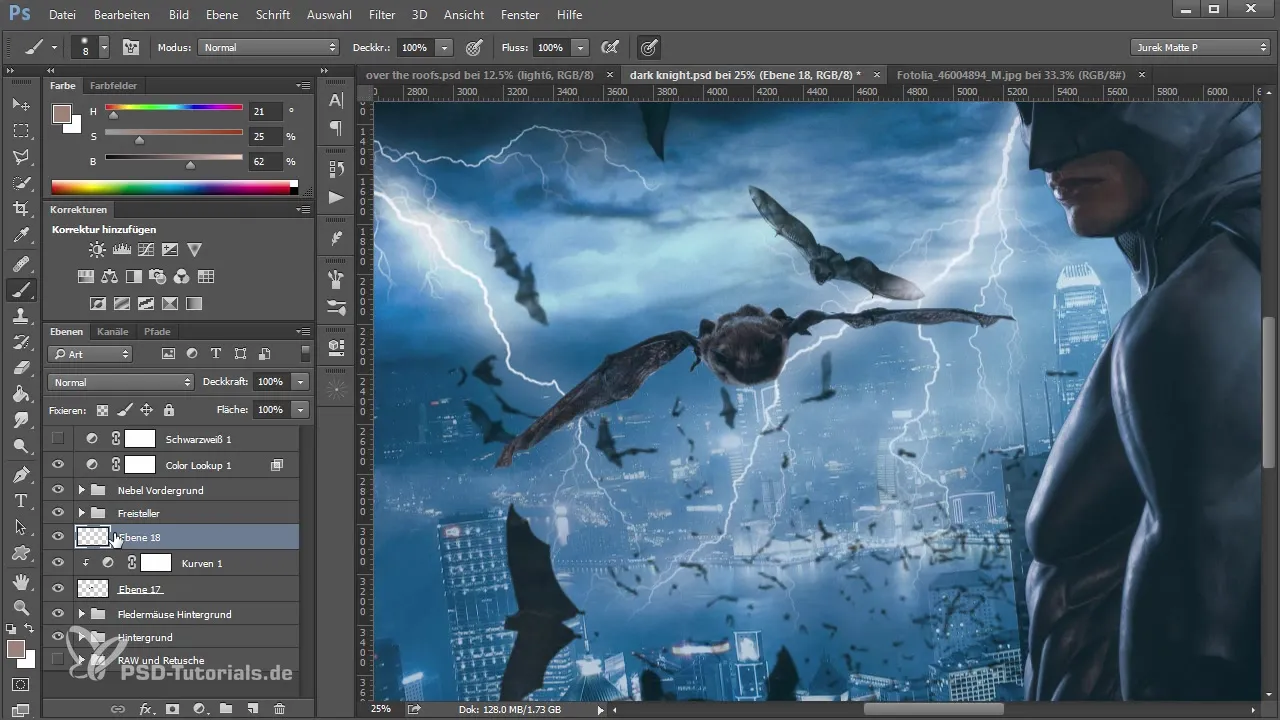
Step 8: Detail Optimization
Before you consider the image final, go through all the edges once more. Sometimes small impurities are visible that can easily be corrected with the brush tool. This ensures clean transitions and a professional final result.
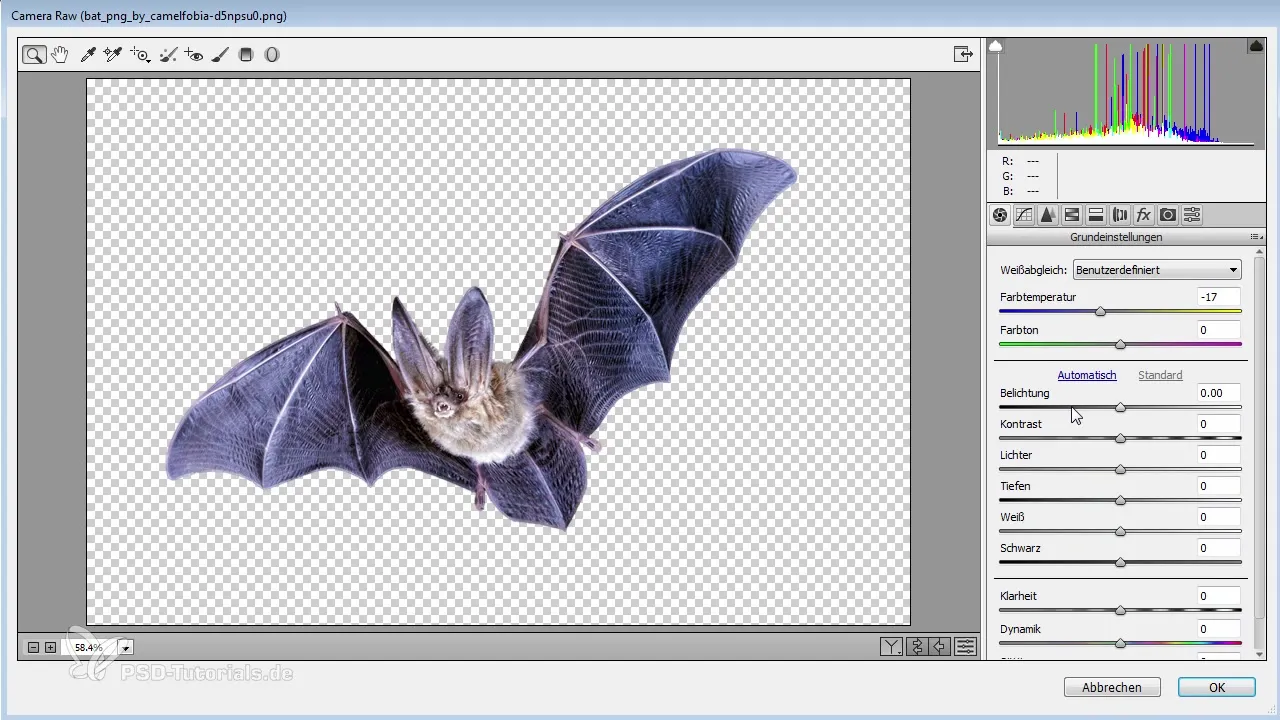
Step 9: Finishing Touches in the Image Editing Area
When you are in the Camera RAW filter, pull the entire image into cooler tones. This will create more harmony among the various elements of the image. Test different filter settings to achieve the best results.
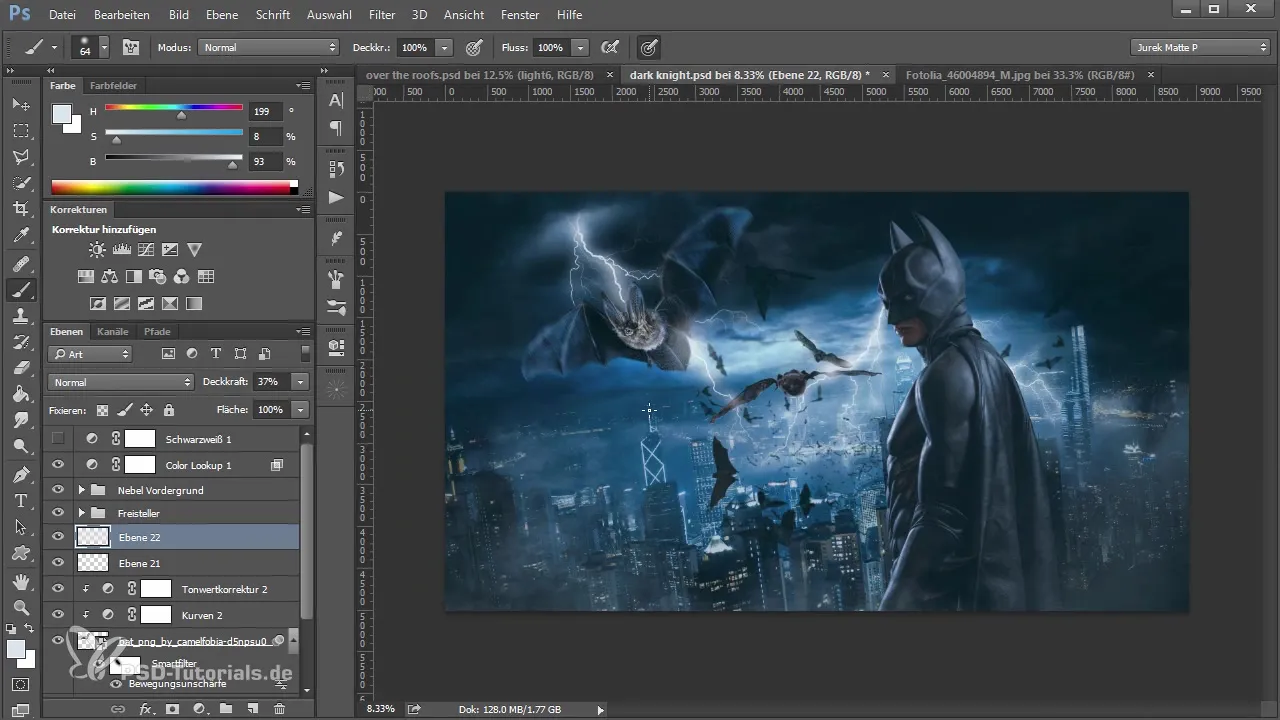
Step 10: Evaluate the Final Result
Look at the overall image and check the placement and adjustments of the bats. Fine adjustments may be necessary to ensure that everything fits well together and achieves the desired visual outcome.
Summary - Inserting and Designing Bats in Photoshop: Step-by-Step Guide
Throughout this guide, you have learned how to successfully integrate bats into your image and optimize their edges and transitions. By intentionally using stock images and various editing techniques, you achieve striking visual effects that enhance your artwork.
Frequently Asked Questions
How can I remove the background from an image?Use selection tools or the focus area for automatic removal; manual touch-ups may be required.
What to do if the colors of the inserted bat do not match?Experiment with brightness, contrast, and color settings to achieve a harmonious overall image.
How do I improve the transitions between the bat and the background?Use brush techniques on a new layer to create smooth transitions and achieve a natural look.
