Photoshop is not just a tool for image editing, but also a powerful program for creating and editing 3D objects. One of the most important features in the 3D area is ambient light, which allows you to insert 3D objects realistically into a scene. This guide will walk you through the basic steps to efficiently utilize ambient light in your Photoshop projects. You will learn how to prepare your 3D model, play with light, and perfectly integrate the objects into a background.
Key Insights
- With ambient light, you can illuminate 3D objects realistically in the environment.
- Photoshop supports many common 3D file formats.
- The IBL map can help transfer the ambient colors directly onto your 3D model.
Step-by-Step Guide
Let's start with the first step to integrating ambient light in Photoshop.
1. Import 3D Object
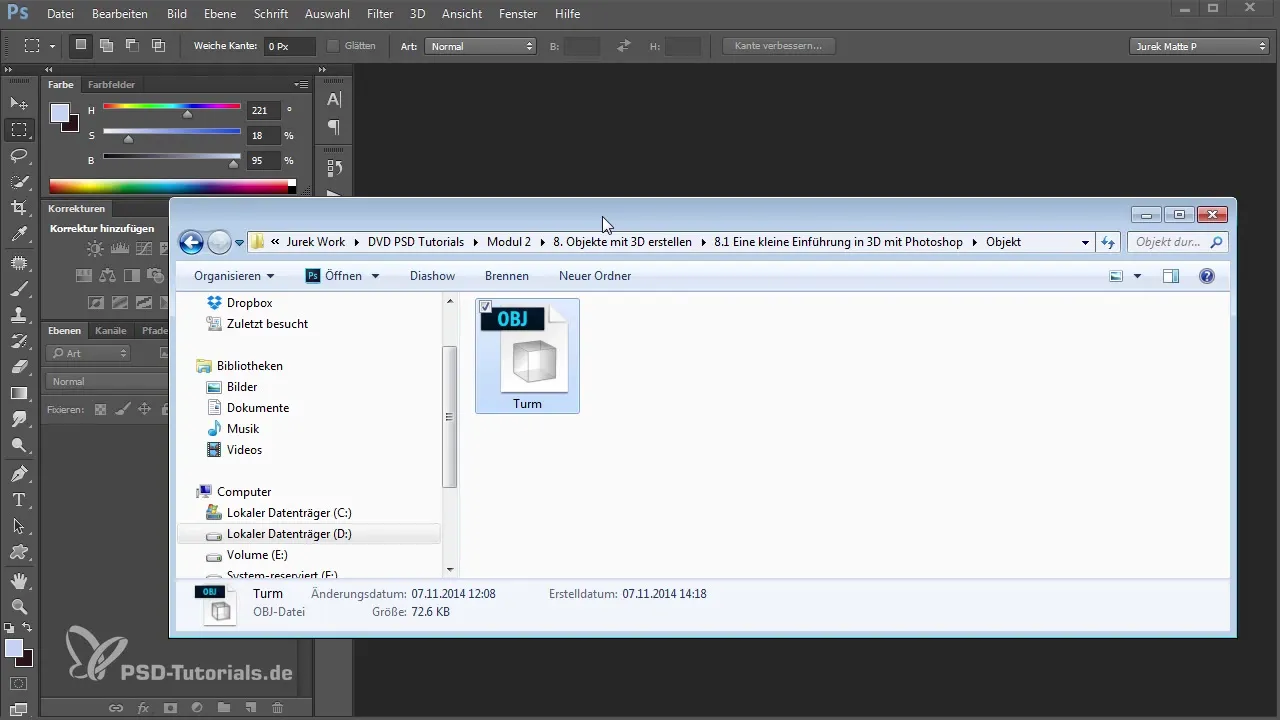
First, you need a 3D object. You can either create this yourself in Photoshop or download an existing model from an external source. Make sure the format is compatible with Photoshop to avoid unnecessary detours through converters.
2. Set Up Workspace
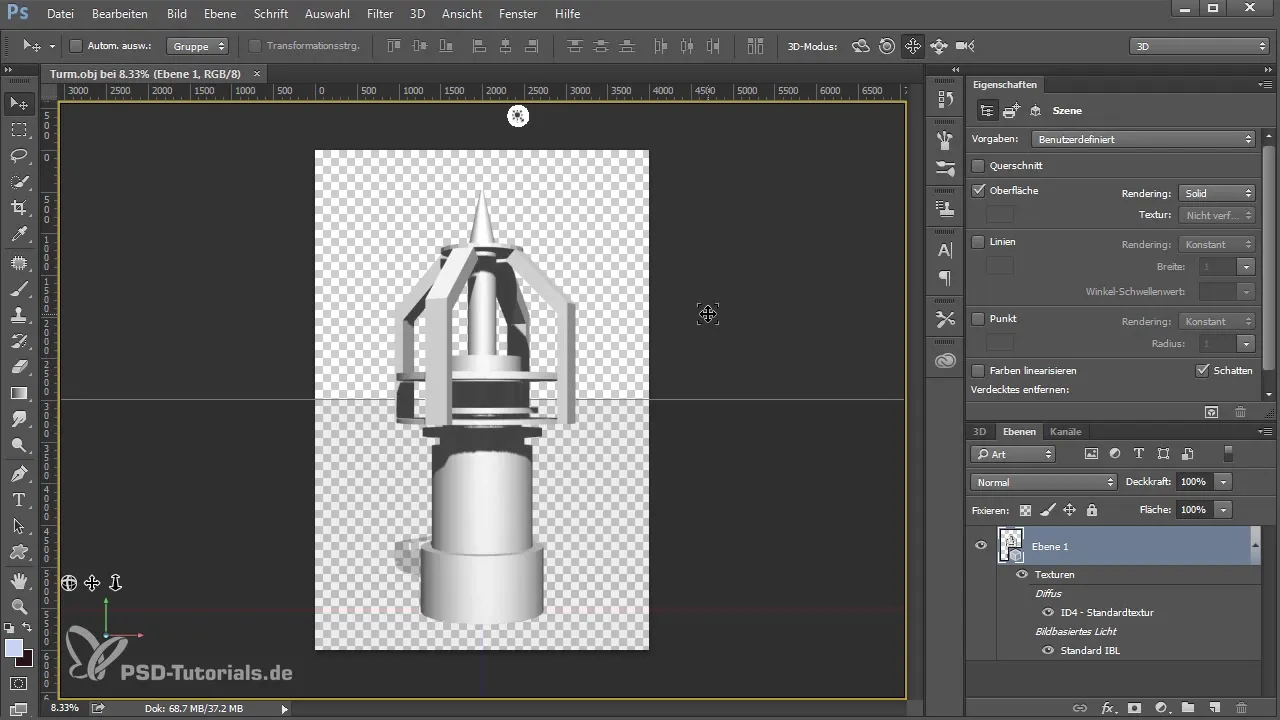
Import your 3D object into Photoshop. You will be prompted to activate the 3D workspace, which you should confirm. Now your model is in the workspace and you can start editing. Don't forget to adjust the size and dimensions of your workspace to suit your requirements.
3. Adjust 3D Model
Switch to 3D mode and make basic adjustments to your model. Position your 3D object and flip it to create interesting shadows. These settings are important for making the final image appear more realistic.
4. Background Design
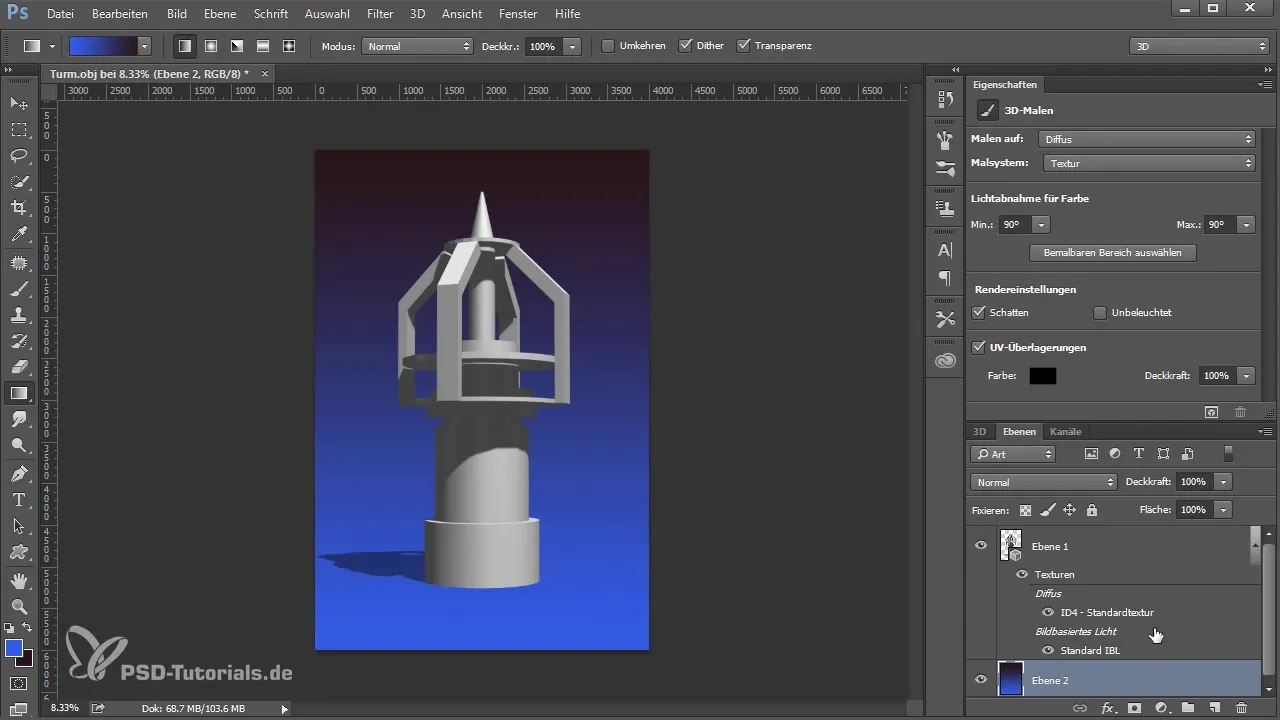
Add a new layer to your 3D model to create the desired background. Experiment with gradients to add necessary depth. A simple color overlay can already help make the scene more engaging.
5. Adding Lights
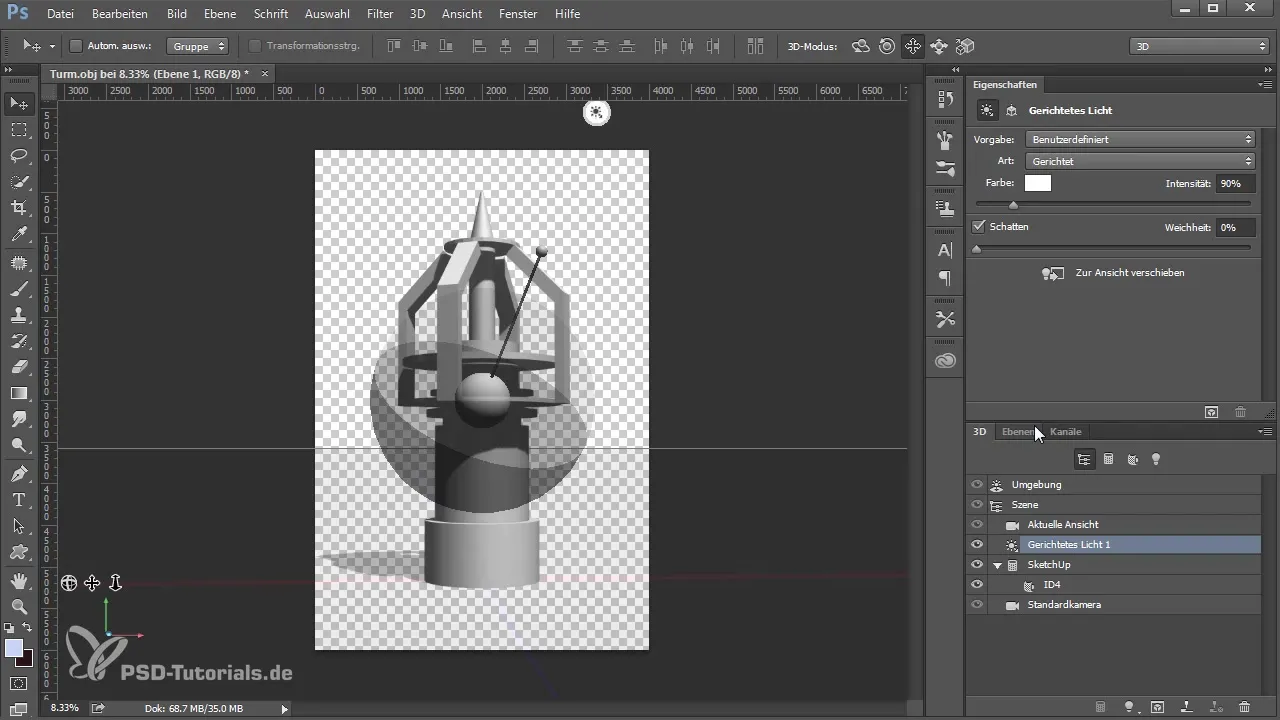
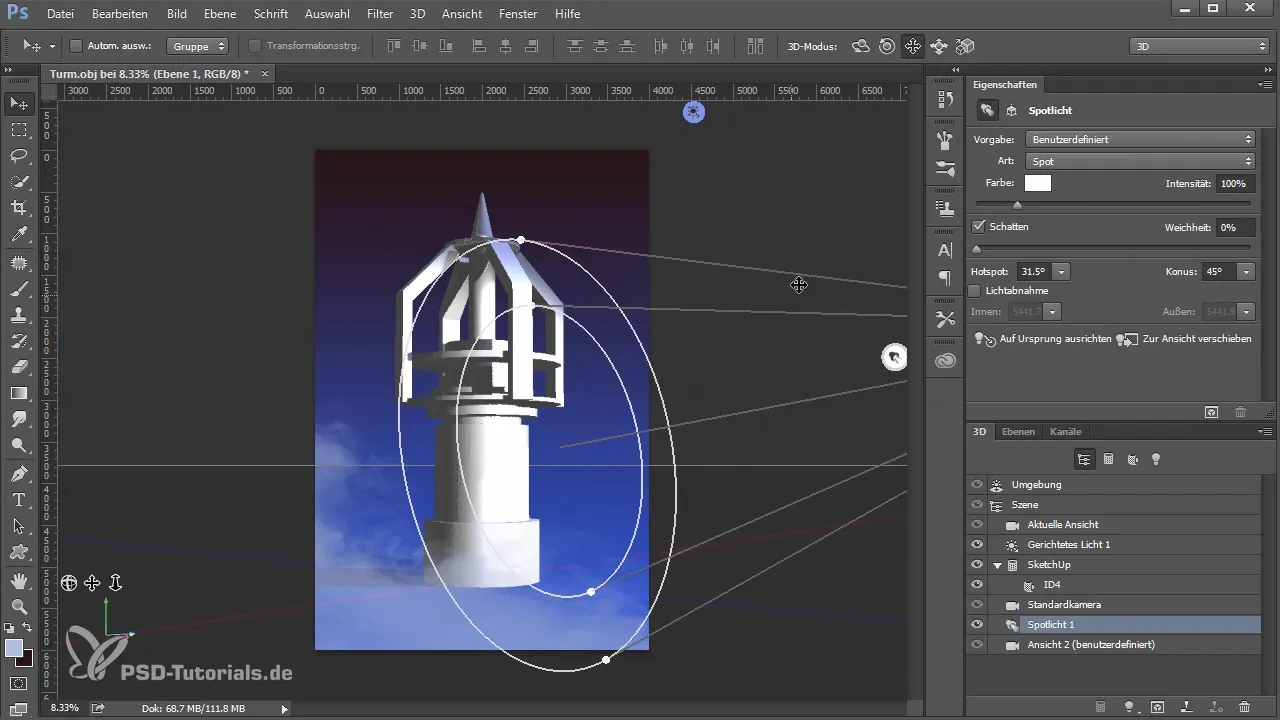
Return to the 3D area and adjust the lighting. You can color your directional light and add a spotlight that illuminates the entire setting. Set the light source to harmonize with the environment.
6. Apply Materials
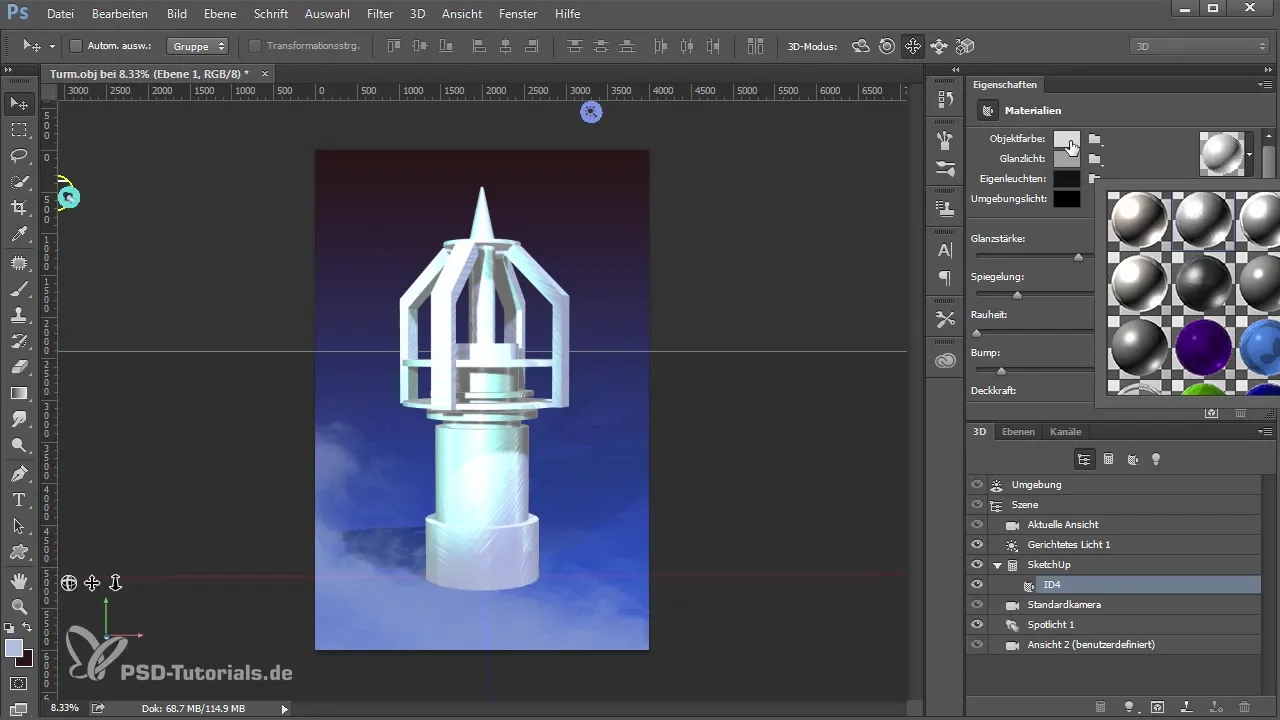
An important aspect is material adjustment. Choose an appropriate material for your 3D model. Experiment with different textures to optimize the appearance. A metallic or textured material can often work wonders.
7. Prepare for Rendering
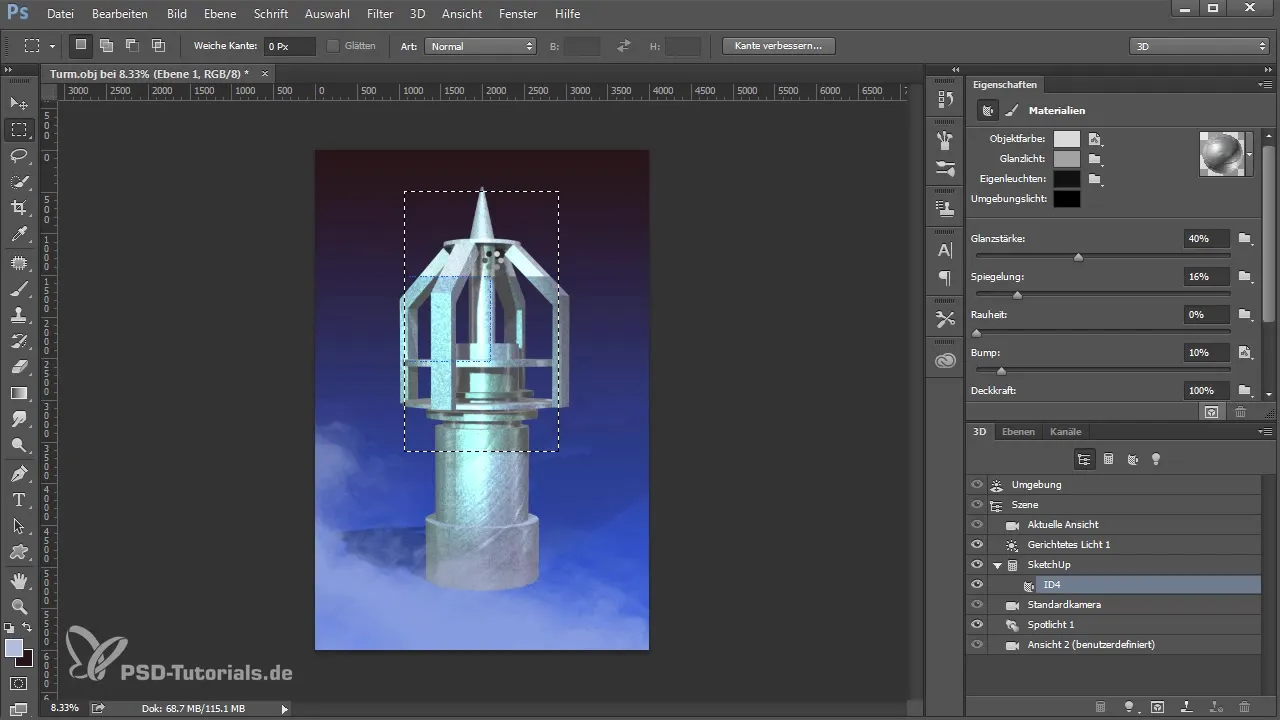
Prepare your model for rendering. Select the appropriate selections to define the edges of your 3D object. Ensure that everything is well-positioned before you start rendering.
8. Apply Environment and IBL Map
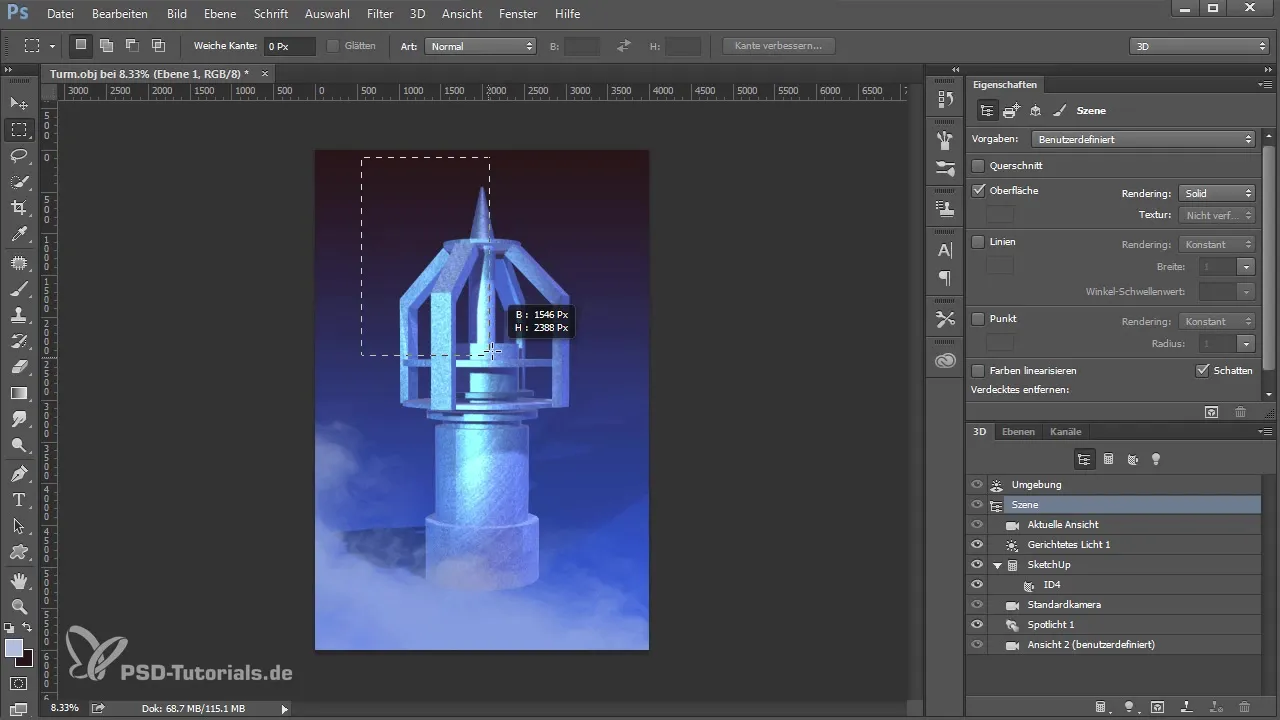
Now you can switch to the IBL map. This special texture helps control the ambient light so that it shines on your model. Optimize the IBL map to transfer the colors of the environment to your model, resulting in a smoother transition.
9. Fine-Tune the Environment
Inspect your model after applying the IBL map. You can further adjust the position and intensity of the ambient light to ensure it integrates well into the scene and appears realistic.
Summary – Effectively Integrate Ambient Light in Photoshop
You now know how important ambient light is for the integration of 3D objects in Photoshop. From modeling to fine-tuning, this process allows you to achieve effective and impressive results.
Frequently Asked Questions
How do I import 3D objects into Photoshop?Download the 3D object and use the import function in Photoshop.
Can I create 3D objects myself?Yes, you can directly create simple 3D objects in Photoshop or use powerful software like Google SketchUp.
How do I pin the ambient light settings to my model?Use the IBL map in Photoshop to transfer the ambient colors onto your model.
How do I adjust the lights in my scene?Go to the 3D area and change the light sources. There are options to individually adjust each type of light.
How long does it take to render a 3D model?This depends on the complexity of your model and the available hardware. A simple model can be rendered quickly, while complex scenes take longer.


