The creation of 3D models can seem intimidating at first, especially when you are working with software like SketchUp. However, SketchUp's intuitive user interface makes getting started easy and inviting. In this guide, I will show you step by step how to create a 3D object, starting from the base area to the coloring.
Key insights
- SketchUp is user-friendly software for modeling 3D objects.
- Starting with a base shape usually begins with 2D geometry.
- Modeling is done using various tools that help bring your ideas to life.
- The coloring for different materials is organized in groups.
Step-by-Step Guide
We will start with the basic user interface and create our first 3D model in SketchUp.
Set Up SketchUp
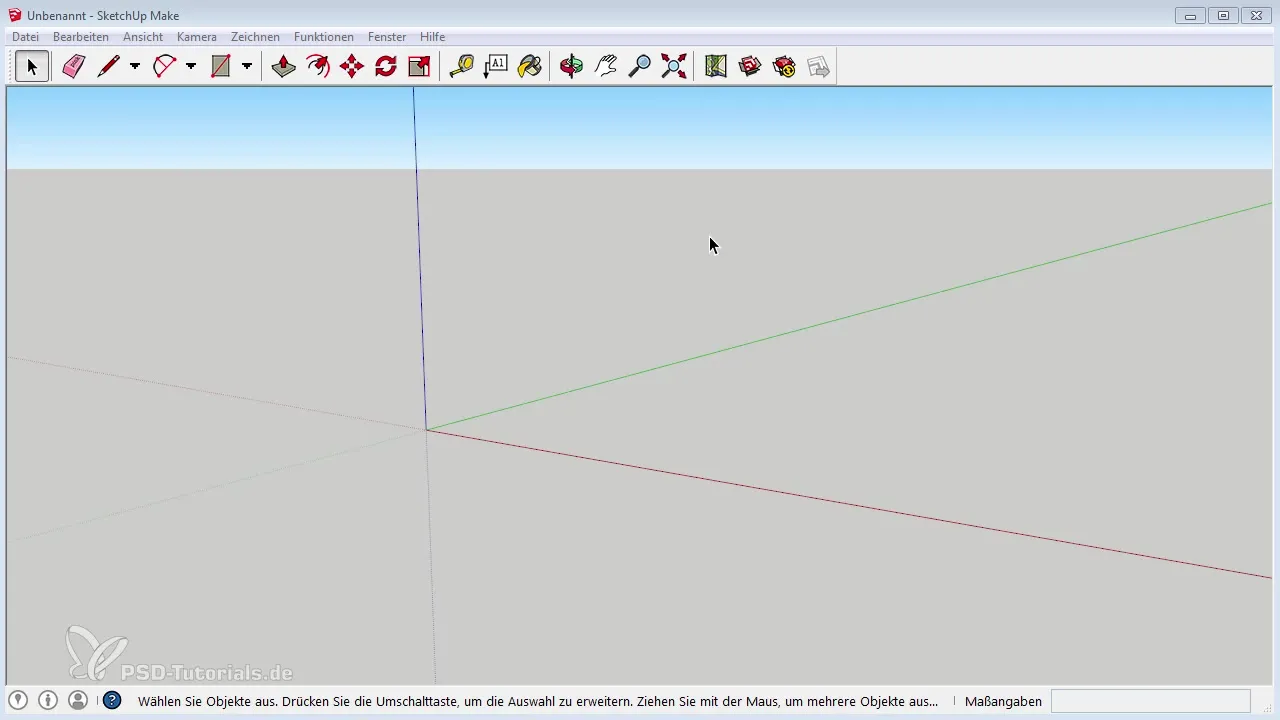
Before you start modeling, download the free version of SketchUp Make. This version allows you to use the basic features needed for our project.
Create Base Area
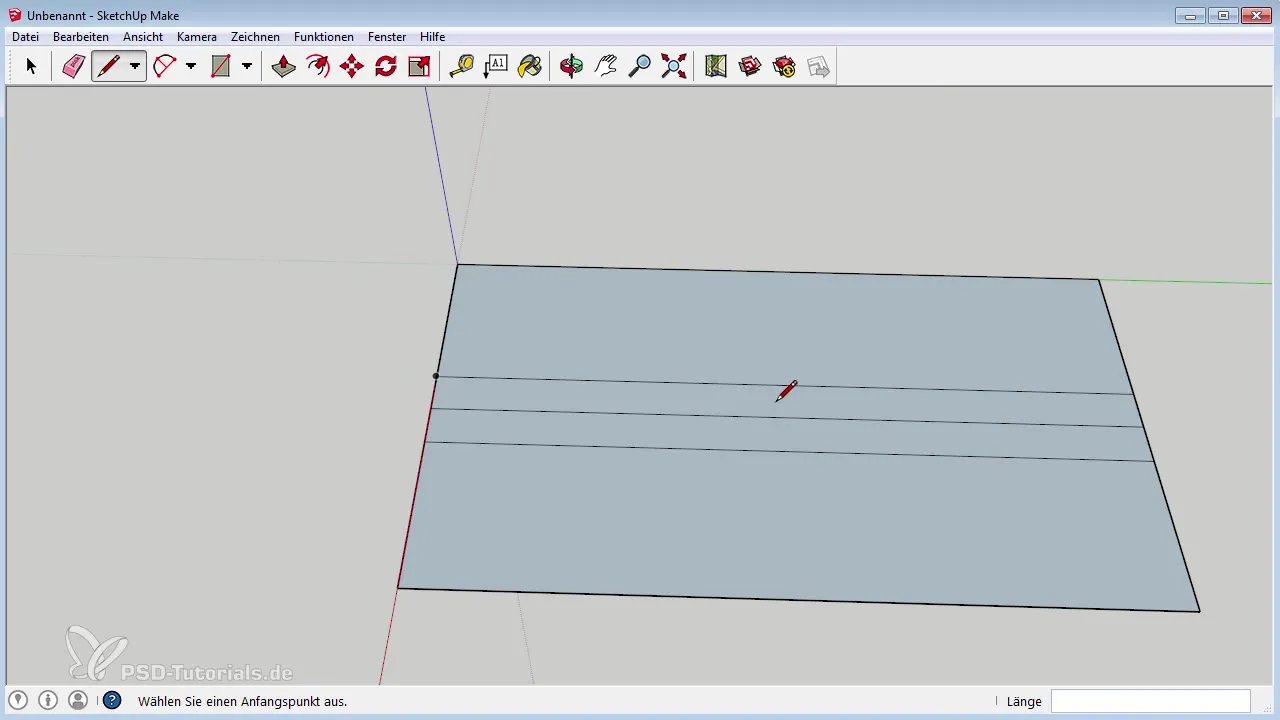
To start, create a rectangle, as we are planning a futuristic building. This base area serves as the foundation for your model. Drag the rectangle to the desired size, with the exact dimensions being not crucial at first.
Divide the Model
To create more complex shapes, it is important to subdivide the area. With the line tool, you can draw straight lines on the area that act as dividing lines. Make sure to position the lines at the right points to achieve the desired design later.
Adjust Heights
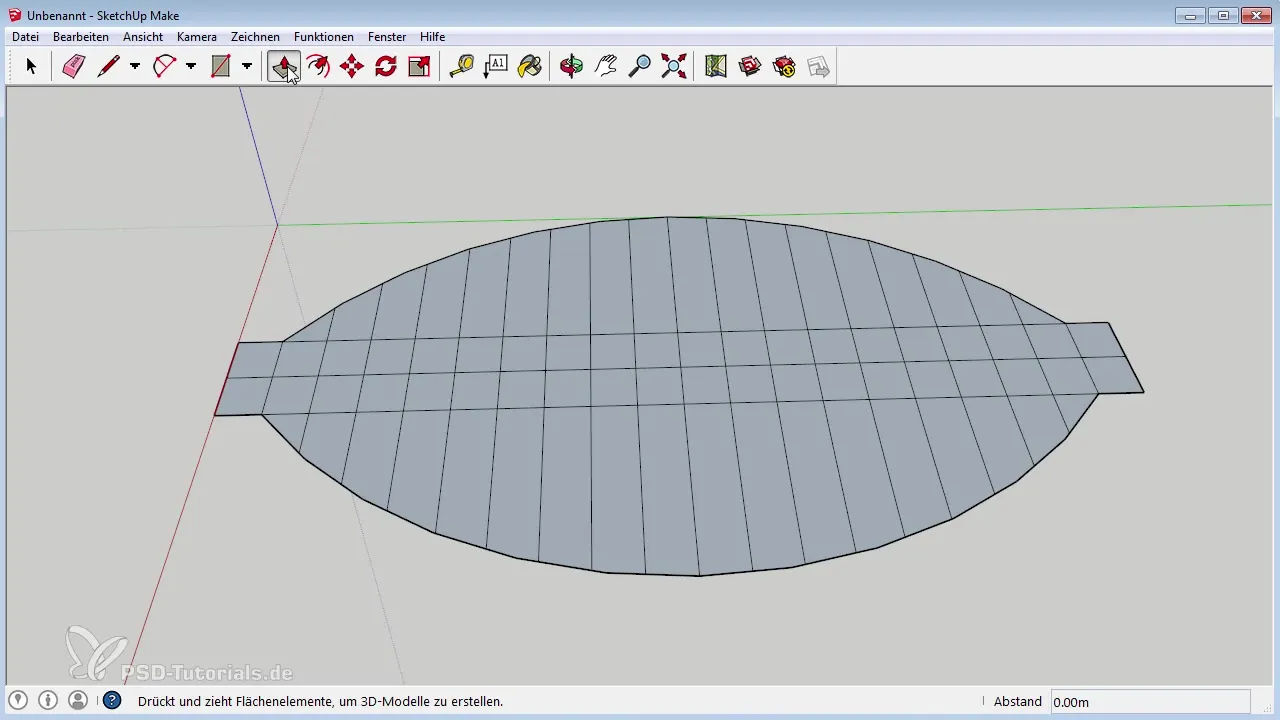
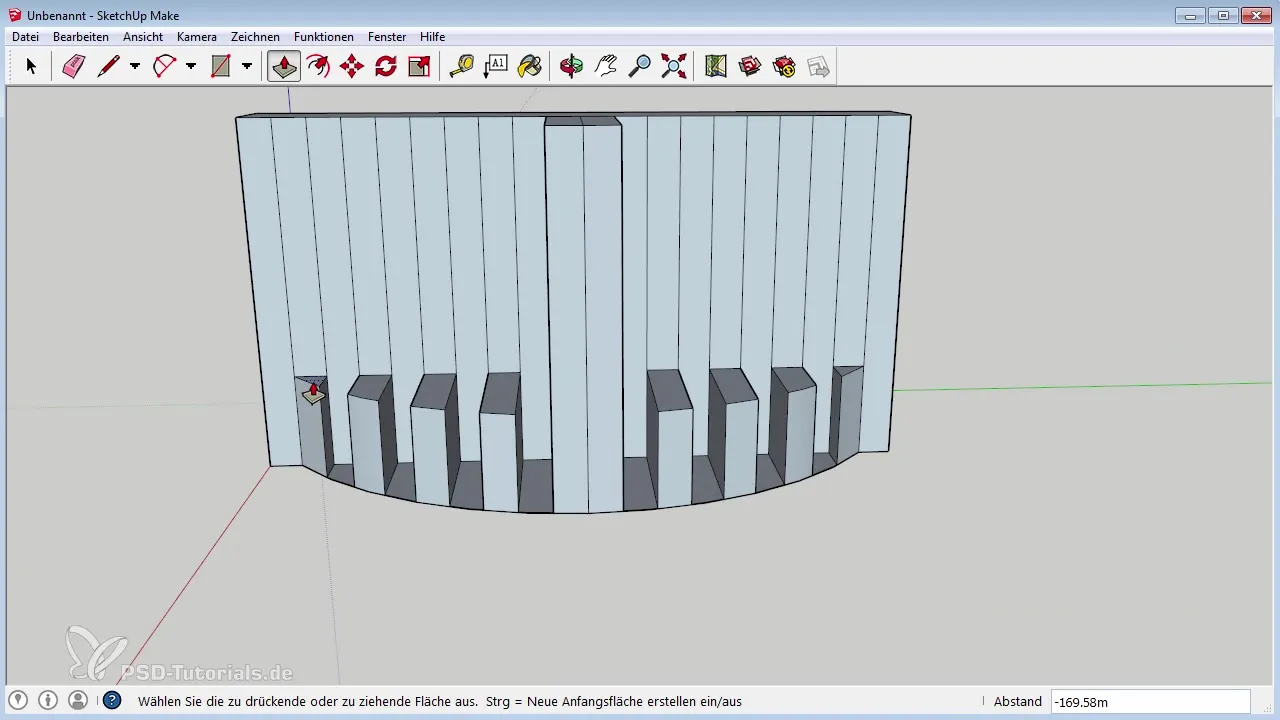
With the “Push/Pull” tool, you can now pull your 2D surface into the third dimension. By clicking on the surface and dragging the mouse upwards, you can create different heights. Make sure to adjust the height evenly to ensure a harmonious design.
Add Ribs
Now add ribs or additional support structures. At the edge of the base area, you can again use the line tool to draw more lines for the ribs. Position these lines strategically to ensure the stability of your structure.
Optimize Lines and Access
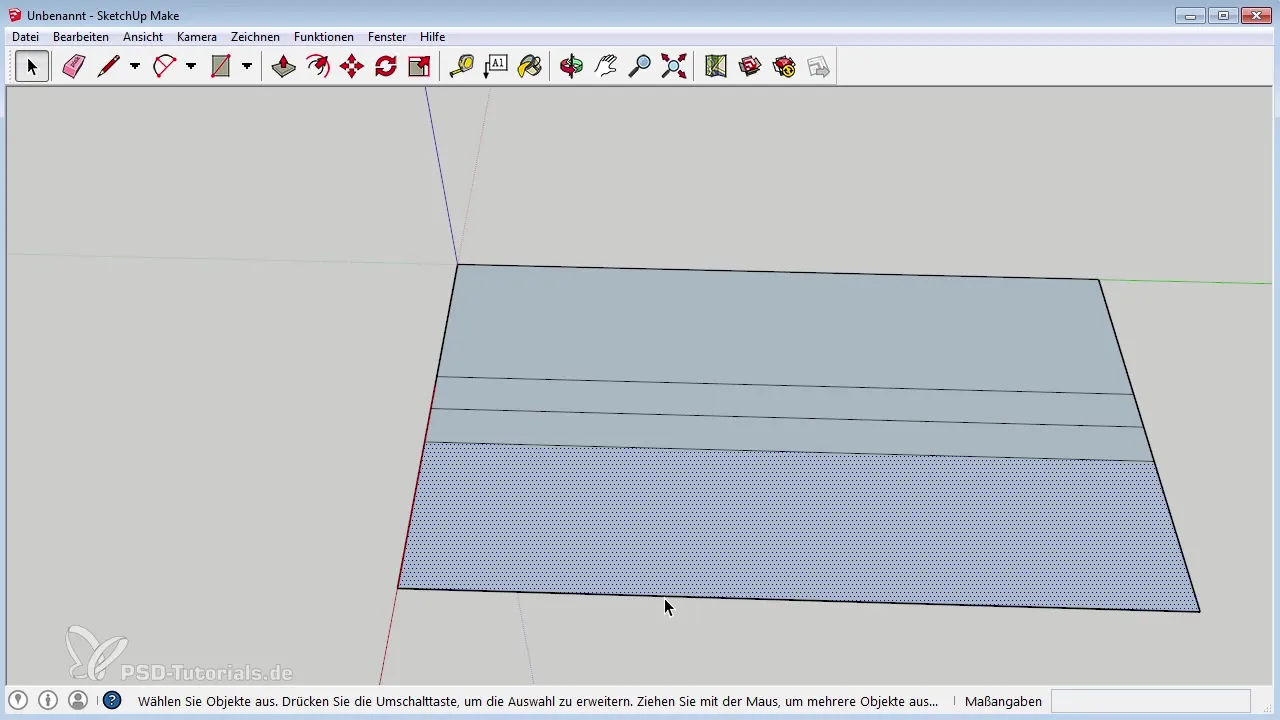
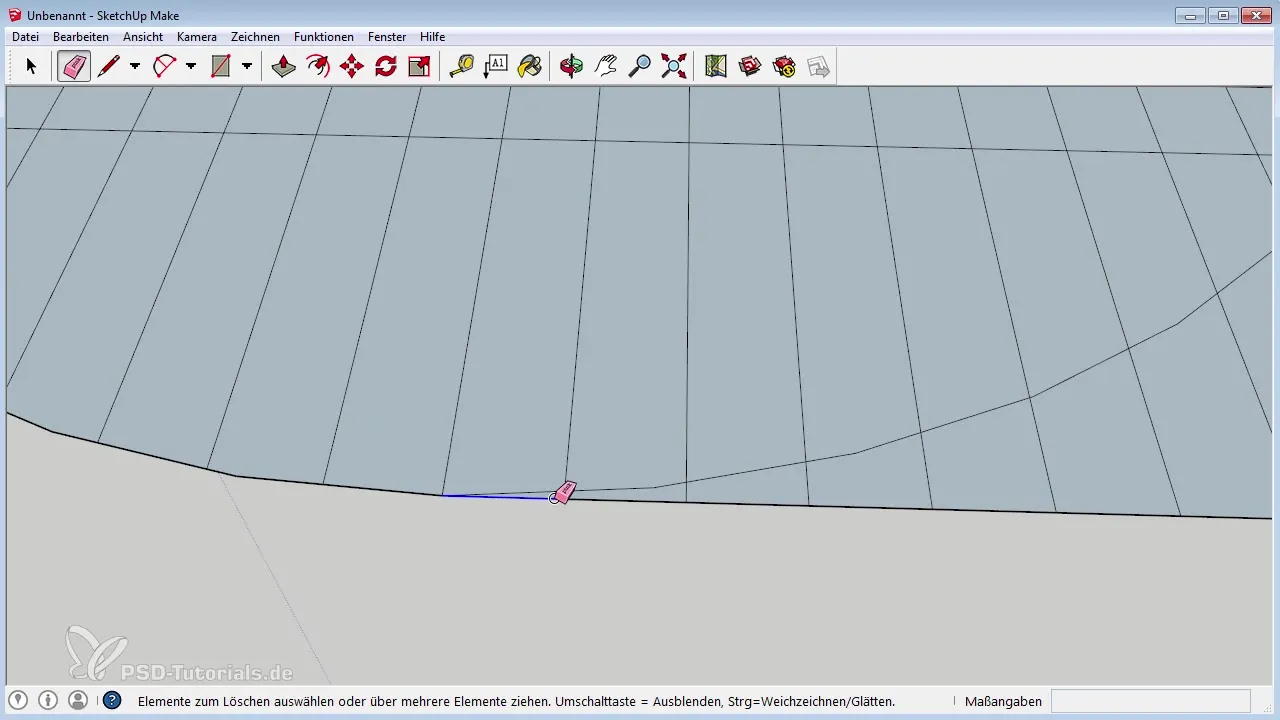
Remove unnecessary lines with the eraser tool. It is important to improve navigation within the model so that you can always have an overview of your progress. You can rotate with the middle mouse button, and move in the view while holding the Shift key.
Refine Structure
If you are satisfied with the basic shape, check the structures for symmetry and balance. Adjust the heights and widths as needed to ensure that the model looks realistic and appealing.
Define Materials
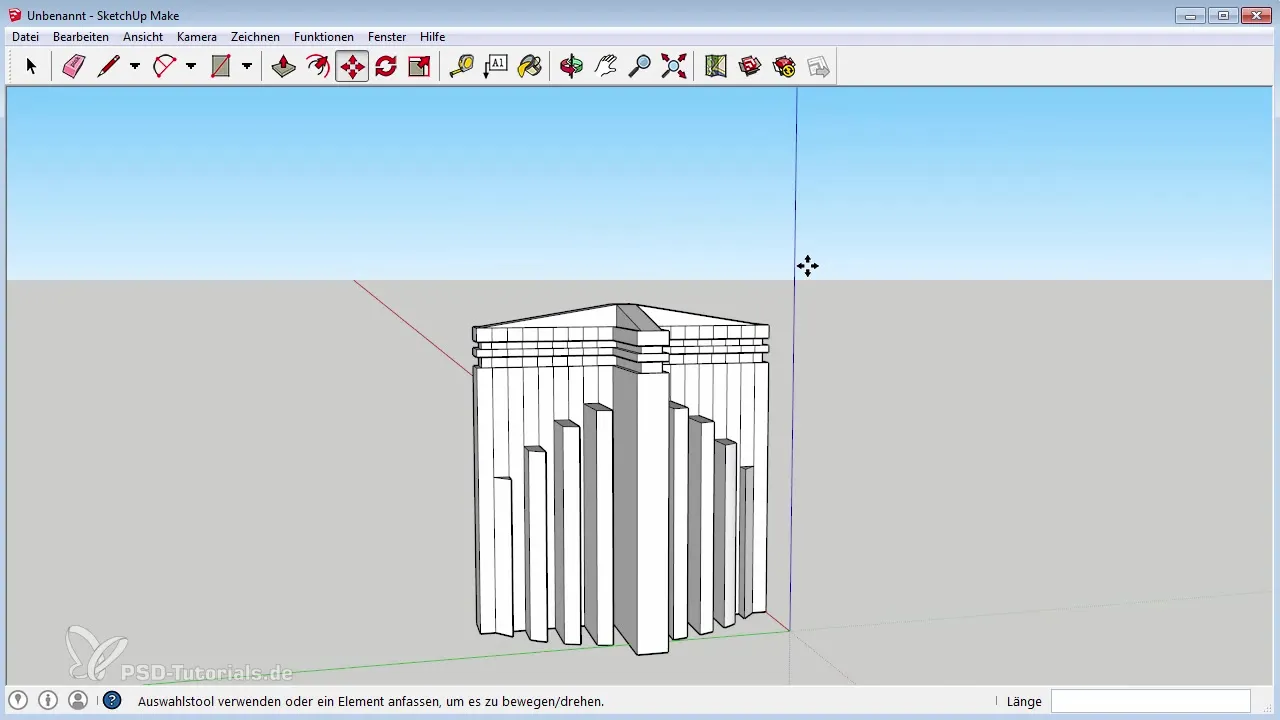
To give your model more realism, add materials. Select different groups within your model and assign them different colors or textures. This will make your building appear more vibrant in Photoshop.
Export the Model
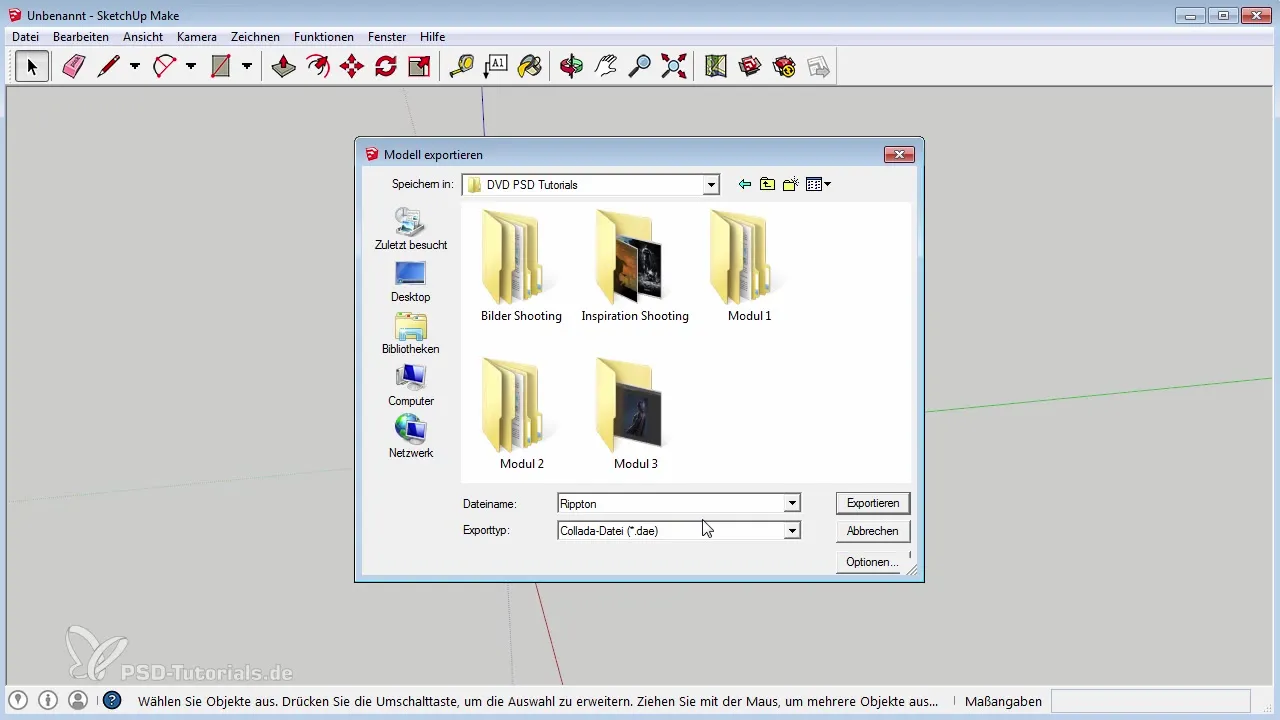
When you are satisfied with your model, save it as a DAE file. This is important because Photoshop can easily read this file. Make sure to choose a clear and understandable file name to facilitate later editing.
Summary – Creating 3D Objects in SketchUp
In this guide, you learned how to create a 3D model with SketchUp. From the base area to the structure and the final export, you have learned the tools and techniques to design your first own 3D object. Thanks to the intuitive user interface of SketchUp, there is nothing standing in the way of modeling impressive designs.
Frequently Asked Questions
How do I download SketchUp?SketchUp can be downloaded for free from the official website.
Is SketchUp suitable for complex models?SketchUp is primarily suitable for geometric shapes, while organic models are more challenging to create.
Which file should I use for exporting?Export your model as a DAE file to edit it in Photoshop.


