Retouching images in Photoshop can be a challenging yet very rewarding task. One of the most common challenges is making shape corrections that can significantly improve the overall image. In this tutorial, I will show you how to make targeted adjustments to shapes and use various techniques to achieve optimal results.
Main Insights
- The healing tool is great for small corrections.
- Frequency separation is an effective method for separating color and texture.
- The use of brush and clone stamp tools is crucial for precise adjustments.
- Color corrections should be performed on separate layers to ensure flexibility.
Step-by-Step Guide
Start by opening your image in Photoshop and make sure you have all the tools you need at hand.
Healing Tool for Small Corrections
Begin with the smaller corrections in your image. Select the healing tool from the toolbar and circle the area you want to correct. Drag the selected area to a clean part of the image to perform the correction.
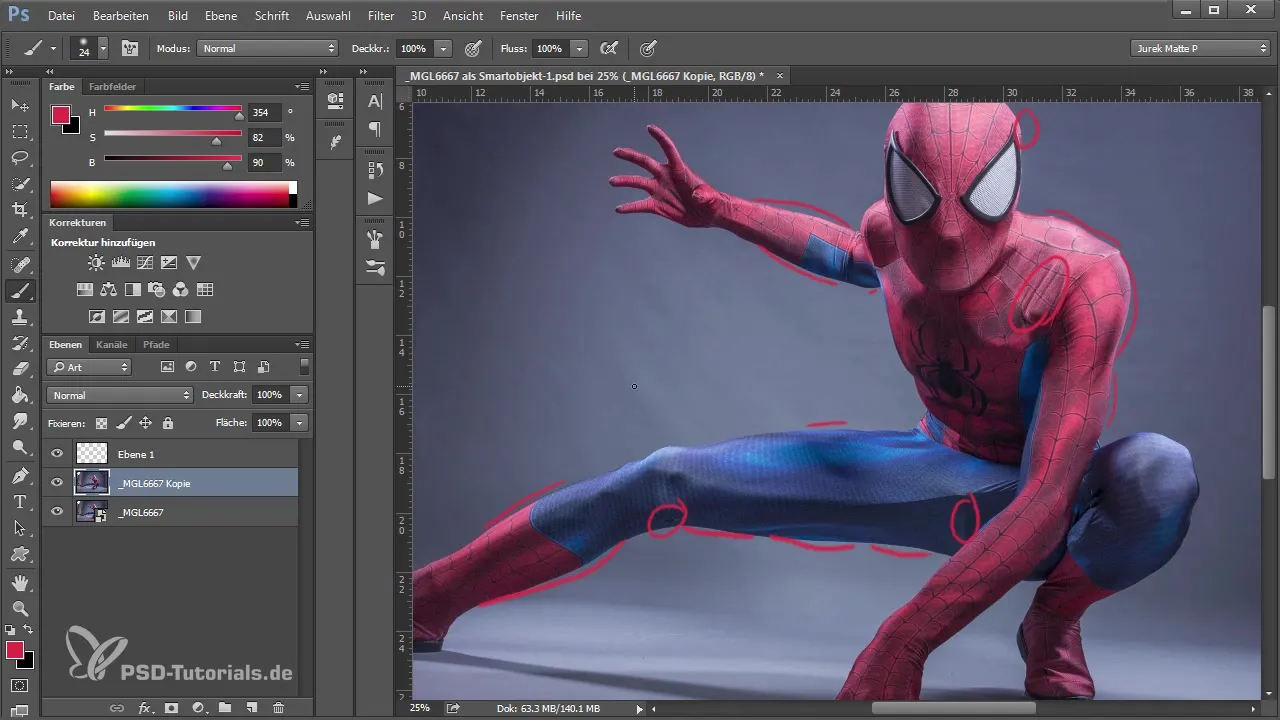
This is a simple and effective solution for tiny mistakes. For larger issues, such as on the shoulders, this method may not be sufficient, so you may need to switch to other techniques.
Frequency Separation for Larger Adjustments
Frequency separation is a technique often used in beauty retouching. It allows you to split the image into two different values: color and texture. First, you need to create two copies of your current layer. To do this, select the layer and press “Ctrl + J” to perform this step twice. Rename one layer to “Color” and the other to “Texture.”
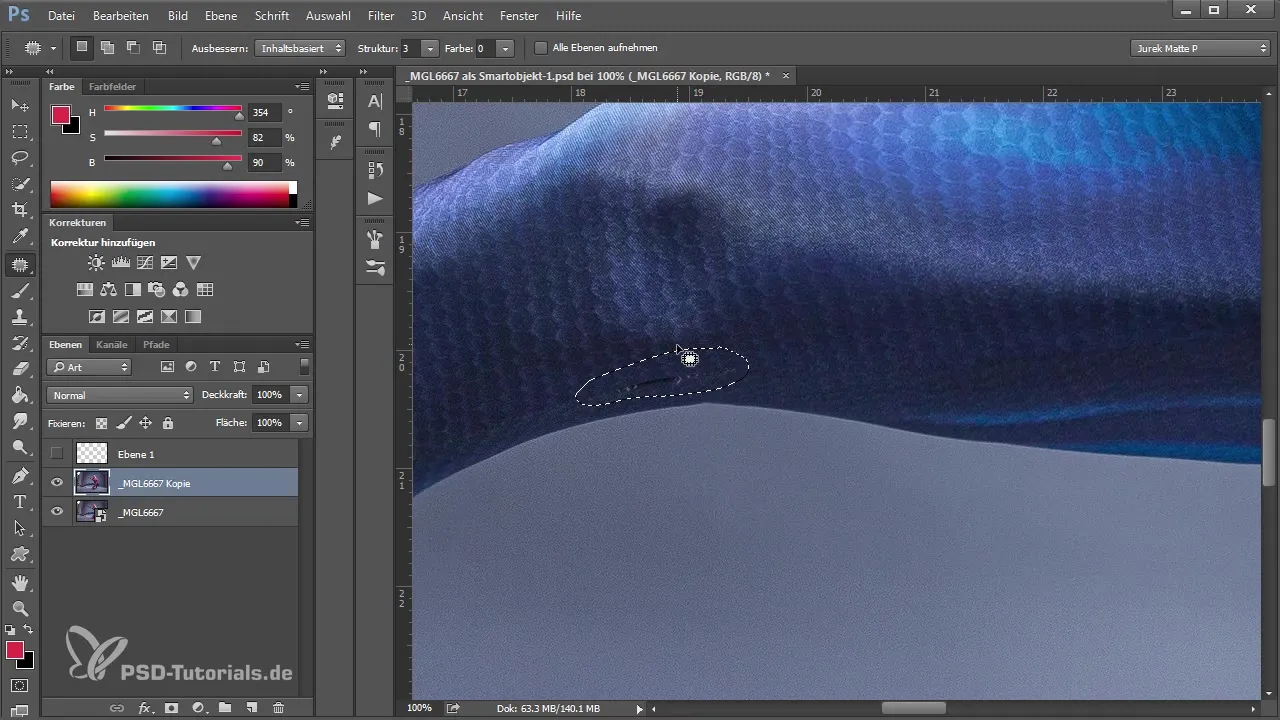
Now turn off the texture layer to work on the color layer. Go to “Filter” and select “Gaussian Blur.” Set the radius so that you can barely see the structure of the individual folds, estimating a value of about seven to eight pixels.
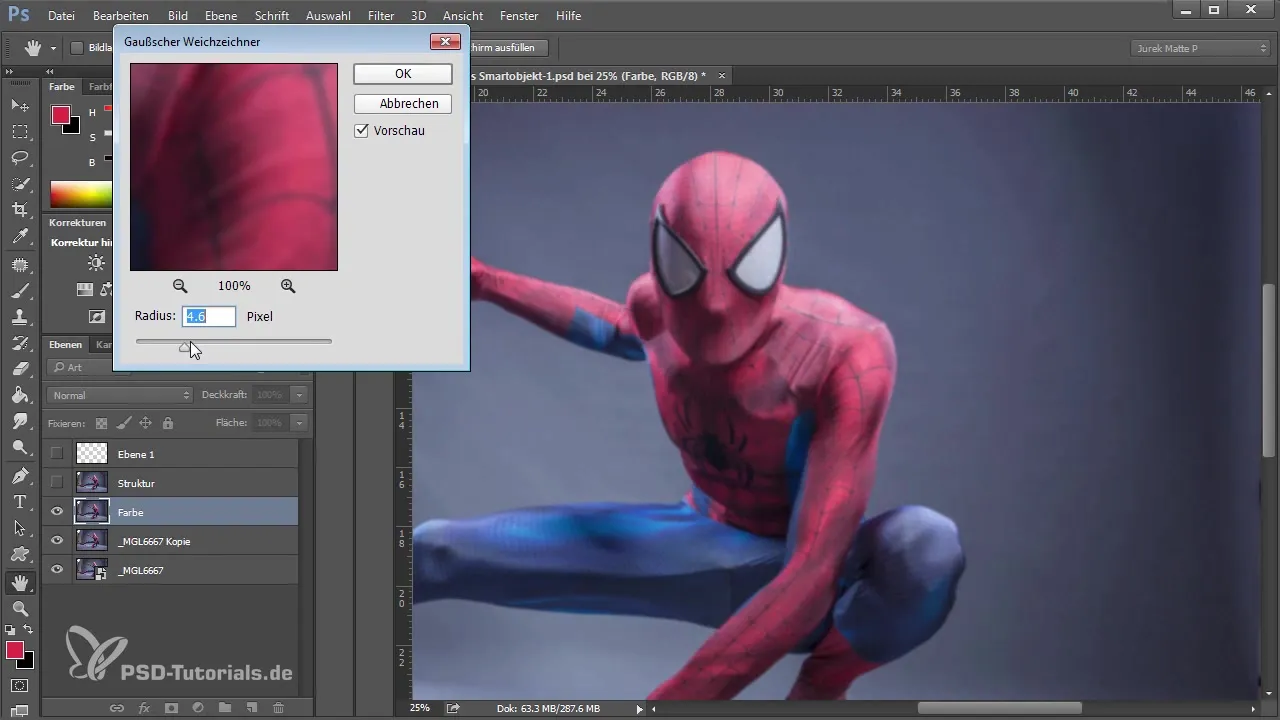
Remember this value, as you will need it later for the texture layer.
Settings for Texture Layer
Now enable the texture layer and set the blending mode to “Linear Light.” Then, go to “Image > Adjustments > Brightness/Contrast.” Enable the option “Use Previous Values” and set the contrast to -50. This number remains constant, regardless of the image used.
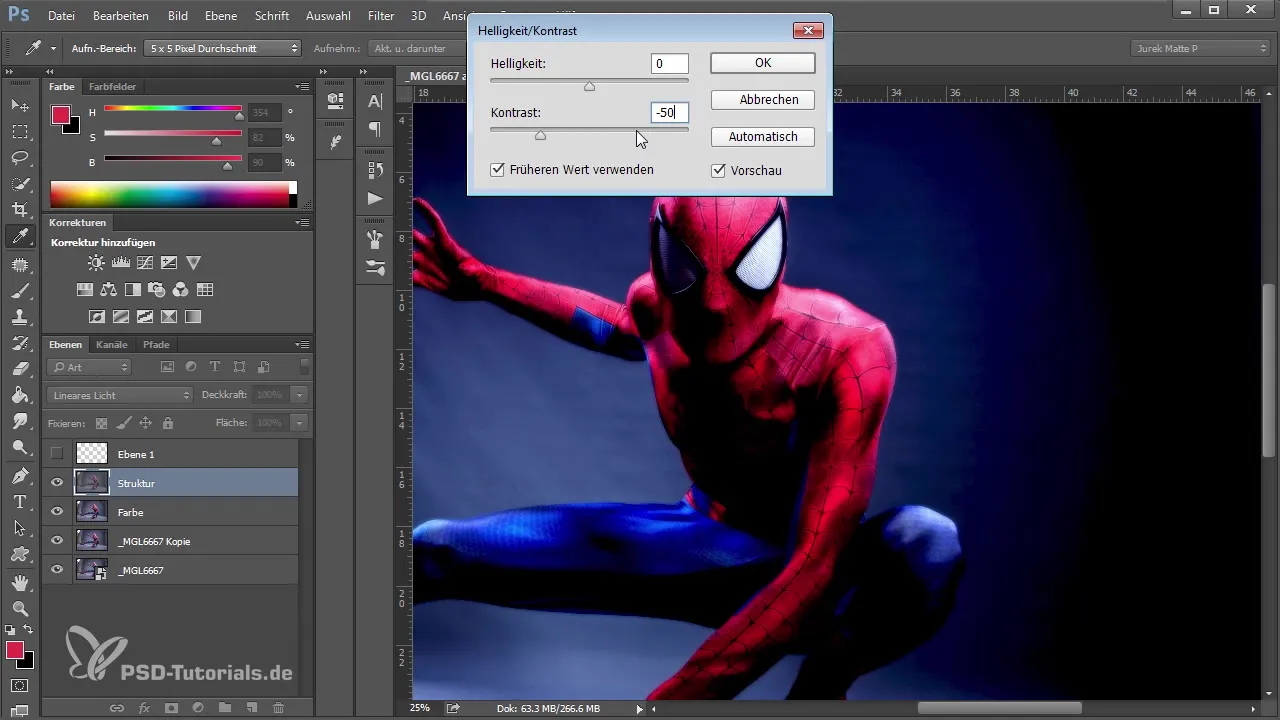
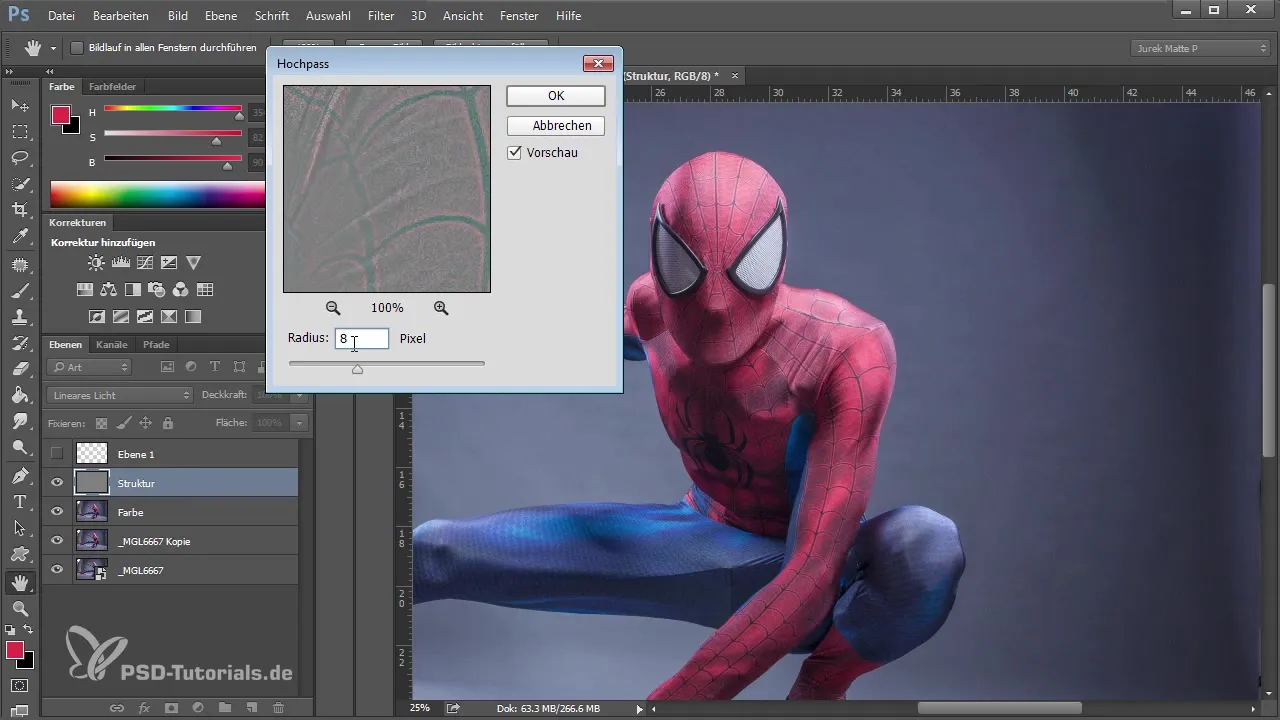
Now use the high pass filter under “Filter > Other Filters > High Pass,” using the radius of 8 pixels that was previously used for the texture. Confirm the settings, and your image should now look like it did before, allowing you to toggle the texture on or off.
Make Color Corrections
To correct the color values, turn on the color layer and select the brush tool with an opacity of about 20-25%. Sample a color and begin to correct the color values to achieve a more harmonious transition.
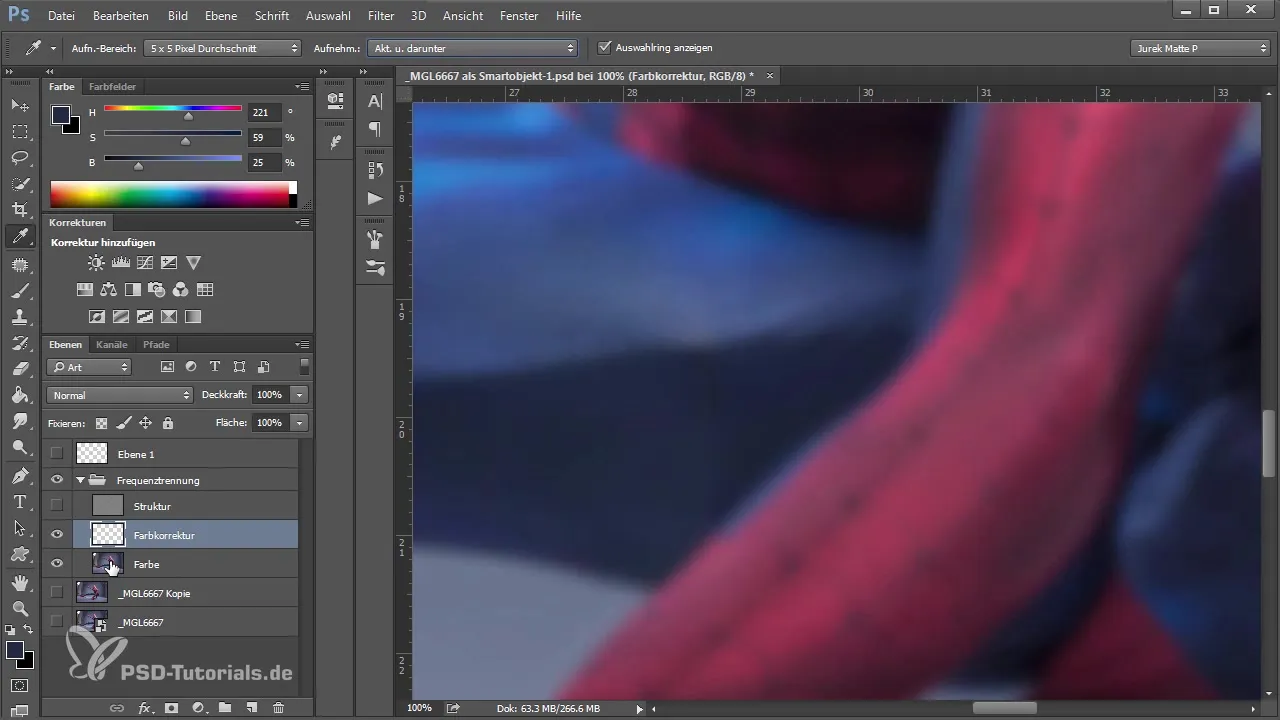
Make sure to choose the correct settings when using the eyedropper tool to sample the current colors from the layer and below. Set the pixel average to 5x5 or 11x11 pixels to get more accurate color values.
Using the Clone Stamp Tool
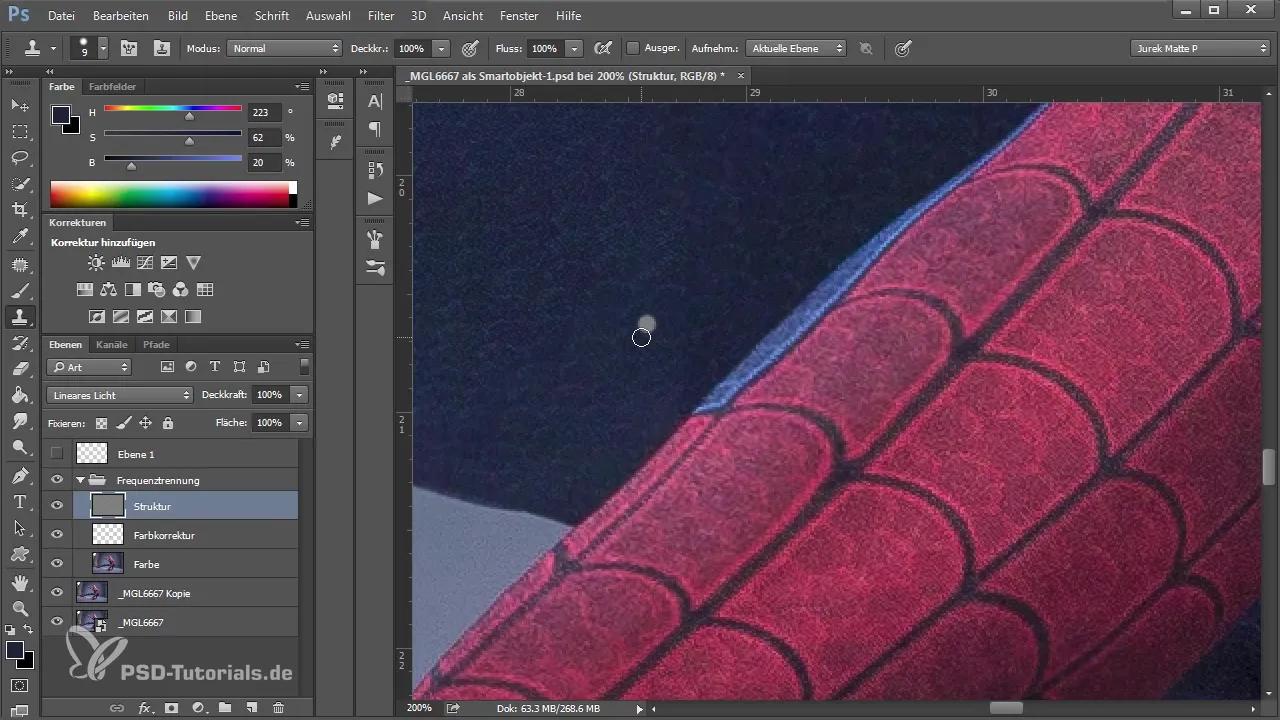
Healthy structural changes require targeted areas that are carefully sampled using the clone stamp tool. Ensure you only sample the current layer to avoid disturbing any color information. Use a hard tip and 100% opacity as you work over the areas to be corrected.

As you paint over seams and folds, look at the adjacent areas to ensure that the color and texture match seamlessly.
Finishing Touches and Final Adjustments
Once you have made the basic corrections, you can hide the frequency separation layer again to ensure the folds are gone. In the color layer, you can also adjust brightness and contrast to lighten the shadows.
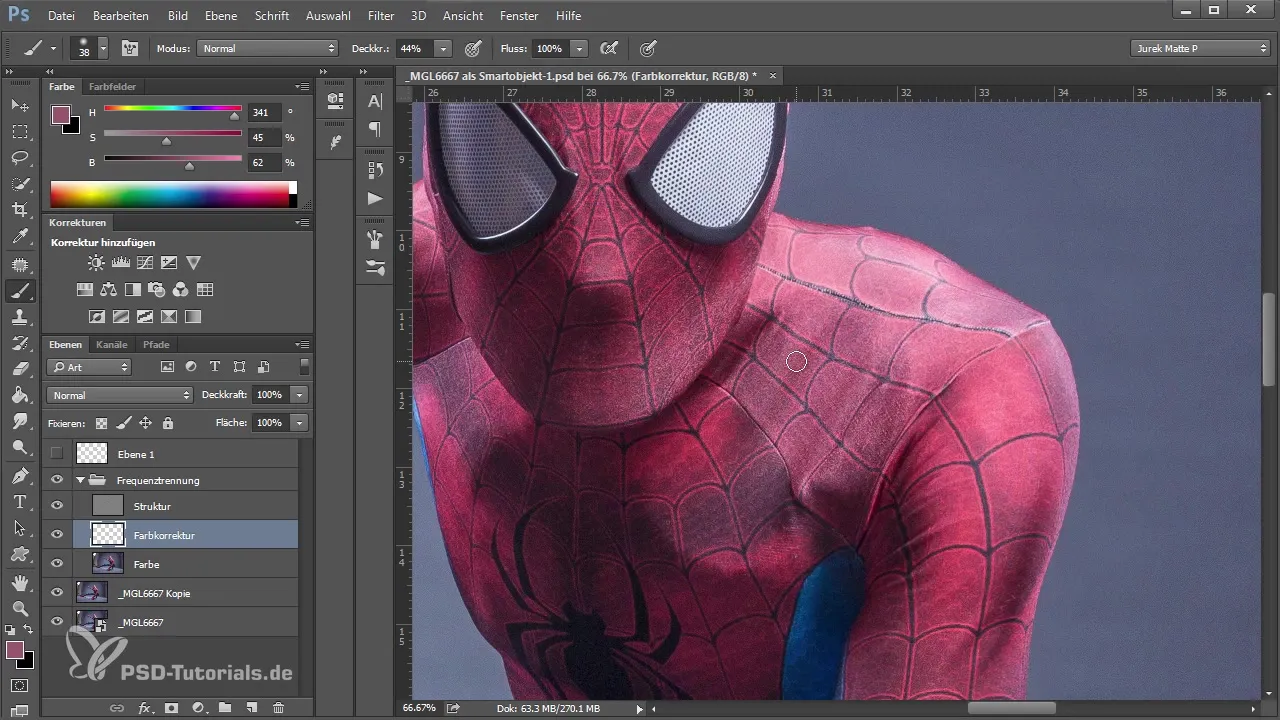
After you have made all corrections, compare your edited image with the original to see the difference.
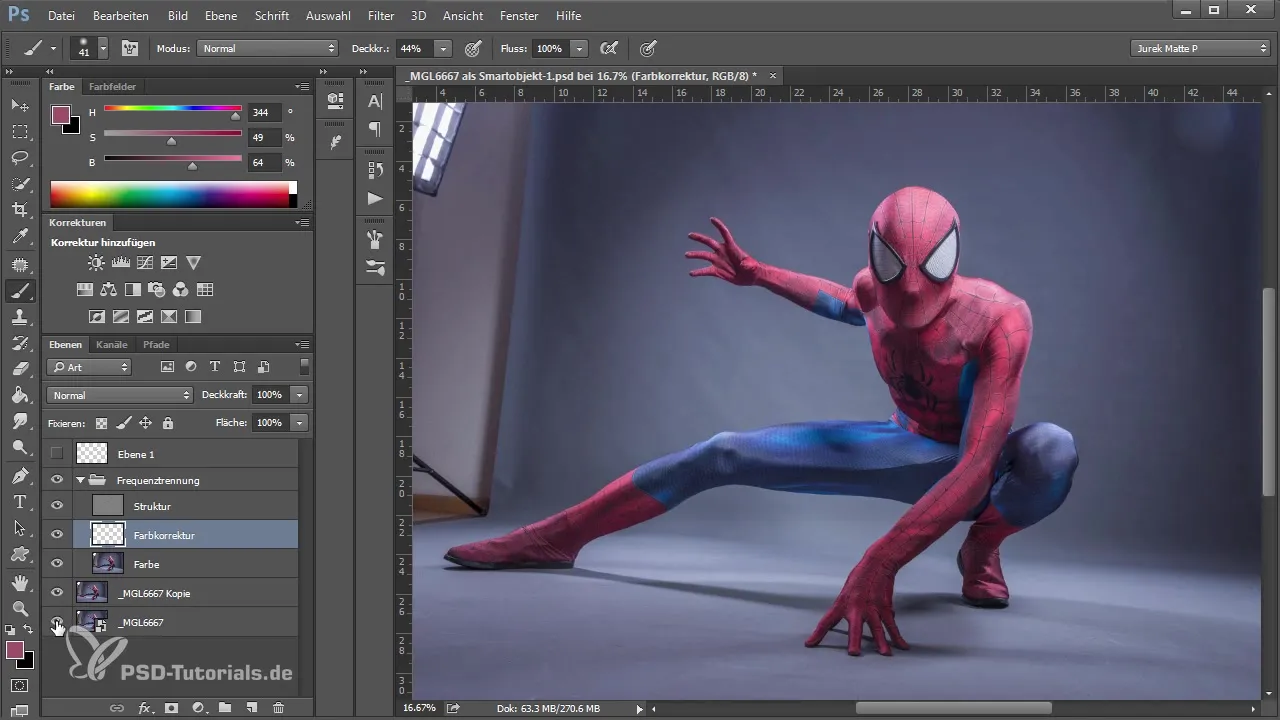
Summary - The Art of Shape Corrections in Photoshop: Techniques for Impressive Results - Part 2
In this guide, you have learned how to effectively perform shape corrections in Photoshop. By using the healing tool for smaller mistakes, frequency separation for larger adjustments, and the clone stamp tool for structural cleanup, you now possess the skills to retouch models professionally.
Frequently Asked Questions
What is the healing tool?It is a retouching tool in Photoshop that can fix small errors in the image.
How does frequency separation work?It separates the image into color and texture to make targeted corrections easier.
Why should color changes be made on separate layers?This keeps the original image intact, and you can make adjustments any time without affecting the entire image.


