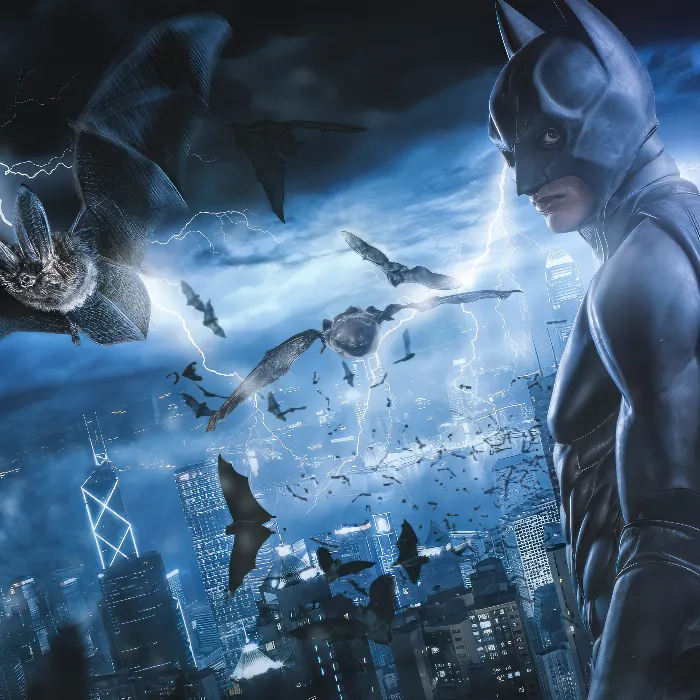
If you are looking for an effective and simple way to create dramatic photos that are perfect for digital post-processing in Photoshop, then you are in the right place. In this tutorial, you will learn how to create an impressive atmosphere with just one light source. Numerous tips and techniques await you to take your photography to the next level.
Key Insights
- Use a beauty dish for a medium-hard light and a balanced light cone.
- Place the model in a detailed pose to convey emotions.
- Pay attention to lighting conditions and histograms to ensure image quality.
- Good preparation and clear communication with the model save time and effort.
Step-by-Step Guide
Step 1: Concept and Idea Generation
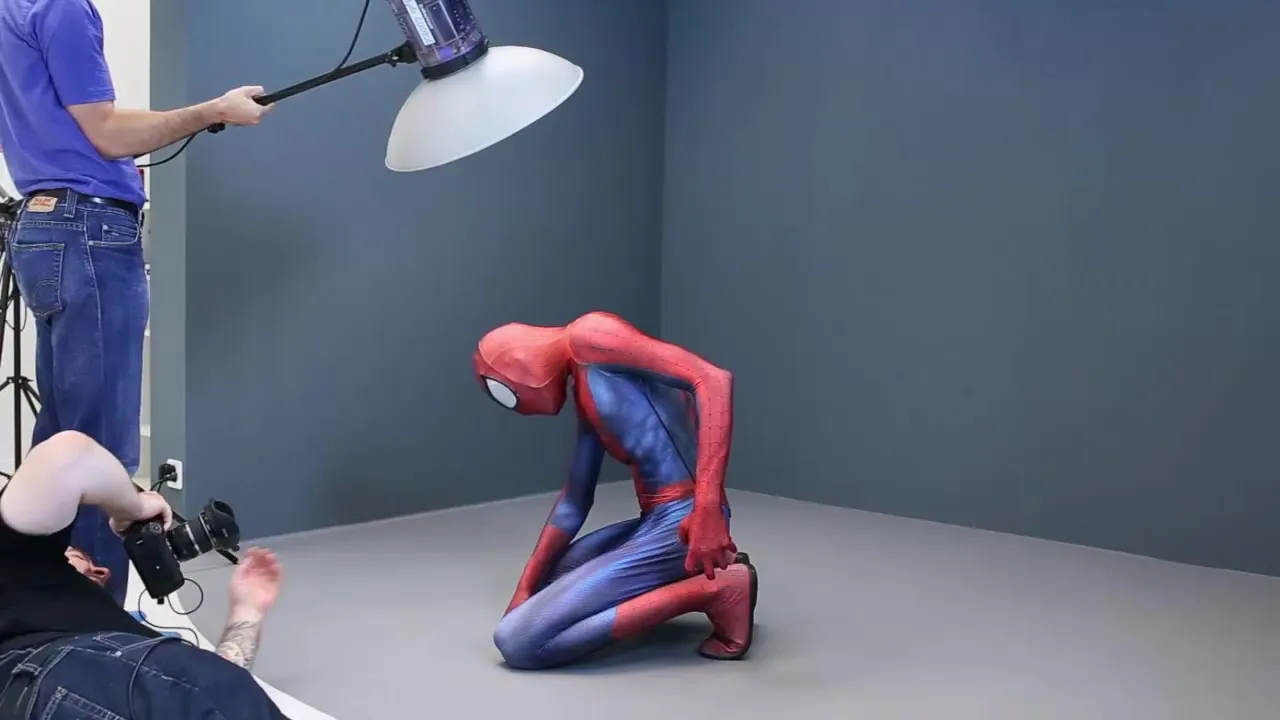
Start with the basic conceptualization of your shot. Think about what emotions you want to capture and what the final image should look like. In this case, I aimed to depict the character Spider-Man exhausted and kneeling. A targeted light spot from above is intended to support the dramatic mood.
Step 2: Set Up the Light Setup
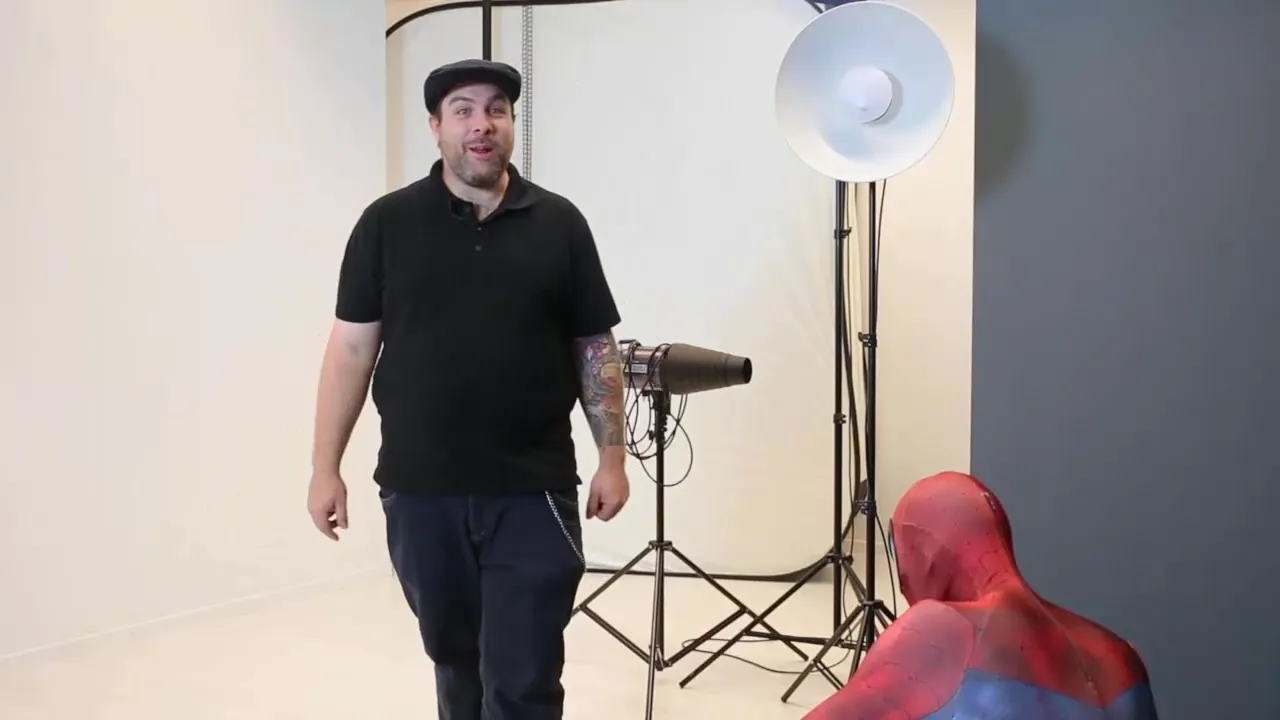
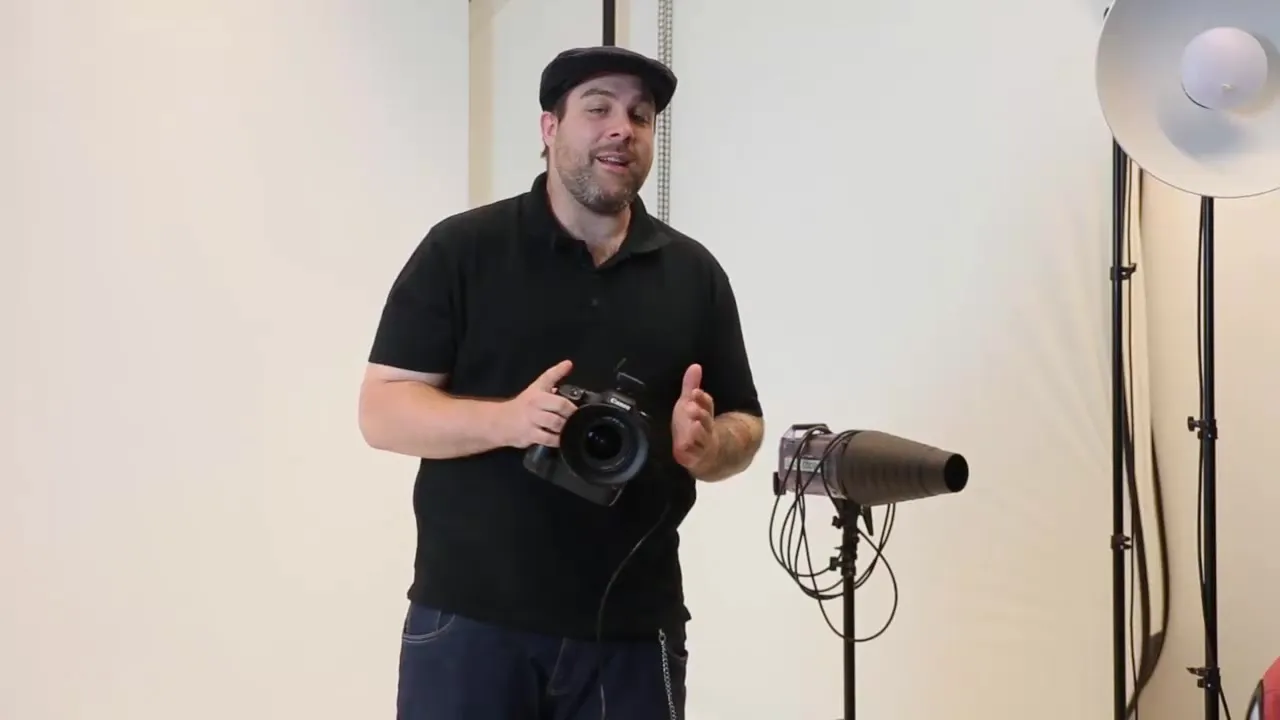
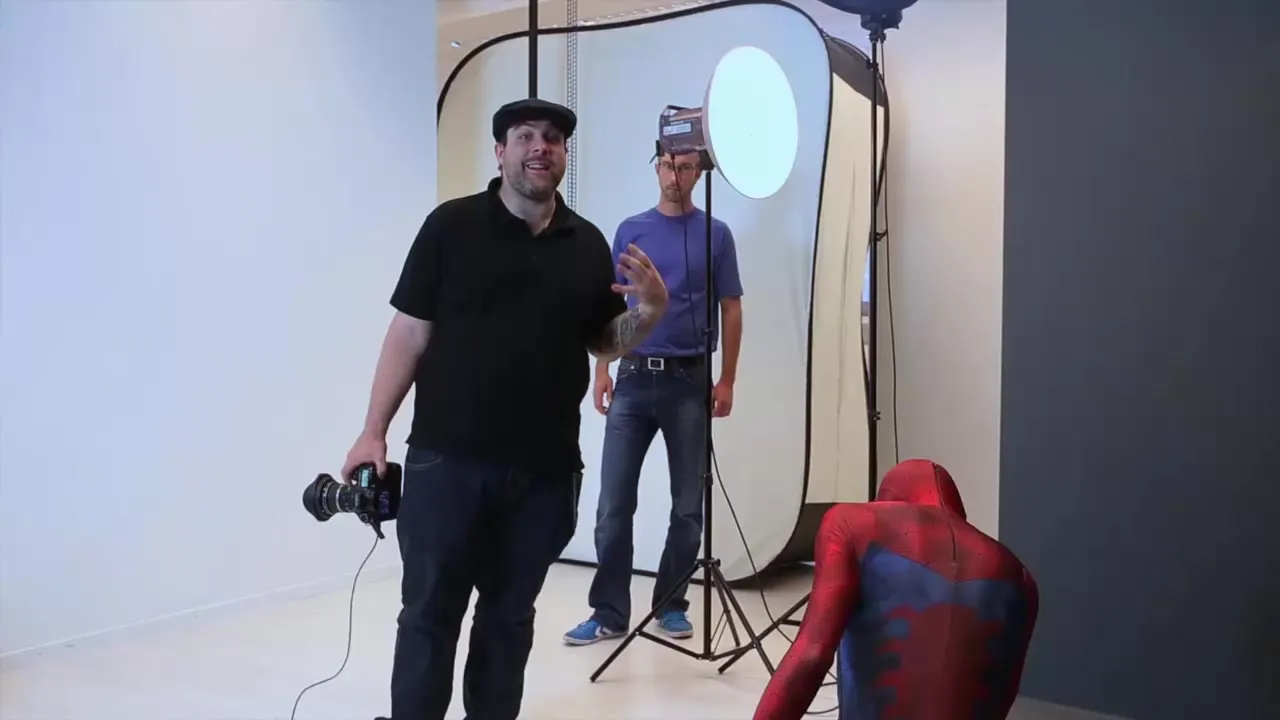
Set up your studio flash and choose a beauty dish as the light source. This provides very nice, medium-hard light. The position of the flash is crucial: Keep it just above the model and slightly forward. This ensures that the light falls nicely on the model while some areas remain in shadow.
Step 3: Avoid Honeycomb Attachments by Accident
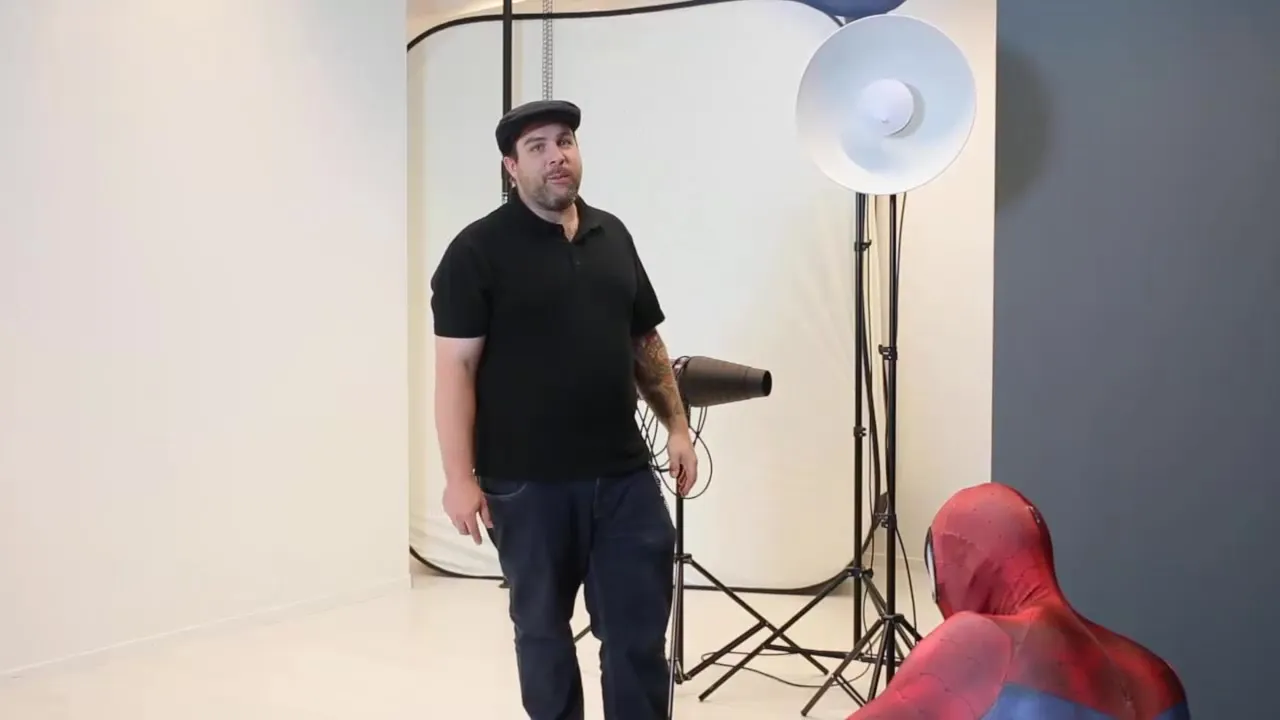
Decide against using a honeycomb attachment to create more scattered light around the model. This makes it easier to later add textures and change the background in Photoshop. An image that is too dark can be problematic in post-processing, so it's better to have a bit more light in the setup that can be adjusted later.
Step 4: Set Composition and Camera Settings
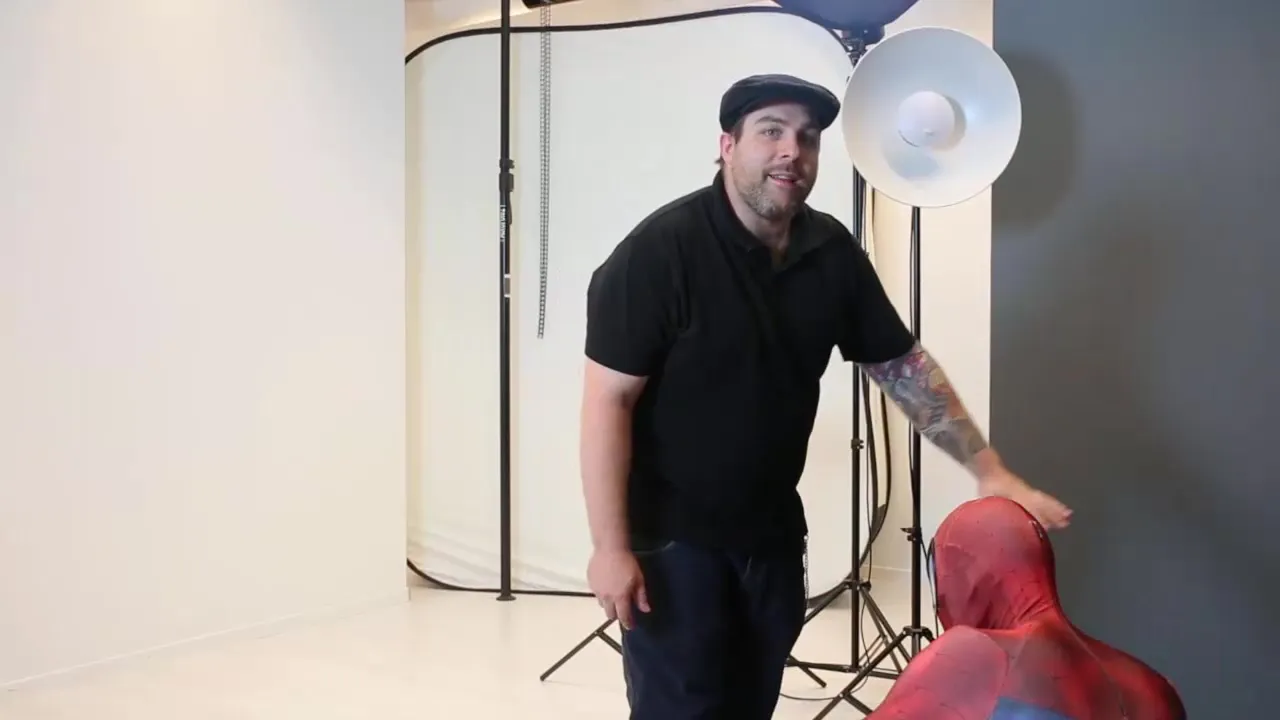
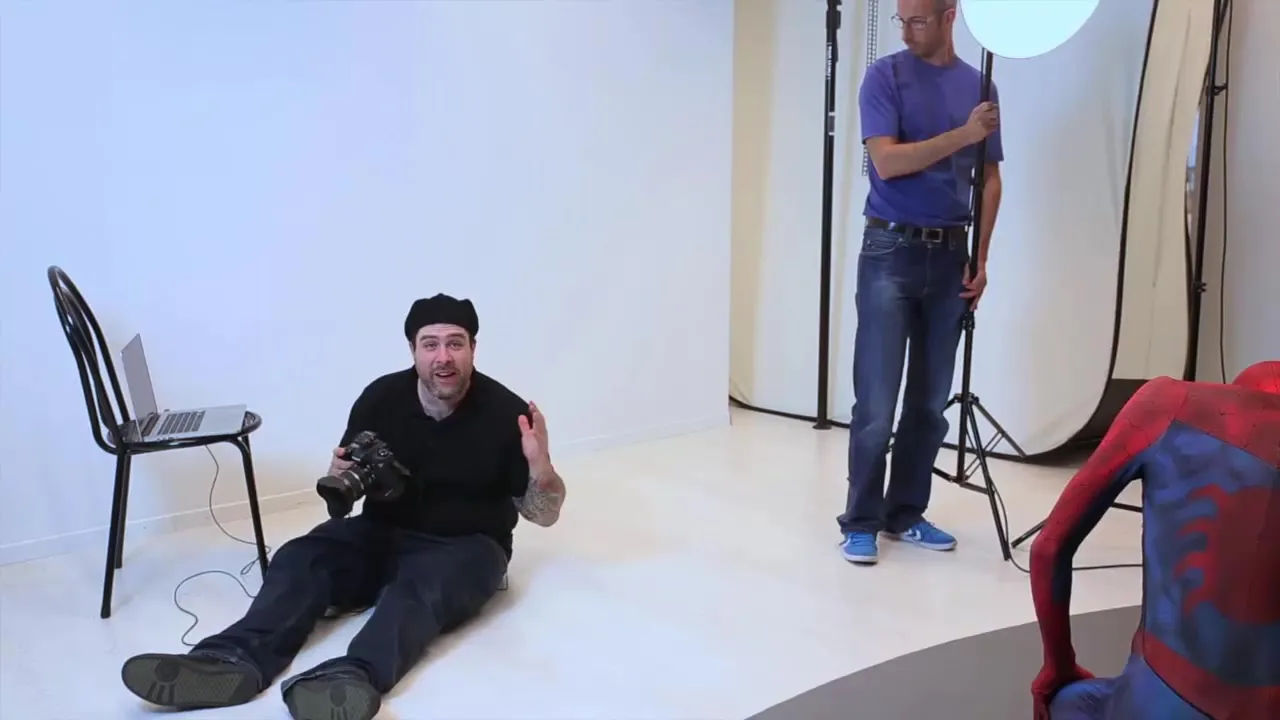
Select a wide-angle lens (e.g., 10-22 mm) and make sure to shoot from a low position. This creates more dynamism and makes the model appear more dominant. For camera settings, I recommend an aperture of 13 at 160 seconds exposure time and ISO 100 for a sharp image without blurriness.
Step 5: Place and Direct the Model
Place the model in such a way that they assume the desired pose. In this case, Denis is kneeling with his head down and one arm dramatically extended backward. Give clear instructions to ensure the pose has the right emotional impact.
Step 6: Adjust Light and Image Composition
Start with the first shots and check the lighting conditions. If the areas on the model are too dark, adjust the light. It is easier to brighten images in post-processing than to darken them. Always pay attention to the histogram to ensure that you have details in the critical areas of the image.
Step 7: Create Variations and Develop
Take multiple shots with slight adjustments to the light source and the position of the model. This allows you to try different perspectives and lighting conditions that will ultimately yield the best results. Use the flash to create targeted light spots without disrupting the composition.
Step 8: Finalize the Shots
If you particularly like a photo, pause and check whether further variations are possible. Often, you can achieve great results with just a few well-considered shots without taking many unnecessary pictures. Plan and communicate your plan well to alleviate the burden on all involved.
Summary – Dramatic Images with Just One Light
Through smart planning, effective communication, and the use of just one light source, you can create impressive and dramatic photographs. Pay attention to the details of the light setup, the pose of your model, and the image quality to get the best results in post-processing.
Frequently Asked Questions
How should I position my light source?Keep the light source above the model and slightly forward to achieve the best lighting conditions.
Why no honeycomb attachment?A honeycomb attachment can overly focus the light and restrict important scattering effects.
How do I set up the camera?Use an aperture of 13 at 160 seconds exposure time and ISO 100 for sharp images.
What is the advantage of a low camera position?A lower perspective makes the model appear more powerful and dominant, enhancing the drama of the shot.
How many shots should I take?With clear instructions and a concrete image concept, you can often achieve a perfect result with just three to four shots.
