The art of inserting digital backgrounds and integrating them harmoniously into an existing image is an essential part of image editing. In this guide, you will learn how to create the perfect background for your image using Adobe Photoshop. You will learn how to adjust the background so that it contributes to the overall atmosphere of the image, ensuring that the contrasts and hues are optimally showcased. Let's get started!
Key Insights
- Creating contrast and atmosphere through skillful adjustments of the background layer.
- Using layer modes for color correction and background adjustments.
- Applying masks for precise transitions between different image elements.
- Utilizing blur filters for a harmonious integration of the model into the background.
Step-by-Step Guide
The insertion of a background in Photoshop involves several steps. You will see how targeted adjustments and filter combinations can achieve an impressive final result.
To ensure that your background looks vibrant and rich in contrast, start by using the adjustment options of the background layer. Look for various ways to give your background more depth.
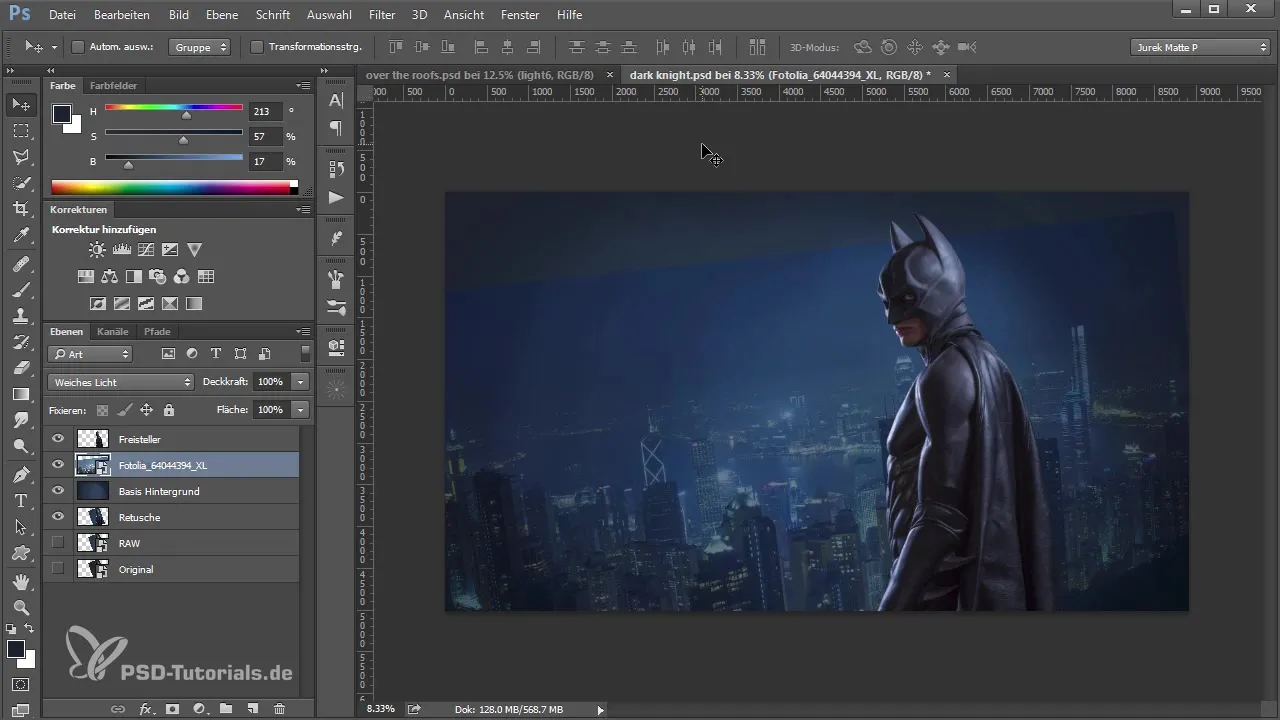
An effective approach is to use layer modes. Try using “Multiply” or “Soft Light.” These modes help to optimize the color intensity and tonal values of your background without destroying the overall structure of the image.
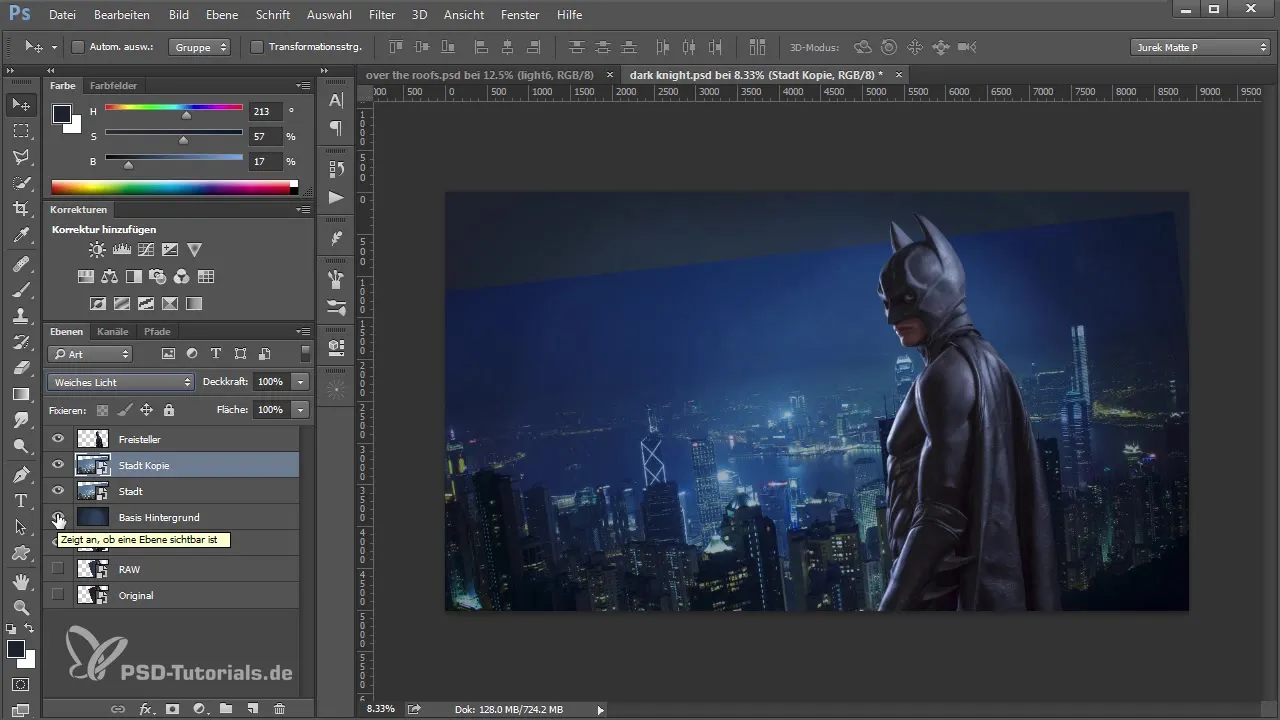
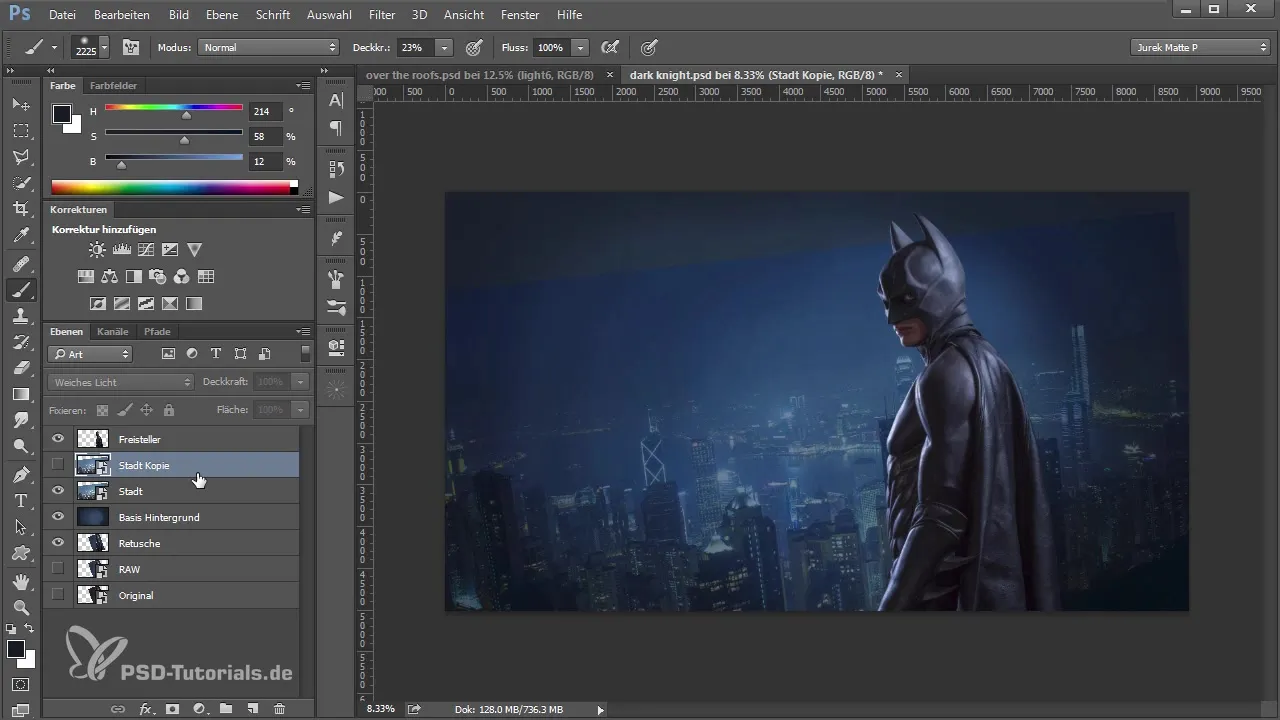
To avoid making too strong changes to the opacity, simply duplicate the entire background. This makes it bolder and more vibrant, creating a nice visual effect.
Once you have made your changes, hide the original background to see how the new colors harmonize with each other. This ensures that the background does not appear too dominant but integrates well into the overall image.
If necessary, you can then make further adjustments to the tonal values on your base background. Use a brush with low opacity and choose a color palette that emphasizes the mood of your image.
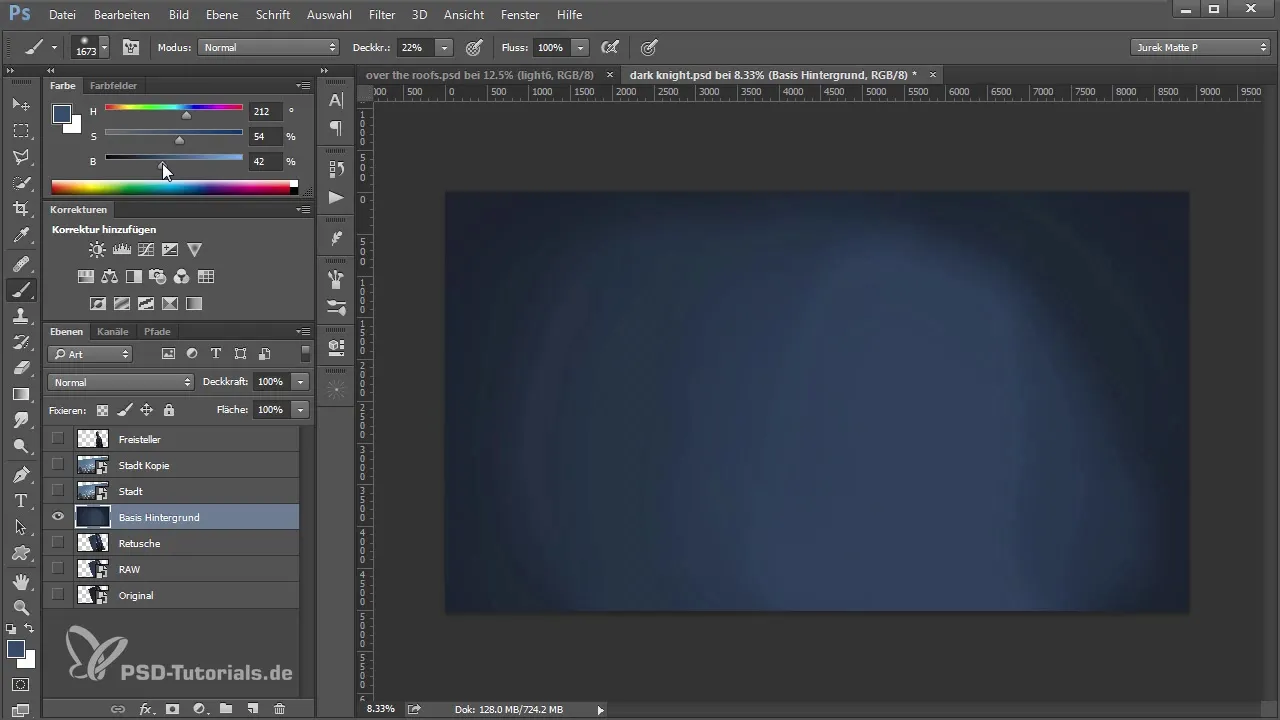
Here, you can selectively brighten lighter areas or add darker accents to create depth. Now, you can also add a slight vignette to enhance the composition.
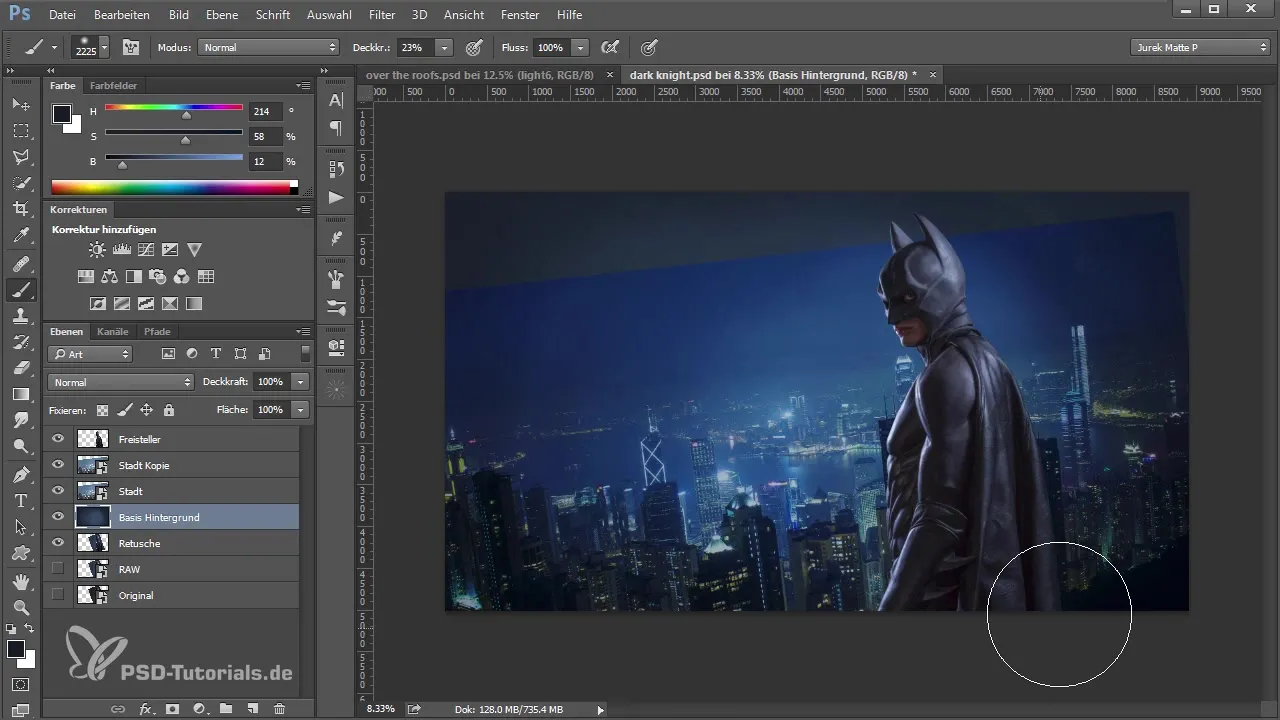
In the next step, you may want to hide the top layer. Apply a mask to the background layer to create a smoother transition without creating hard edges. Paint the edges away gently to create a harmonious connection between the sky and the city.
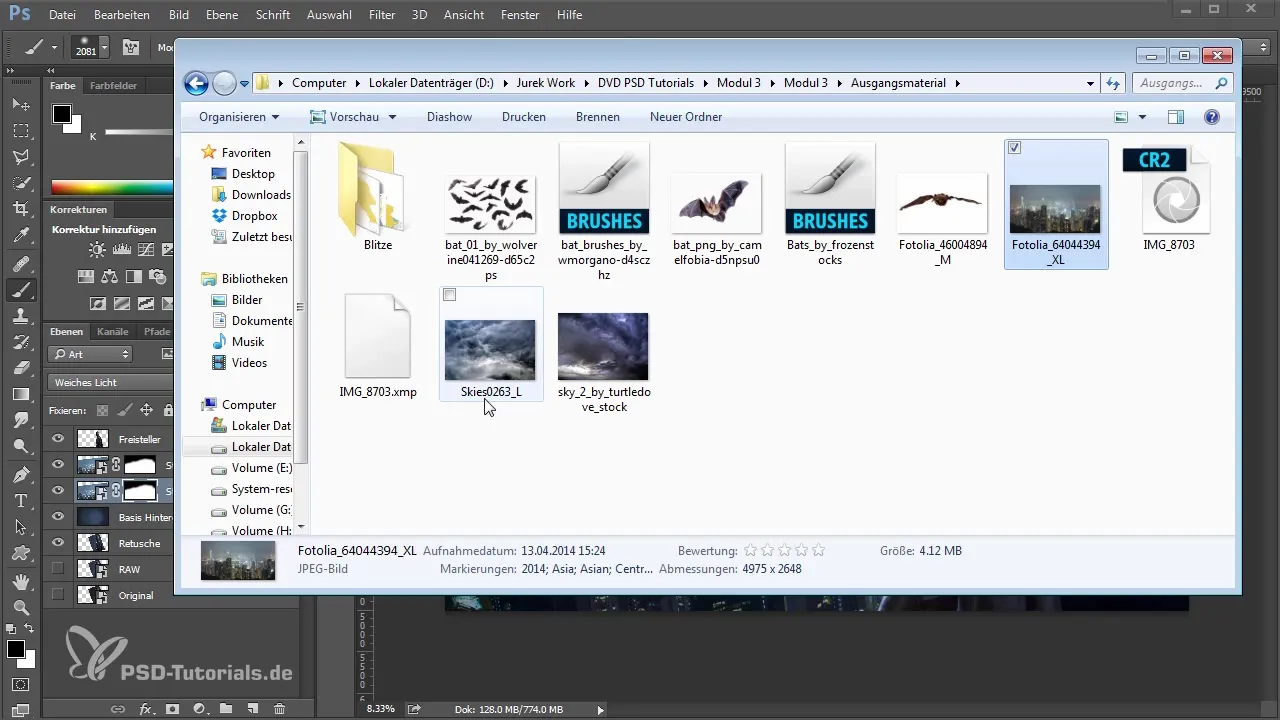
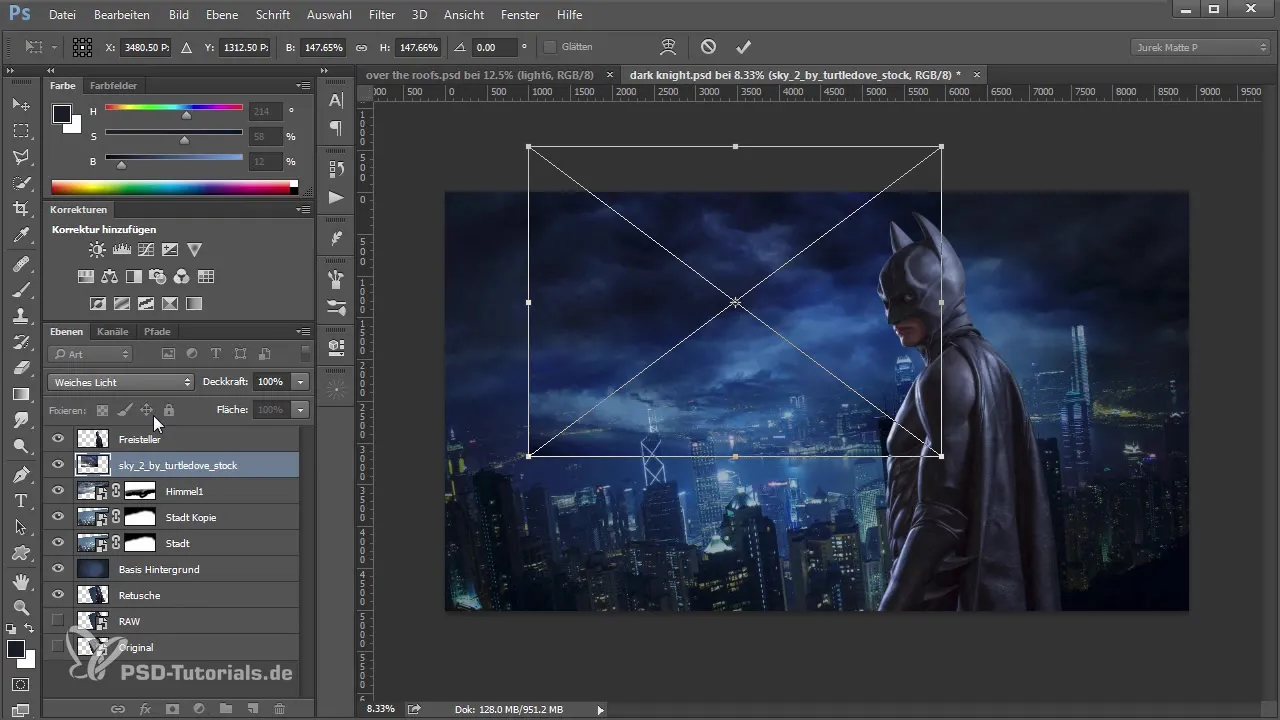
After you have shaped the transitions nicely, pull the sky into the image. Choose a suitable image of a sky and place it behind your city. Here too, it can be helpful to slightly distort the top part of the sky layer to create authenticity.
When overlaying the sky onto your background, ensure that the selected modes bring out the clouds well. Try different settings like “Multiply” or “Hard Light” to achieve the best effect.
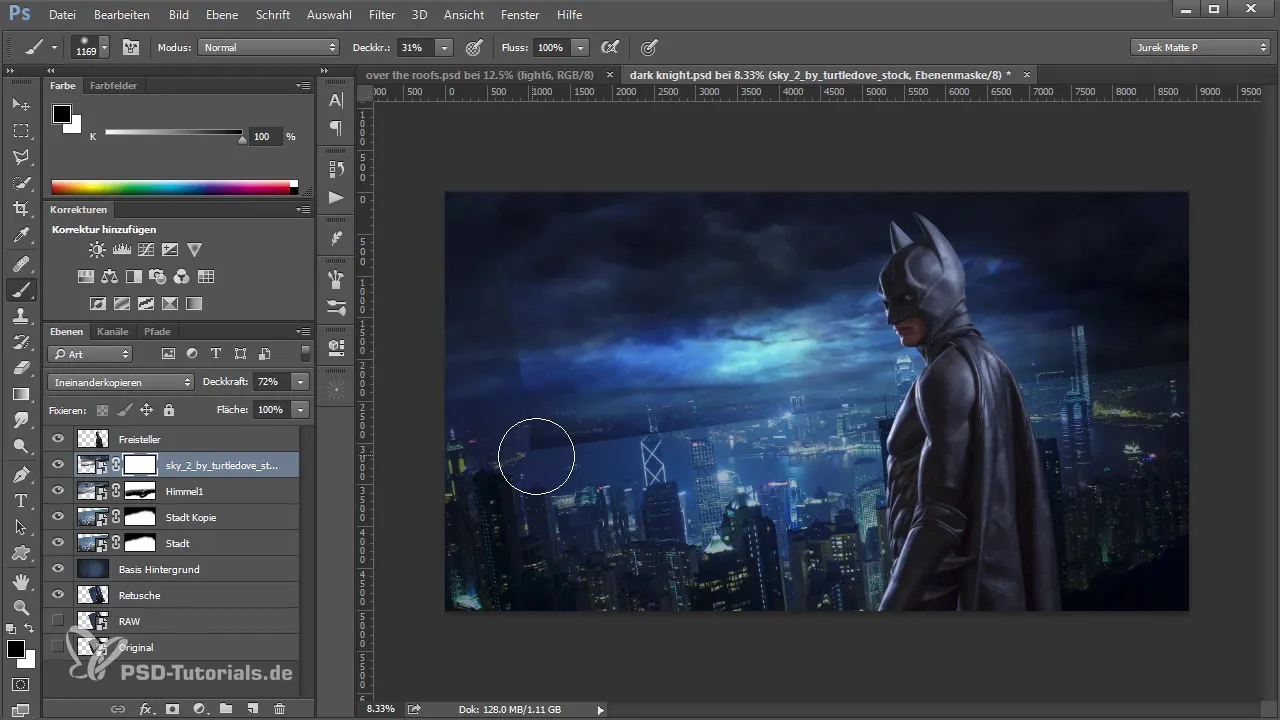
After adjustment and refinement, you will mask out some edges that you don’t like. Make sure that the transitions are soft and flowing. The sky should not appear too perfect; a few natural imperfections create a realistic look.
If everything looks good, you can merge the layers and apply the “Gaussian Blur” filter to the background elements. This will help to connect the various image elements more harmoniously.
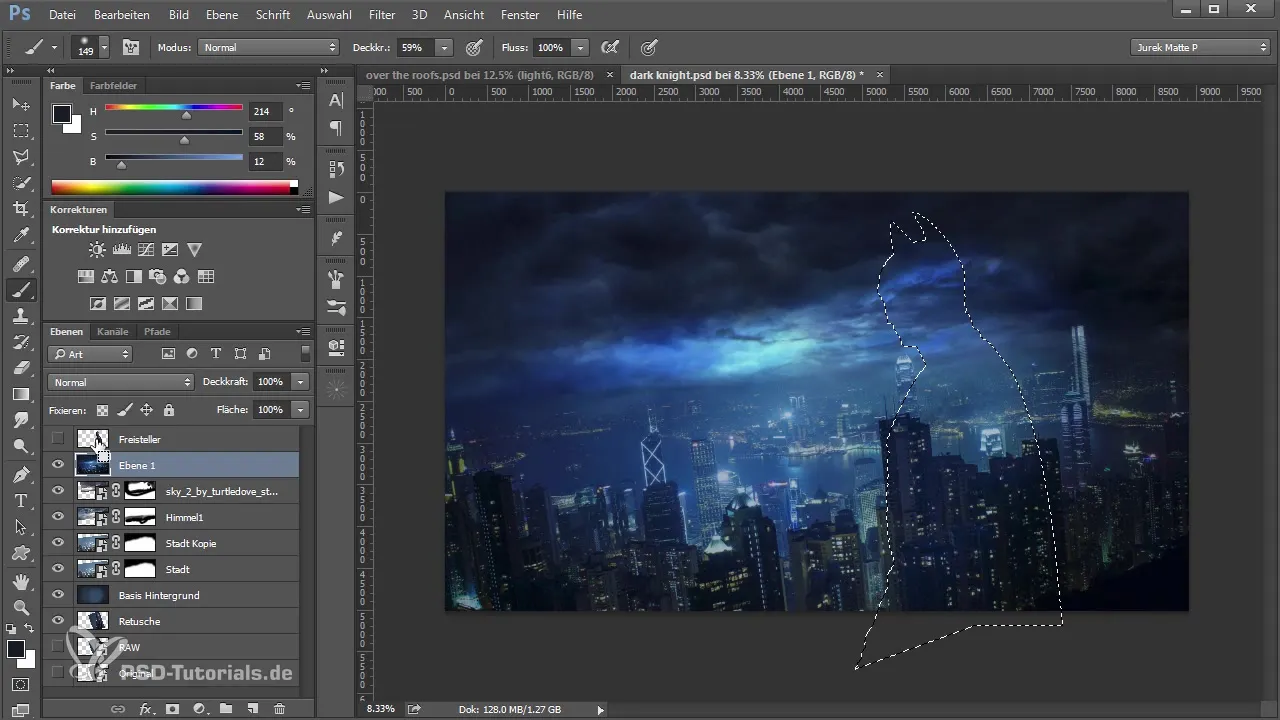
Finally, reduce the opacity of the background layer to create a clear yet soft connection between your model and the background. About 15% opacity is usually ideal.
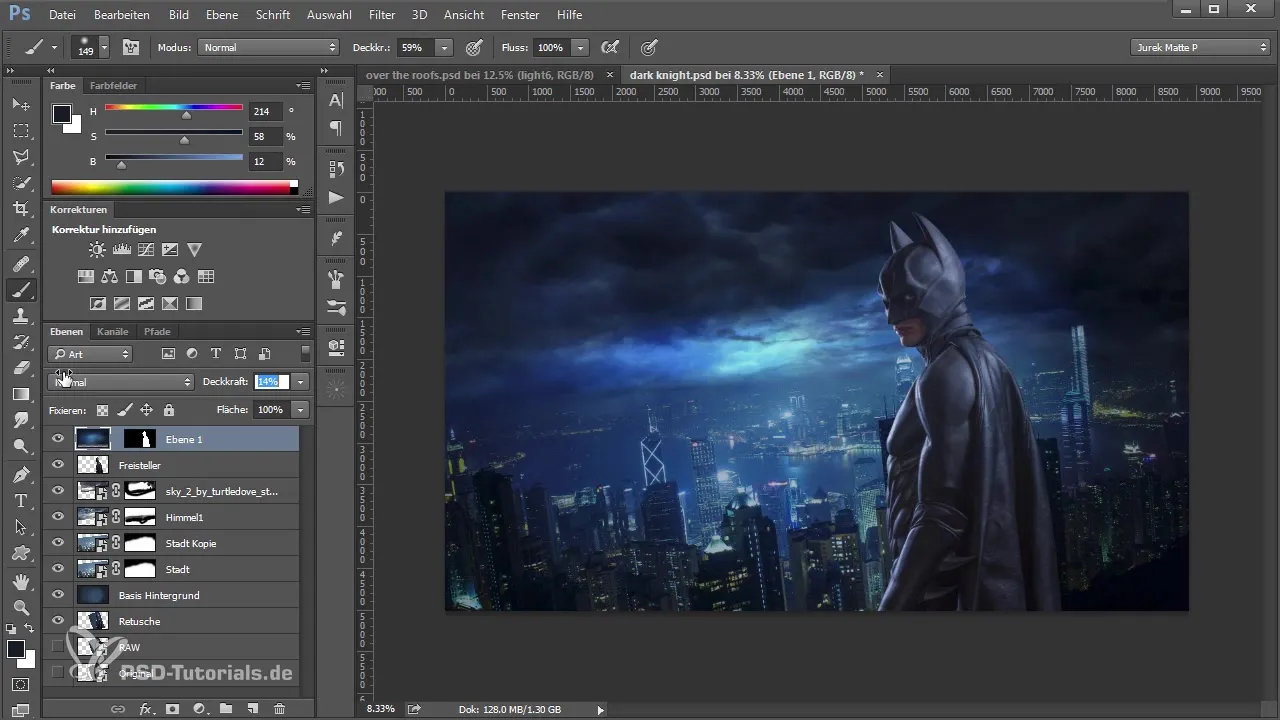
Summary - Inserting Backgrounds in Photoshop: From Idea to Final Image - Part 1
In this first part of our tutorial, you have learned how to create a background in Photoshop that fits your image. From adjusting colors and tonal values to applying masks and filters, you have learned the fundamental techniques to create captivating landscapes and backgrounds.
Frequently Asked Questions
How do I add a background in Photoshop?You can add a background by dragging an image into your main image and then working with layer modes.
Which layer modes should I use?“Soft Light” and “Multiply” are great options for adjusting colors and contrasts.
How can I avoid hard edges in the image?Use masks to gently fade edges and create a smooth transition design.
How do I adjust the tonal values of the background?Use brushes with low opacity to selectively edit bright and dark areas.
Why should I adjust the opacity of the background layer?Adjusted opacity ensures that the background harmonizes well with the main subject.


