Creating impressive digital artworks requires technical skill and creativity. With Photoshop, it is possible to seamlessly integrate 3D objects into realistic scenes. In this tutorial, I will guide you through the process of adding more depth to your image using fog and a protagonist.
Key Insights
- Use of different fog brushes for atmospheric design.
- Organization of layers for better control over the compositing.
- Integration of figures into the image for a more dynamic representation.
Step-by-Step Guide
Creating Fog with Brushes
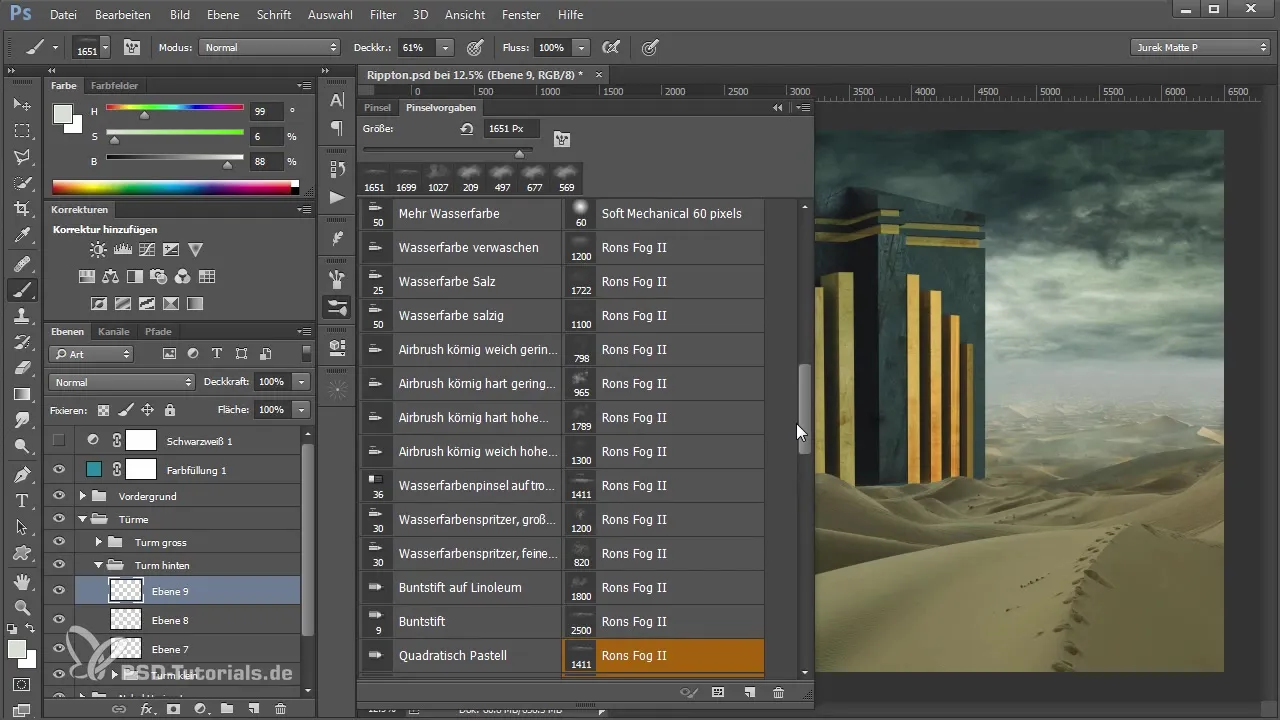
Start by enhancing the atmosphere of your image by adding fog. Choose a suitable fog brush, such as a round one you like. Make sure to create a new layer to paint the fog. This allows you to maintain control over the opacity and adjust the desired effects more easily.
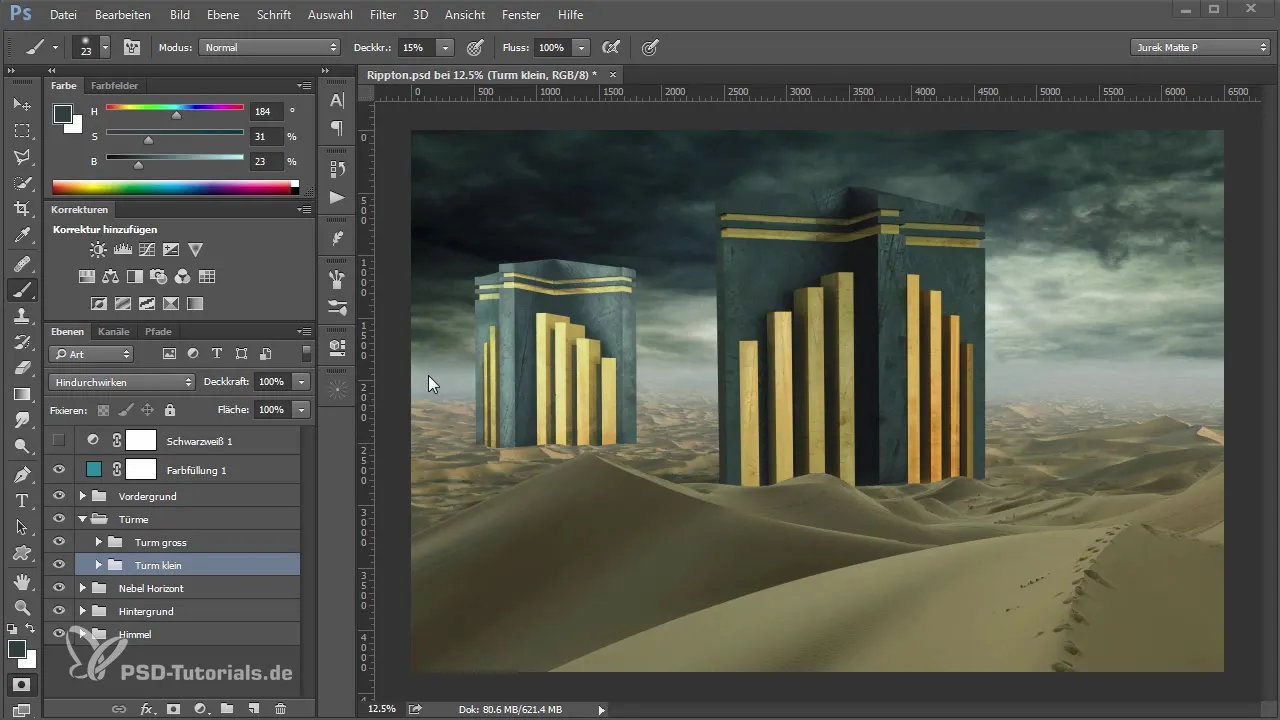
Choose a bluish color for the fog and set the opacity to about 40 to 50% so that the fog is integrated gently into the image. Then carefully spray fog on the lower half of the image to emphasize the base of the object.
Reduce the brush size for finer details and make sure to create smooth transitions. It is important that the fog appears harmonious in the image and does not look artificial. Often, you can refine the look by using masks to remove parts of the fog.
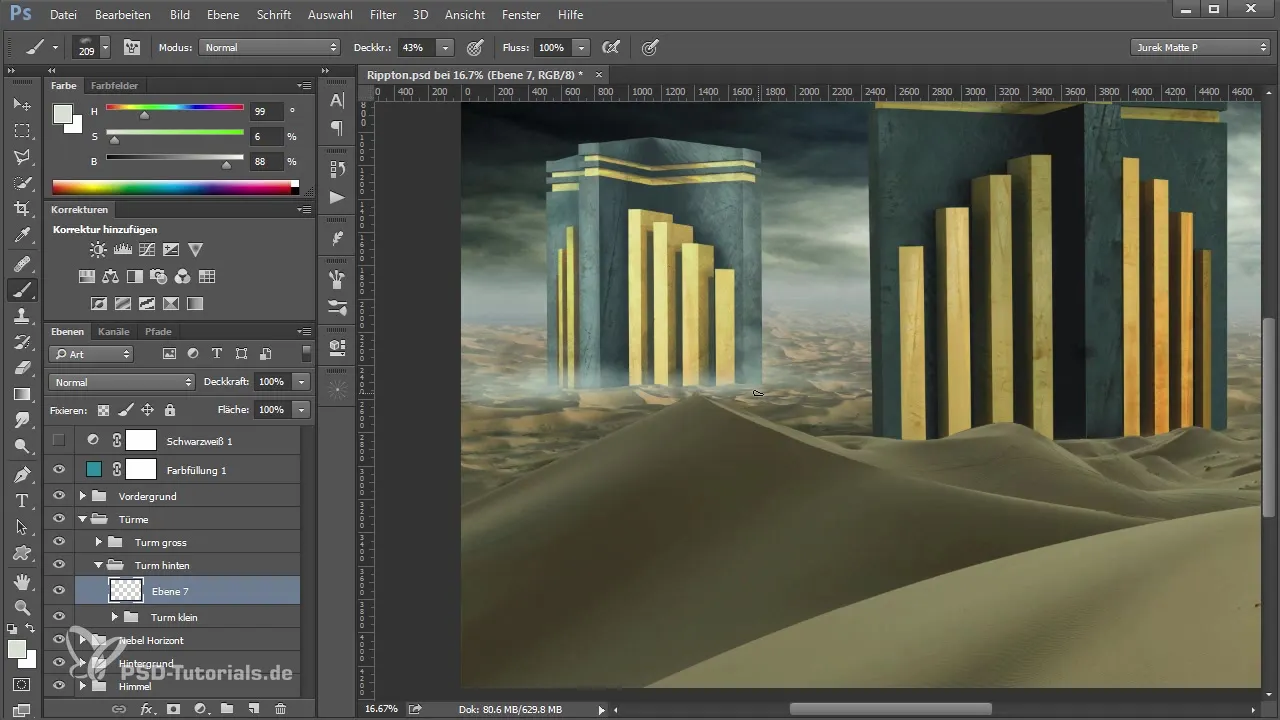
Adding Additional Fog
For a complete effect, create another fog layer. This gives you the opportunity to insert different types of fog into your image while optimizing the settings for each layer separately. Experiment with different brush tips for the fog effects to create various textures in the fog.
If you are satisfied with the first fog layer, you can also add fog at the top edge of the image to extend the atmosphere. It can be helpful to enlarge the upper fog layer and add more cloud effects to give the image even more depth.
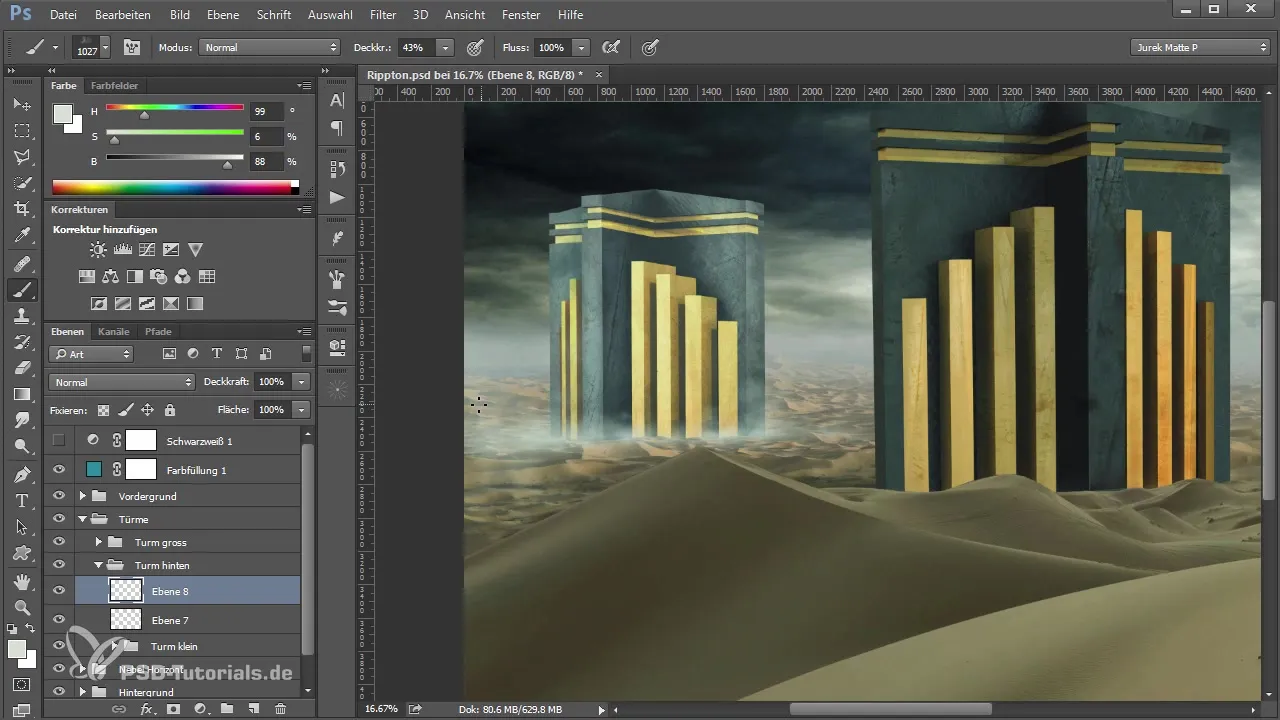
Adjusting the Layers
After creating the fog layers, close the fog-specific group and go back to your 3D object. You should ensure that the colors and contrast harmonize with the background. Choose a different brush type for the foreground elements so they blend better into the scene.
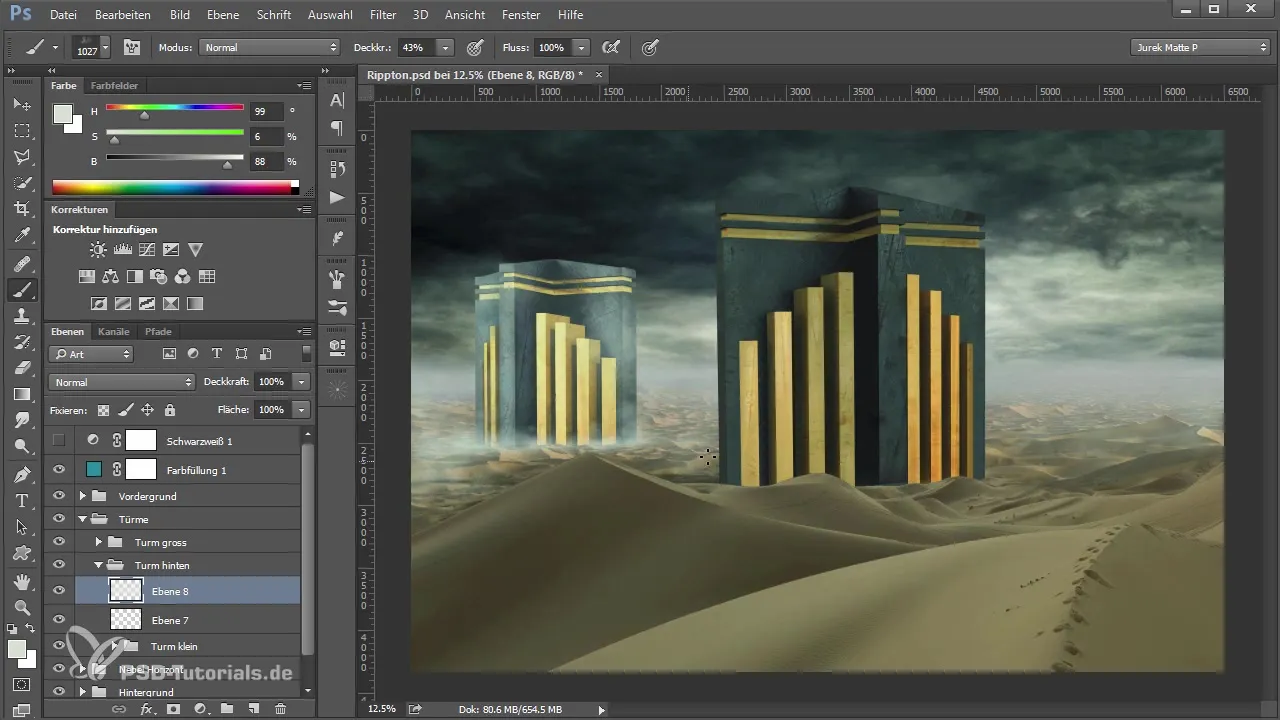
Adjust the size of the fog layers as needed. You may need to readjust the opacity to match the new perspective of the image.
Adding the Protagonist
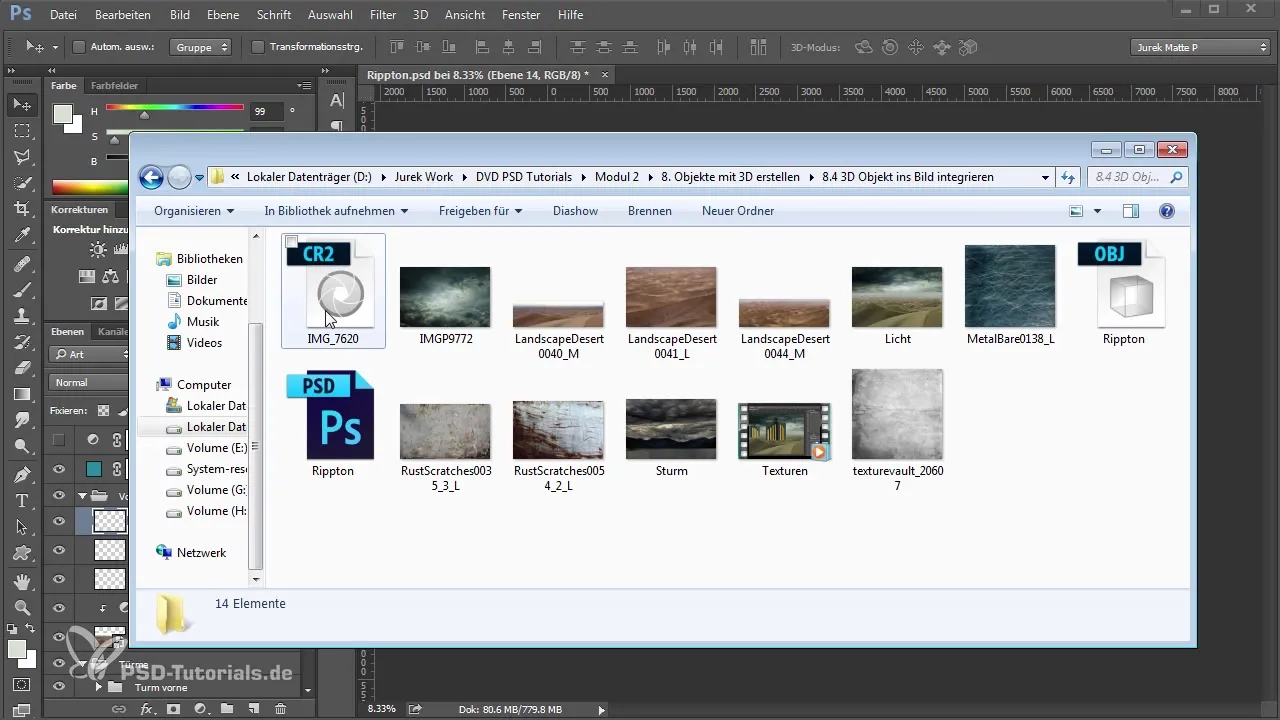
Now it's time to integrate your protagonist into the image. Choose your 3D object, in this case, a soldier, and place it in the foreground, ensuring it is perspective-correct. You may also need to perform a RAW conversion to adjust the colors and lighting conditions.
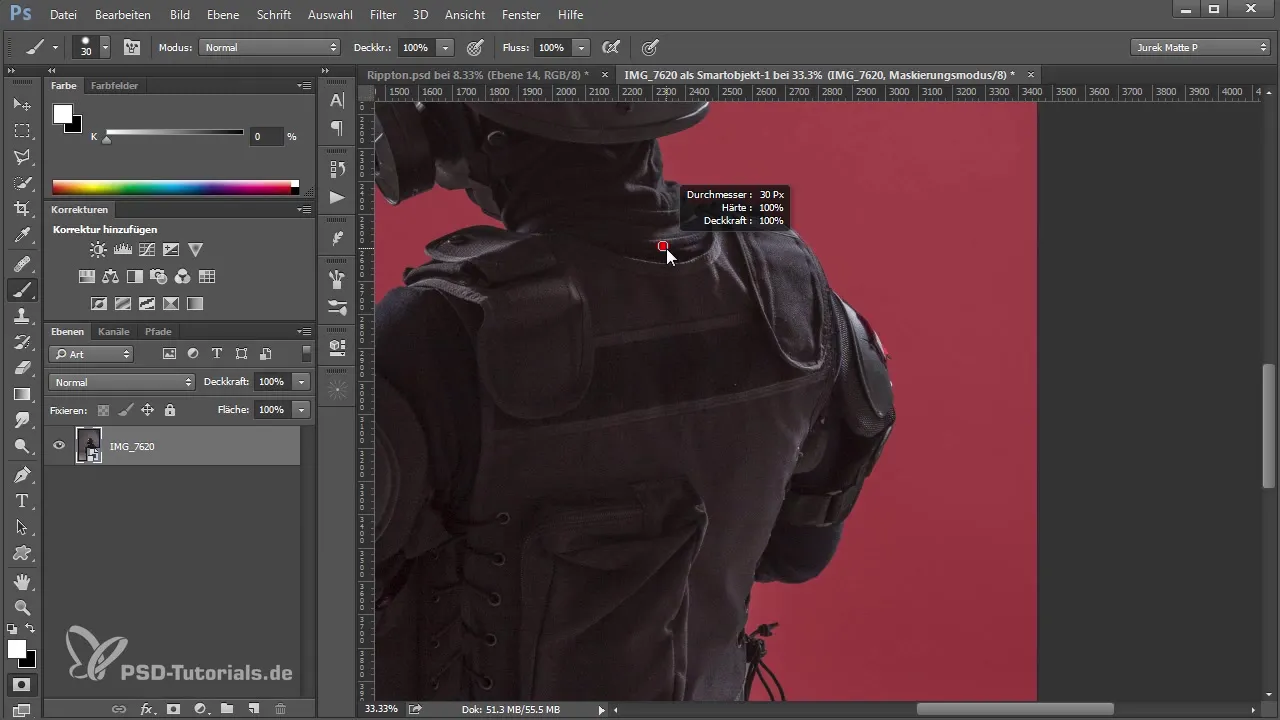
To ensure that the figure fits harmoniously into the image, go into masking mode and optimize the masks for selecting the protagonist. Make sure all edges are blended cleanly so that the soldier appears credible.
Additionally, you can apply filters like Gaussian blur to the soldier to make him appear a bit softer and facilitate the integration into the existing composition.

Final Touches
Finally, give your image the finishing touches: Ensure that the colors are well-coordinated and the lighting mood fits. It can be helpful to lift the midtones with a tone curve adjustment and make small adjustments to the color spectrum to create a cohesive overall image composition.
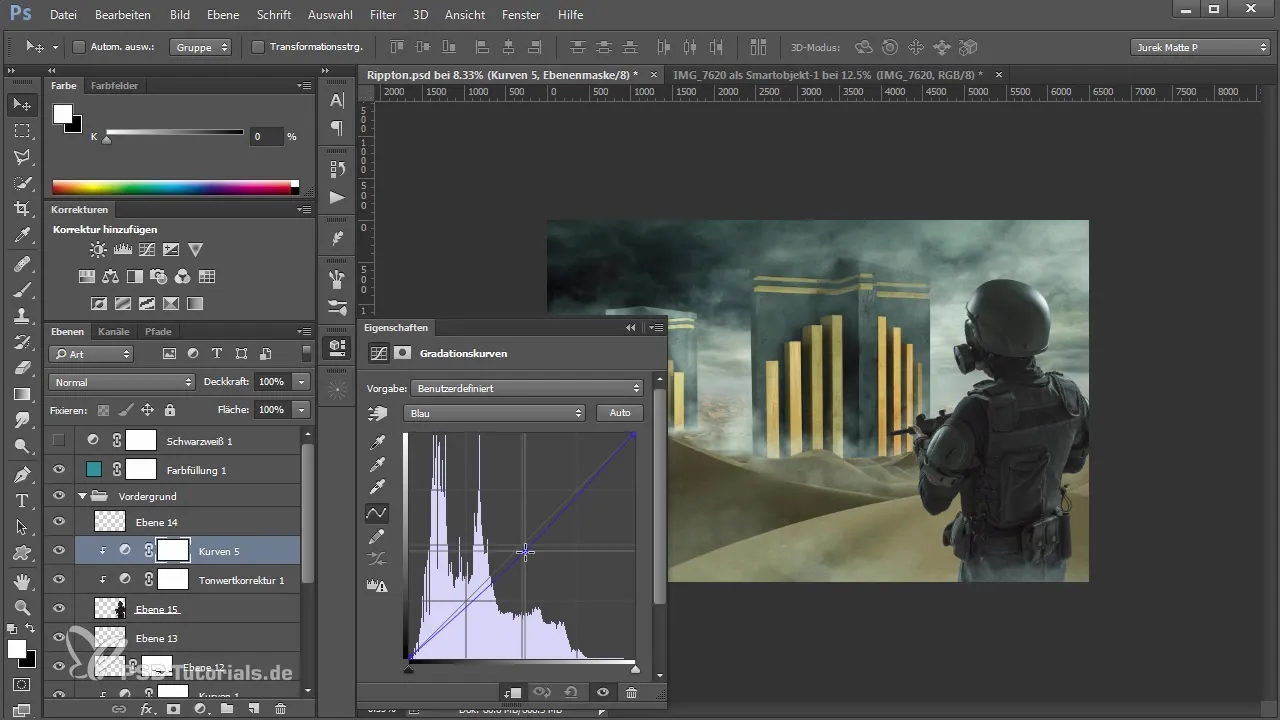
Once you are satisfied with the light and fog, you have achieved effective integration of the 3D object into your image.
Summary - Guide to Integrating a 3D Object into an Image with Photoshop: Fog and Figure
Through the steps described here, you have learned how to optimally integrate a 3D object into an image using fog and figures. With targeted adjustments of layers and skillful work with masks, you will achieve an impressive visual composition.
Frequently Asked Questions
How do I choose the right fog brush?Choose a brush that meets your requirements. Experiment with different brushes to achieve the desired fog effect.
Can I edit the fog layers later?Yes, since you use separate layers for the fog, you can adjust the opacity and the brush at any time to create different fog styles.
How do I effectively integrate my figure into the image?Use masks to fine-tune the edges and ensure that the light and color mood is harmoniously adjusted to make the figure look realistic.


