Working with frequency separation in Photoshop can give your image editing a new, professional edge. The term "frequency separation" may seem complex at first, but it is a simple technique that allows you to edit structure and color in your images independently of each other. In this guide, I will show you how to analyze the frequencies of an image and meaningfully separate them.
Key insights
- Frequency separation allows you to edit colors and brightness (low frequency) separately from structures (high frequency).
- The technique improves retouching of skin tones and other details.
- Clear diagrams help in understanding the frequency analyses.
Step-by-step guide
1. Understanding frequencies
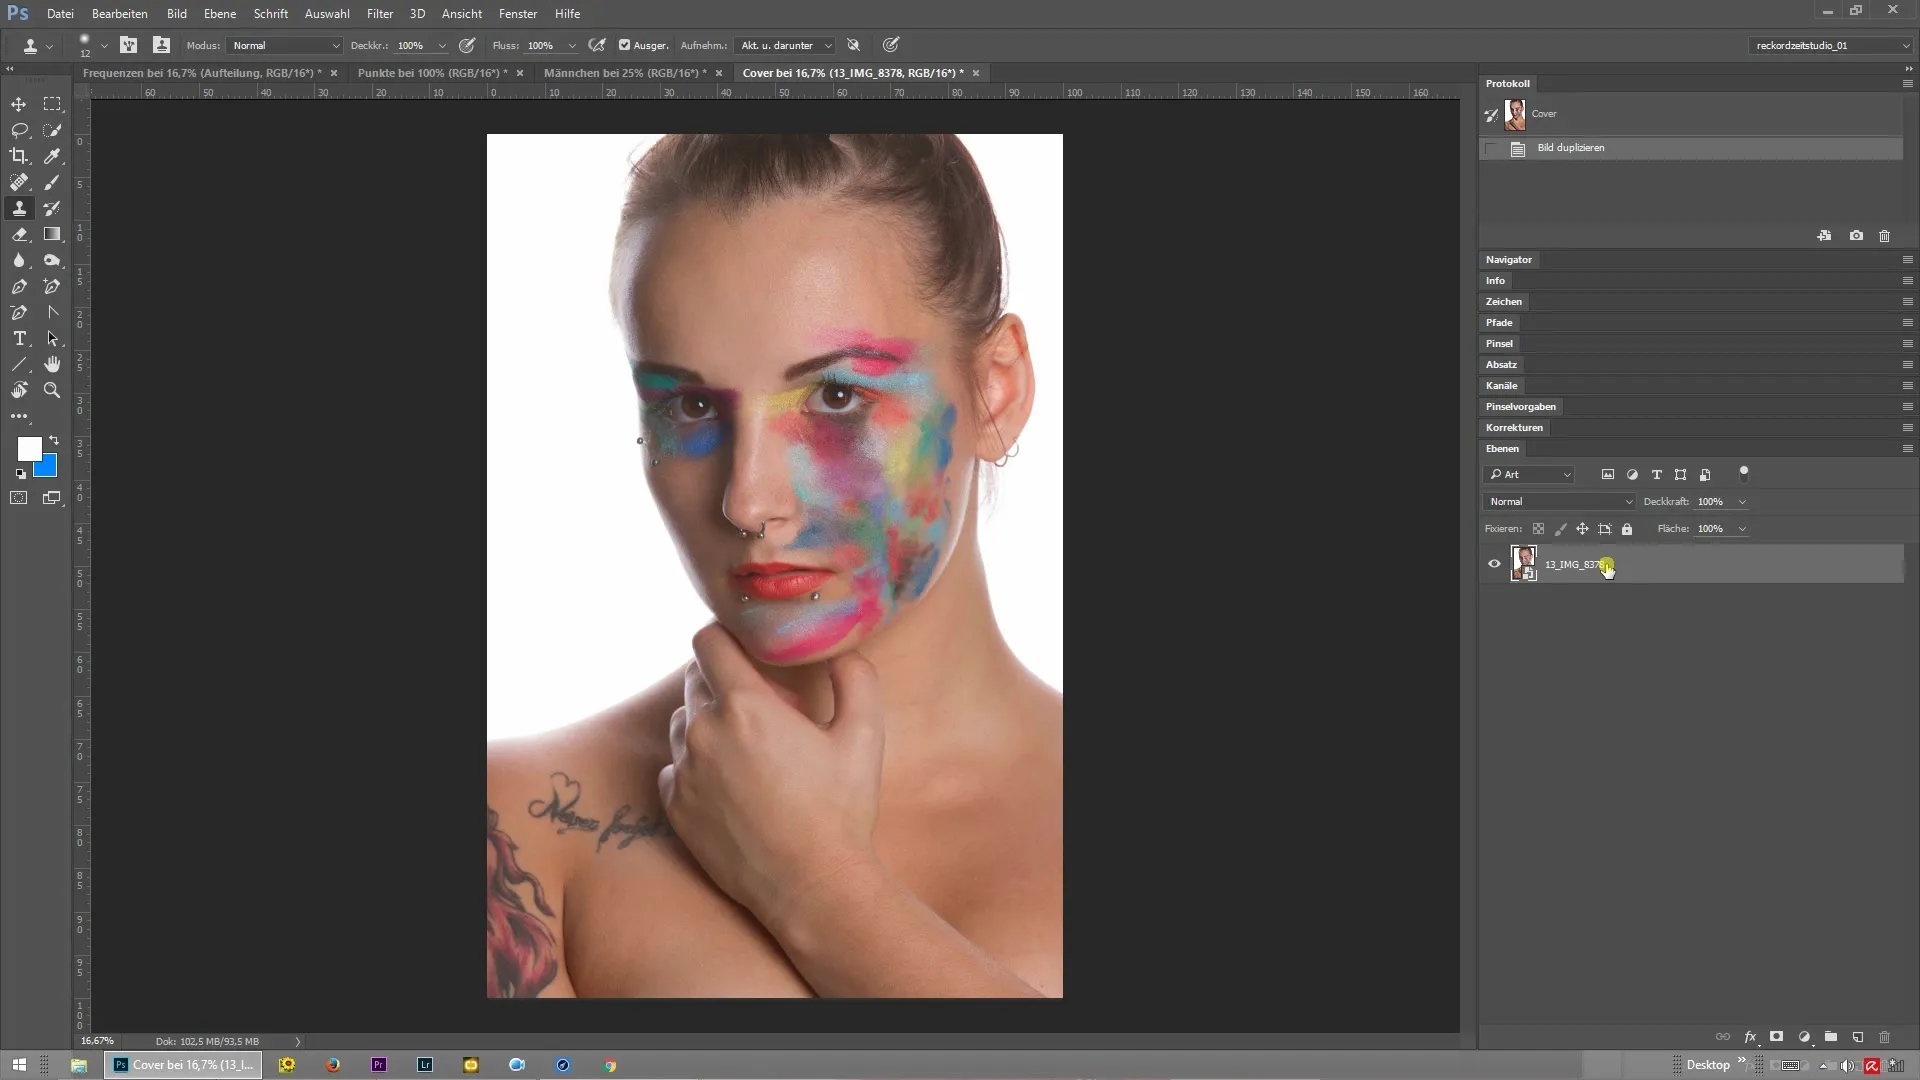
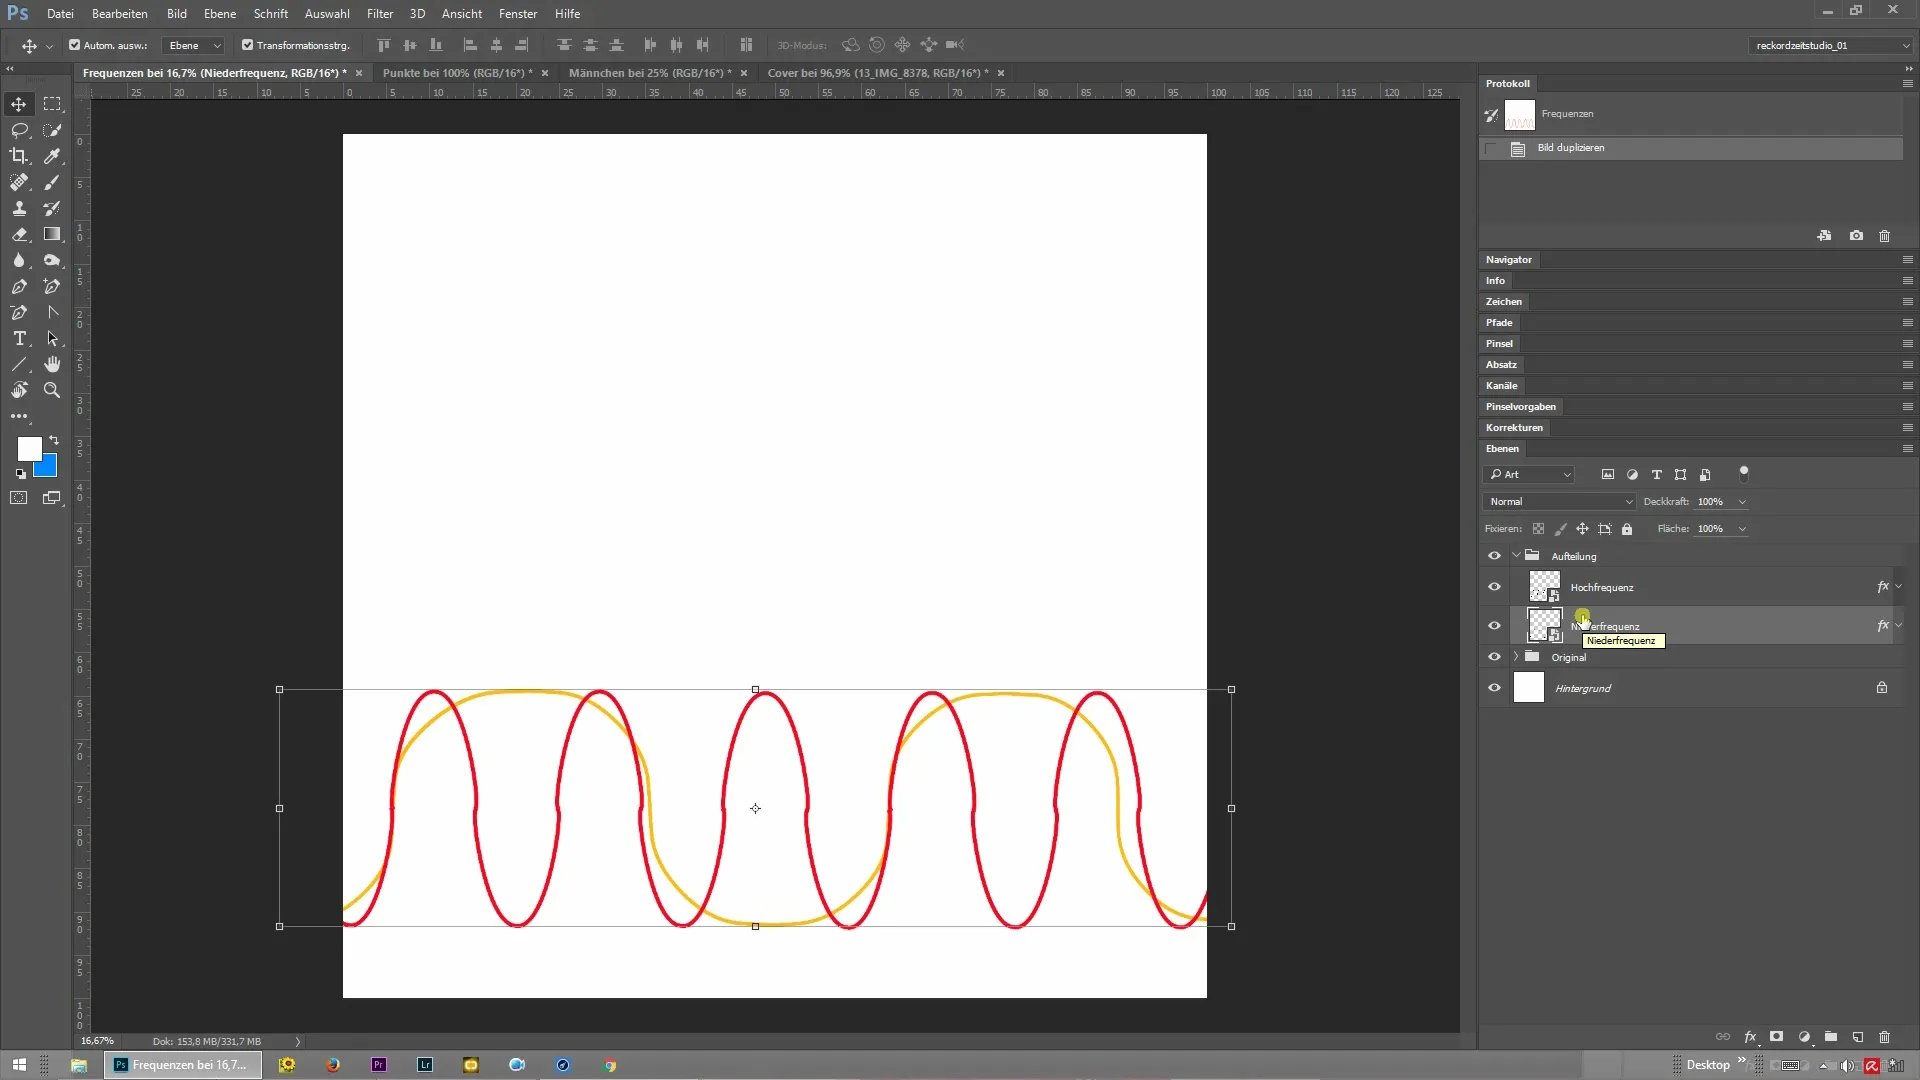
Before you start with frequency separation, it is important to understand the basic components of an image. Each image is made up of two main frequencies: the low frequencies, which include colors and brightness, and the high frequencies, which represent fine structures like skin textures. To properly separate these frequencies, a keen eye for detail is essential.

2. Analyzing the image
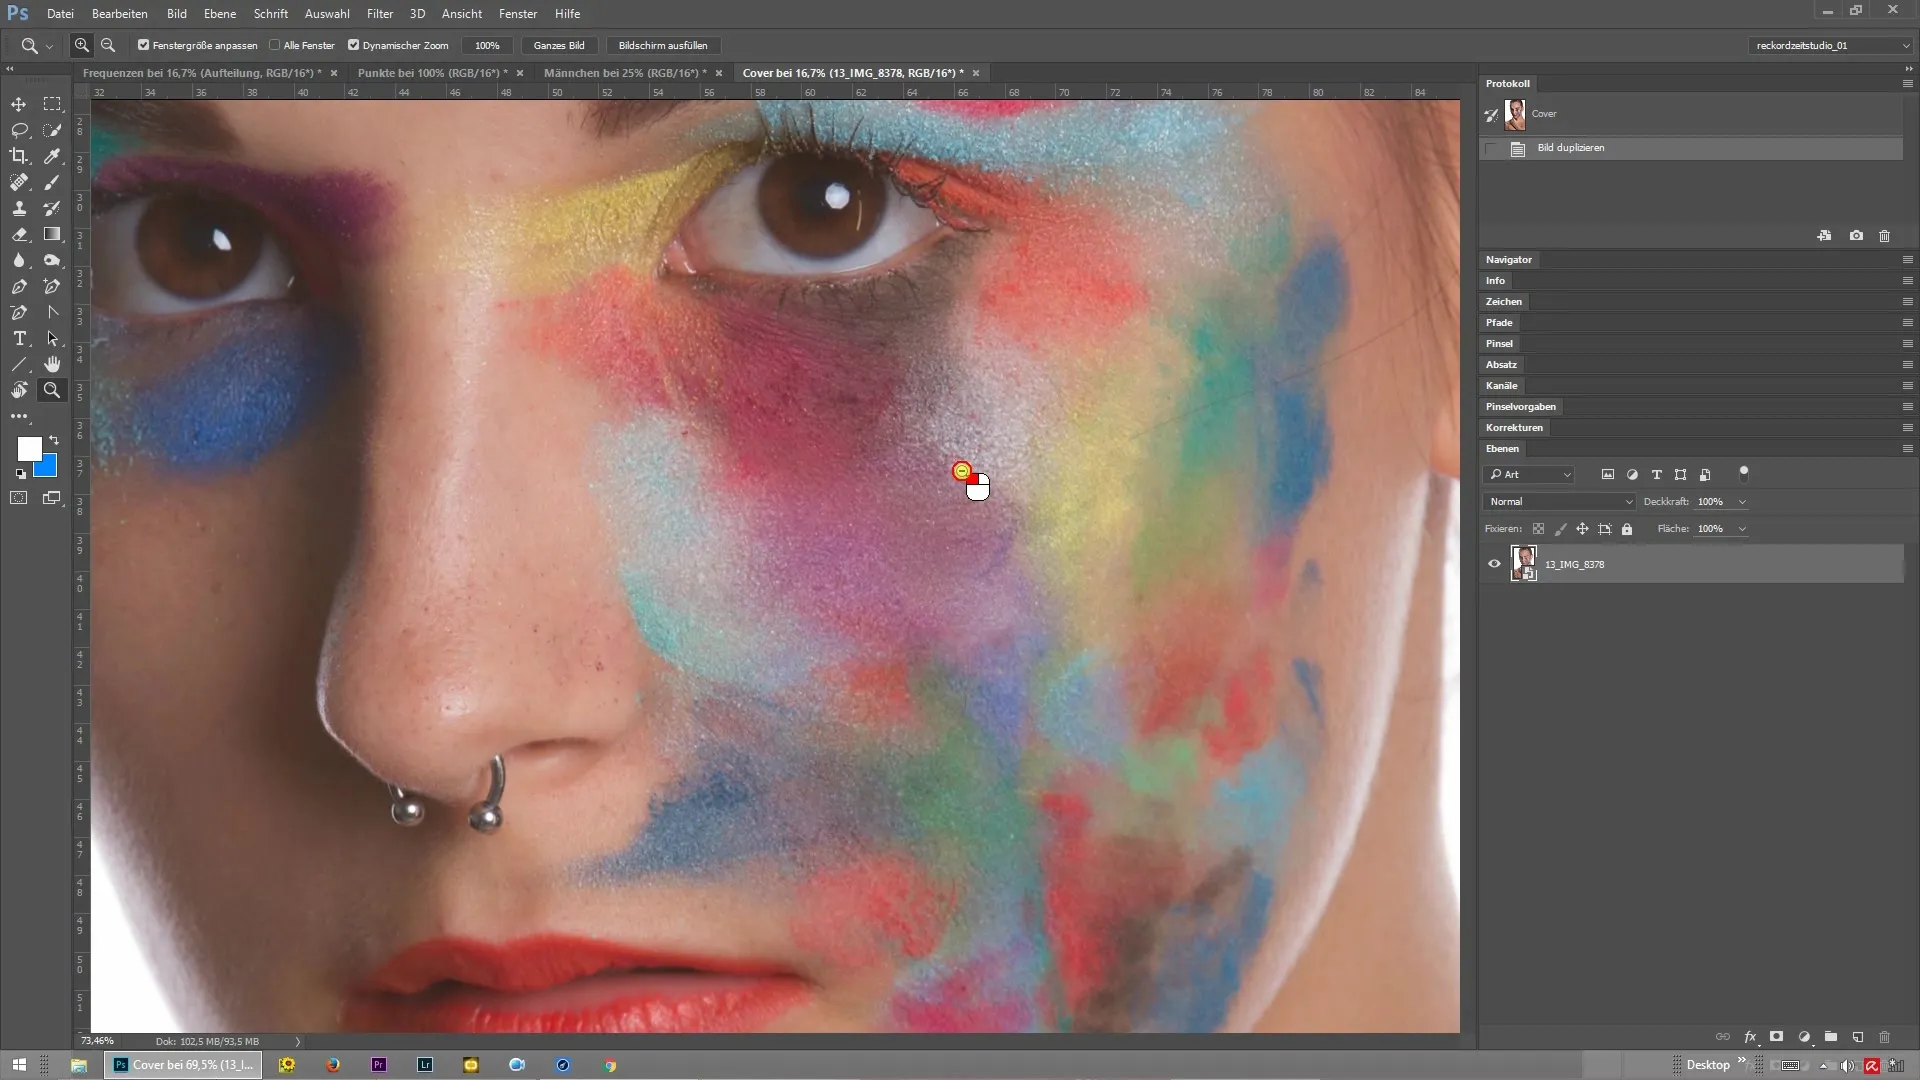
Zoom in on your image to recognize the color gradients and structures. When observing the different brightness ranges, you will notice that they are separated by soft transitions. Here, it is important to distinguish between the dark and light areas and identify the transitions, as these form the basis for frequency separation.

3. Creating a new layer
The next step is to physically separate the frequencies in Photoshop. You will start by creating two new layers: one for the low frequency and one for the high frequency. To visually follow this, note that it follows from theoretical considerations but will be applied practically later.

4. Separating the frequencies
Once the new layers are created, you direct Photoshop to separate the frequencies. Be sure to work between these layers. This separation allows you to isolate the color gradients and brightness from the structural elements of the image.
5. Editing high frequencies
Now shift to the high frequencies. By working in this separate layer, you can specifically edit details and structural elements without affecting the underlying color effects. For example, if you have skin texture that you want to optimize, you can do this easily and efficiently here.
6. Merging the layers
After working with the high and low frequencies, you can merge the two layers if necessary. This gives you the opportunity to check the changes in an overall view and see how your adjustments work harmoniously together.
Summary – Frequency separation in Photoshop: Frequencies and their structure
Frequency separation is an extremely useful technique in image editing, as it gives you the freedom to independently optimize color and structure details. By keeping an overview of the different frequencies and structuring your work in multiple layers, you significantly improve the quality of your photos.
Frequently asked questions
What is frequency separation in Photoshop?Frequency separation is a technique that allows you to edit colors and structures in an image independently of each other.
How do I create the low and high frequency layers?You create two new layers in Photoshop: one for colors and brightness (low frequency) and another for structures (high frequency).
Can I merge the layers back together?Yes, after editing, you can merge the two layers to review the finalization of your image.
How do I improve skin tones with frequency separation?You can edit the low frequency to optimize skin tones while adjusting the textures on the high frequency.
Is it necessary to separate frequent transitions?Yes, separating the frequencies allows you to edit frequent transitions without affecting the overall color balance of the image.


