When editing landscapes or portraits, frequency separation in Photoshop is an essential tool for improving image quality. That is the secret to professional retouching. In this guide, I will show you the crucial tools used for frequency separation and explain why the clone stamp tool is particularly effective.
Main Insights
- Effective work with frequency separation requires precise settings.
- The hardness, opacity, and flow of the tool are crucial for a clean retouch.
- The clone stamp tool is the best tool for retouching in frequency separation.
- Alternatives like the healing tool are less intuitive and require more effort.
Step-by-Step Guide
Before you begin frequency separation, you must ensure that your action is recorded correctly. Start Photoshop and load your image. You can configure the recording to use the function key to start the action.

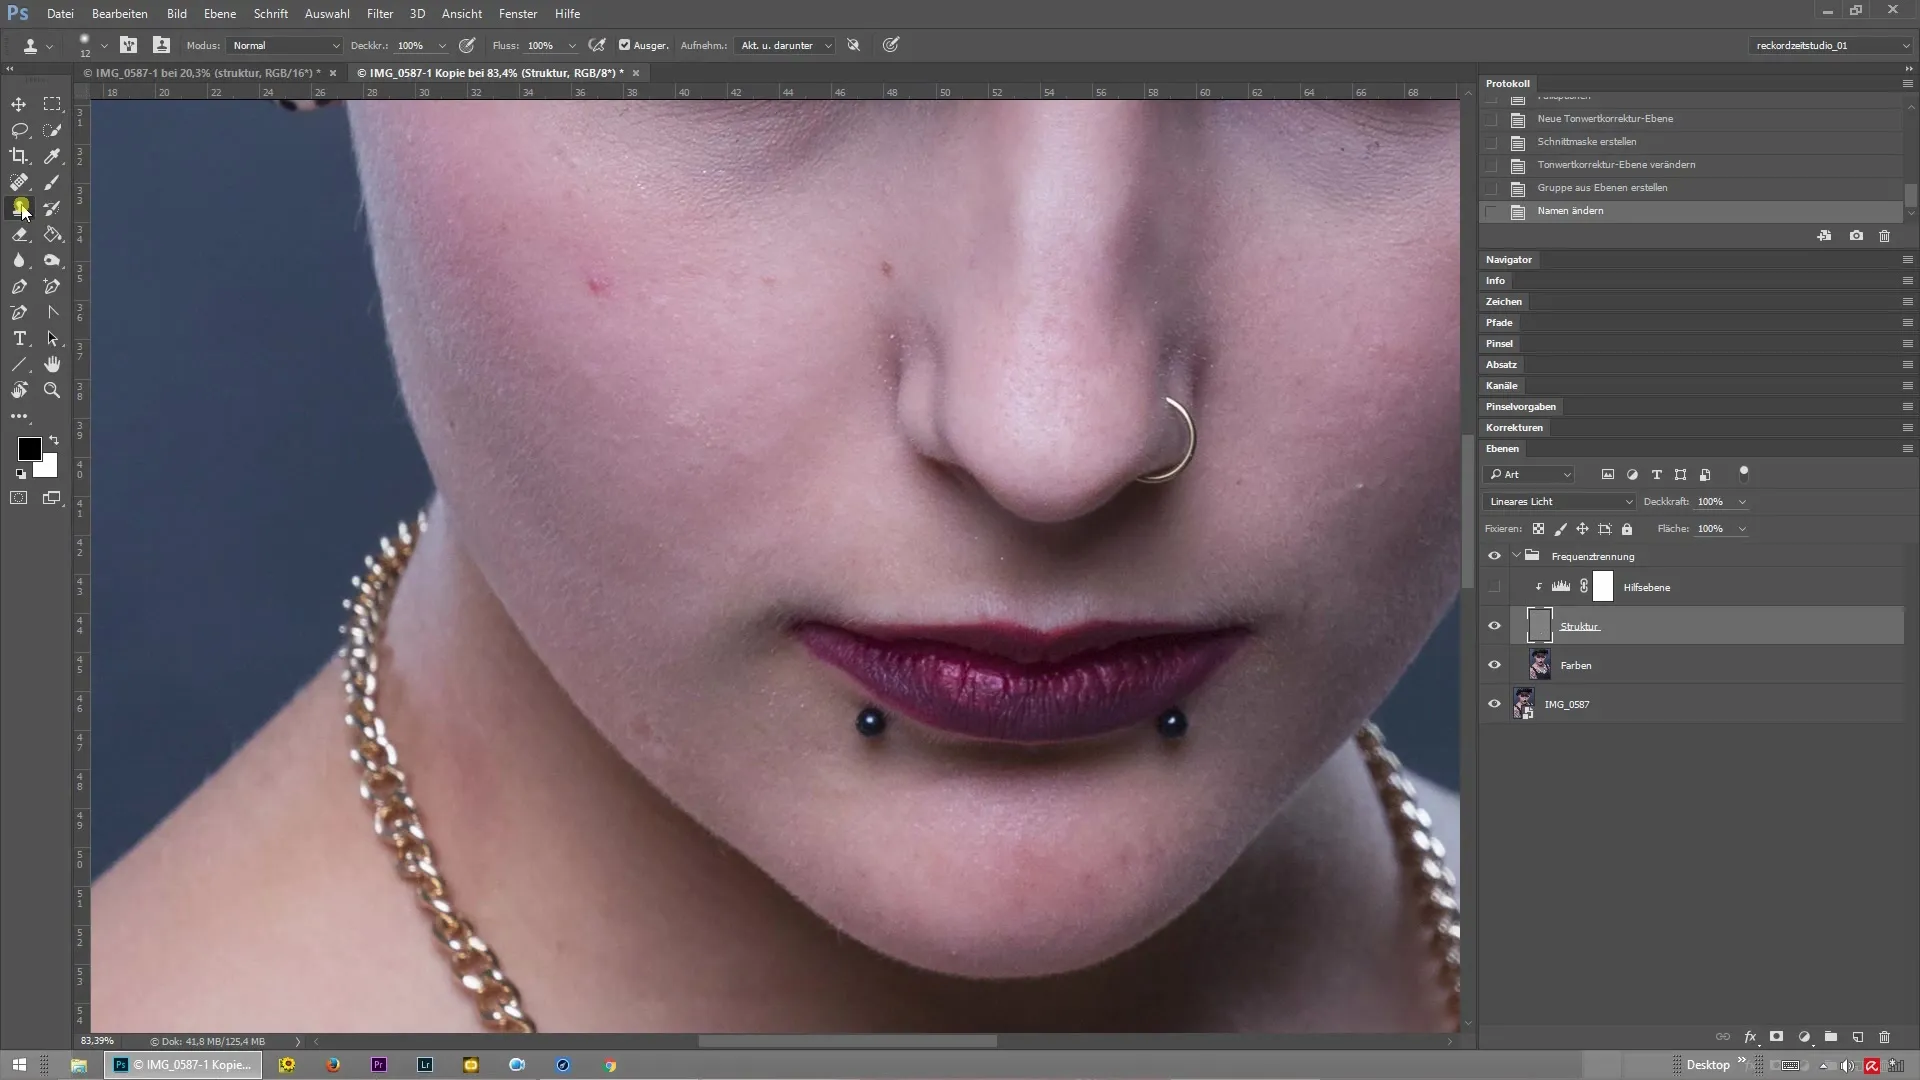
The clone stamp tool is crucial for frequency separation. Select this tool and ensure that the settings for opacity and flow are at 100%. The hardness of the brush should also be set to 100% for precise work.
Choose a spot in the image that has a clean structure to use as the source for your retouching. Make sure you are not just working nearby, but precisely sampling the structure from the spot you want to use in your image.
After selecting the source, begin retouching the errors or unwanted areas in your image. This works by holding down the Alt key and clicking on the area from which you want to copy. Then retouch over the area you want to improve.

It is important to regularly take a look at the entire image to ensure that the transitions appear natural and there are no disturbances. Continuously go through the different areas of the image and use the structure near the area you are retouching to ensure a homogeneous image surface.

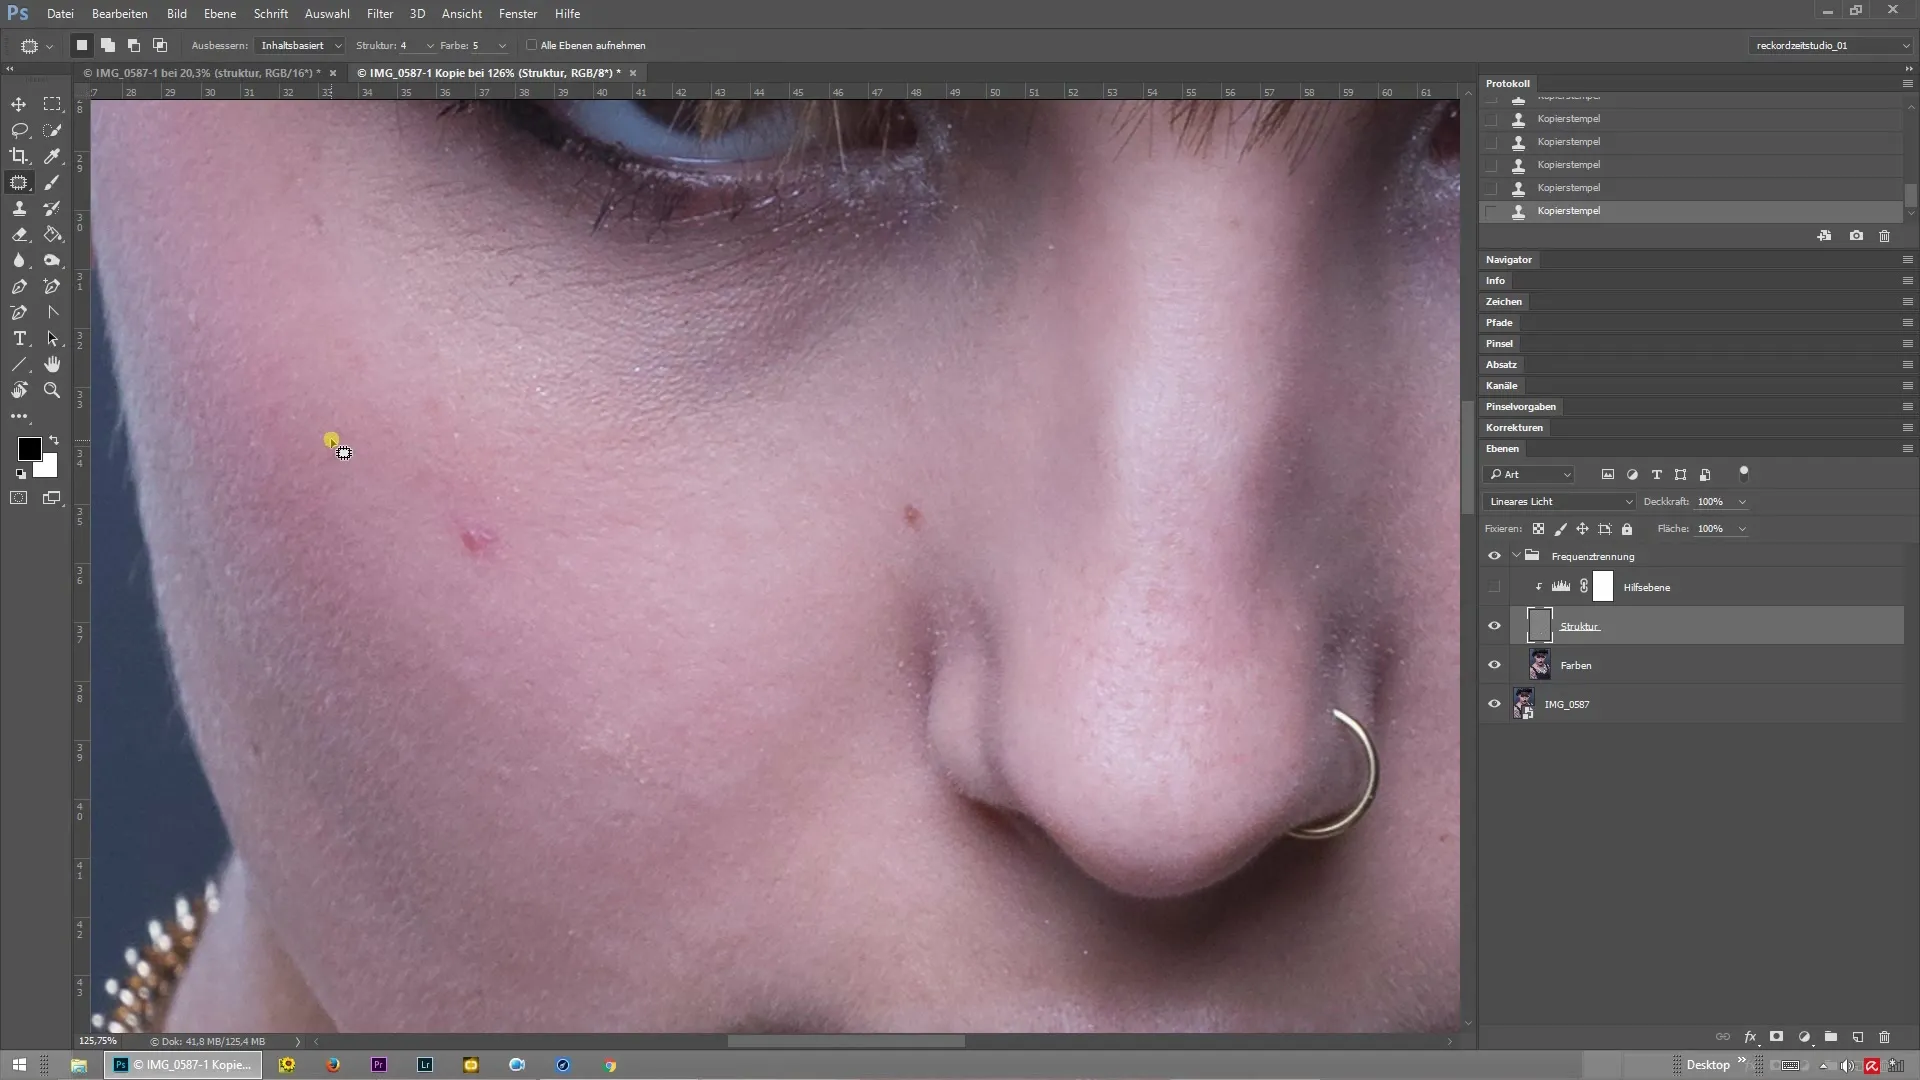
Although the clone stamp tool is the best choice, there are other tools like the healing tool that are also available. This tool allows you to select an area and drag it to another location. However, the process is more cumbersome and not suitable for a quick workflow.

Summary - Frequency Separation in Photoshop: 14 Tools for Perfect Retouching
Frequency separation in Photoshop is a technique that delivers excellent results in retouching. With the clone stamp tool, you have an effective tool that helps you maintain clear and clean structures in your editing. Always pay attention to the proper setting of hardness and flow to achieve optimal results.
Frequently Asked Questions
How does frequency separation work in Photoshop?Frequency separation separates the structure and color of an image so that both elements can be edited independently.
Why is the clone stamp tool better than the healing tool?The clone stamp tool allows for more precise editing and requires less effort than the healing tool.
What settings are important for a clean retouch?For a clean retouch, hardness of 100%, as well as opacity and flow of 100%, are crucial.
Should I frequently switch between tools?Ideally, you should focus on the clone stamp tool as it is the most intuitive. Switching to other tools can unnecessarily slow down the workflow.


