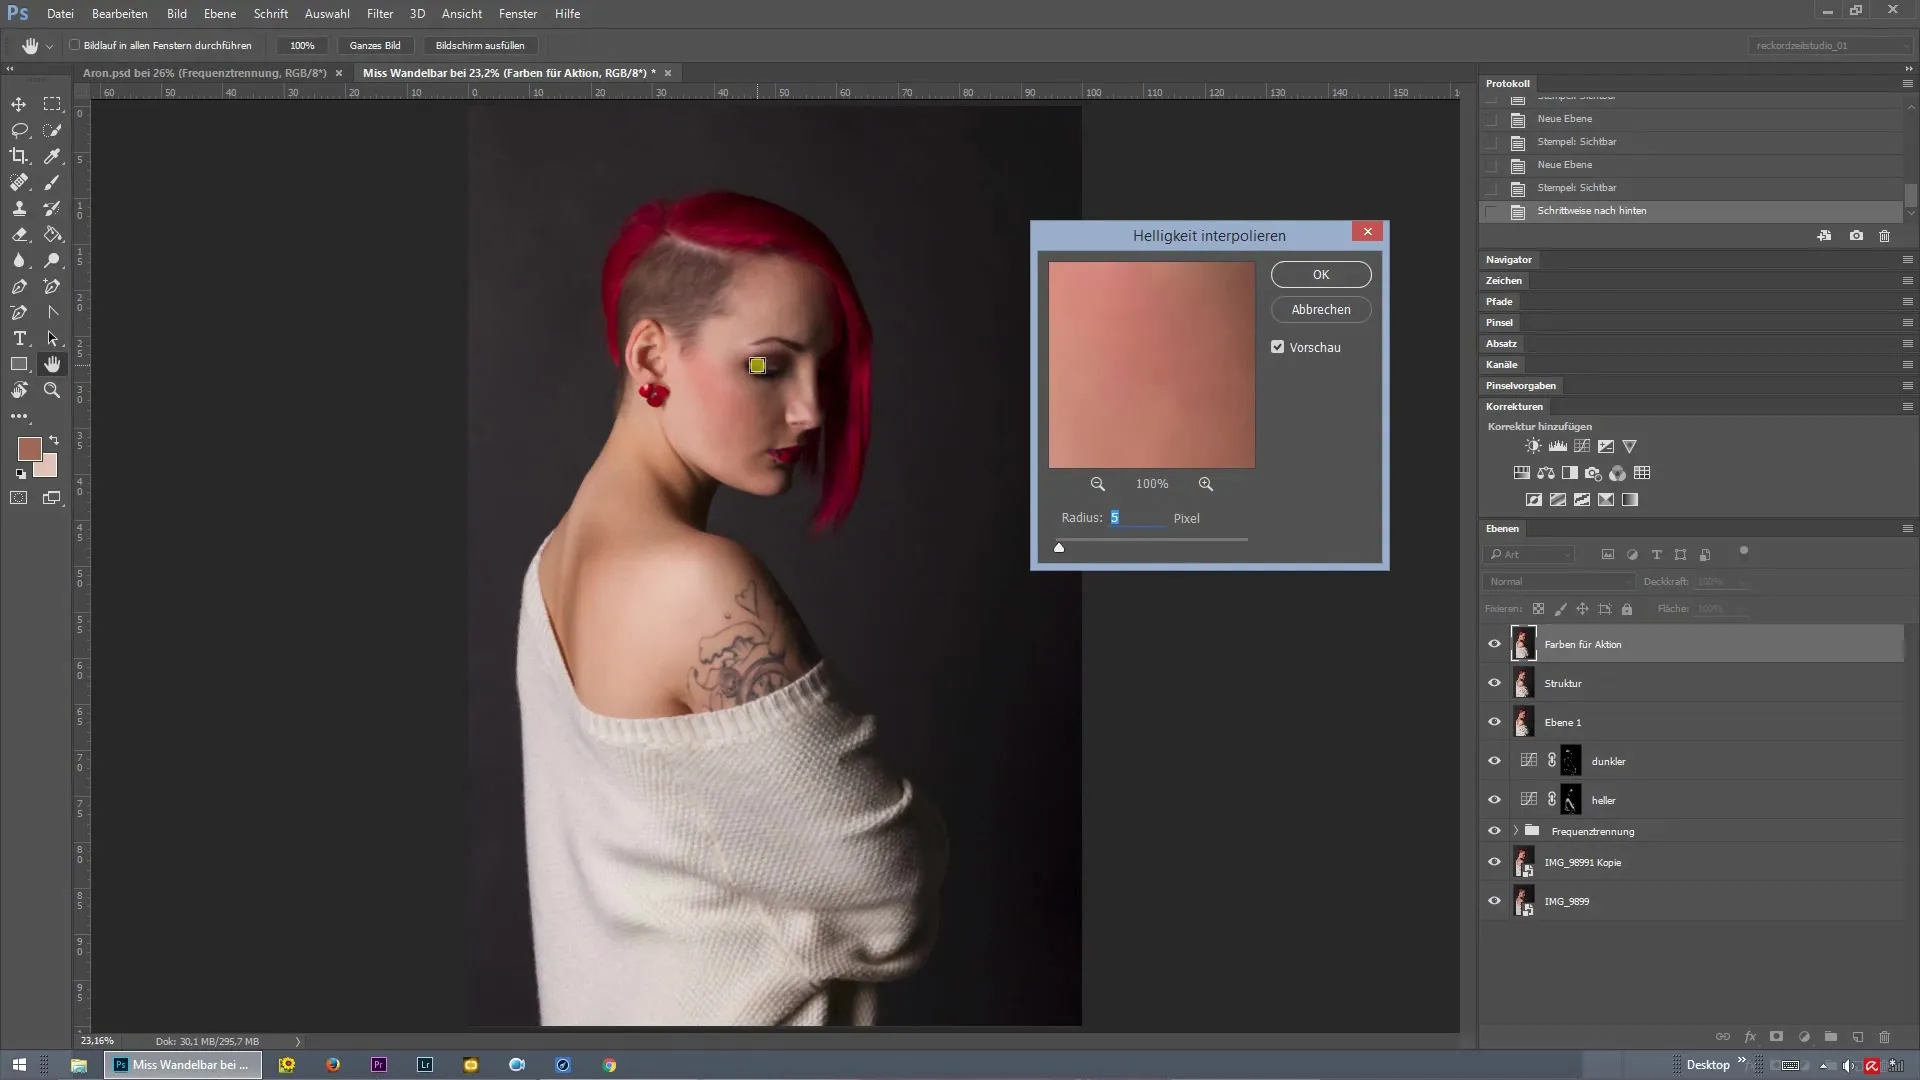
Editing images in Photoshop can be an art in itself. Especially sharpening the images requires precise work. With the help of frequency separation, you can separate unwanted details from important image structures and thus sharpen them selectively. This technique allows you to concentrate the sharpness on specific areas without affecting the entire image.
Key Insights
- Frequency separation helps to sharpen image details selectively.
- It is important to separate the structure and color layers.
- Use layer masks for selective sharpening.
- Image editing remains central, even during post-processing and color corrections.
Step-by-Step Guide
First, you look at the image in a before-and-after comparison by holding down the Alt key and clicking the eye icon. The image as it came from the camera shows differences to the edited result you are aiming for.

As the next step, merge the layer. You can merge the image into one layer to apply frequency separation.
Now play back the frequency separation action. First, reduce the radius, for example to four pixels, to sharpen the details of the eyes. Confirm the setting to work with frequency separation.

After frequency separation, you will see that the sharpening is more pronounced than intended. You can duplicate the structure layer to achieve the desired effect.

Now zoom into the image and check if the sharpness is pronounced in the desired area, such as the eyes. If the sharpness is too strong, you can reduce the opacity of the layer.

After adjusting the opacity, hold the Alt key again and click on the mask icon. This will create a black layer mask, and you can work selectively with a white brush.

Increase the brush opacity and then paint selectively in the areas that should receive more sharpness. For example, you can sharpen the lips or earrings by painting specifically over these areas.

Go over the desired areas with the brush to adjust the sharpness and highlight the individual details. Be careful not to add too much sharpness to other areas of the image.
Once you have completed your adjustments, press the Alt key again and click on the layer mask. This way, you can see what you have sharpened. Areas that are white are sharpened, while black areas retain their original sharpness.

Summary – Frequency Separation in Photoshop: How to Sharpen Images Selectively
By using frequency separation, you can effectively adjust the sharpness of your images. By using different layers, you have control over which areas are sharpened and which are not. This allows you to achieve a harmonious and appealing final result.
Frequently Asked Questions
What is frequency separation in Photoshop?Frequency separation is a technique for separating image details into different layers to allow for targeted edits.
When should I use frequency separation?Frequency separation is useful when you want to sharpen or blur specific image details without affecting the whole image.
How do I perform frequency separation?Create two layers for structure and color, then apply the appropriate frequency separation action and adjust the sharpness in the desired areas.
Can I undo the sharpening?Yes, by using layer masks, you can adjust or undo sharpening effects as needed.


