If skin retouching is on the agenda in Photoshop, it's possible that after removing unwanted skin blemishes, colored spots are still visible. These spots can compromise the overall quality of the retouching and need to be addressed specifically. This is where the technique of frequency separation comes into play, allowing you to edit skin textures and colors on separate layers. In this guide, you will learn how to create a blank layer between the structure layers to work effectively and precisely with the brush tool.
Key findings
- Frequency separation separates skin structures and colors.
- A blank layer allows for subtle painting for color correction.
- The flow and brush size are crucial for the effectiveness of the retouching.
Step-by-Step Guide
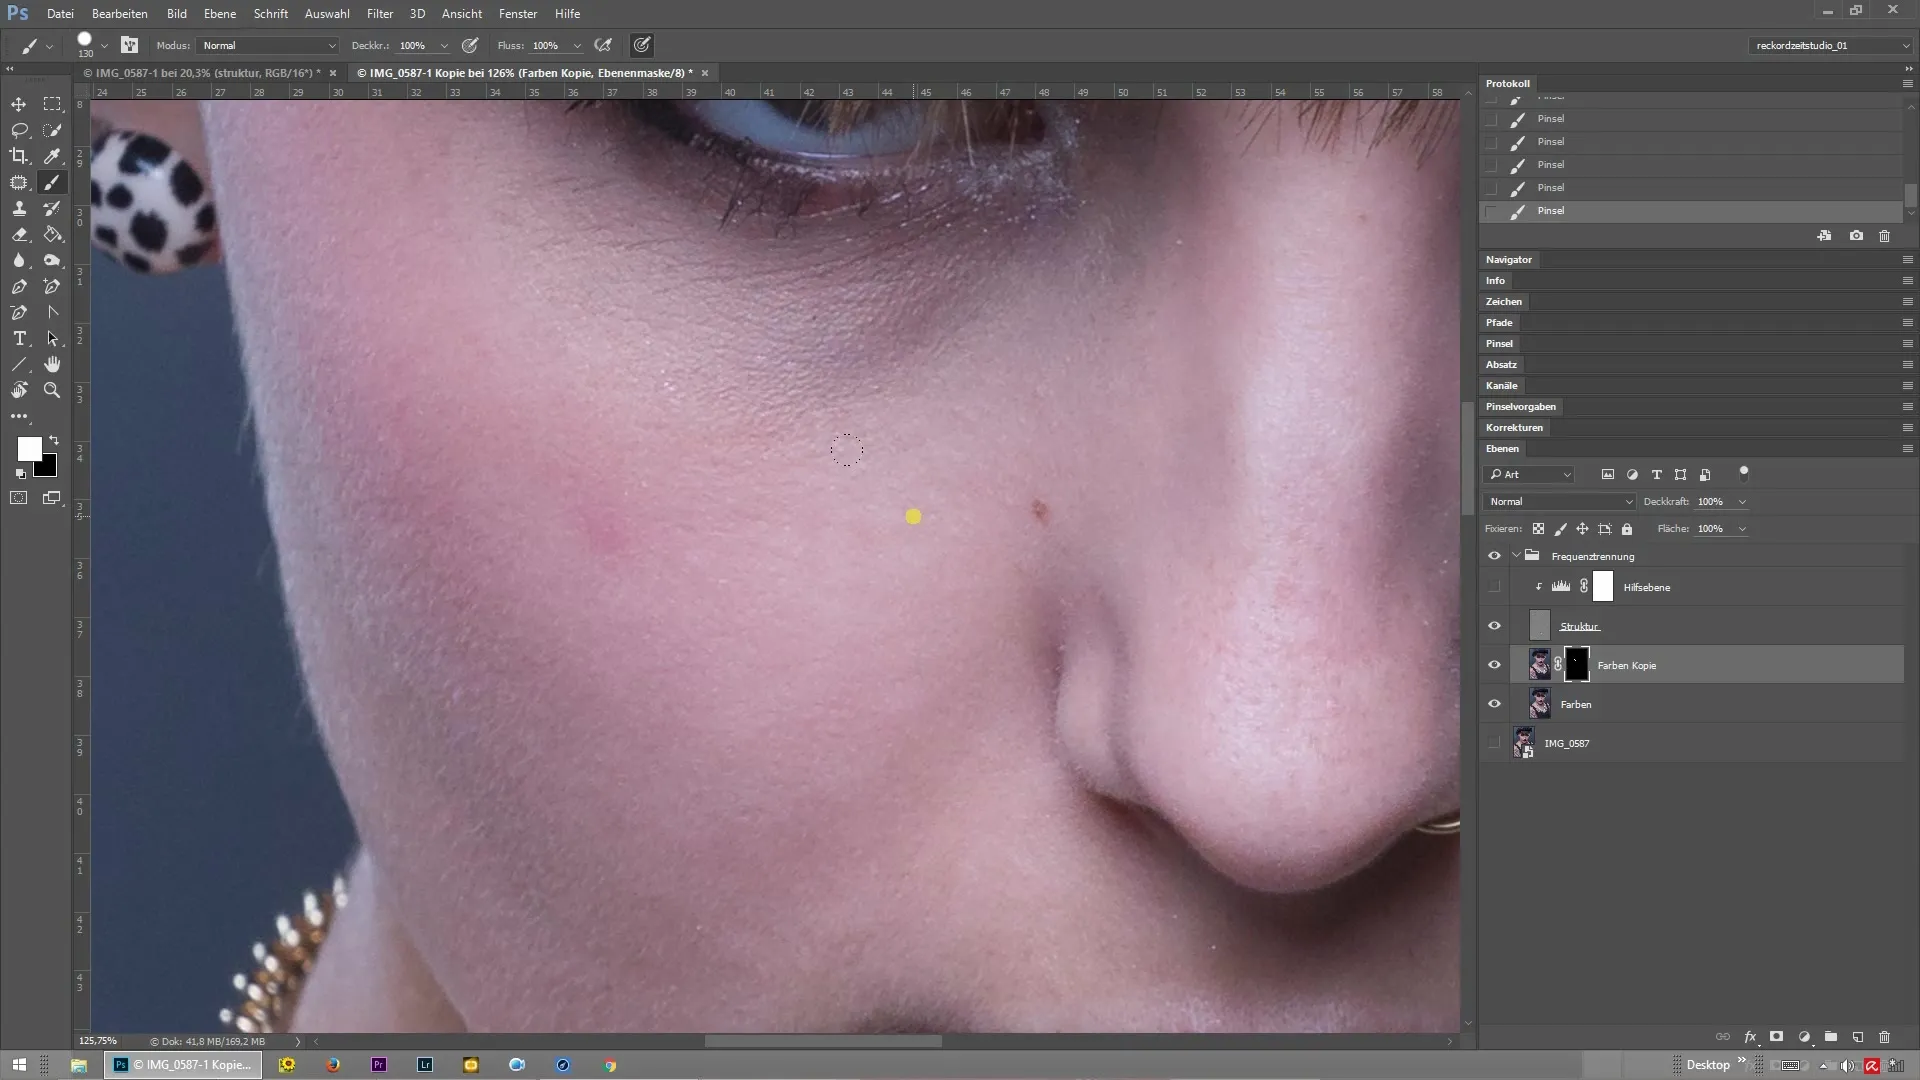
First of all, you should ensure that you have successfully completed the basic steps for frequency separation. This includes creating the structure and color layers. Once that's done, you can begin working with the technique of blank layers.
Blank layer between the structure layers
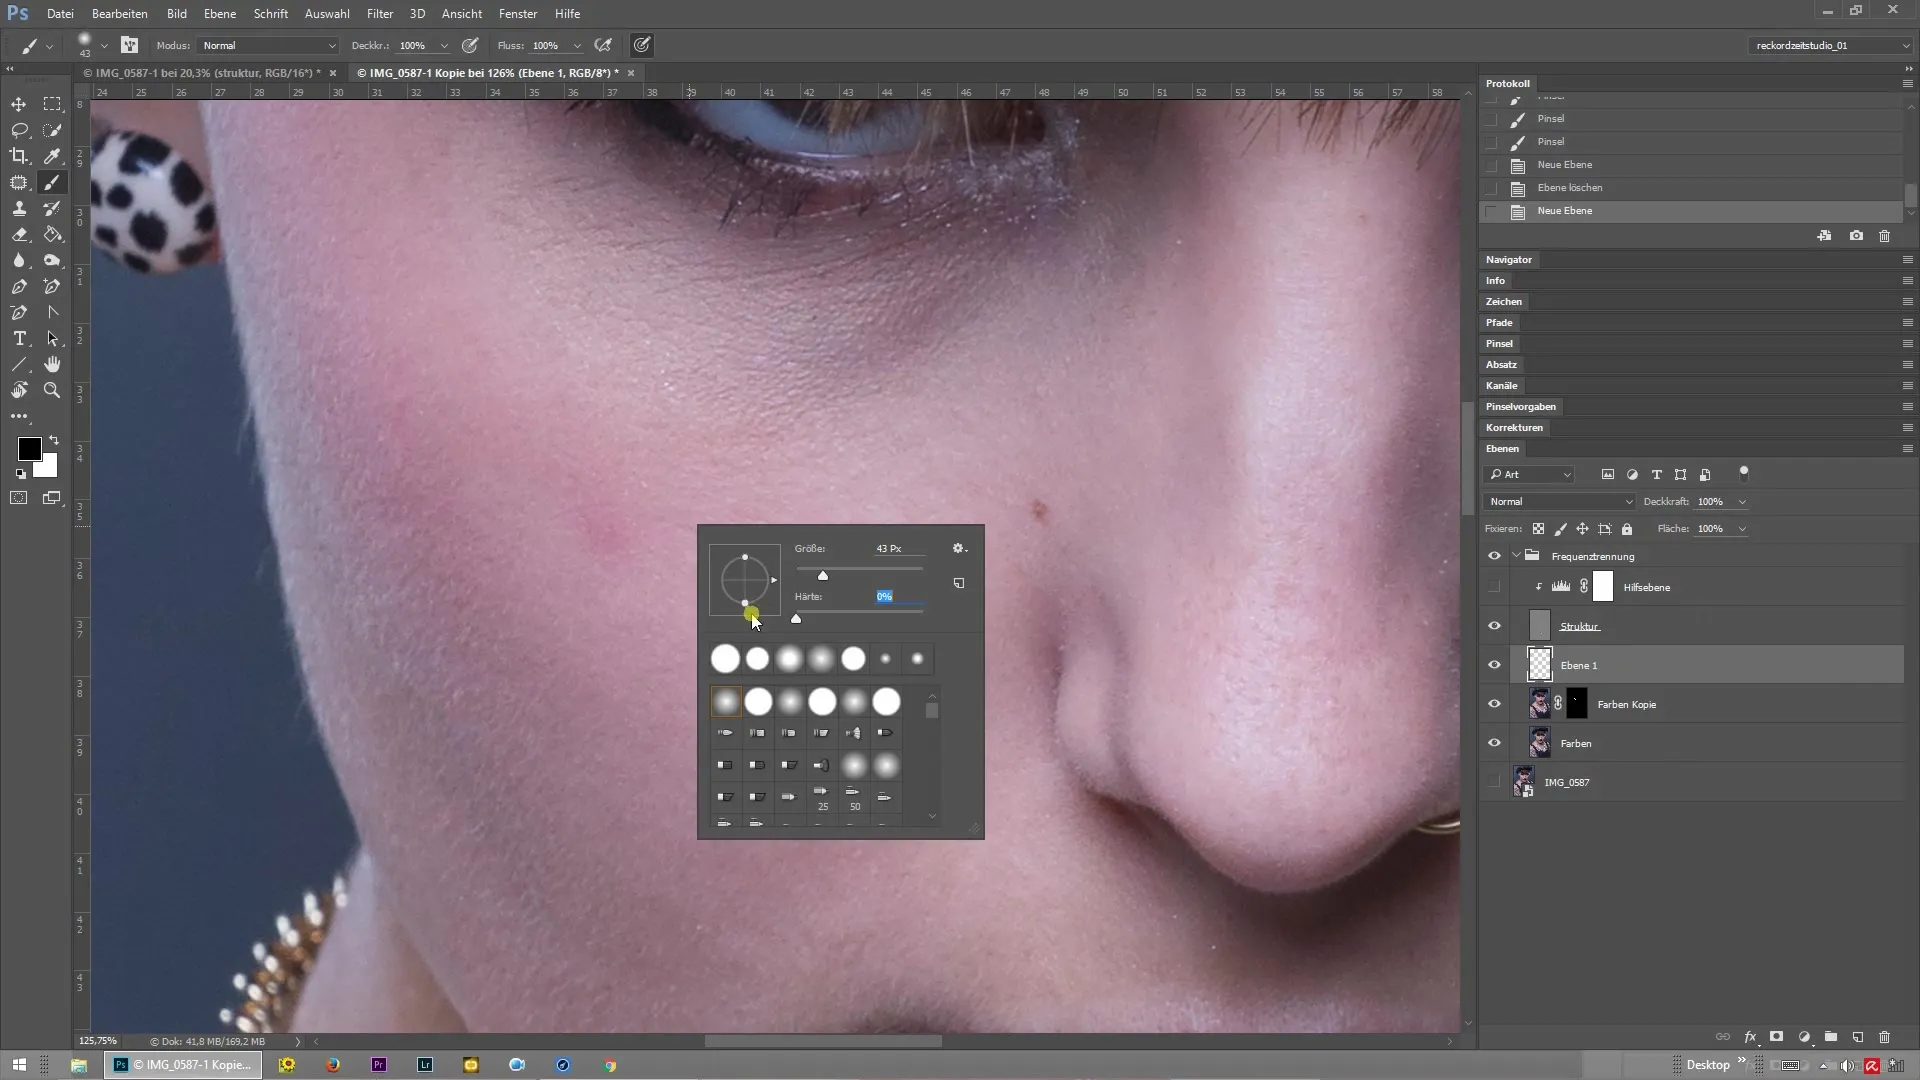
First, you need to create a blank layer between your structure and color layers. Select the top layer of your structure and click on "New Layer." This ensures that you can make all subsequent changes in an isolated area without affecting previous work.

Selecting the Brush Tool
Now, select the brush tool. It's important to choose a very soft brush tip. This allows you to create smooth color transitions without creating hard edges. Make sure that the brush size is adjusted to the specific area so that you can work precisely.

Adjusting Flow and Opacity
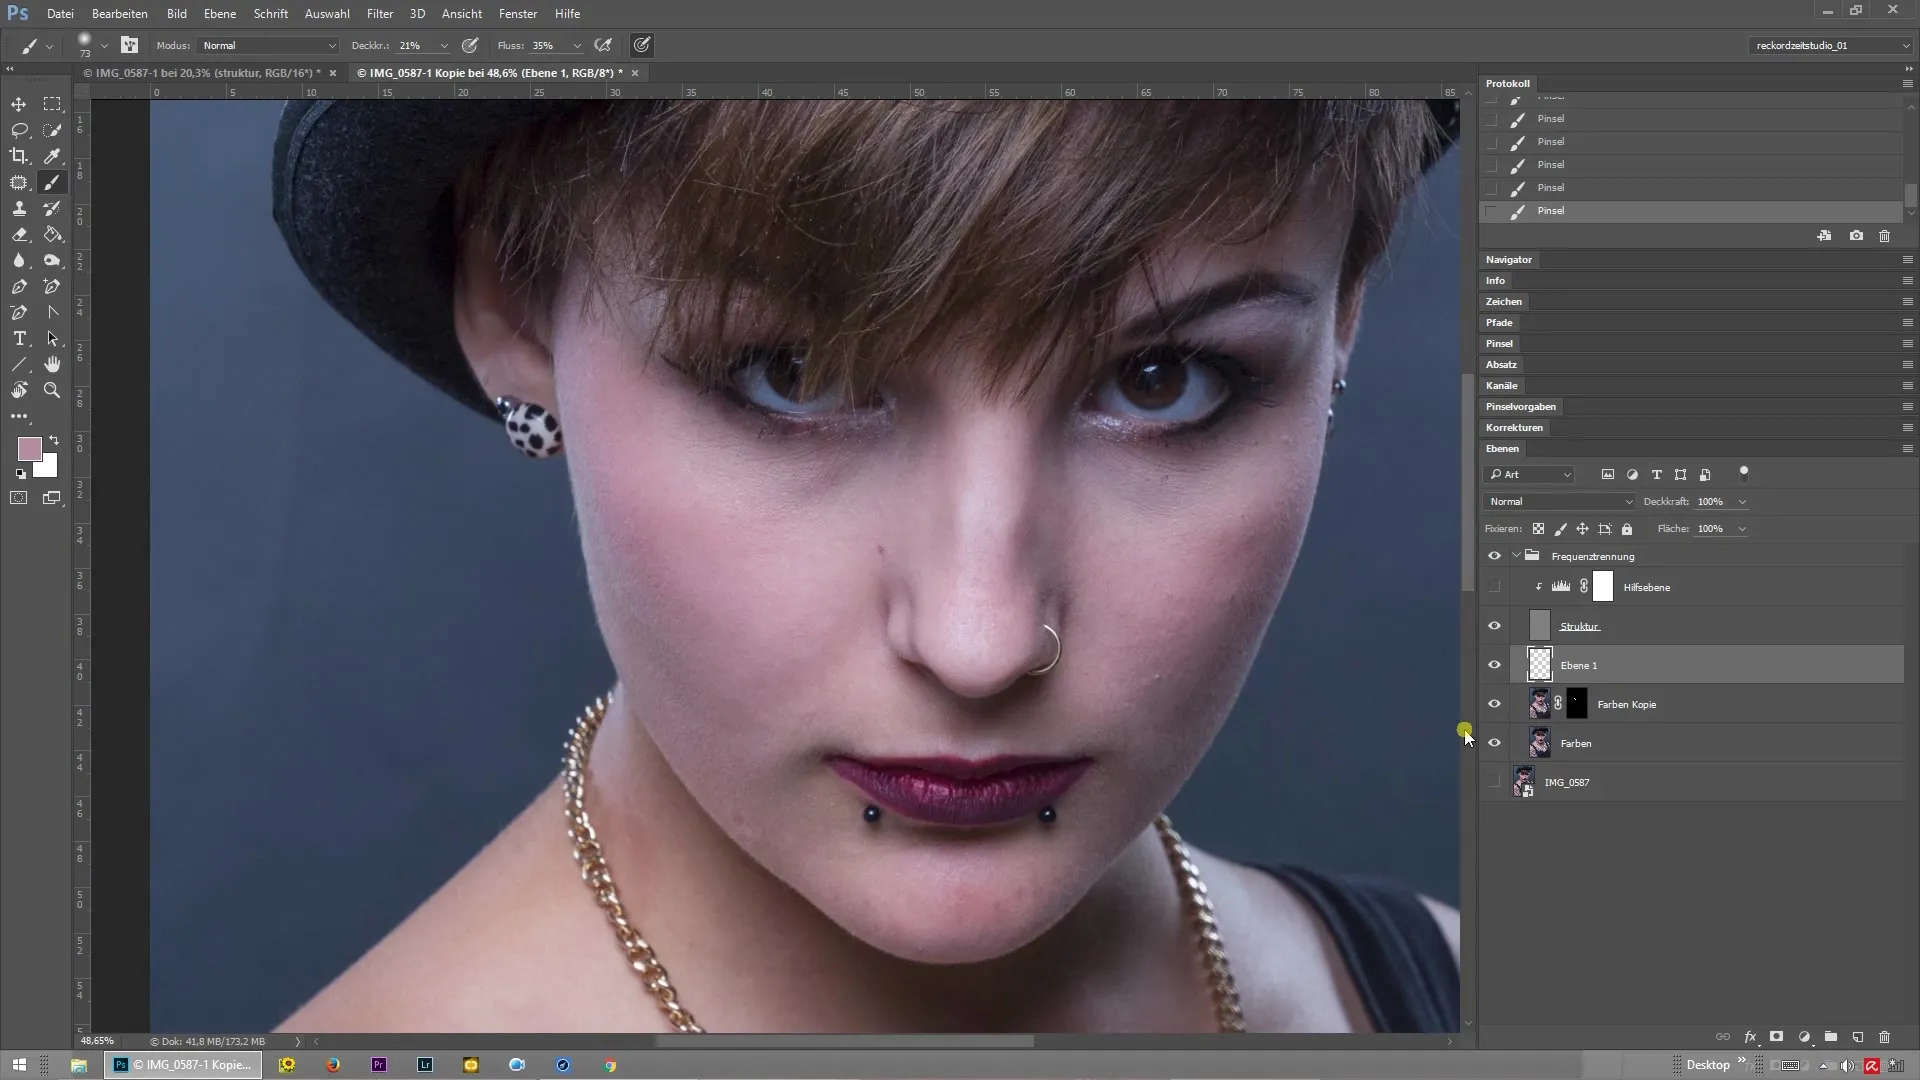
Now go to the top bar of your workspace, where you can adjust the flow and opacity for the brush. Especially if you have little experience or want to work particularly precisely, it’s advisable to set these values quite low. This way, your strokes are less intense and can be better adjusted.
Choosing Color with the Alt Key
To choose the correct color for the retouched area, hold down the Alt key and click on the desired hue in the image. This method helps you select a color that is found in the vicinity of the current blemish, thereby minimizing the visual difference.
Gently Painting over the Blemishes
Now begins the most creative part. With the selected color, you can gently paint over the still visible blemishes. Move the brush over the areas that need color correction. Make sure to keep the transitions smooth and even by slightly varying your brush movements.
Checking the Results
After you finish painting, it's important to check the results. Compare the edited layer with the original to ensure that the blemishes have disappeared and the skin looks harmonious. To see a direct comparison of the two layers, you can toggle the visibility of the upper layers on and off.
Working through the Entire Image
If everything looks good, you can now go through the entire image. Use the same technique to work on the critical areas. This way, you'll achieve an even, natural skin texture without distracting blemishes.

Summary – Frequency Separation in Photoshop: Effectively Using a Blank Layer
The technique of frequency separation in Photoshop allows you to retouch skin blemishes professionally. By creating a blank layer, you can specifically adjust colors without affecting the structure of the skin. By adjusting brush size and flow, you achieve smooth transitions and a harmonious overall image.
Frequently Asked Questions
How do I create a blank layer in Photoshop?Click on the "New Layer" icon in the layers panel.
Why is the brush tool important?It allows for precise painting and color corrections directly on the blank layer.
How do flow and opacity affect my retouching?Lower values create softer transitions, resulting in a more natural outcome.
Can I apply the technique to other areas?Yes, the method can also be used for hair, clothing, and other areas of the image.


