Photo restoration and editing are demanding tasks that often take a lot of time. With the Before-After feature in Photoshop, you can efficiently illustrate the difference between your original image and the edited version. In this tutorial, I will show you how to create impressive Before-After comparisons with just a few clicks.
Key Insights
- Creating Before-After comparisons with Photoshop actions.
- Effective use of masks to visualize edits.
- Steps to use the Before-After feature for better understanding of your retouching.
Step-by-Step Guide
Start by opening the Actions panel in Photoshop to carry out the necessary steps for creating Before-After images. Go to "Window" and then "Actions" to display the corresponding panel. Here, you will find a folder named "Before-After".
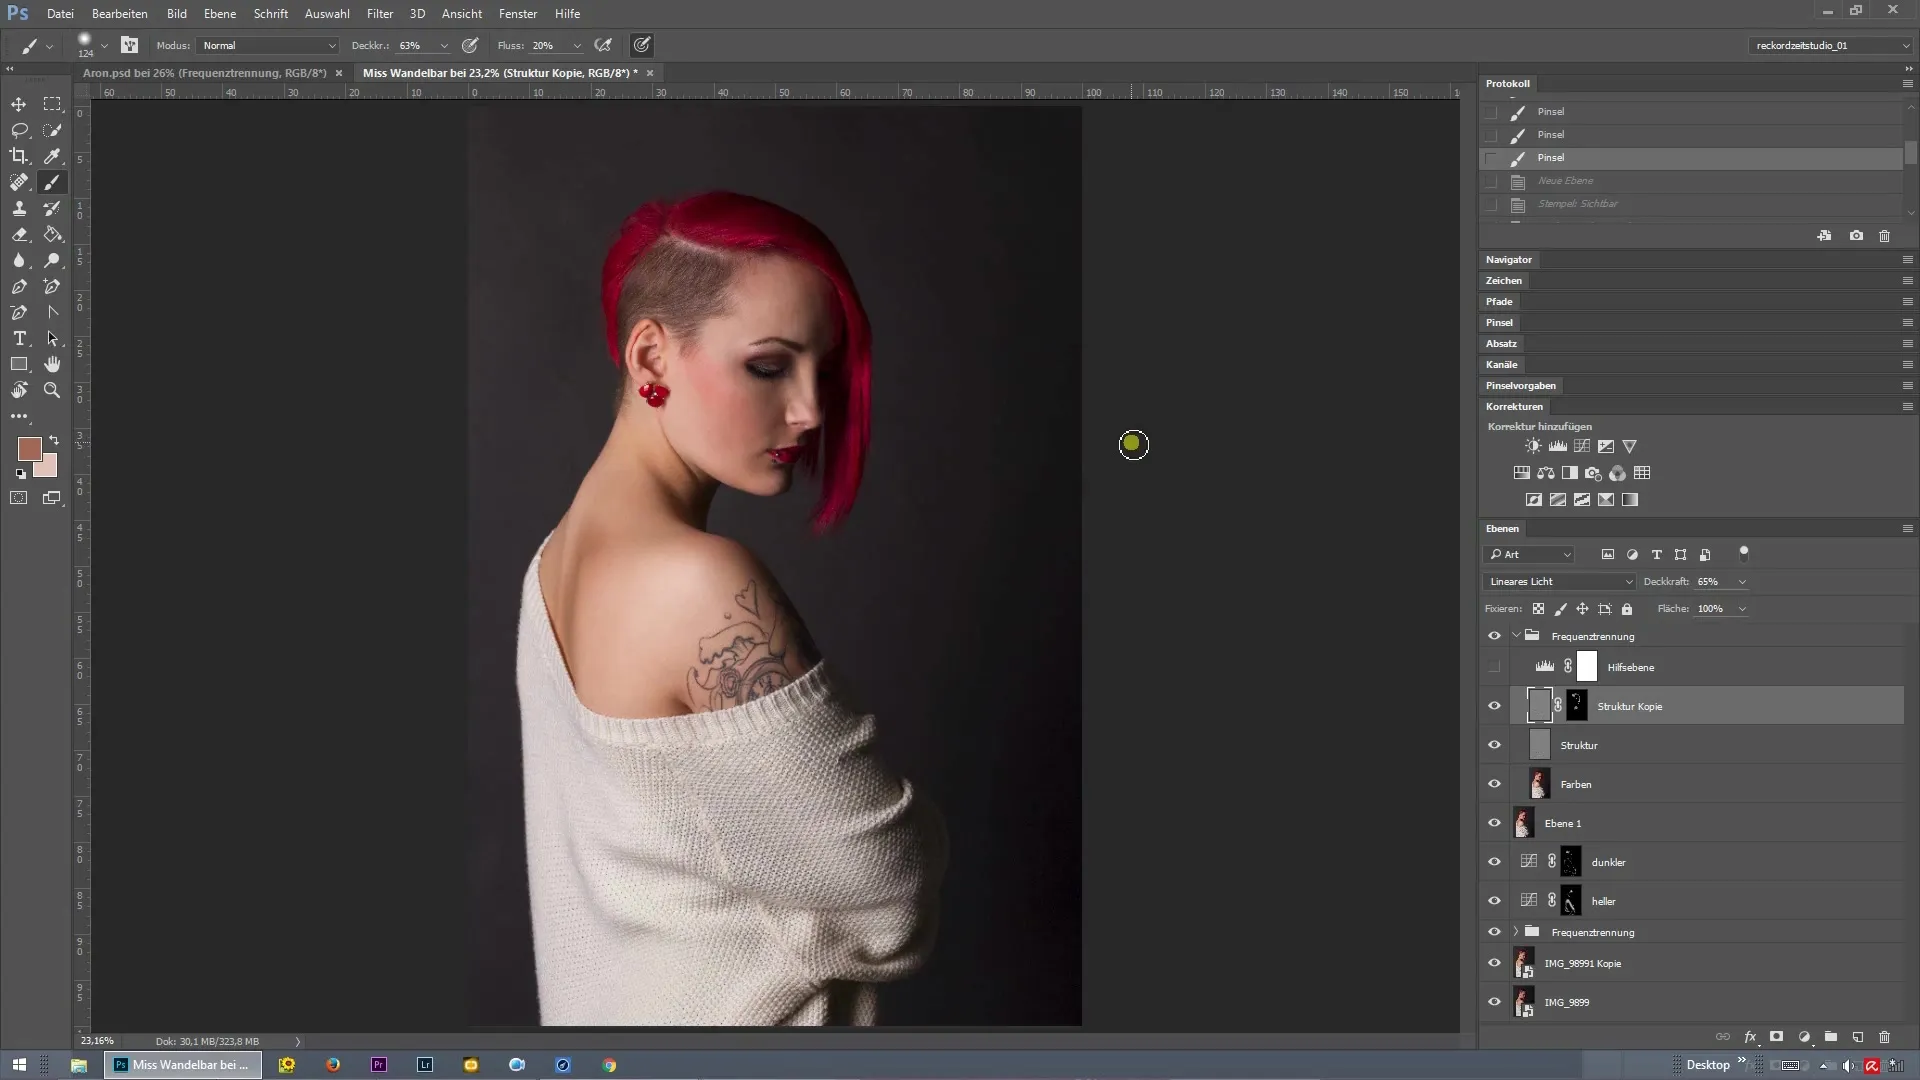
You now have the option to display either the source image and the final result in two windows side by side or one above the other. These features are particularly useful when working with landscape images. There is also a version that displays the entire image in one window along with a mask that you can move freely to see exactly what has been edited.
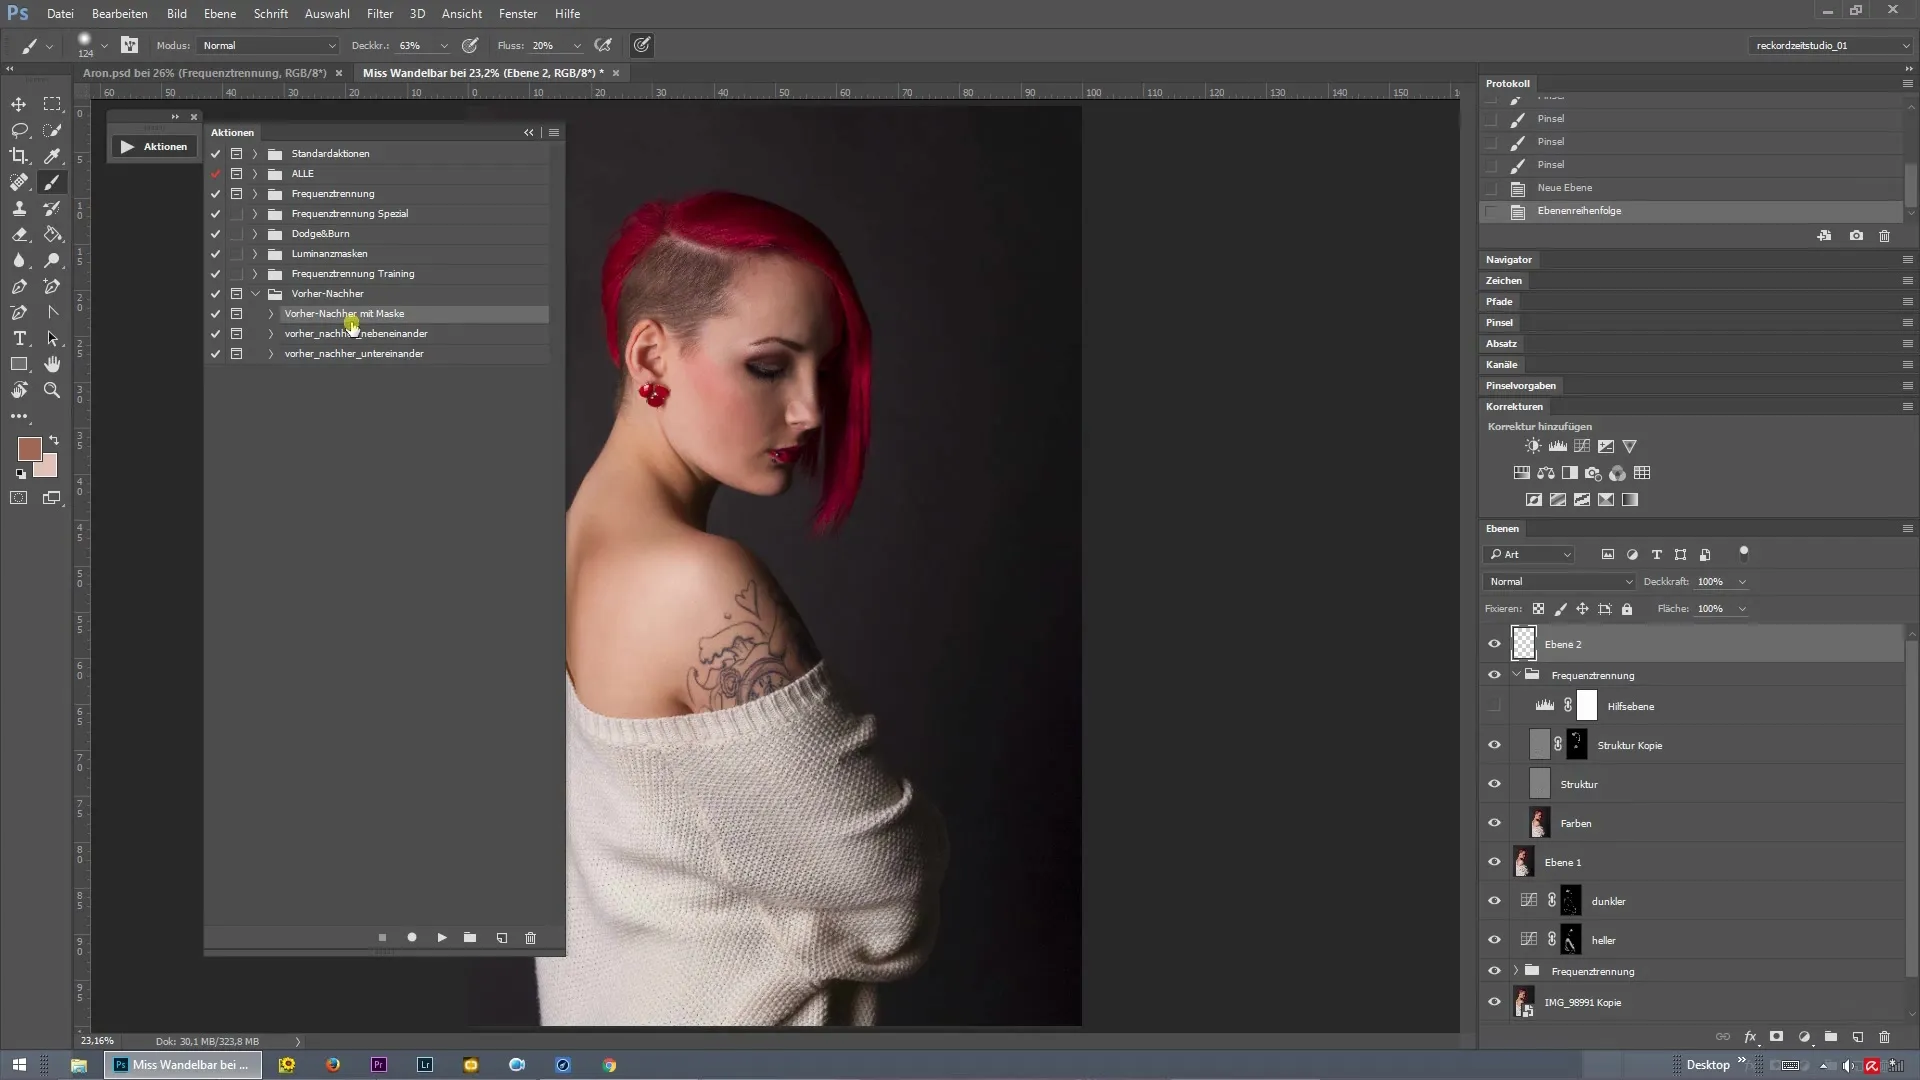
Now let's start with the "Before-After with Mask" action. Create a new layer and move it all the way to the top. Now play the "Before-After with Mask" action. Once the action is complete, you will receive a message prompting you to select the Move tool. This tool allows you to move the right side of the current mask.
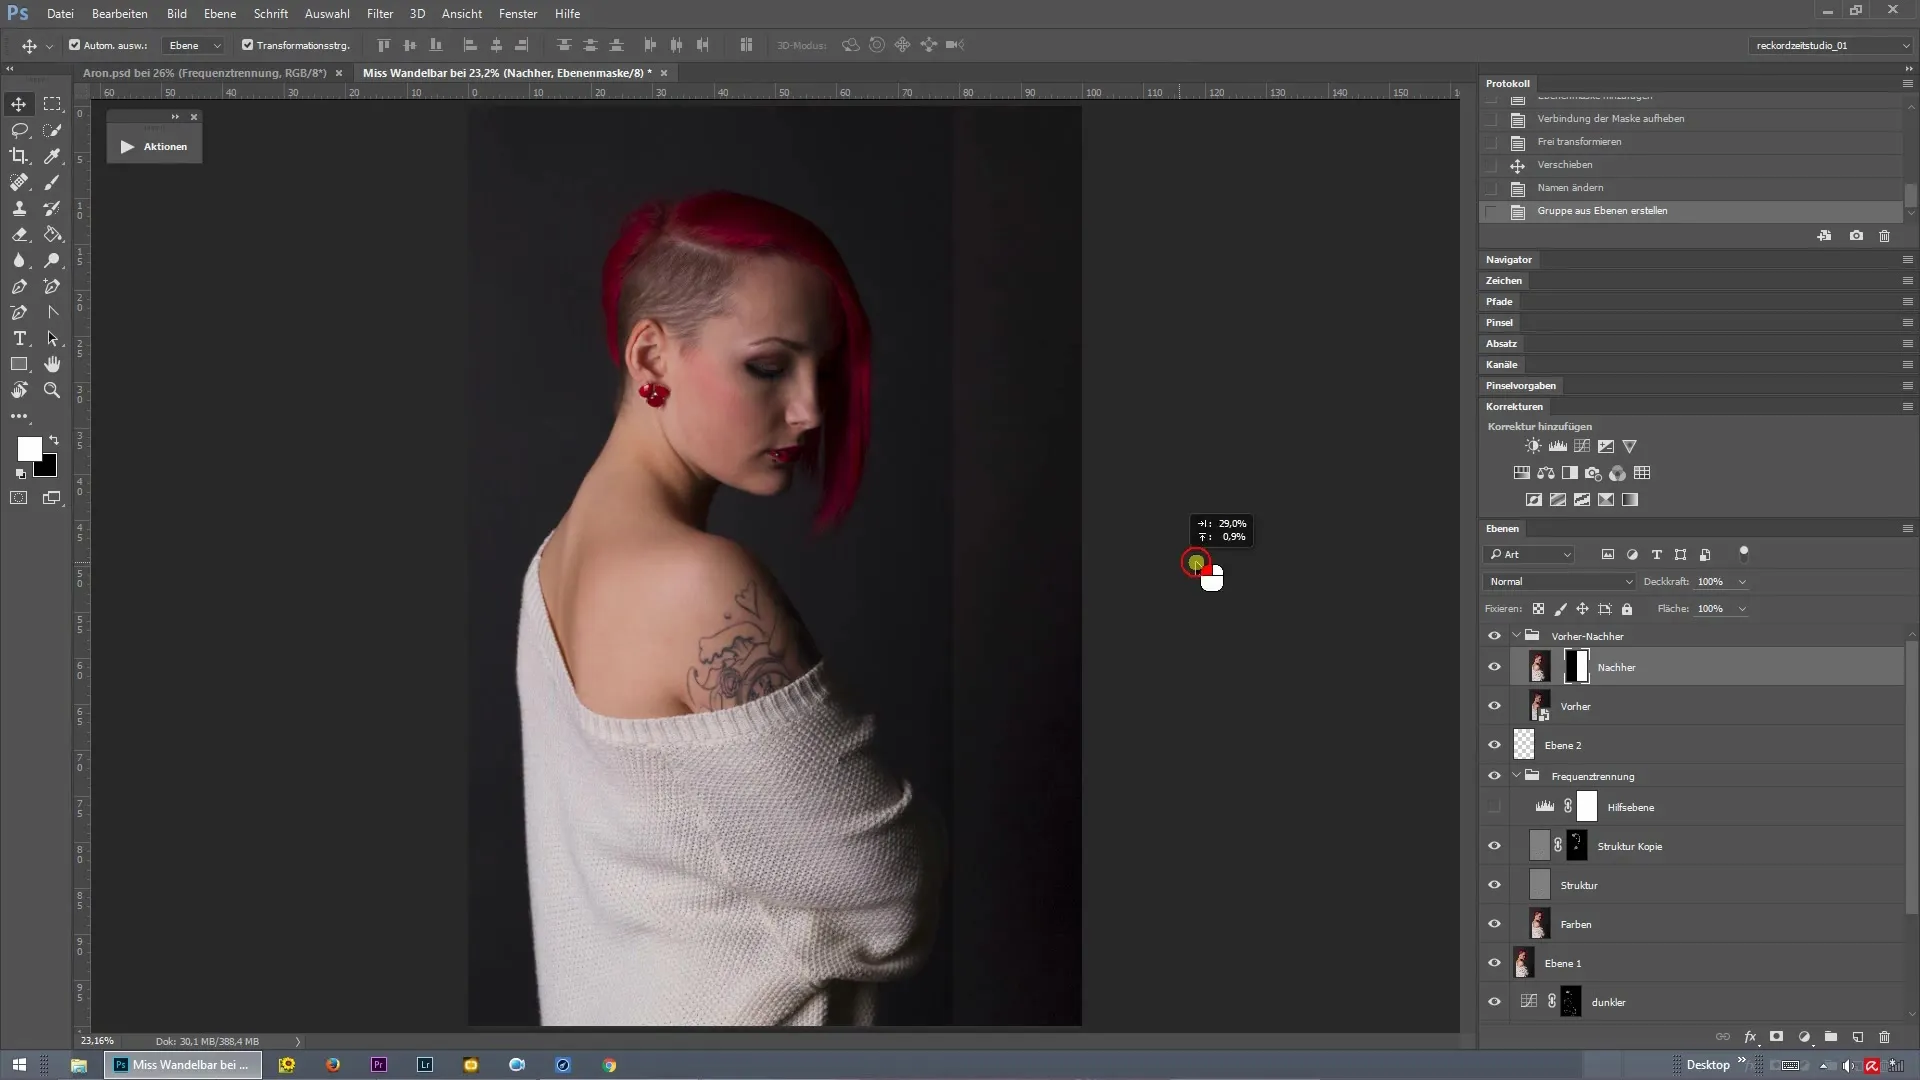
After selecting the Move tool, you will see the unedited image on the left and the edited image on the right. You can now slide the mask back and forth to closely track the changes you have made. This is especially helpful when you want to review your progress or save the edited image to show your friends or followers.
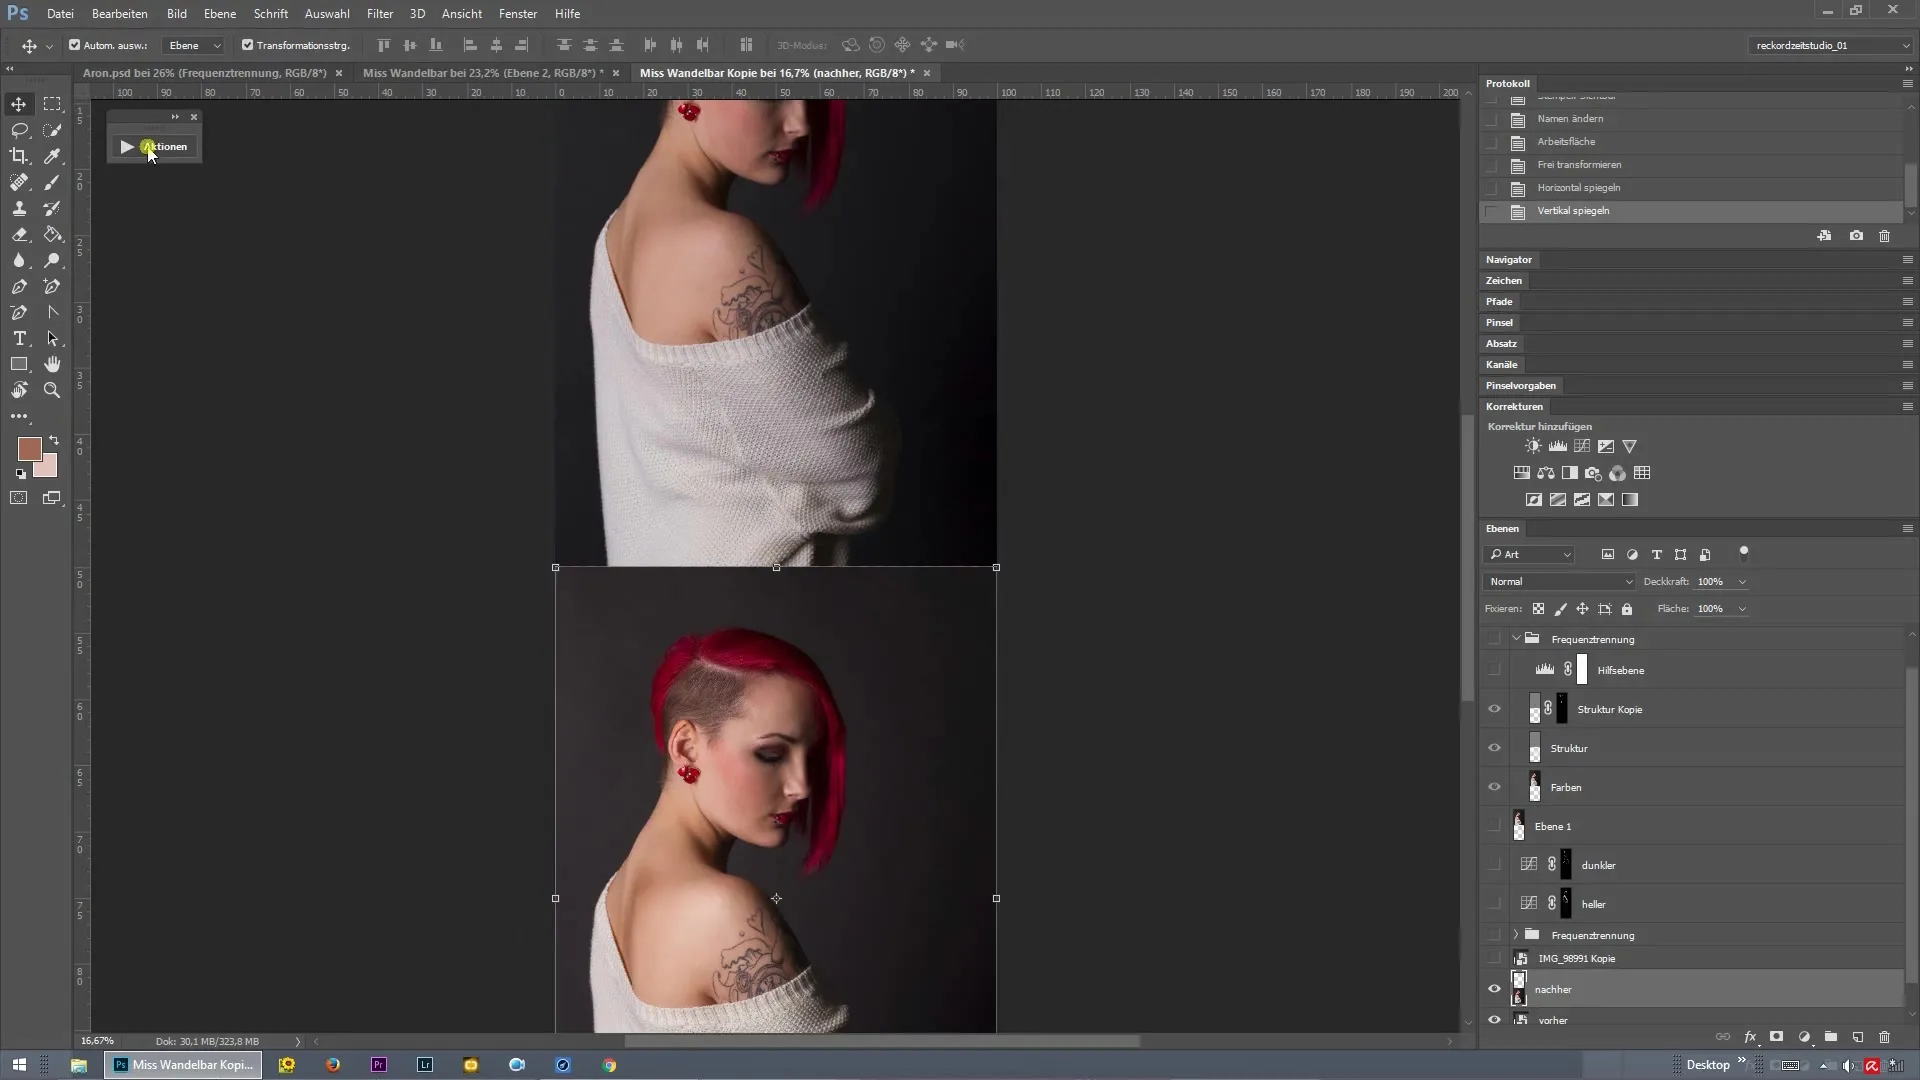
Now, I would like to introduce you to the second version of the Before-After feature, which displays the images side by side. This works similarly to before. When you play the action again, you will receive a notification informing you that your original image will be preserved. The edited image will be duplicated into a new layer.
You will see the unedited image on the left and the edited image on the right. This layout is ideal for showcasing the immediate change of your retouching. You can also use this view one above the other, which is particularly significant for landscape images.
With these two Before-After features, you now have the opportunity to present your retouching in an visually appealing way. With each action, you get the chance to clearly show the difference between the original and the edited image. I hope you have benefited from this tutorial and learned a lot.
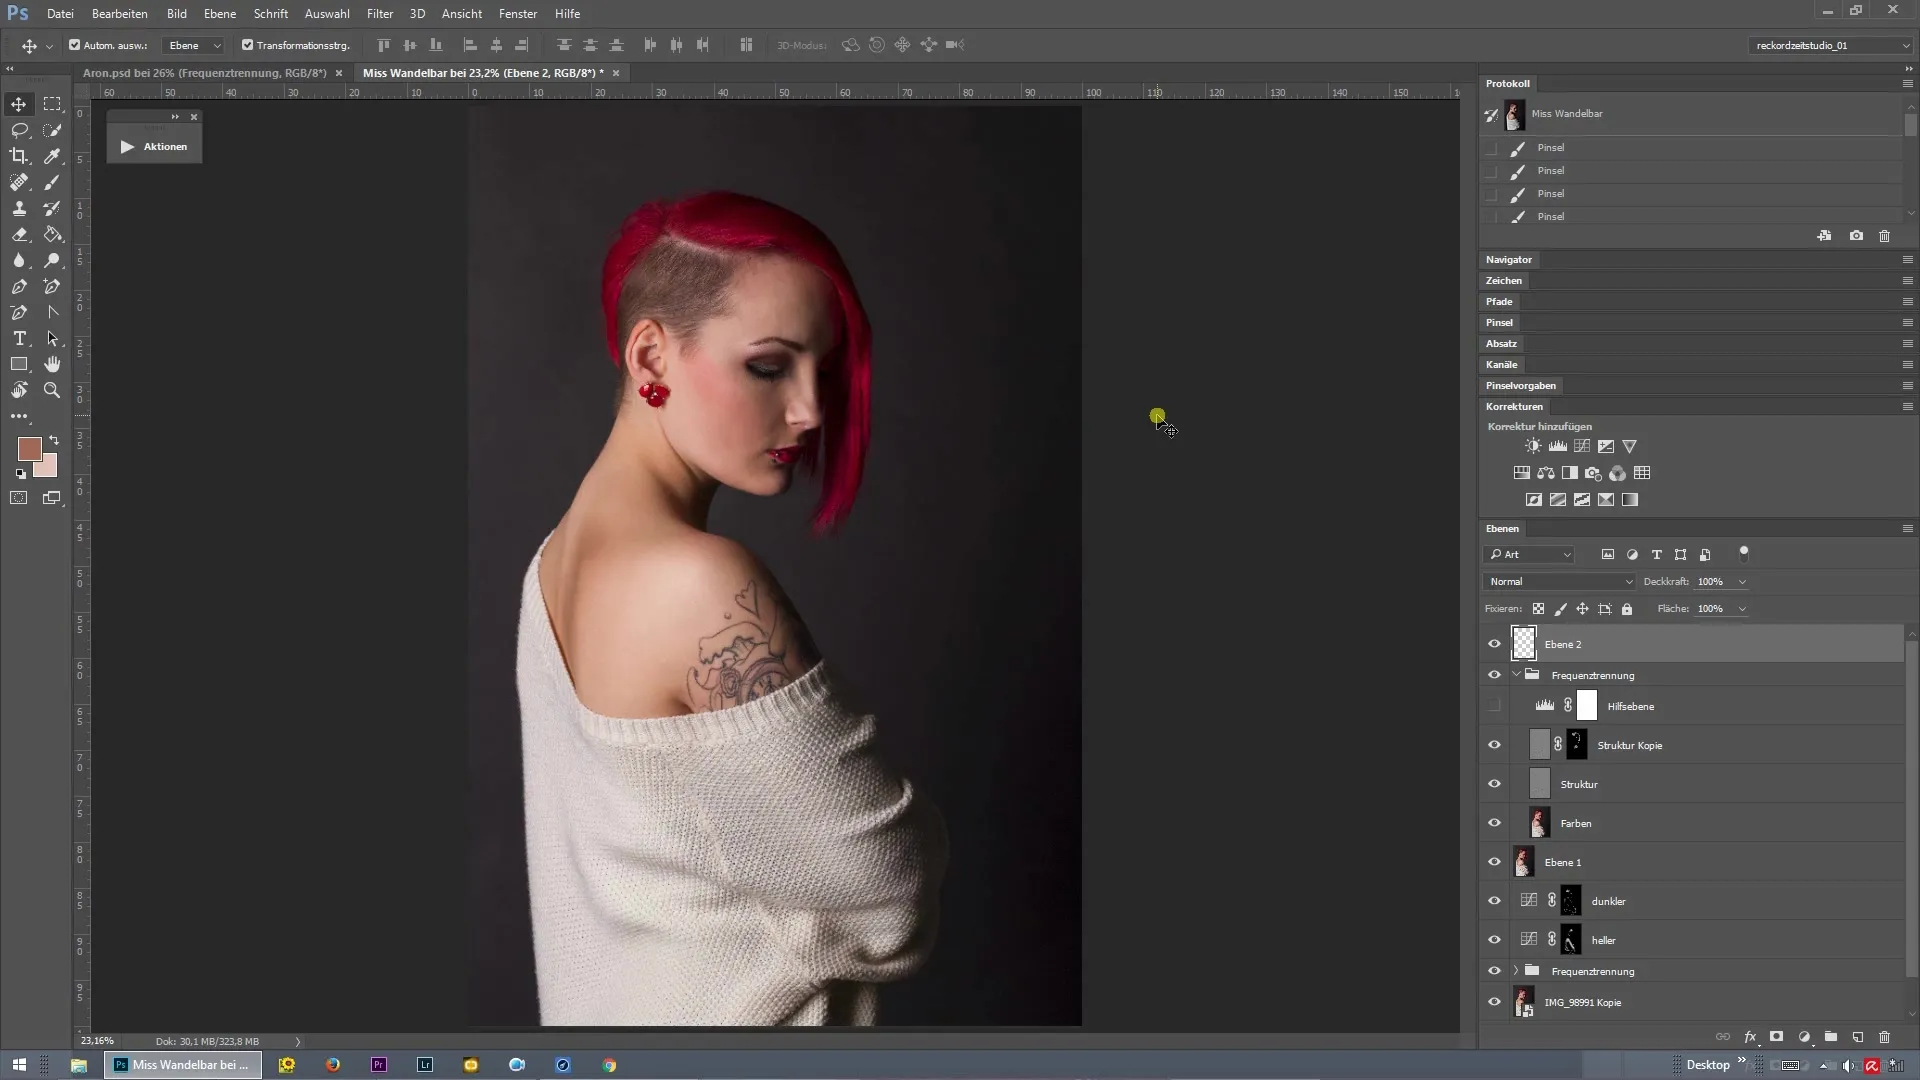
Summary – Retouching Made Easy: Using the Before-After Feature in Photoshop
In this tutorial, you learned how to efficiently create Before-After comparisons for your retouching using Photoshop create. You have learned both the function with a mask and the side-by-side images. These tools will help you present your edits clearly and distinctly.
Frequently Asked Questions
What is the Before-After feature in Photoshop?The Before-After feature shows the difference between the unedited image and the edited image.
How can I save the Before-After images?You can save the edited image after using the feature to show it to your friends or followers.
Can I also adjust the masks?Yes, the masks can be moved to show different views of the edit.
Are the actions suitable for other image formats as well?Yes, the actions can be used for other image formats as long as they can be opened in Photoshop.
How many Before-After actions are included in the download?The download includes two different Before-After actions: one with a mask and one side-by-side display.

