Do you want to learn how to effectively retouch skin imperfections? The frequency separation in Photoshop is a proven technique that can help you edit skin texture and color separately. In this guide, I will walk you through the process step by step to make the skin of models like Aron clean and appealing. Let’s dive straight into practice.
Key insights
- Frequency separation allows you to edit texture and color independently.
- Careful selection of the brush is crucial to avoid mistakes in retouching.
- Patience and precision are necessary for clean results.
Step-by-Step Guide
1. Prepare the workspace
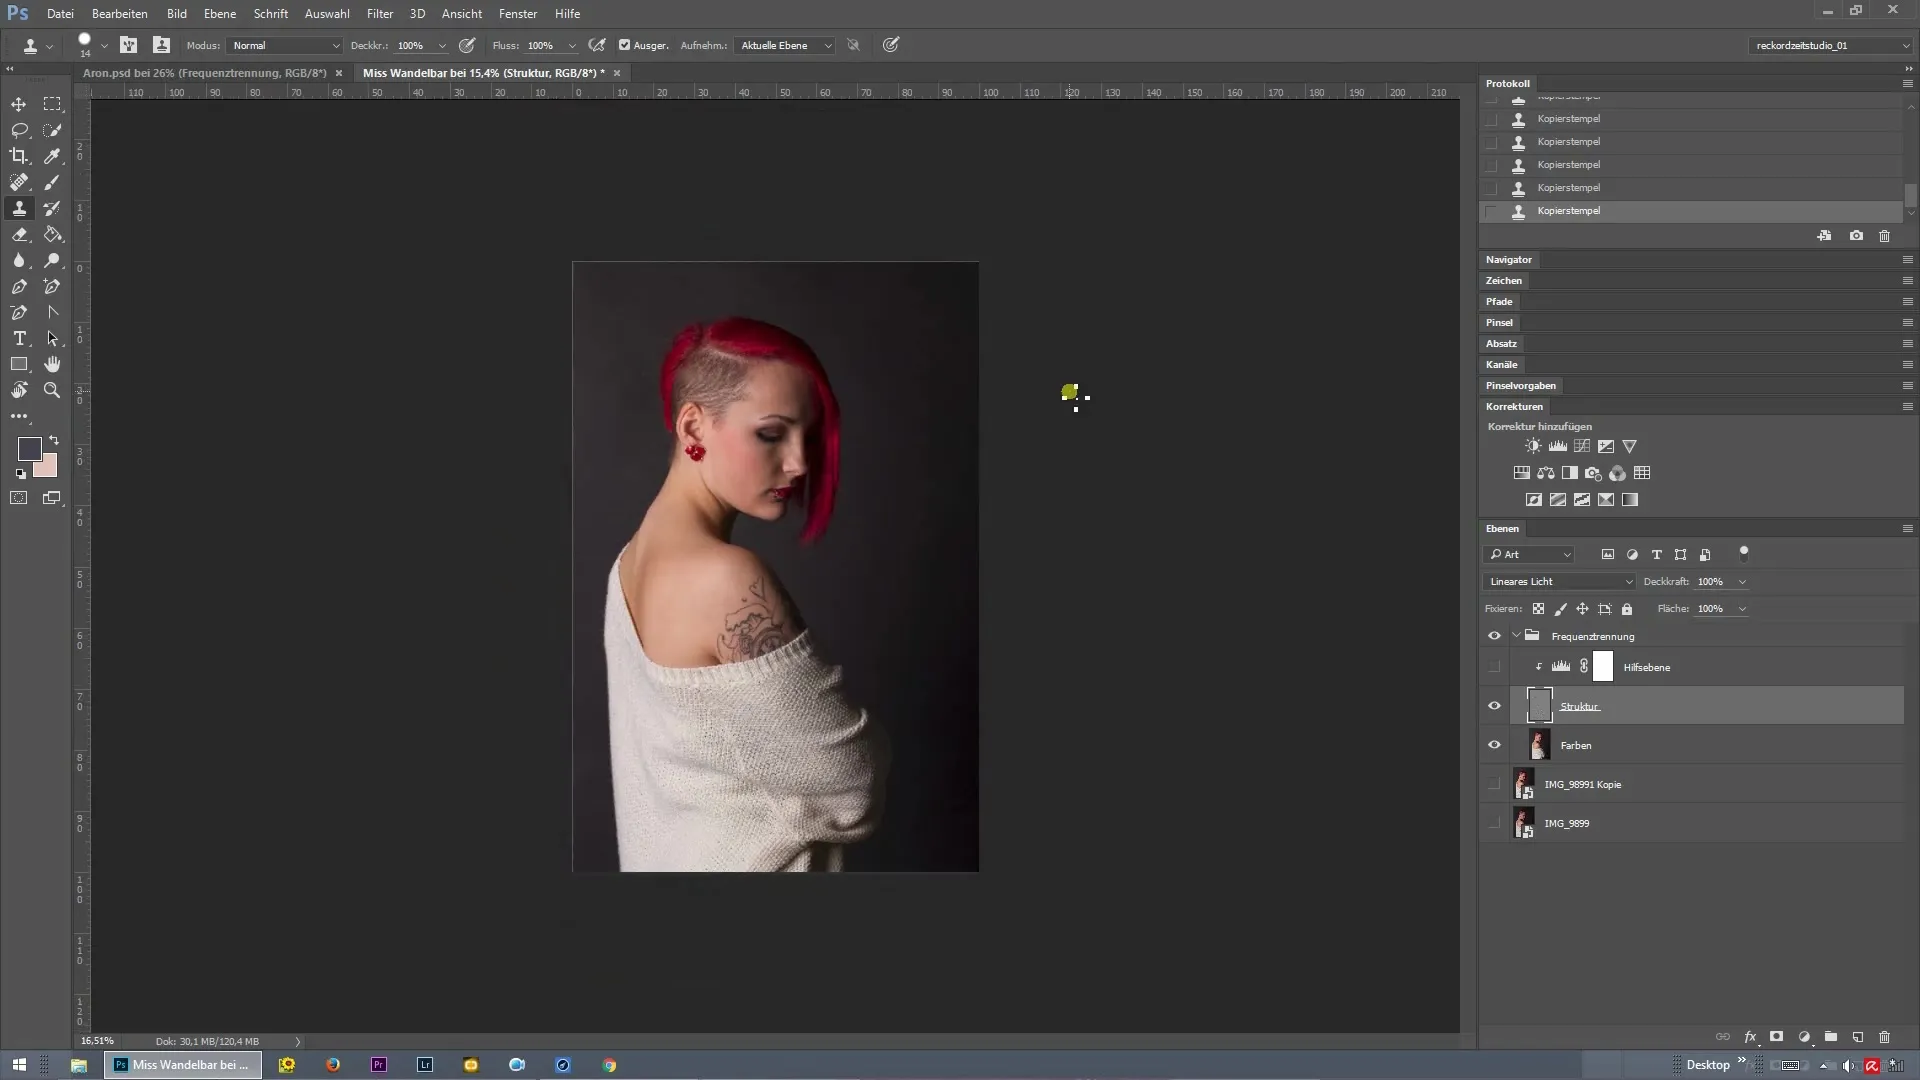
First, you need to open your image in Photoshop. Set up the appropriate layers for frequency separation. You should create two layers: one for texture and one for color. Merge these layers to get a clear overview of the changes made.
2. Enable helper layer
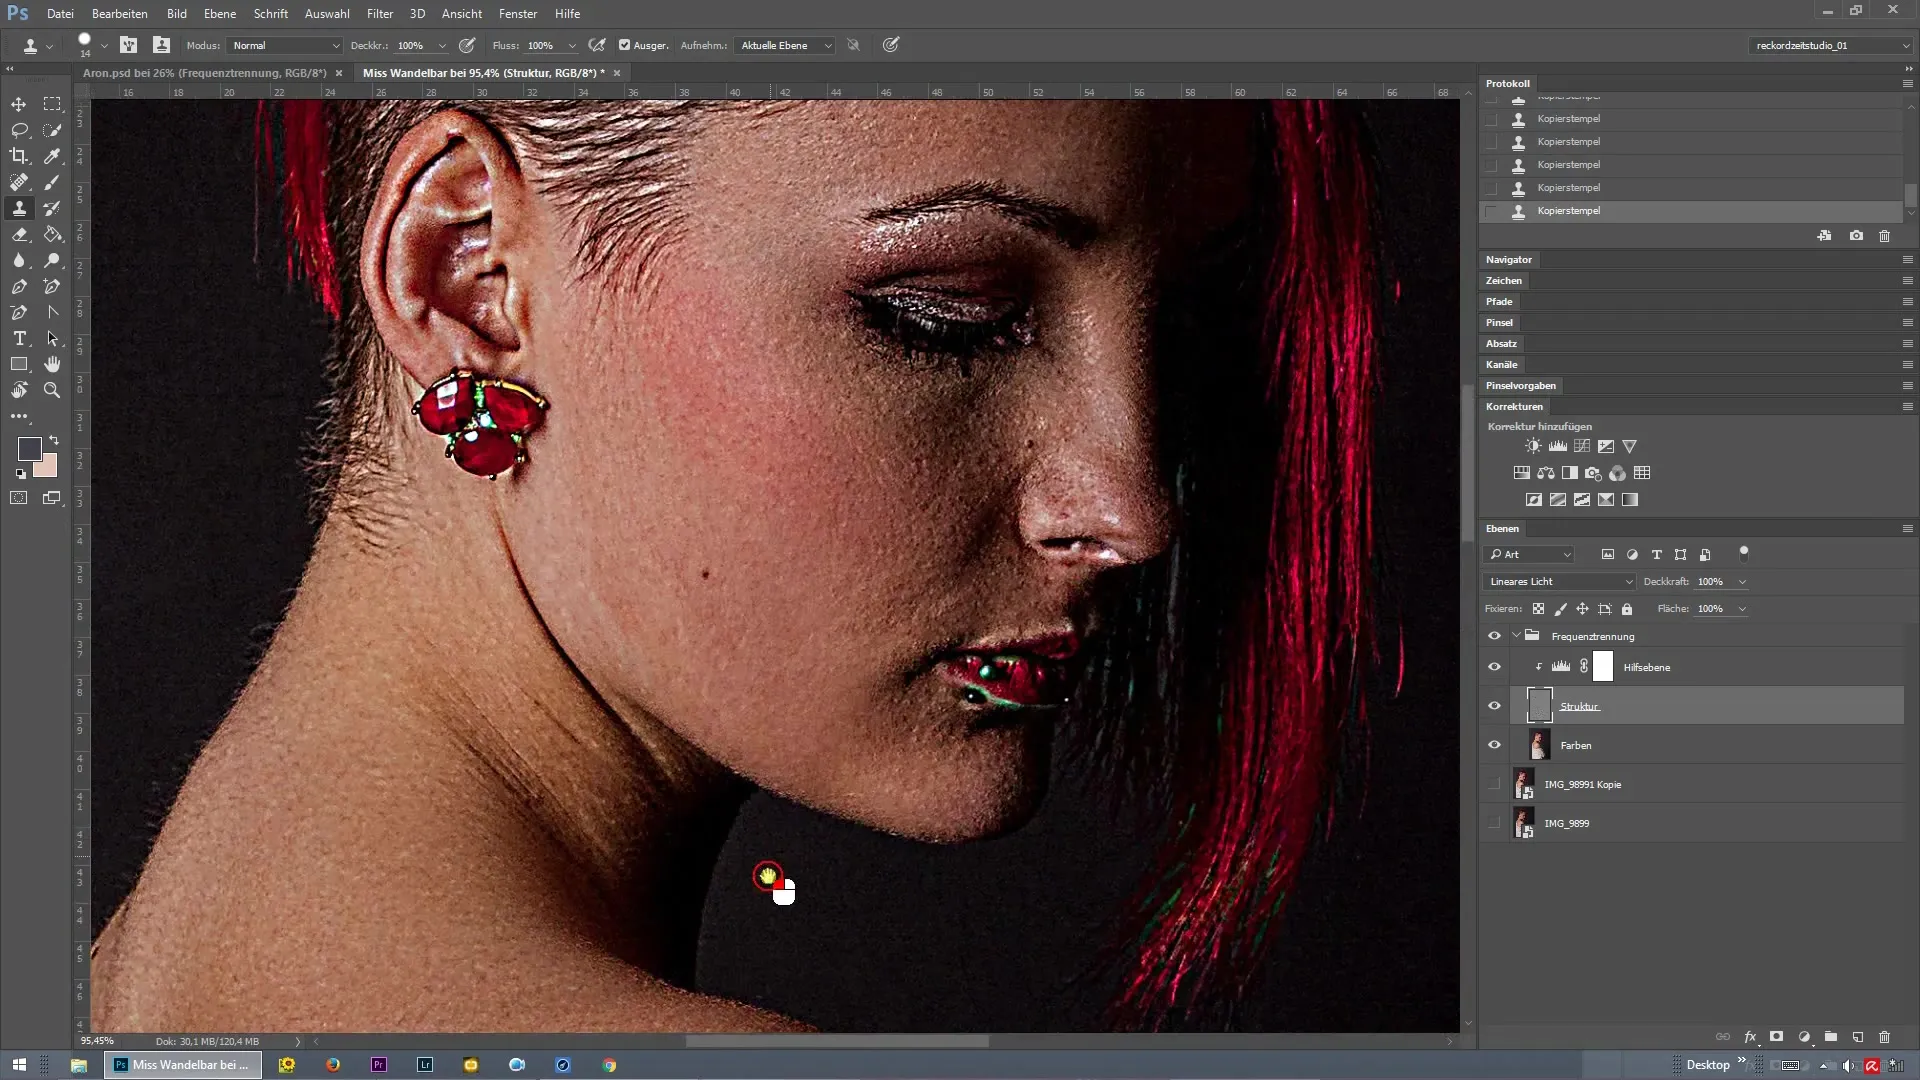
Activate the helper layer that provides important information about skin imperfections. This helper layer makes retouching easier as it helps you quickly identify the distracting areas on the skin surface and address them specifically.
3. Identify hidden imperfections
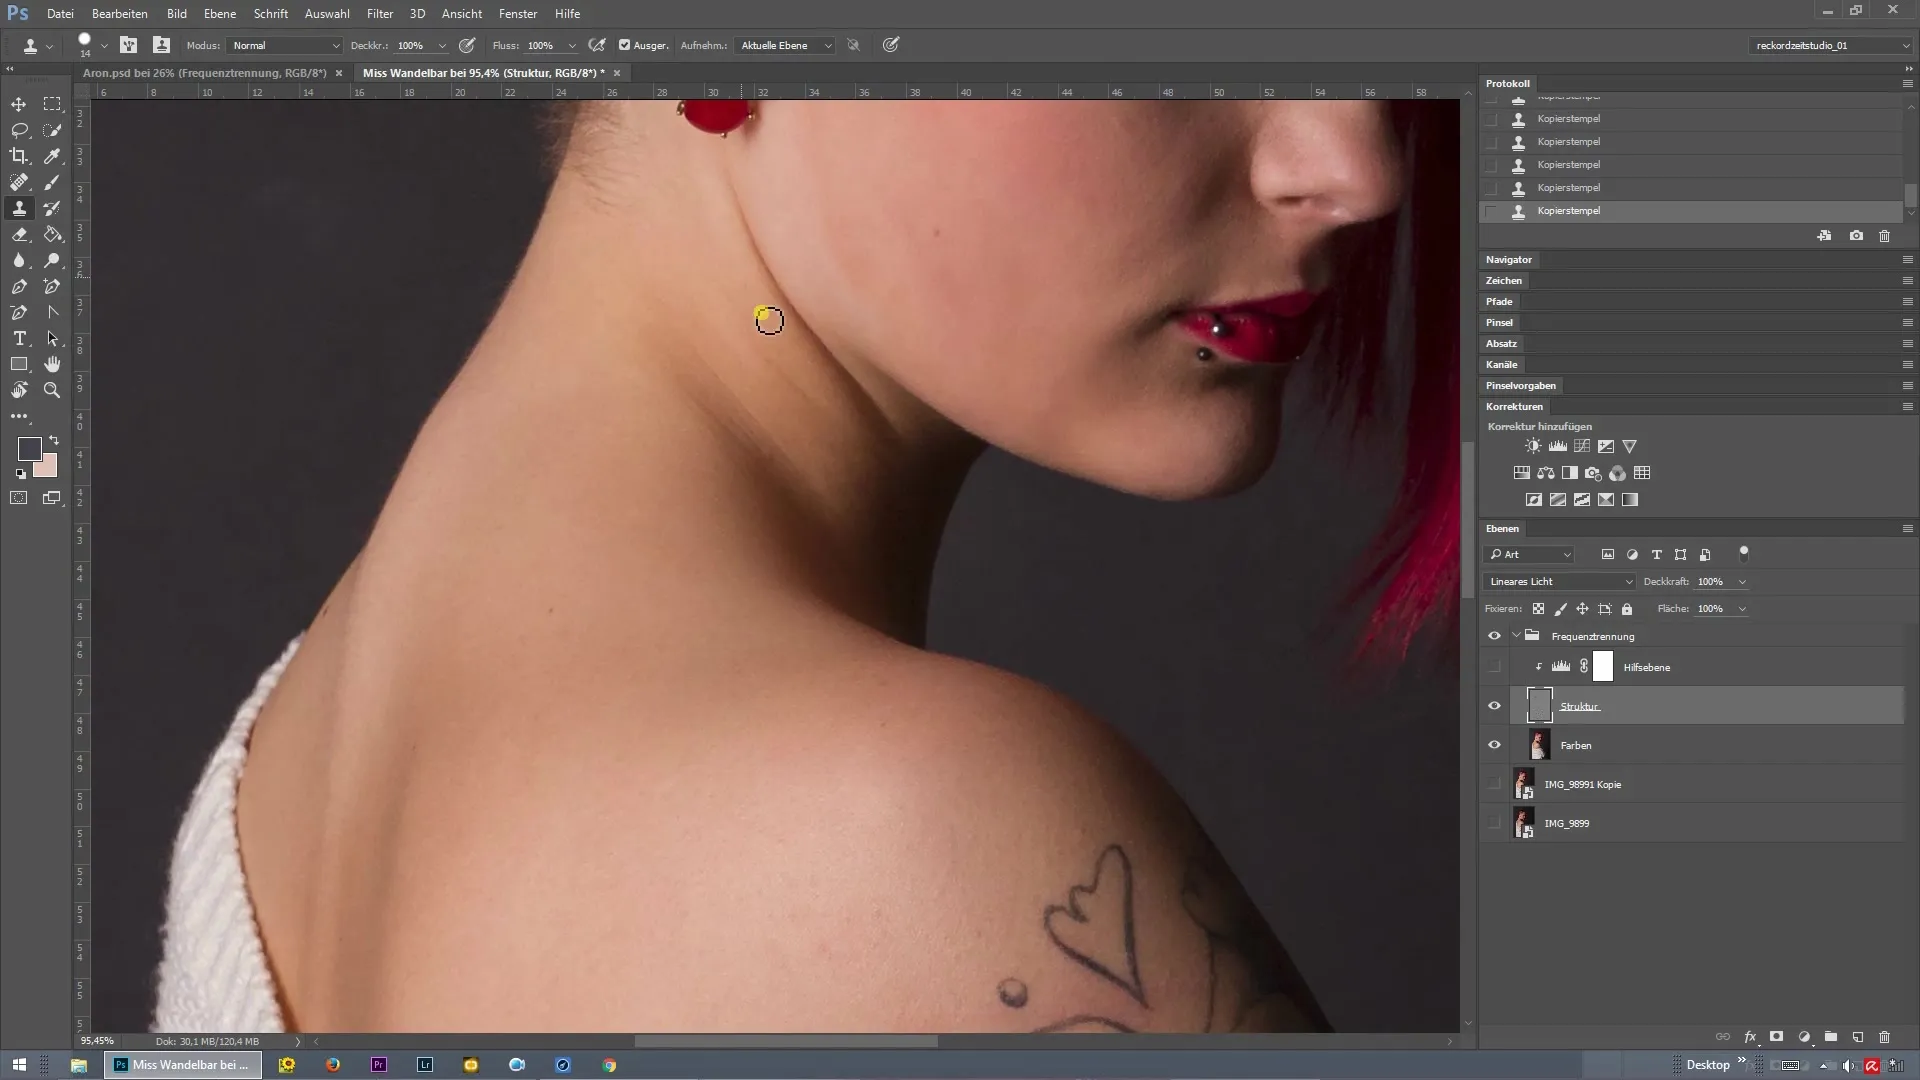
Look at the model’s shoulder and neck to make specific areas visible that need correction. Frequency separation helps you edit these skin areas without significant contrasts, which makes retouching easier.
4. Adjust brush
Select the brush tool and adjust its size. Start with a slightly larger brush size to cover the necessary area before switching to smaller spots. These adjustments are crucial for precise corrections.
5. Perform retouching
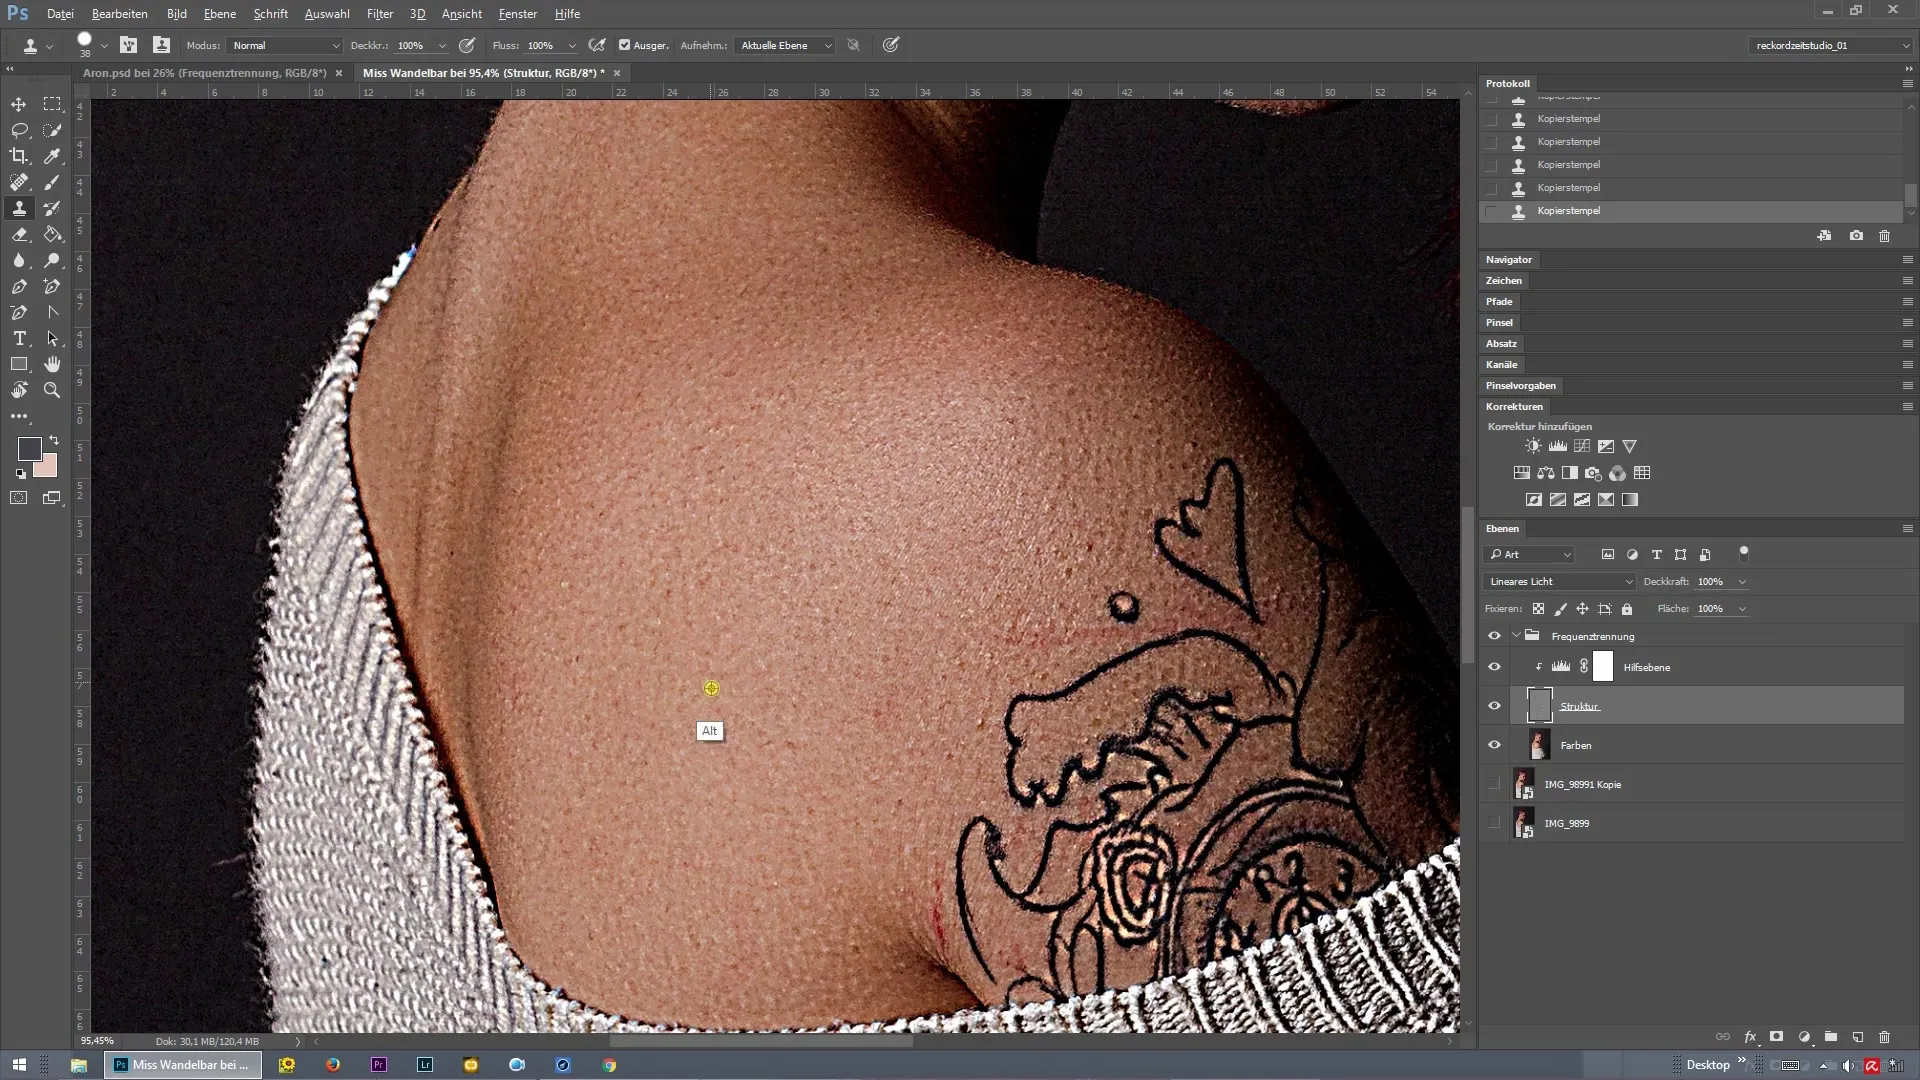
Start retouching in the problem areas by stamping over the distracting spots. Make sure not to copy the model's tattoos here. A small brush helps to capture the texture precisely and retain the right details.
6. Make color corrections
After retouching the texture, focus on color corrections. Here, it’s important how cleanly you work and how much time you invest in this phase. Depending on the importance of the image, you should proceed carefully to achieve a harmonious overall image.
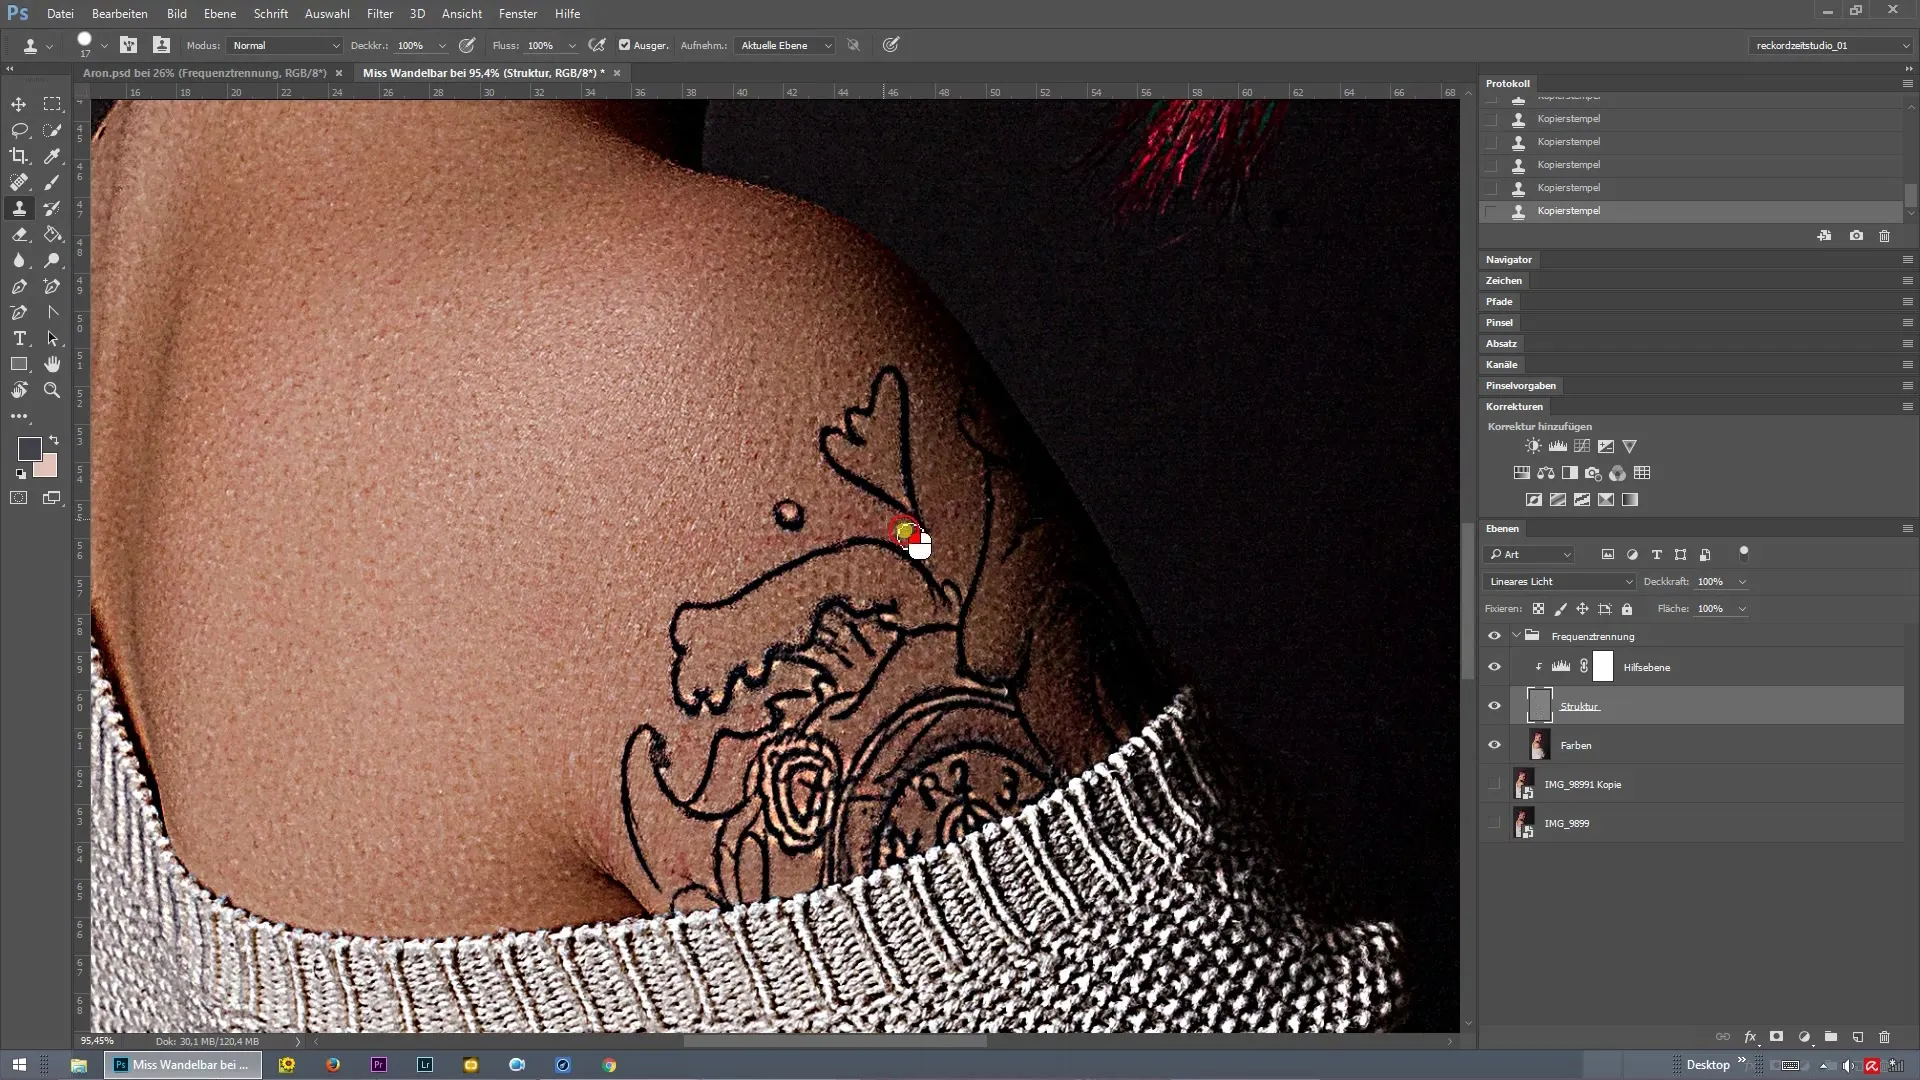
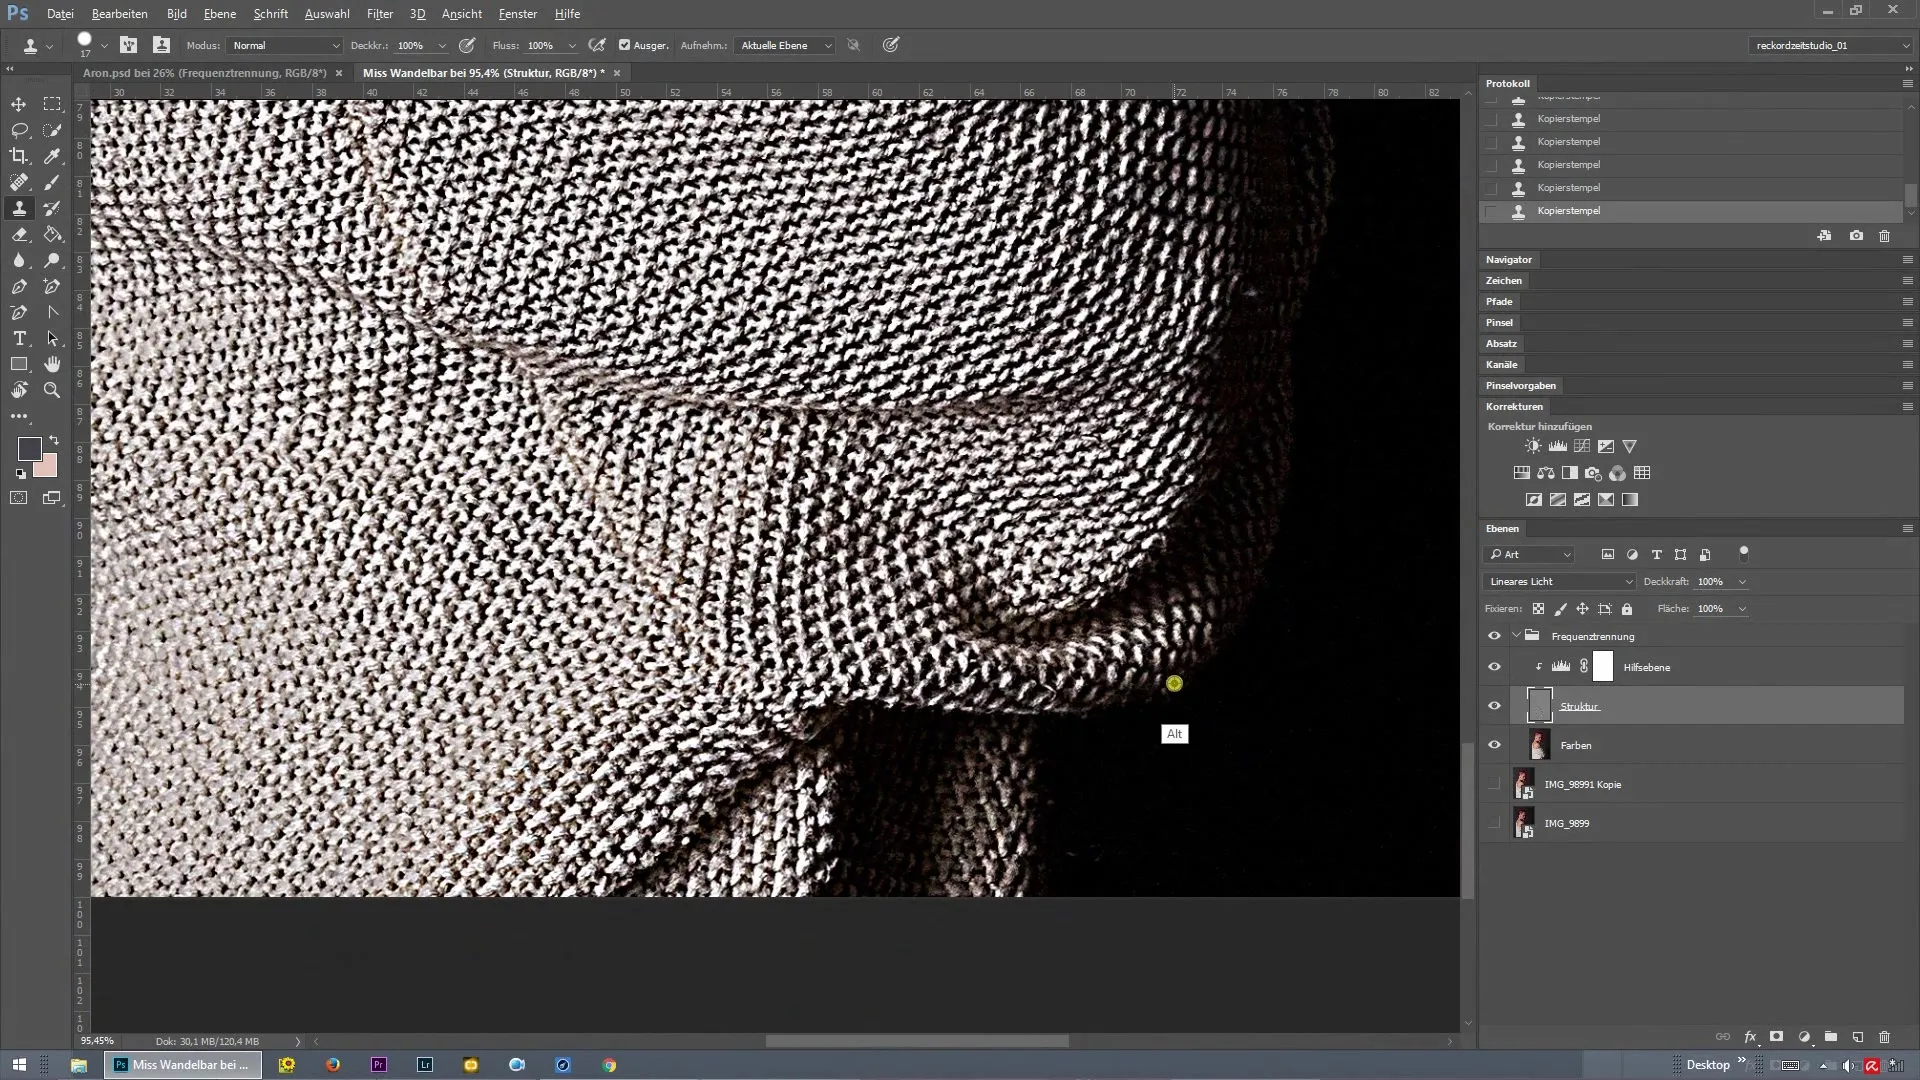
7. Final touches
Check the entire image for any remnants like lint or threads that still need to be eliminated. These details should also be removed before completing the retouching to achieve a professional finish.
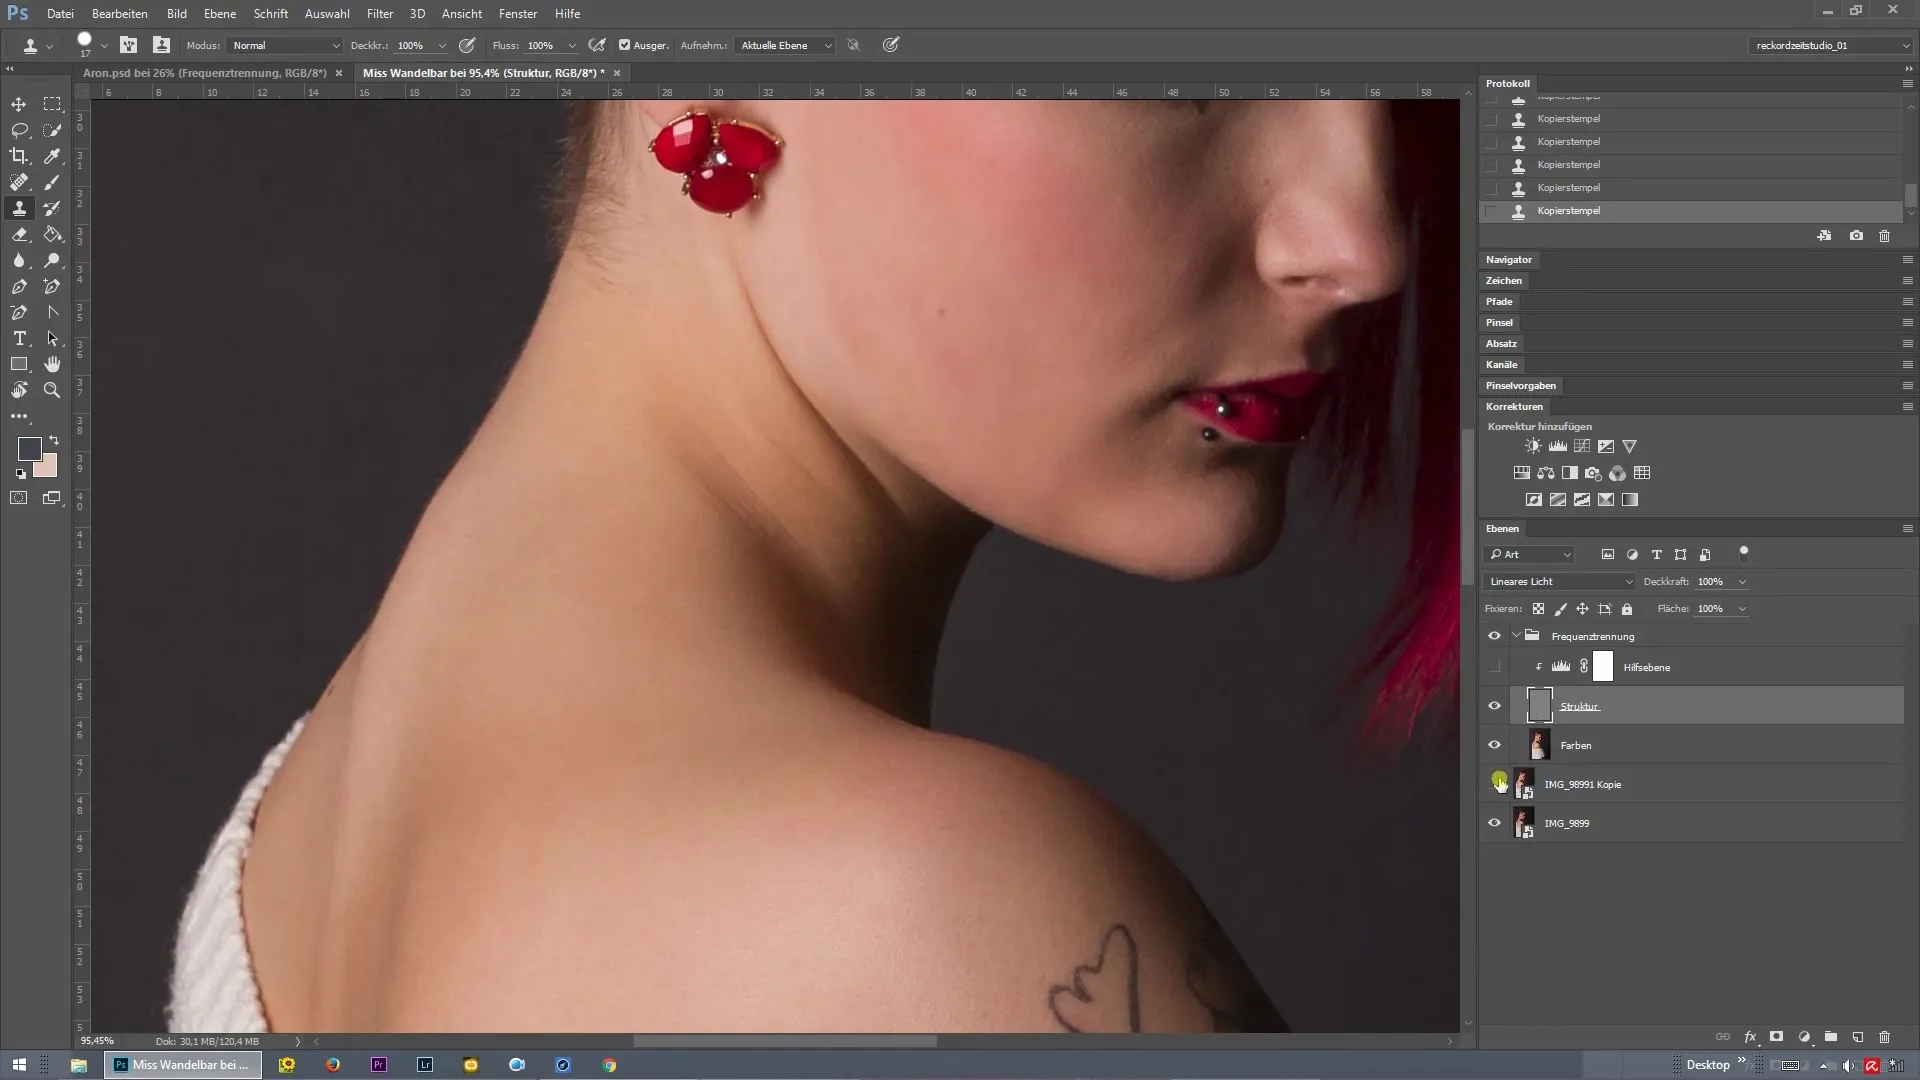
8. Before and After Comparison
Hide the helper layer and perform a before-and-after comparison to see the progress of your work. Simply click on the eye symbol of the layer to make the changes visible.
Summary – Frequency Separation in Photoshop for Body Skin Retouching
Frequency separation is an effective method to professionally retouch skin imperfections. You should edit colors and textures separately to achieve clean results. Be sure to check details and make sure you work precisely. This way you create appealing images for your portfolio.
Frequently Asked Questions
How can I activate frequency separation in Photoshop?You can activate frequency separation by creating two copies of your image layer and splitting them into texture and color layers.
What brush sizes should I use?Start with a larger brush for general corrections and switch to a smaller brush for specific details.
How important is color correction?Color correction is crucial for achieving a harmonious and aesthetic image. Take your time with it.
Are there alternative methods for skin retouching?Yes, there are other techniques like the clone tool or filters, but frequency separation offers you more control over details.


