A successful portrait lives from the details, and the eyes play a central role in this. They convey emotions, depth, and character. If you want the eyes in your portraits to stand out particularly, the technique of Dodge and Burn, combined with frequency separation, is excellent. In this guide, I will show you how to give the eyes more radiance and depth with targeted adjustments.
Key findings
- Frequency separation allows precise adjustments without affecting other image elements.
- With Dodge and Burn techniques, you can professionally implement both lightening and darkening of the eyes.
- A before-and-after comparison illustrates the effect of these techniques.
Step-by-Step Guide
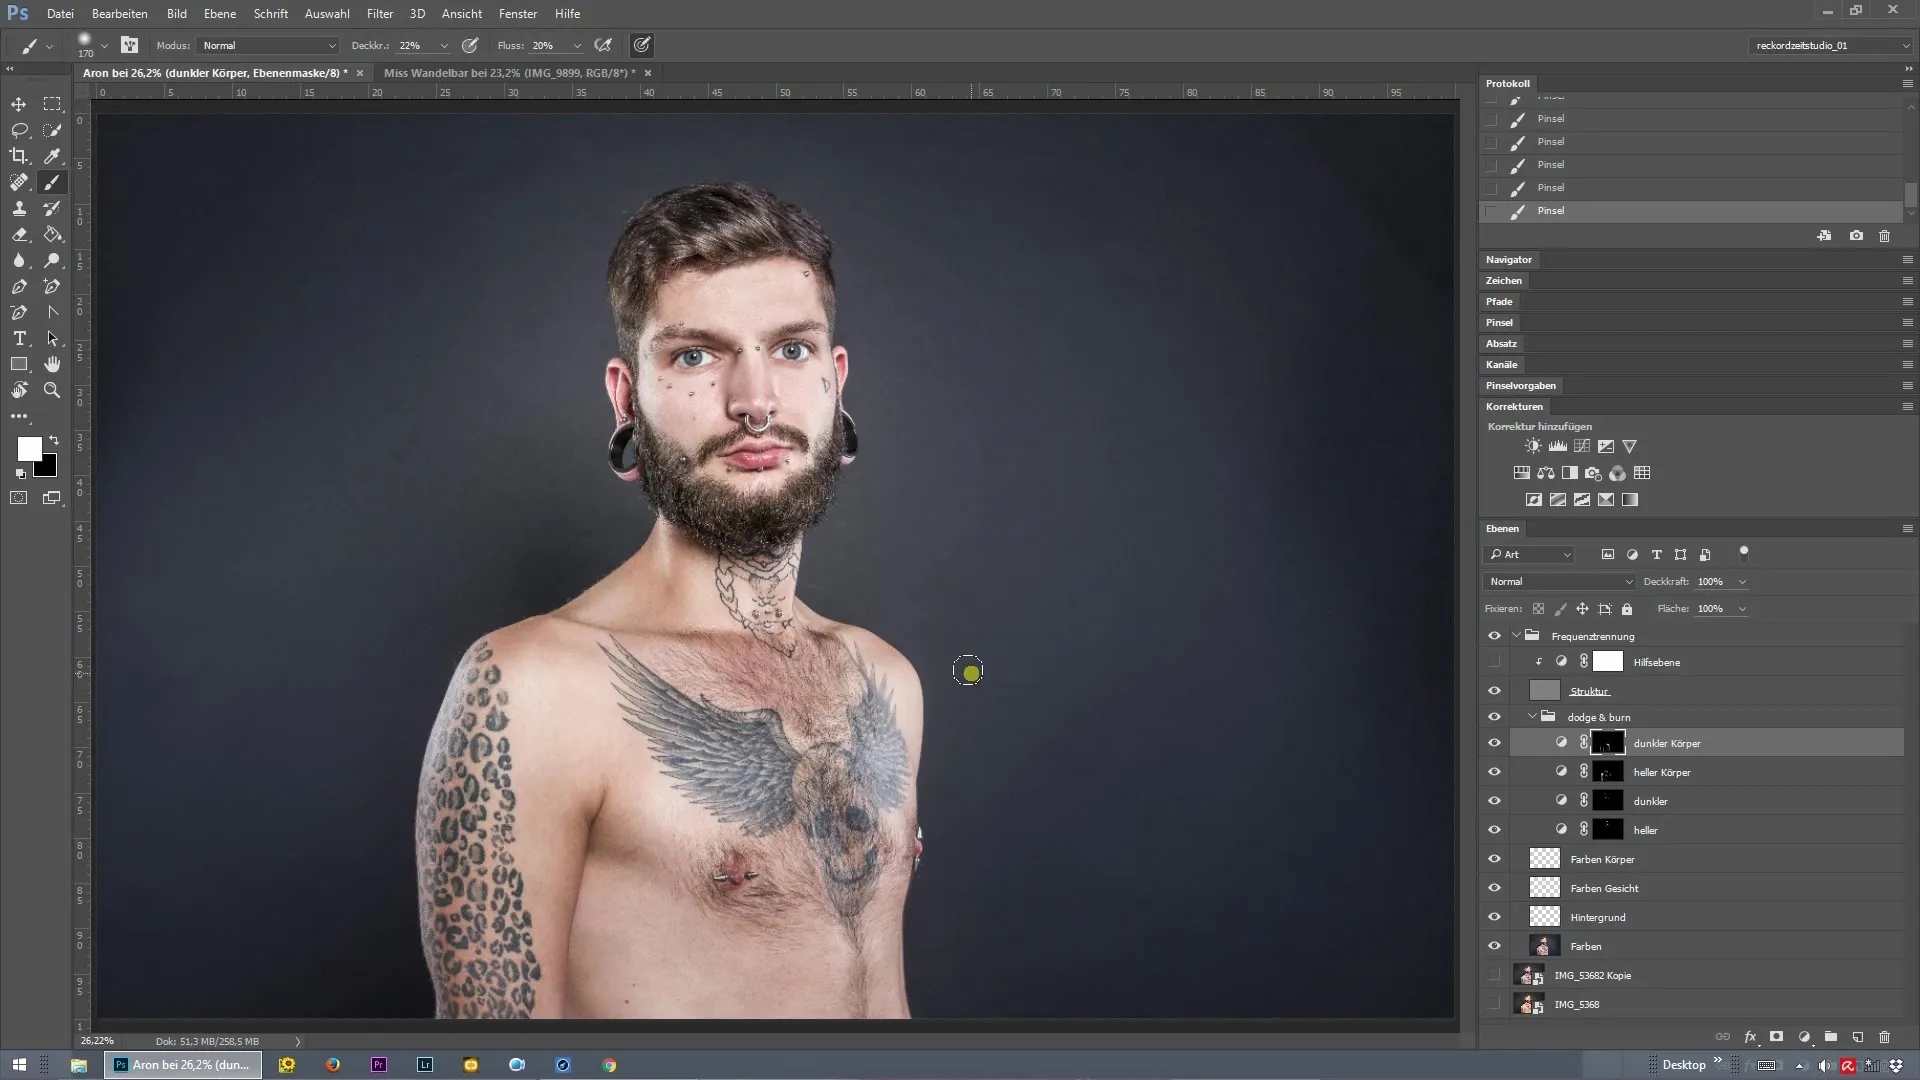
Start by opening your image in Photoshop and make sure you've already set up frequency separation. You will need two adjustment layers, one for lightening the eyes and one for darkening.
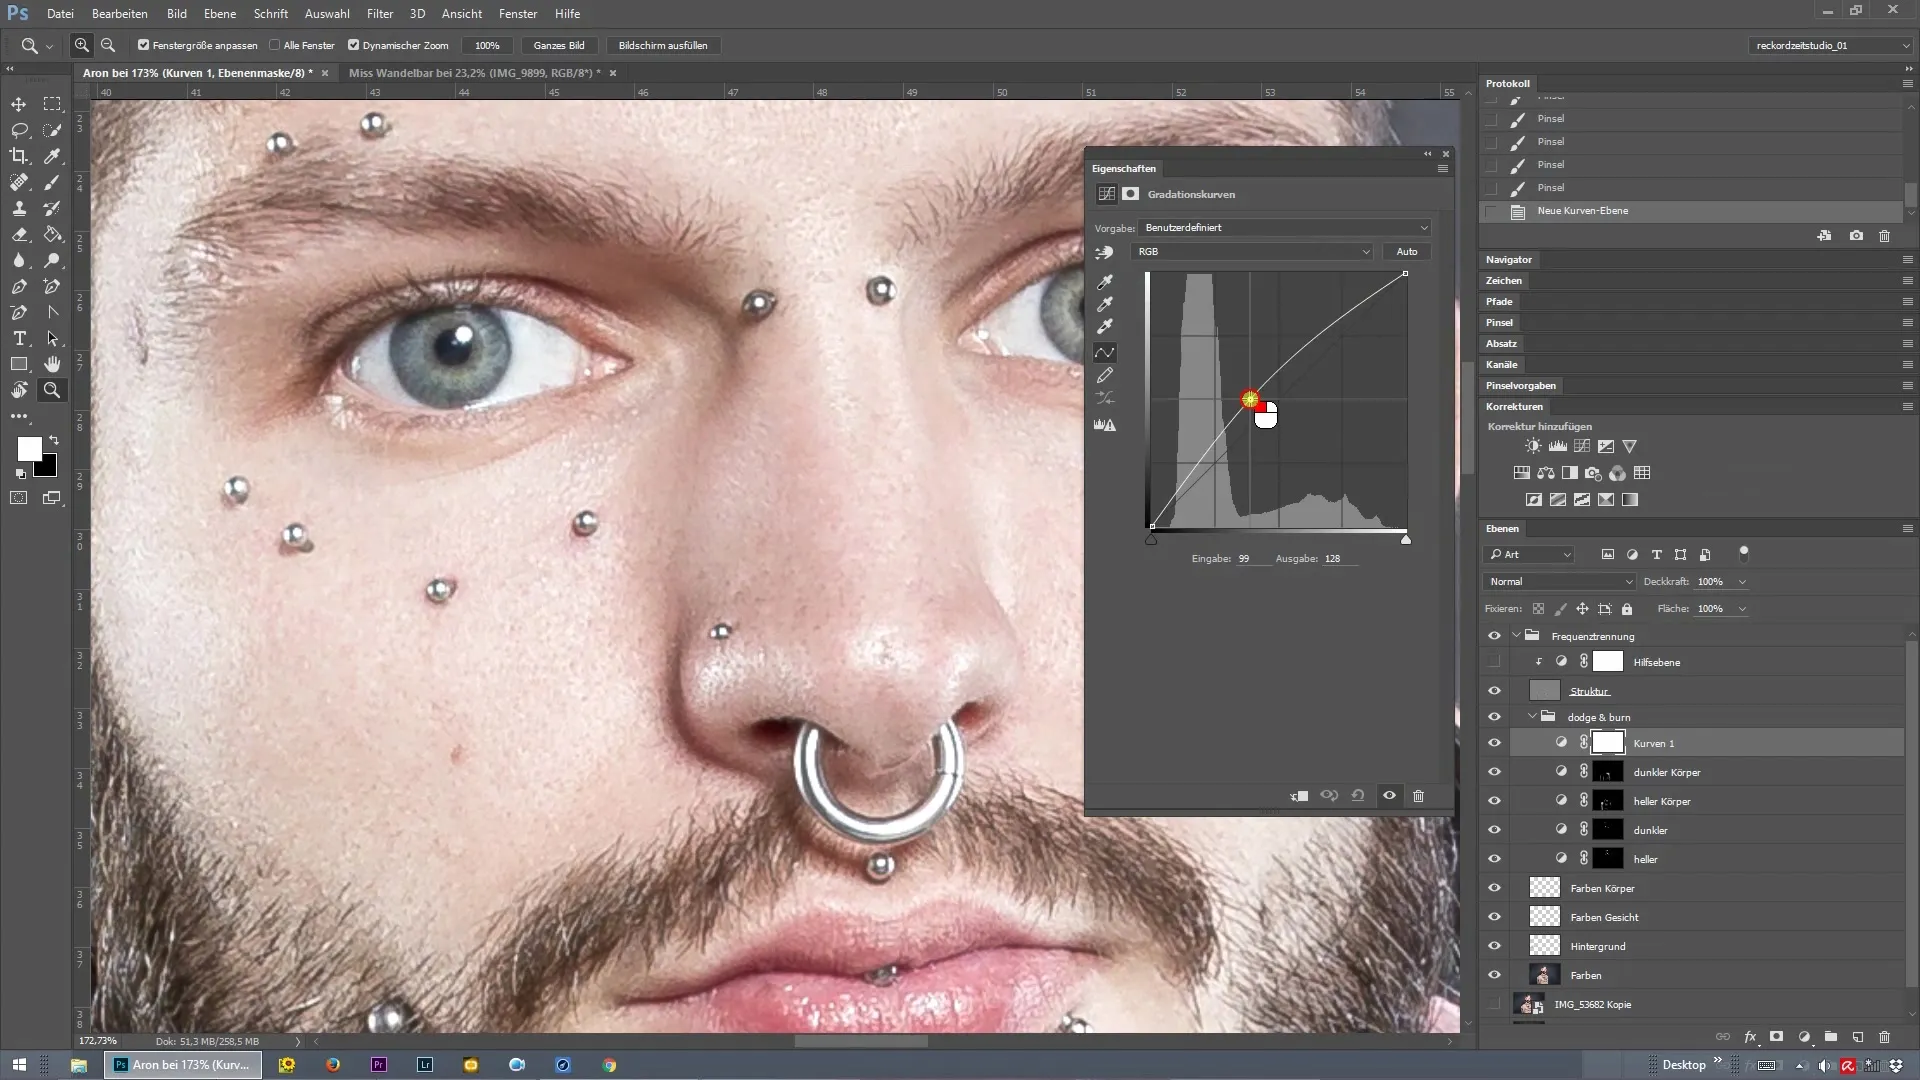
First, add a new curves adjustment layer named "Brighter Eyes." To do this, go to the layers menu and create a new curve. Experiment with the sliders to increase the brightness of the eyes specifically, without affecting the entire image.
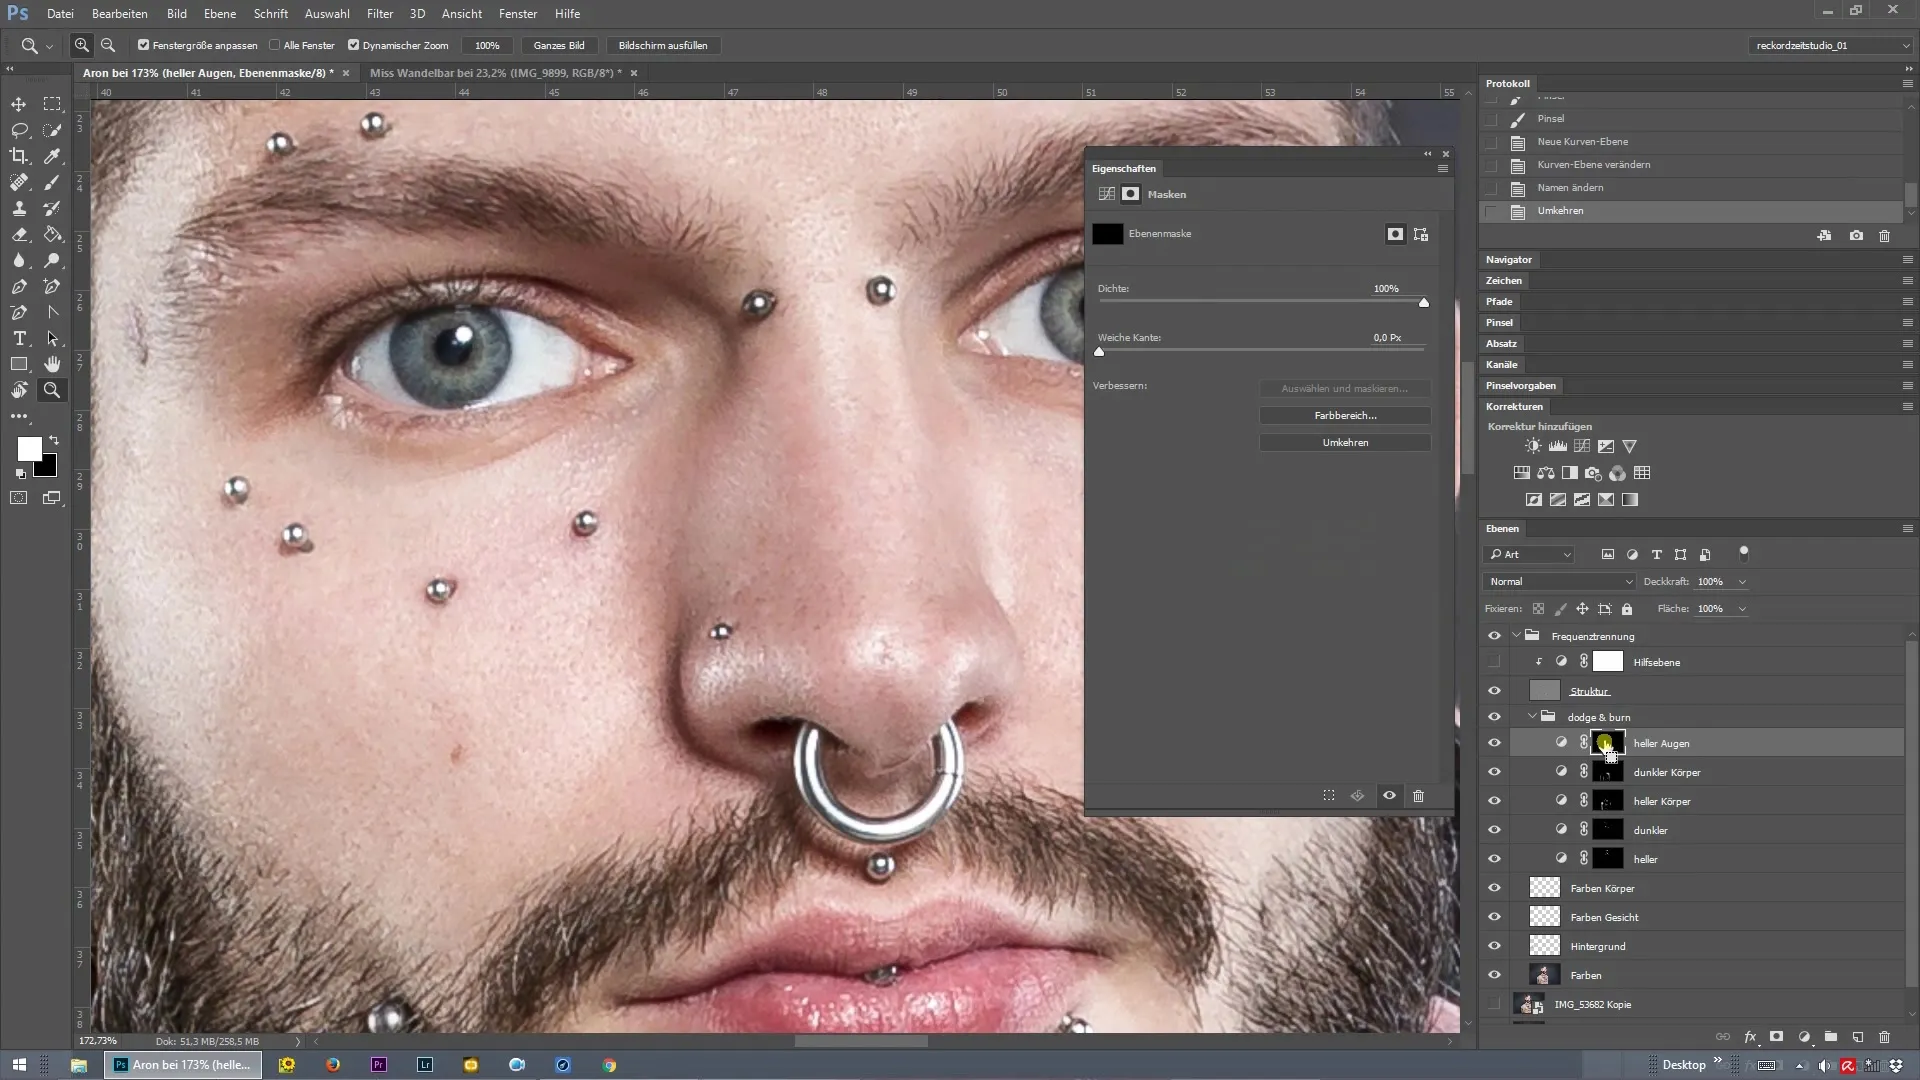
Now that you've created the layer for brighter eyes, you can duplicate it. Rename the new layer to "Darker Eyes." For this layer, we will pull the curve slider to the right to darken the pupils and the edges of the eyes, enhancing the contrasts.
With the "Brighter Eyes" layer activated, select the brush tool. Choose a soft brush tip and make sure to set the opacity to about 20-30%. You can now gently paint over the iris of the eyes to give them more radiance.
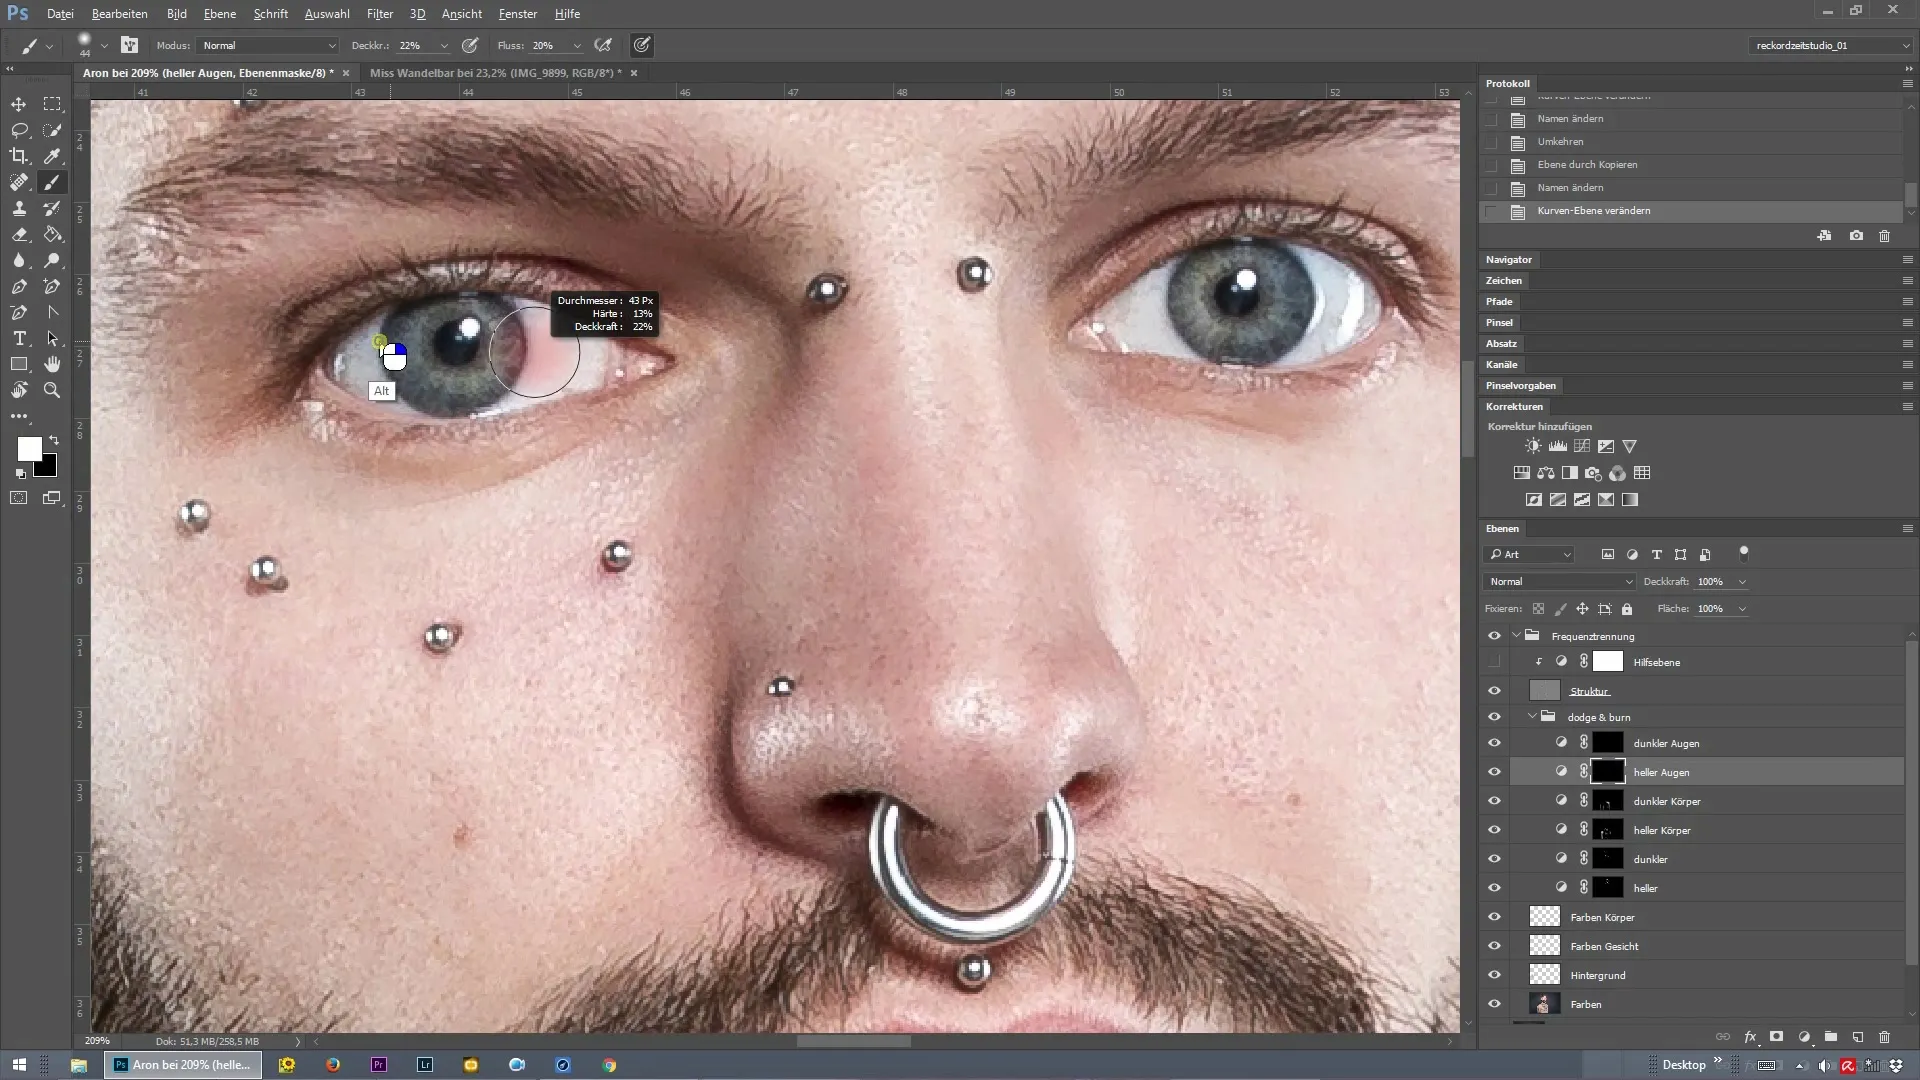
A zoom on the eyes will help you work more precisely. You can highlight finer details that vary depending on the image resolution. Try to only lift the brightest areas of the iris for a natural look.
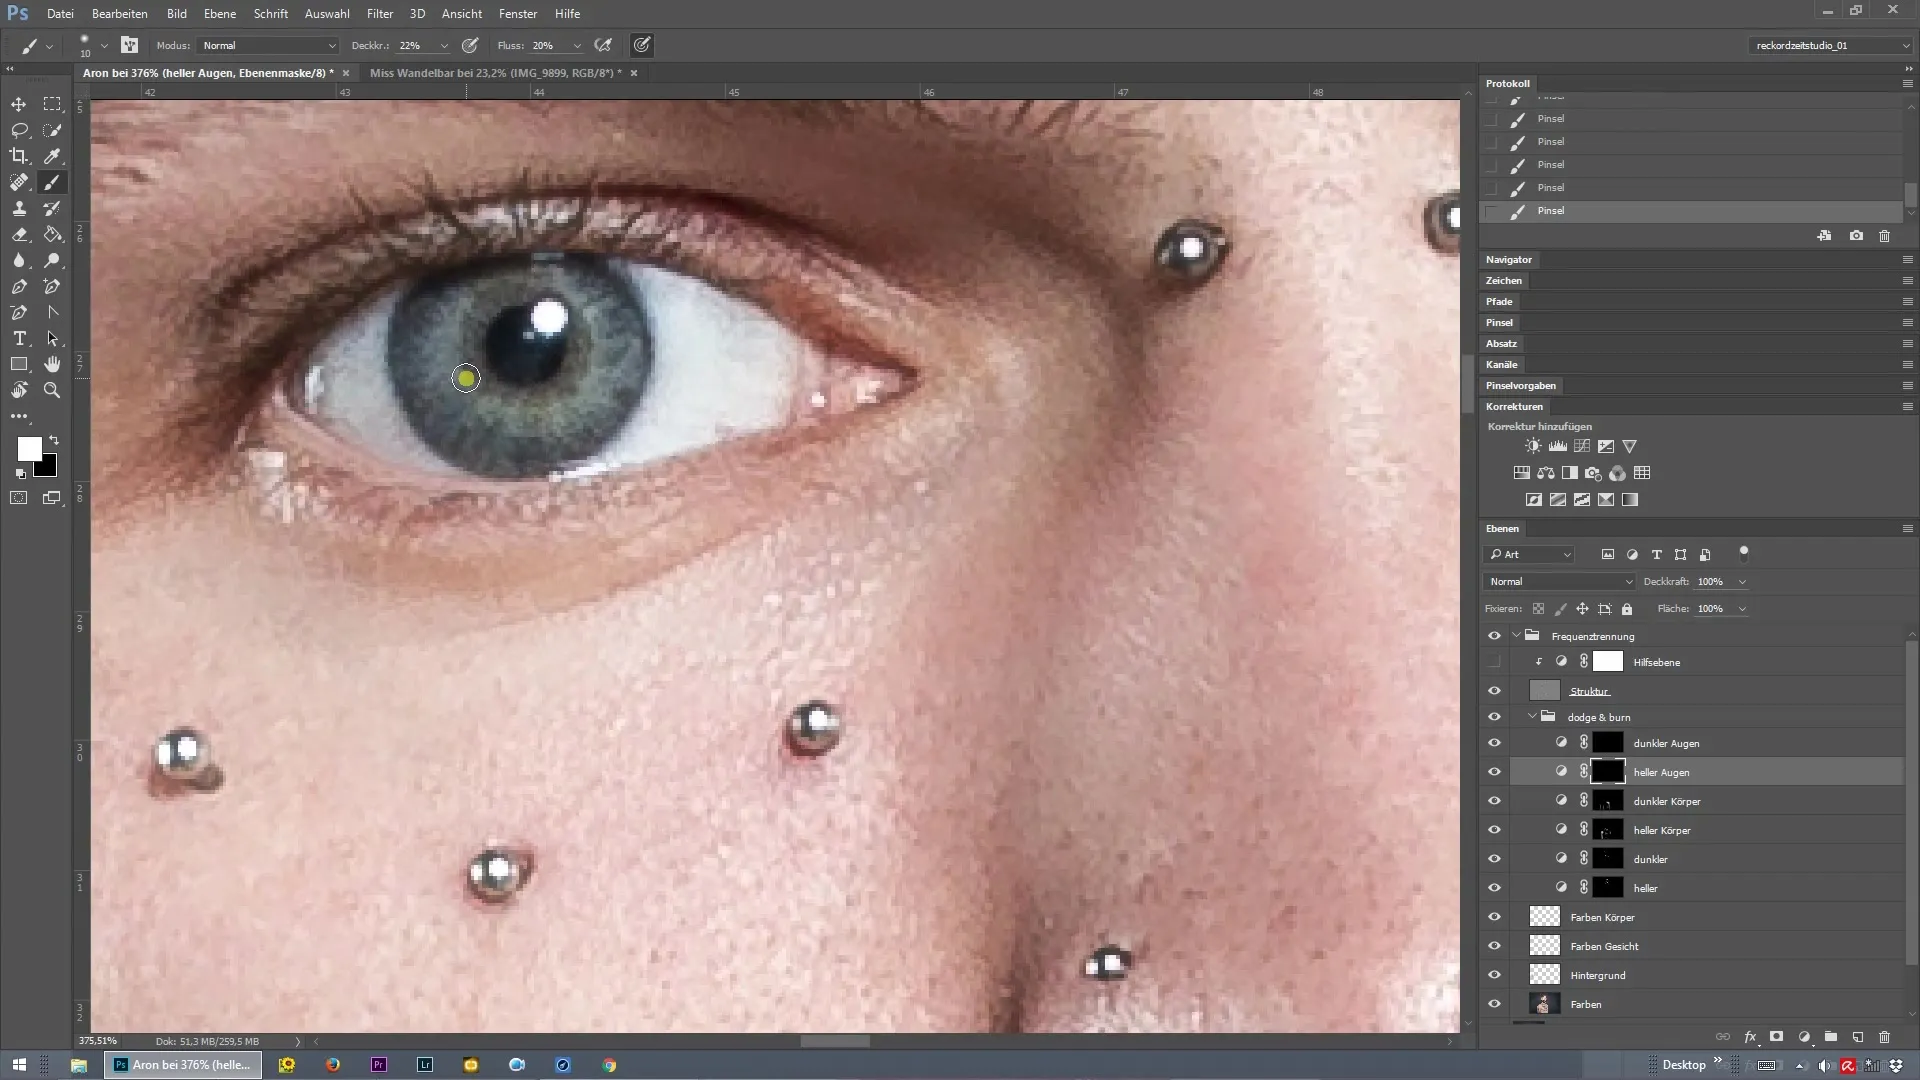
Now switch to your "Darker Eyes" layer. Here, you will also use the brush tool to slightly darken the pupil. Lightly paint along the edge of the pupil to emphasize the depth of the eye and make the gaze appear more intense.
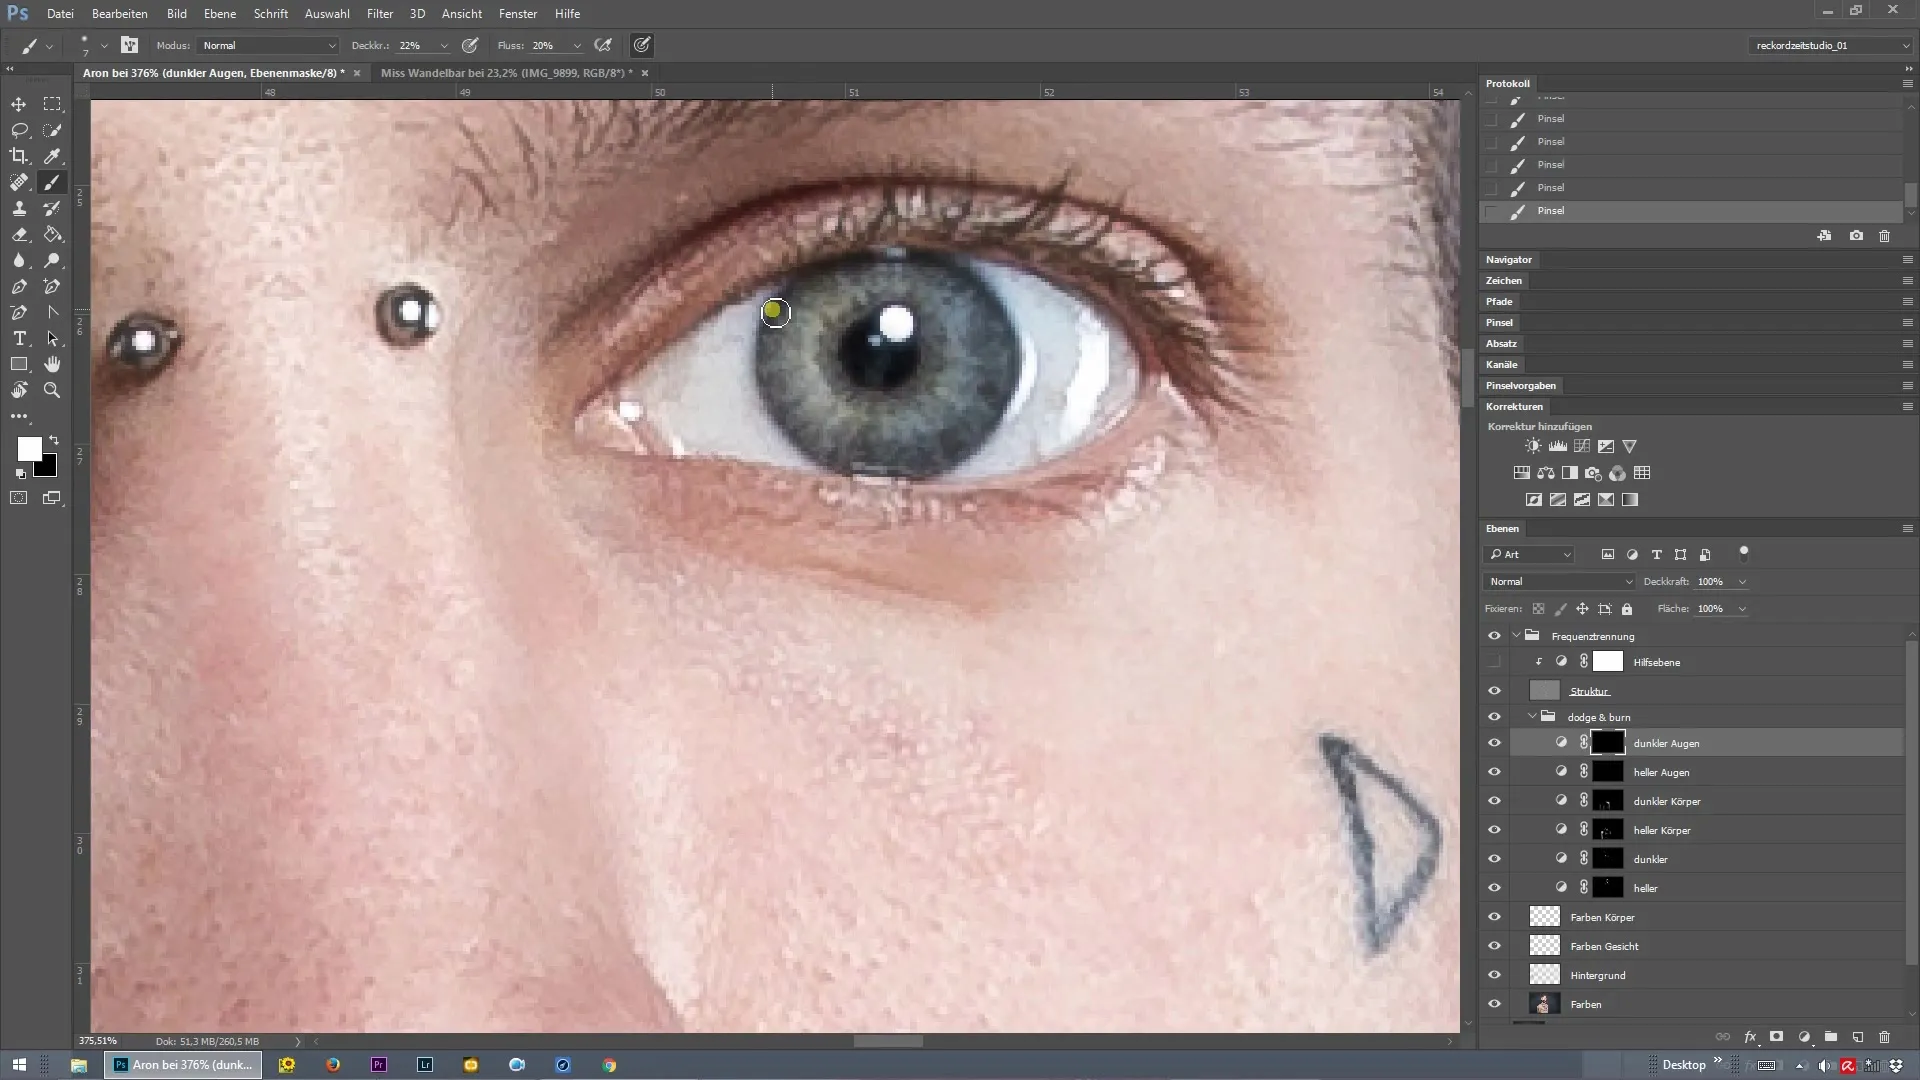
Remember that image editing should be done in small steps. Build up the effects slowly so that the result remains natural and does not appear exaggerated. When you're done, show a before-and-after comparison to document the difference.
The final result will take your portraits to a new level. With the correct application of frequency separation, combined with Dodge and Burn, you can make your subjects' eyes sparkle.
Summary – Effectively Highlight Eyes with Frequency Separation in Photoshop
Trust this technique to make the eyes of your portraits vivid and captivating. With the steps for frequency separation and targeted lighting effects, you will soon achieve impressive results.
Frequently Asked Questions
How does frequency separation work?Frequency separation divides an image into two layers – one for color and one for texture, allowing adjustments to be made without loss of detail.
What is Dodge and Burn?Dodge and Burn are techniques for selectively lightening (Dodge) and darkening (Burn) certain areas of an image to create contrasts and modulate the play of light.
How can I achieve natural results?Work with a low brush opacity and build the effect gradually to avoid an exaggerated look.


