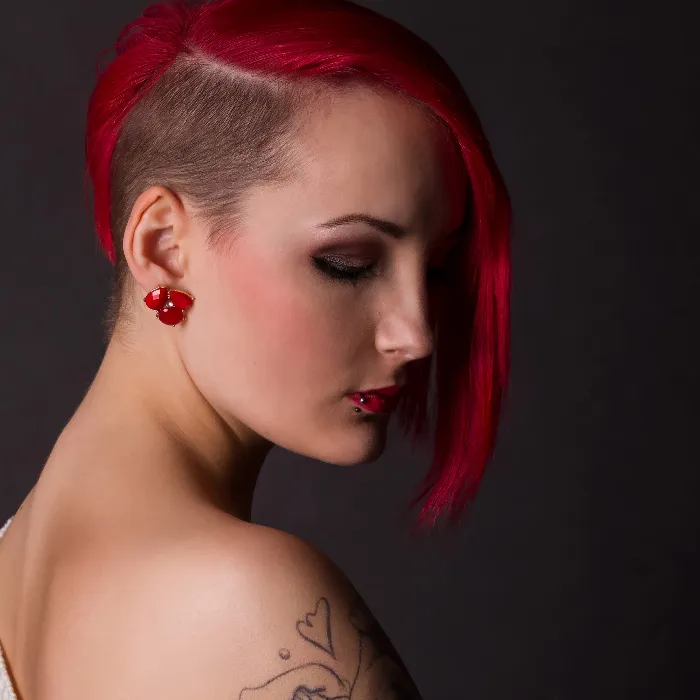
The technique of frequency separation combined with dodge and burn is a powerful method for retouching images in Photoshop. It allows you to selectively change brightness and contrast, so certain areas of your image can be highlighted or toned down. In this guide, you will learn how to achieve the desired effect with two curves and a skilled use of layer masks.
Key insights
- The use of curves combined with layer masks is essential for applying the dodge and burn technique.
- By selectively lightening and darkening certain areas of the image, you can create depth and dimension.
- It's important to adjust the brush tip based on the area being edited.
Step-by-Step Guide
Start by opening the image in Photoshop that you want to work on. The frequency separation technique is particularly useful for creating visual differences between skin tones and shaded areas.
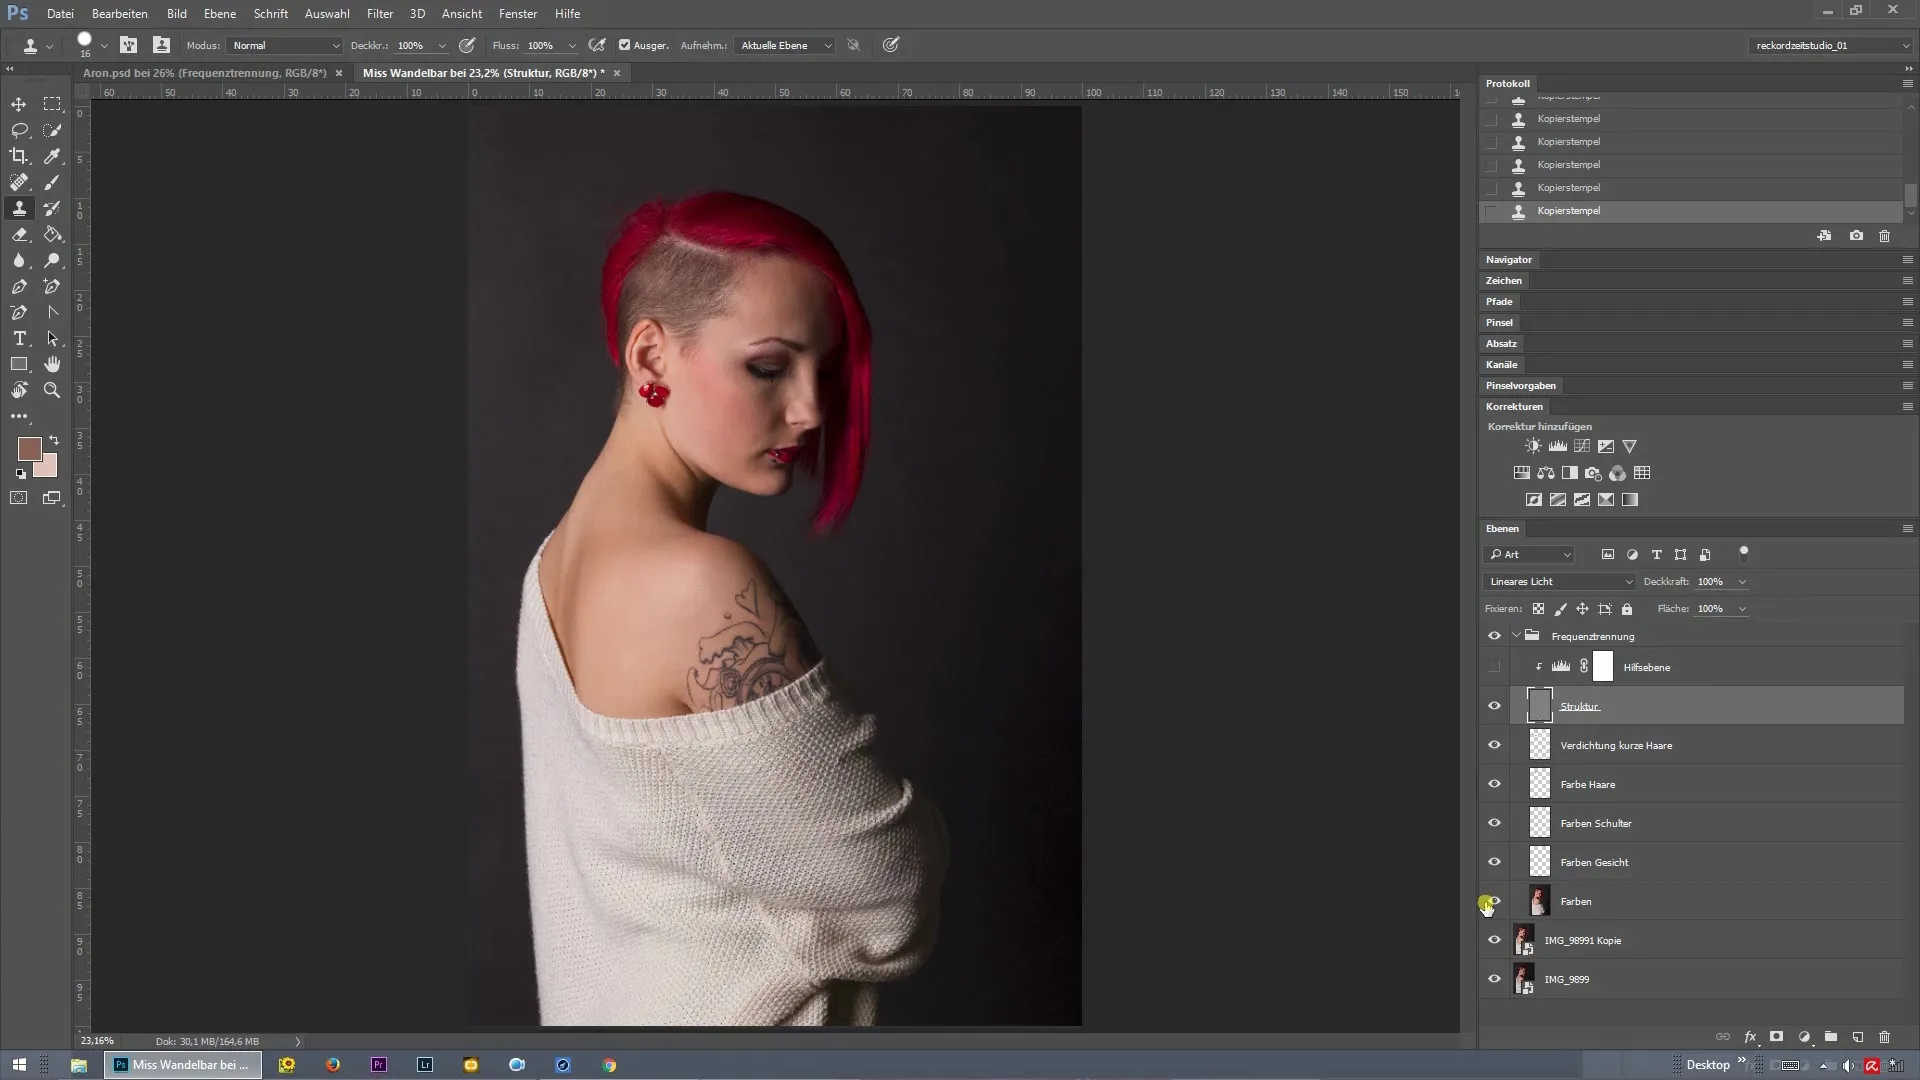
First, create two curves. One curve is used to emphasize lighter areas, while the second is intended for darker areas. Pull the first curve to the middle of the first column to adjust the lighter tones specifically.
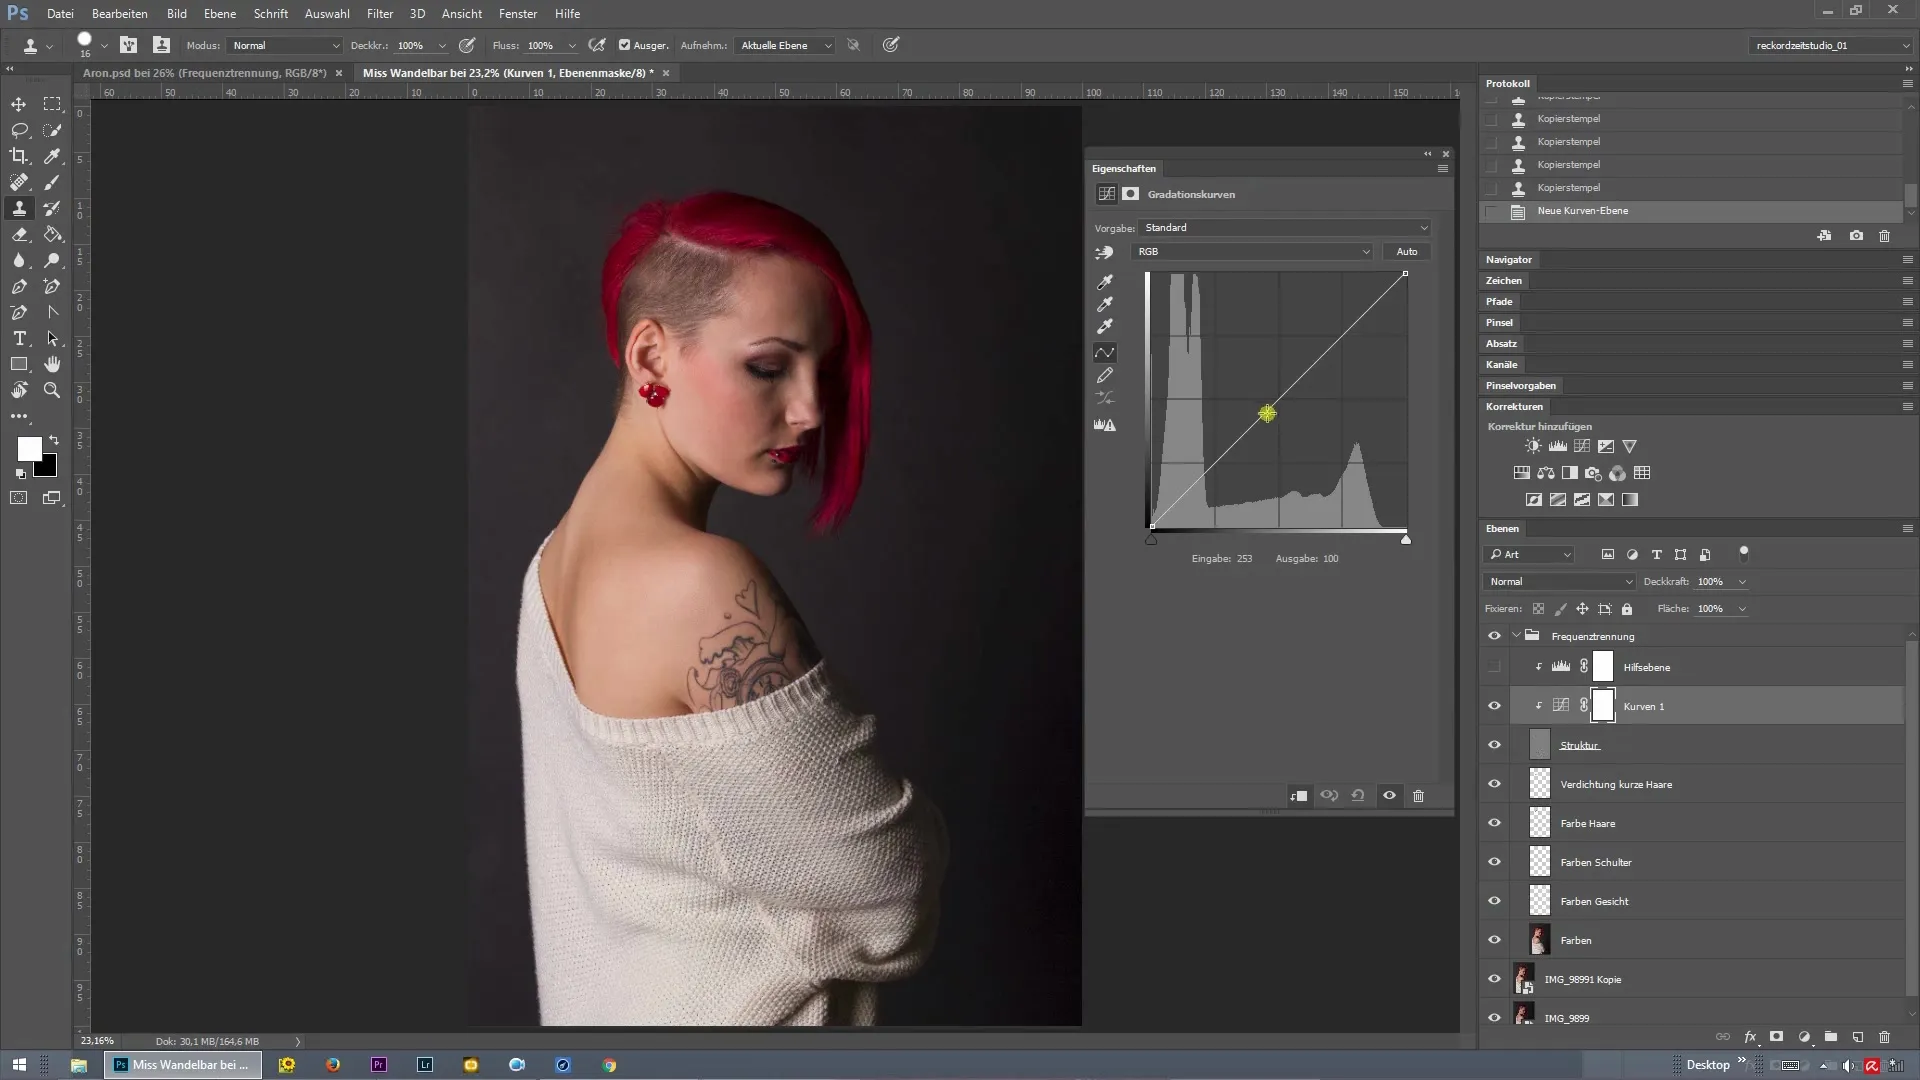
Now rename this first curve to “Brighter.” Make sure to invert the layer mask with “Control” and “I” so you can apply the changes selectively.
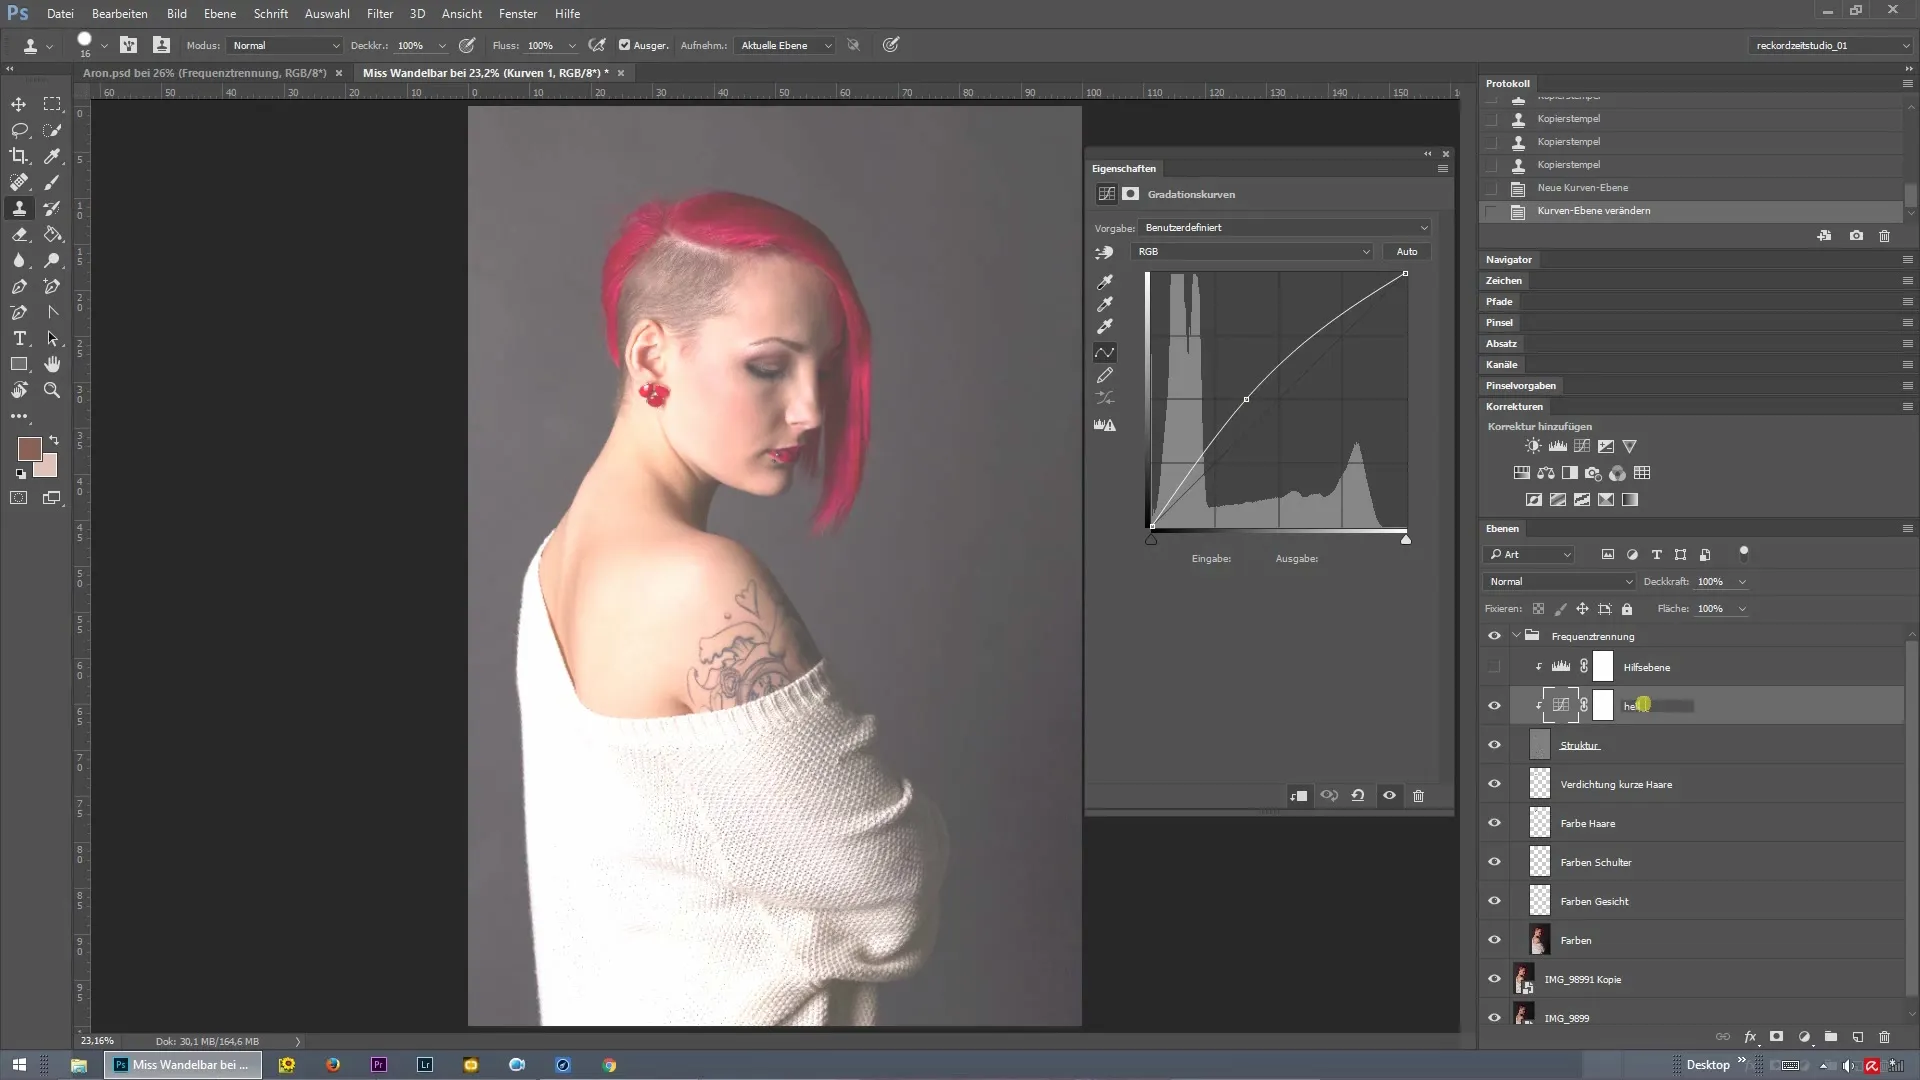
Next, create a second curve that darkens the image overall. This curve will be renamed “Darker.” It's important to also invert the layer mask here so that the effect is only visible where you want it.
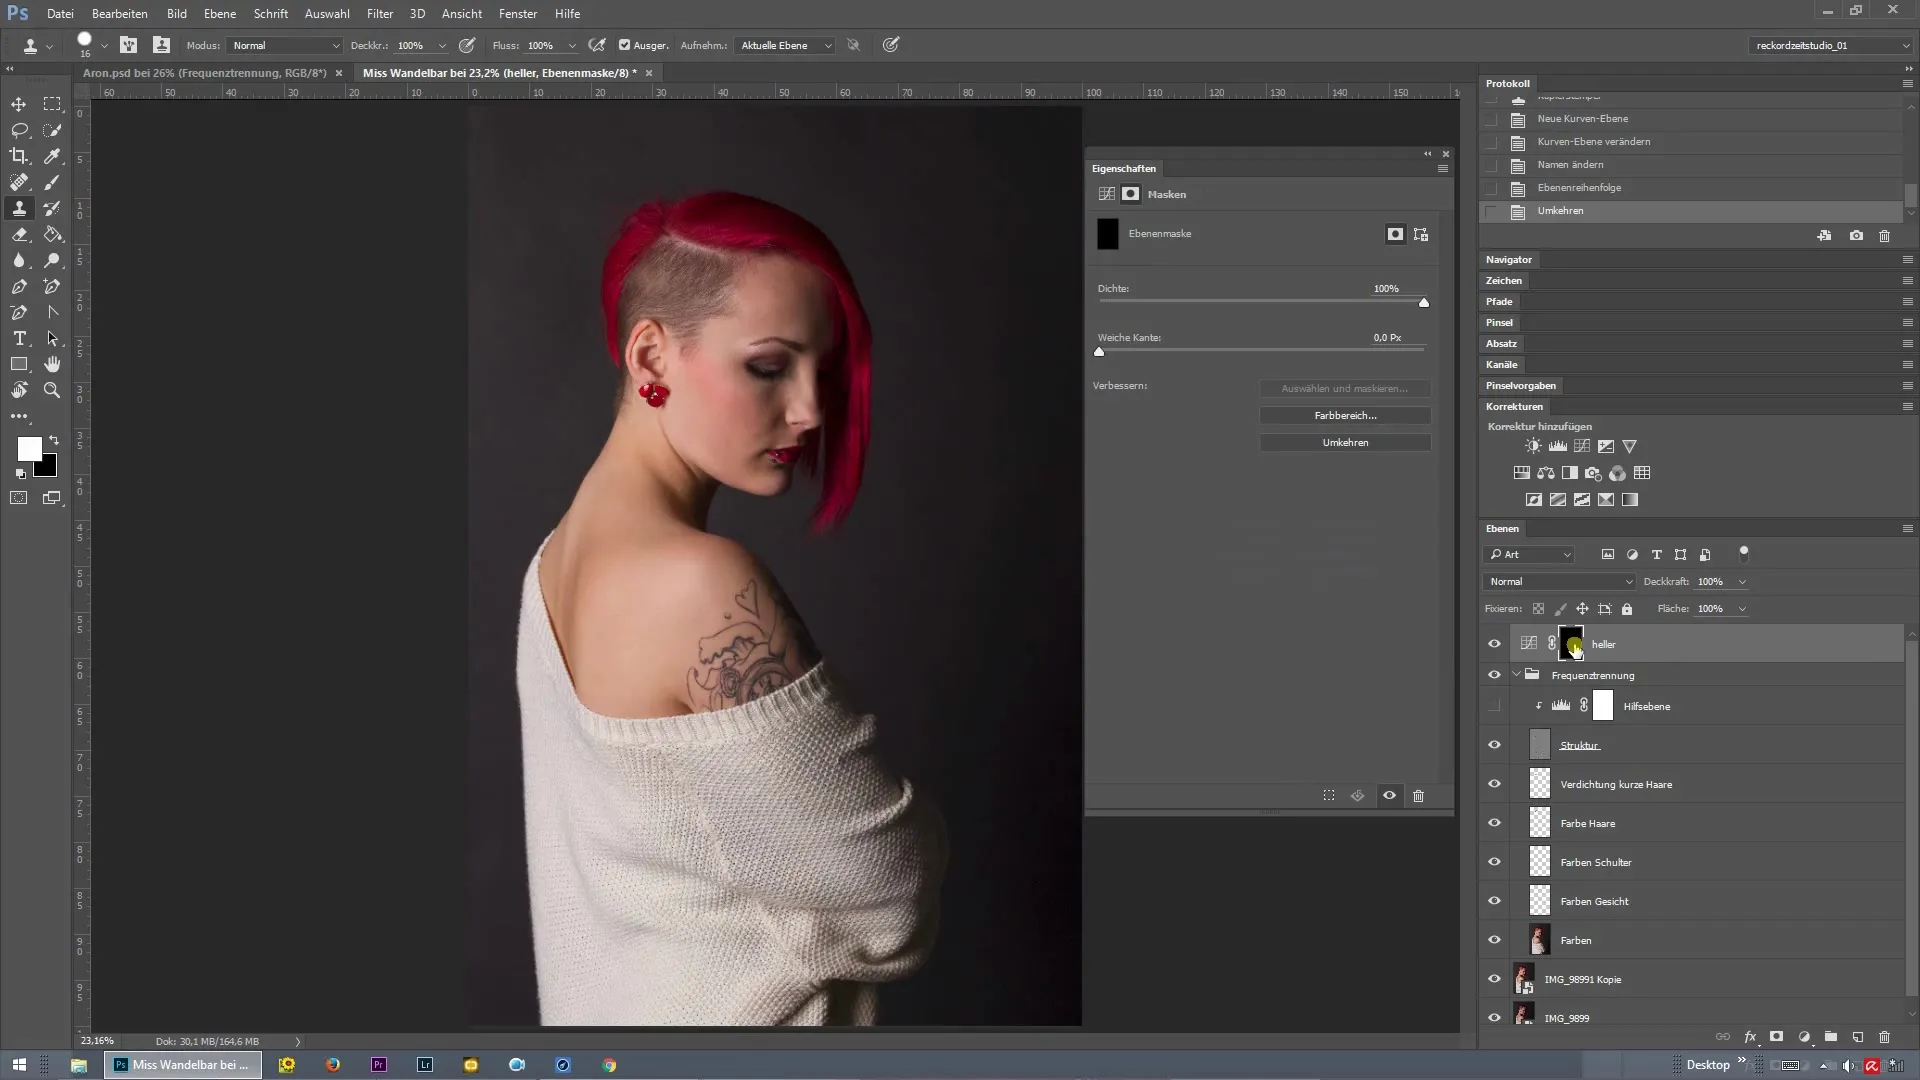
Hide the settings so that only the layer masks are visible. Select a white brush to add accents selectively. This lets you lighten or darken specific spots in the image.
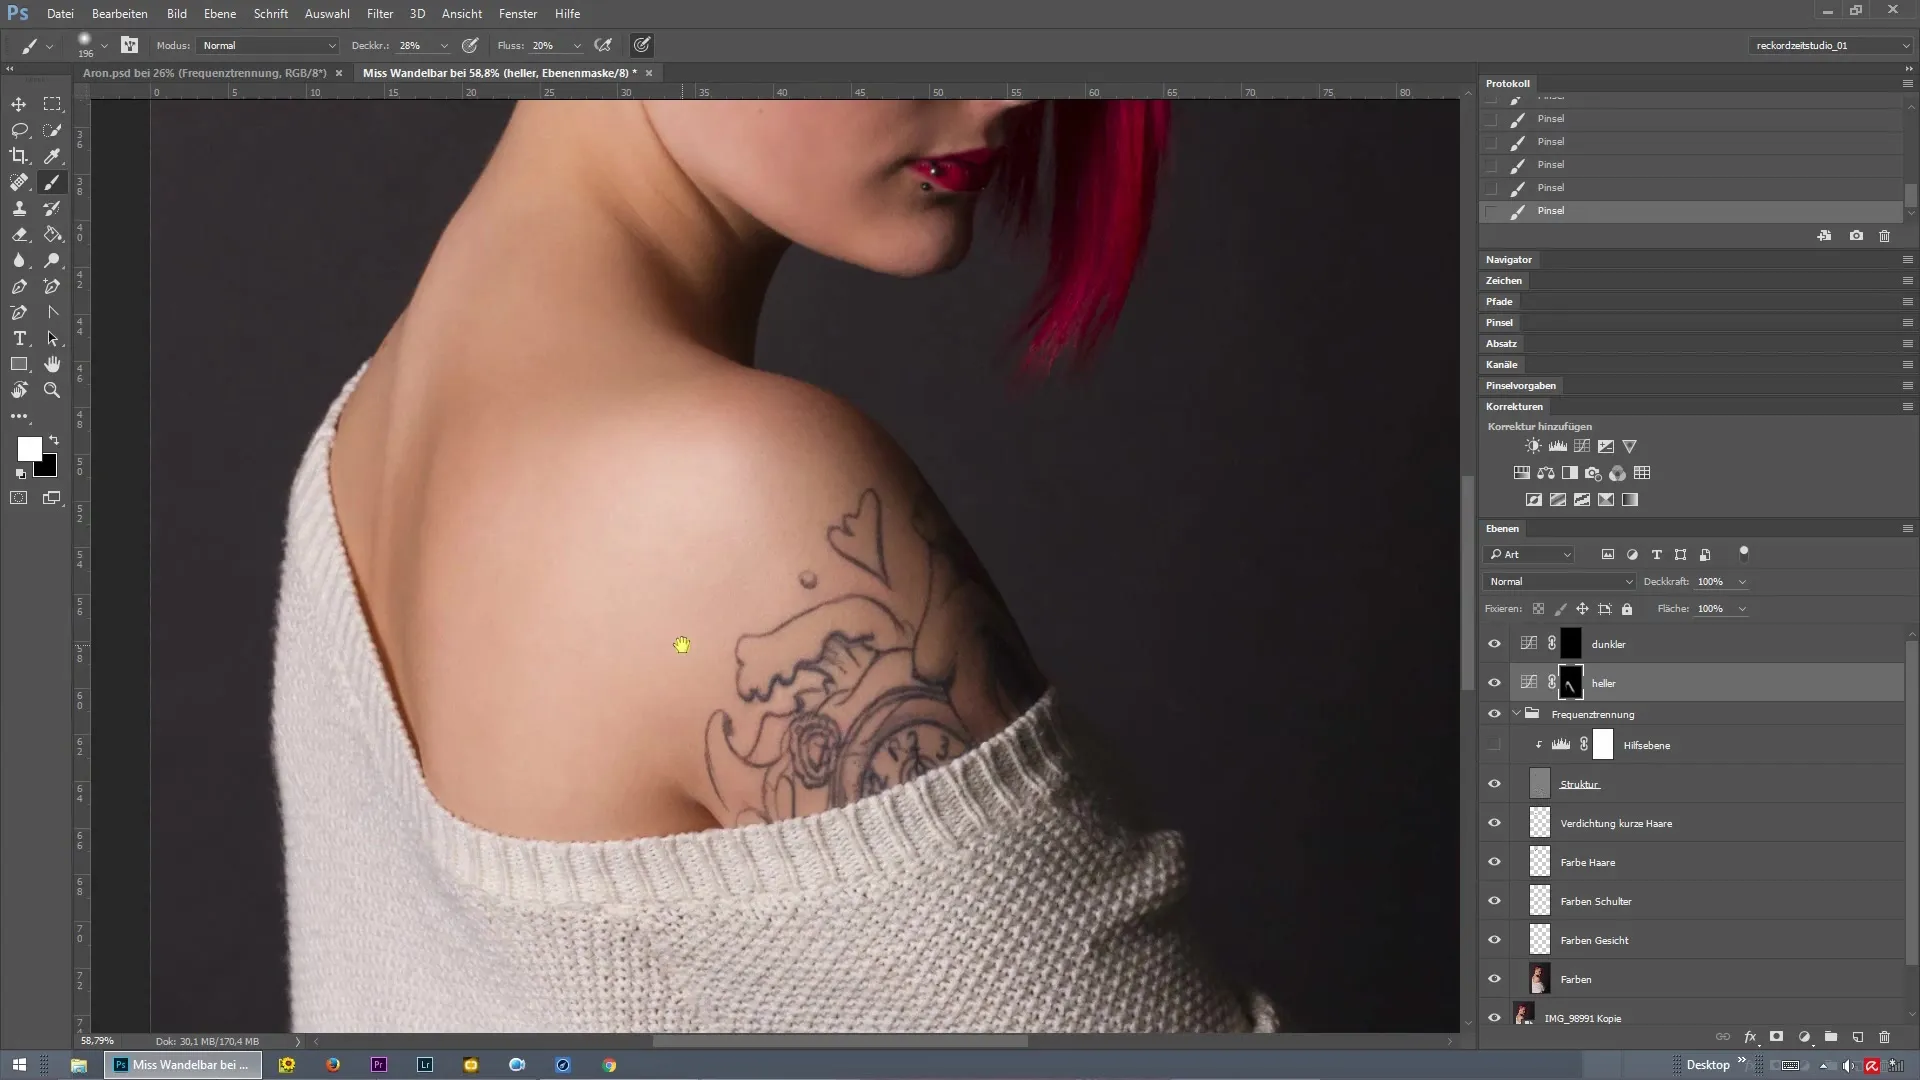
Now start with the shoulder, which already appears almost too highlighted in the picture. Use the dodge and burn technique to subtly lighten or darken the shoulder. Ensure that the transitions are smooth and that the overall image remains harmonious.
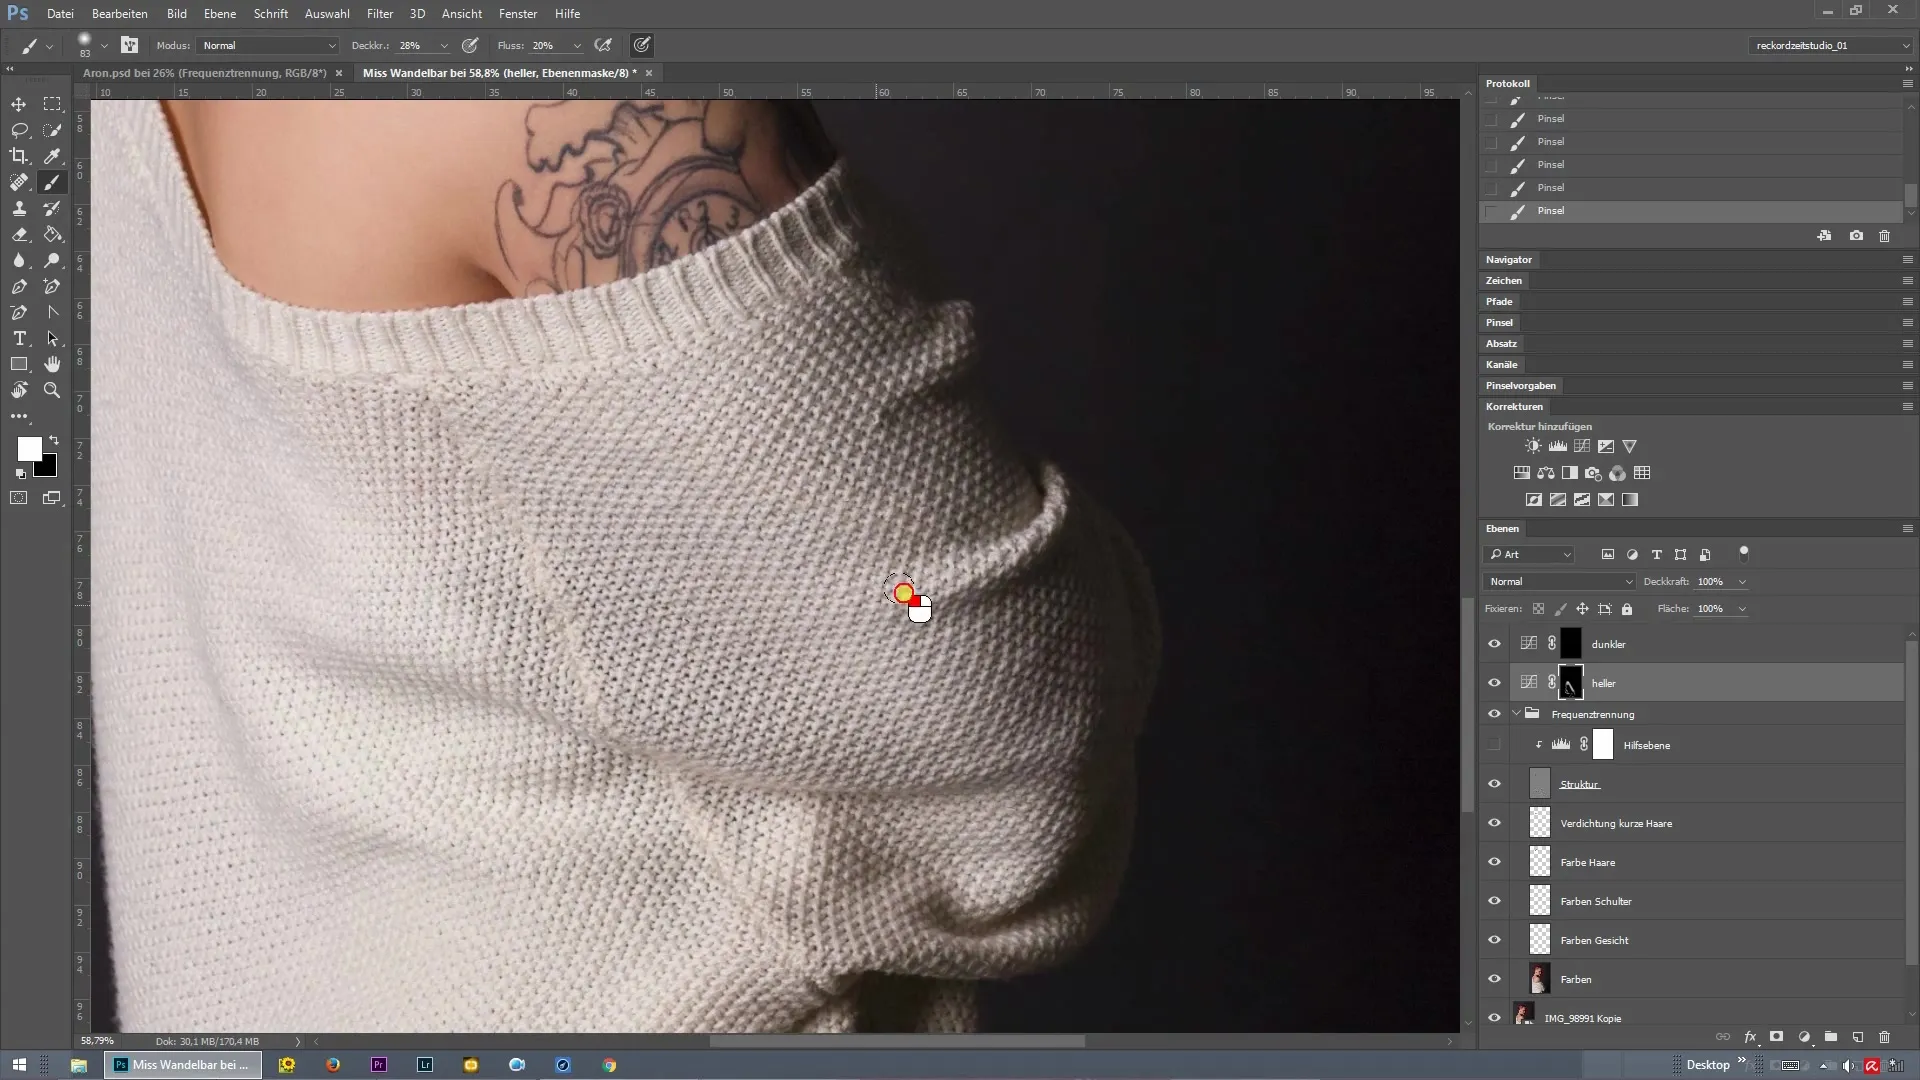
To create more roundness in the arm, decrease the brush size and go over the folds. This technique will help to emphasize deeper shadows and make the overall image appear more three-dimensional.
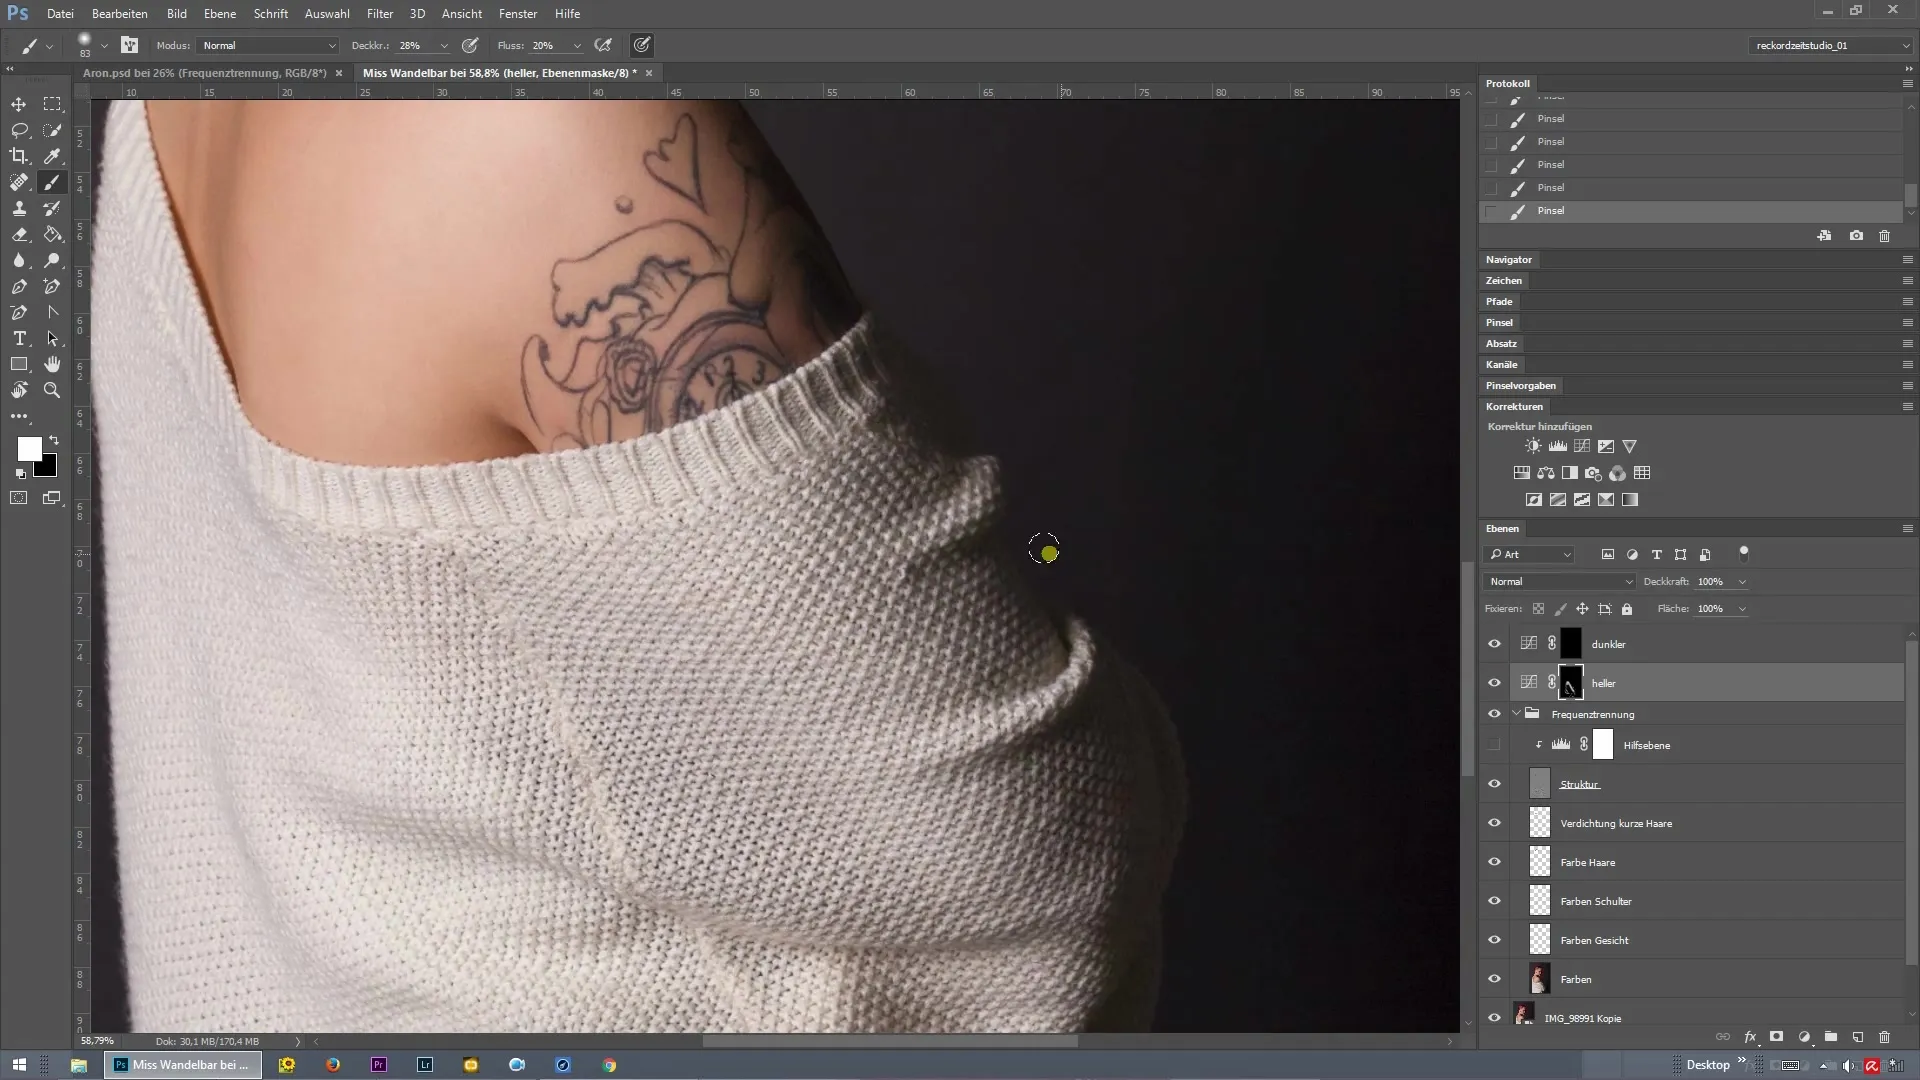
Use a smaller brush tip to create more brightness in the folds of your model. These details can be crucial for how the entire image is perceived.
Before proceeding to the next step, do a before-and-after comparison to check the impact of your adjustments. With these few clicks, you can effectively adjust the contrasts in the image and achieve the desired effect.
Summary – Frequency Separation and Dodge and Burn for Impressive Results in Photoshop
The combination of curves and layer masks is crucial for effectively applying the dodge and burn technique. By selectively lightening and darkening specific areas, you achieve a dimension and plasticity that enhances your images.
Frequently Asked Questions
What is frequency separation?Frequency separation is a retouching technique that allows you to separate textures from colors in an image to make targeted adjustments.
What is the benefit of dodge and burn?With dodge and burn, you can lighten or darken specific areas of an image to create contrasts and dimension.
How does using curves work?Curves allow you to precisely control the brightness and contrast in different tonal ranges of an image.
What tool should I use for editing?The brush is the most important tool for making targeted adjustments in your layer masks. Pay attention to the brush tip size.
Why are layer masks important?Layer masks allow for non-destructive editing, enabling you to apply changes only to selected areas of the image.
