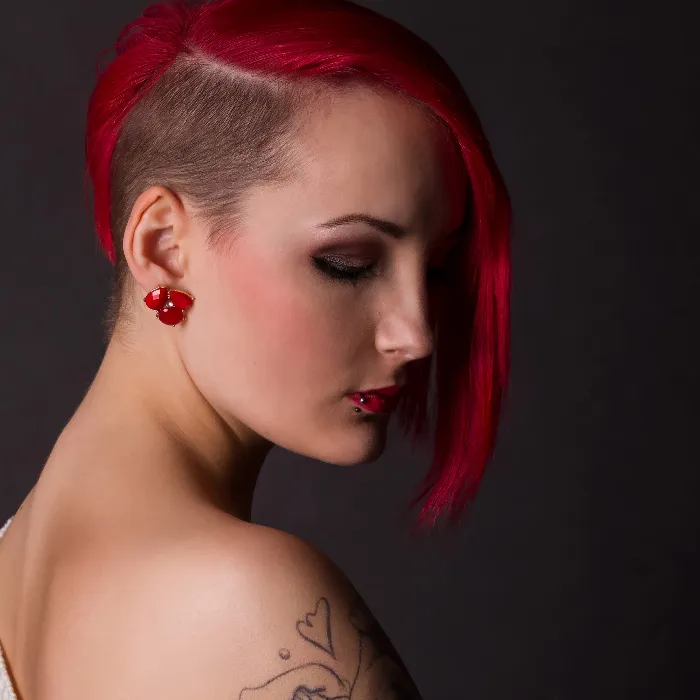
The editing of portraits is often an art in itself, especially when it comes to Hautretusche. Especially with dry skin, many photographers and image editors are challenged to improve the appearance without losing naturalness. With the technique of Frequenztrennung, you can efficiently adjust the skin texture and color quality separately to give an image more freshness and vibrancy. In this tutorial, I will show you how to optimally use frequency separation to retouch the skin of a model, in this case, Sonja.
Key insights
- Frequency separation allows for the separate editing of texture and color.
- The use of soft brushes and low opacity helps achieve a natural result.
- This technique can be applied quickly and effectively to improve skin appearance.
Step-by-step guide
To apply frequency separation for retouching dry skin, follow these steps:
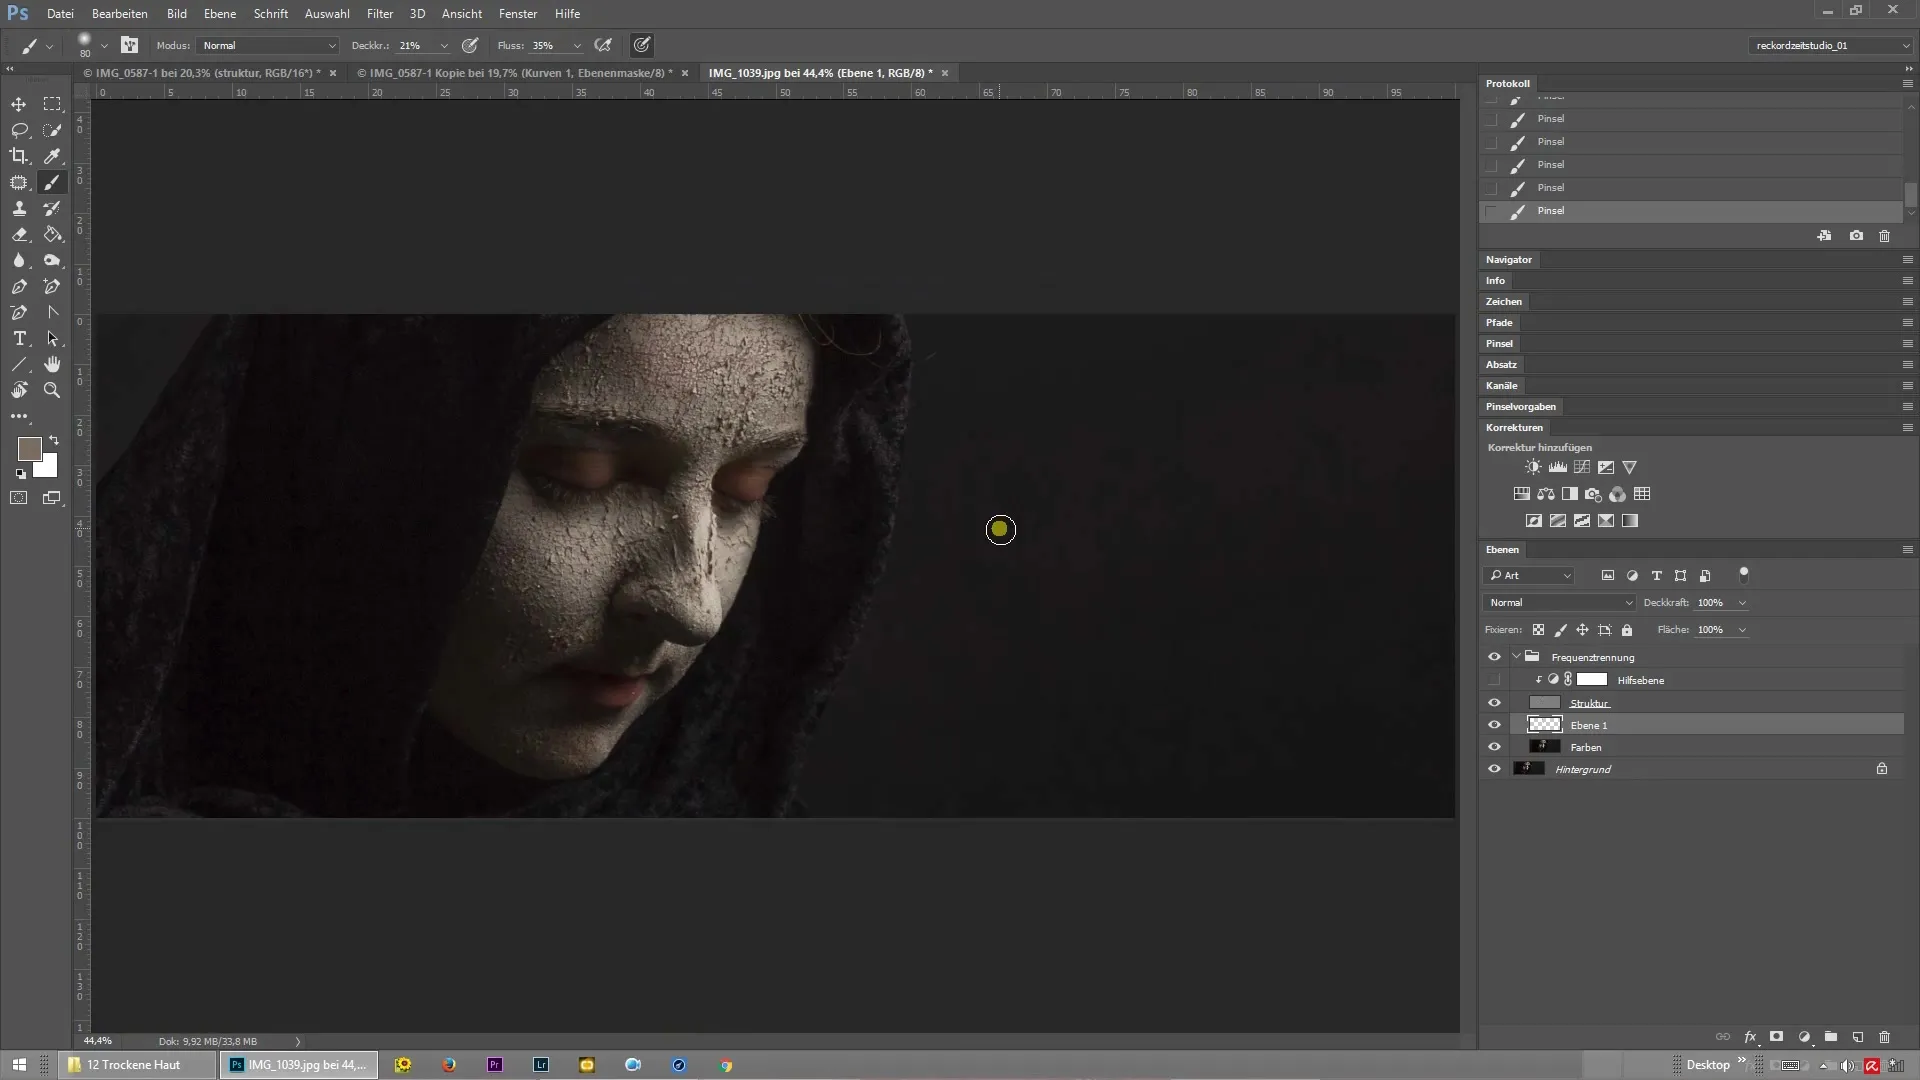
First, open the image you want to edit. In this tutorial, we are working with an image of Sonja, where color flaking is visible on the nose due to healing clay. This retouching should be done using frequency separation. You use frequency separation to separate the skin texture from the colors. This is done in Photoshop by first creating a copy of the background layer.
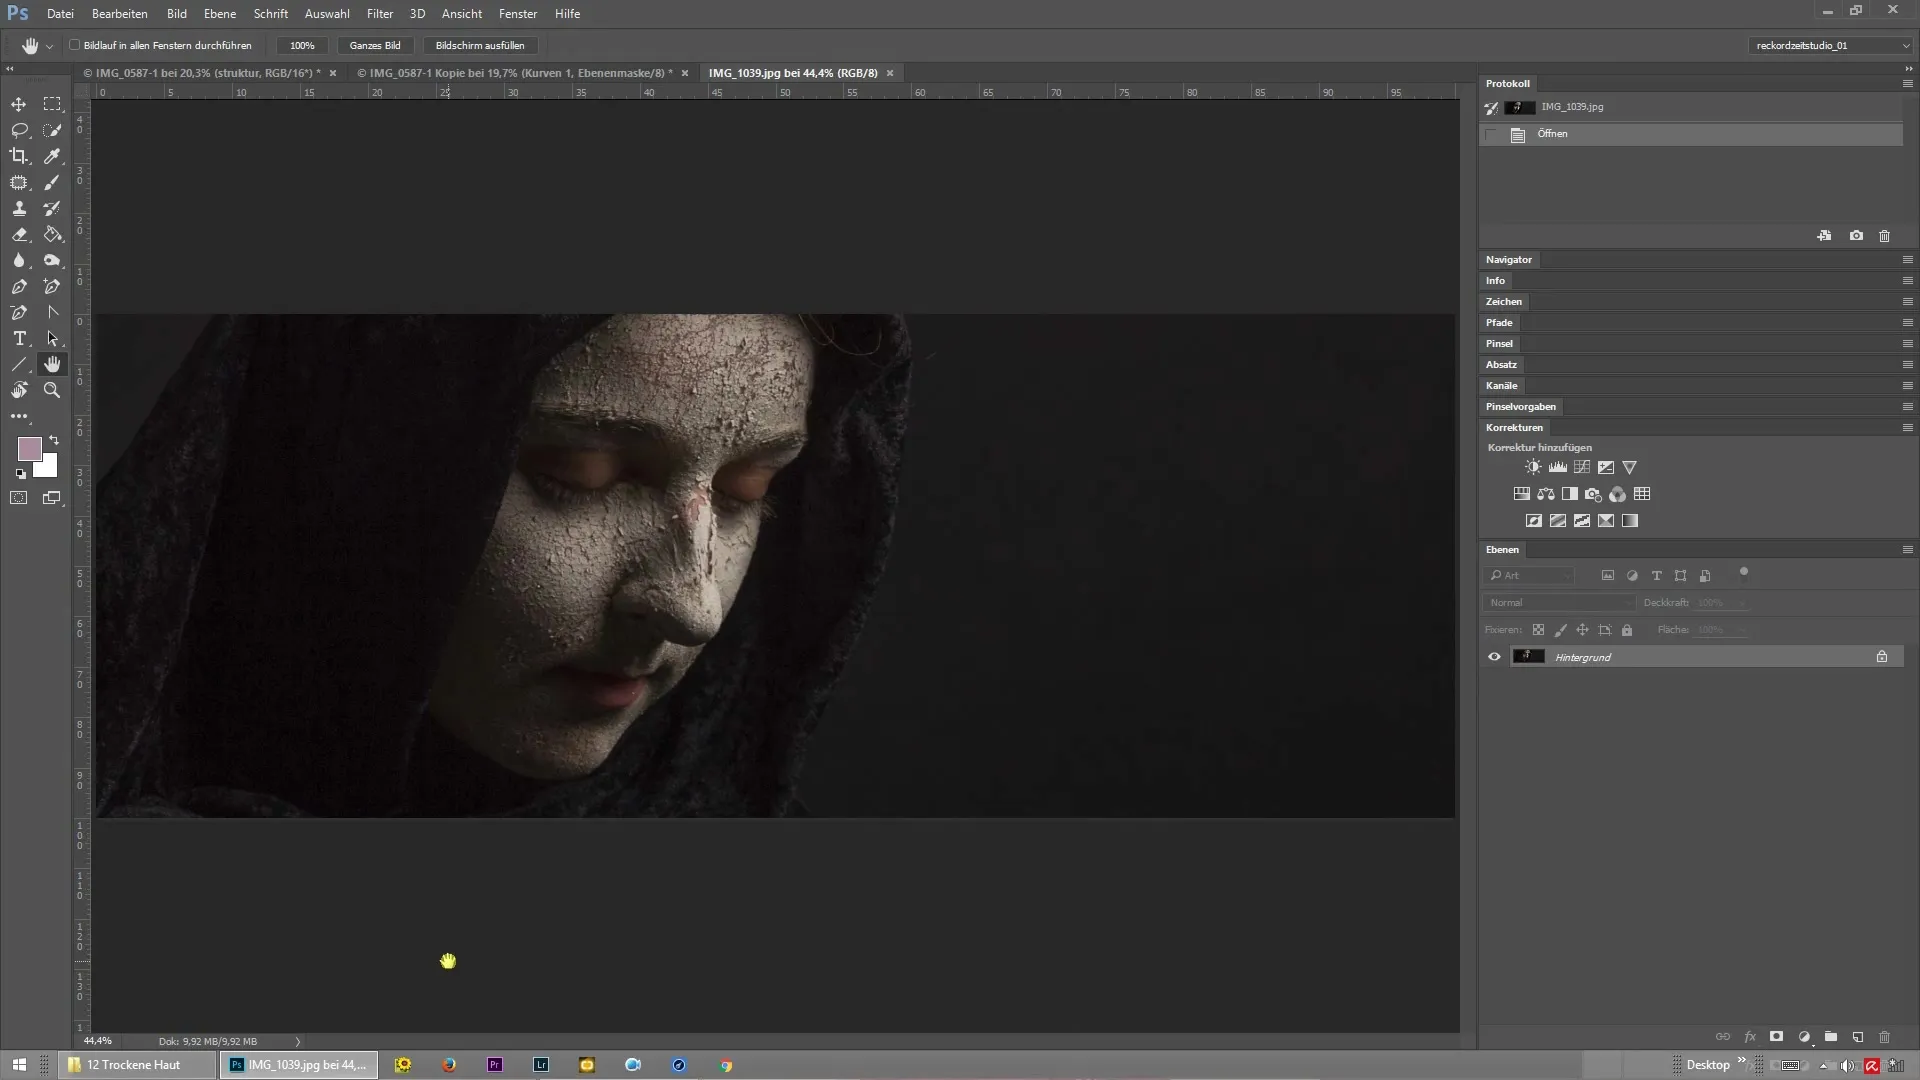
Then go to Filter > Blur Filters > Gaussian Blur to isolate the high frequency. The blur helps you smooth the fine details of the skin without losing the integrity of the image. Make sure to choose a value that doesn’t overly blur the texture.
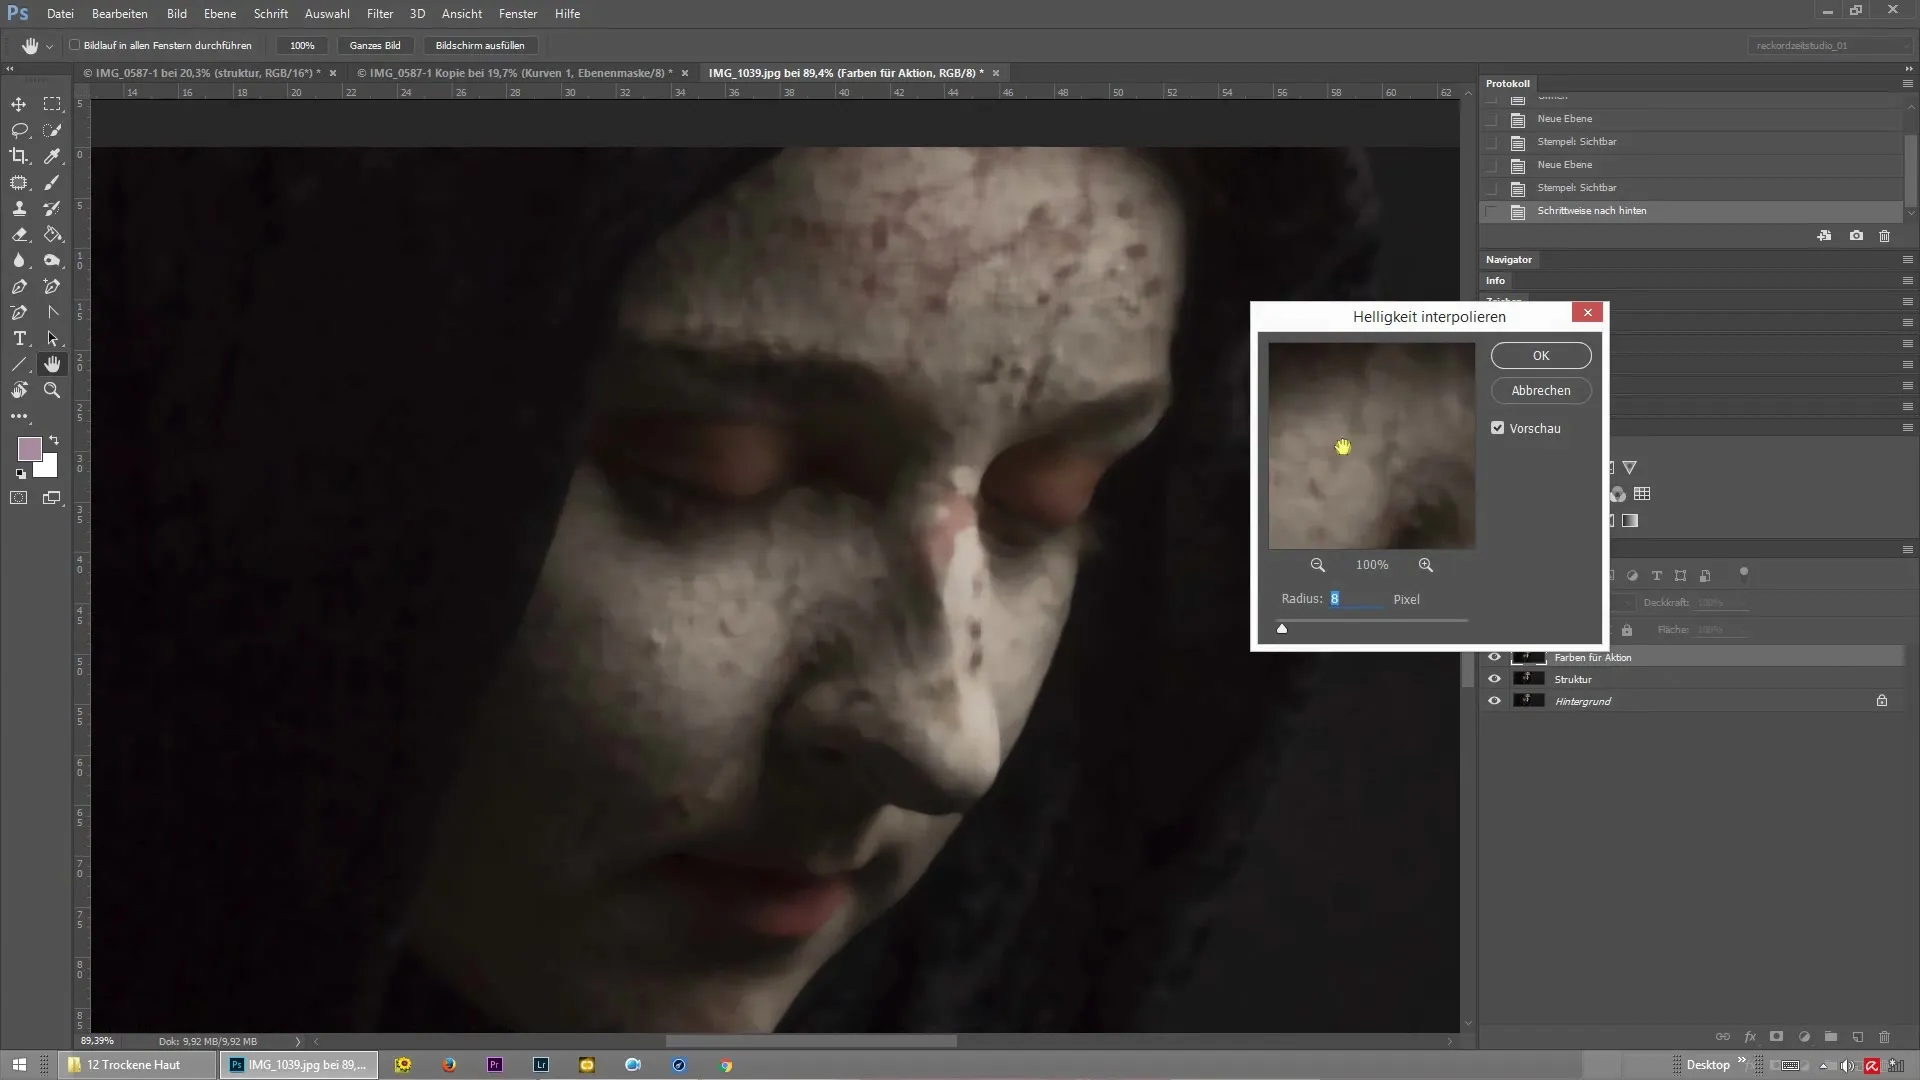
In the next step, confirm the changes and click "OK". Now you have isolated the high frequency. To edit the low frequencies, duplicate the background layer again and apply the blur. The goal is to separate the skin color and texture.
Now you can capture the skin texture to place it over the affected areas. Go to the new layer you created and select the brush tool. Set a soft edge with low opacity and flow. This way, the retouches merge gently into the original image.
For color correction, choose a suitable gray tone that matches Sonja's skin color well. Carefully paint over the areas you want to improve with the brush. Be sure to maintain the brightness values of the skin to achieve a natural result.
Once you have applied the color, it is advisable to take a look at the before-and-after result. You should be able to clearly see how the retouching has improved the dry skin change. Make sure that it is not noticeable that a retouching has taken place.
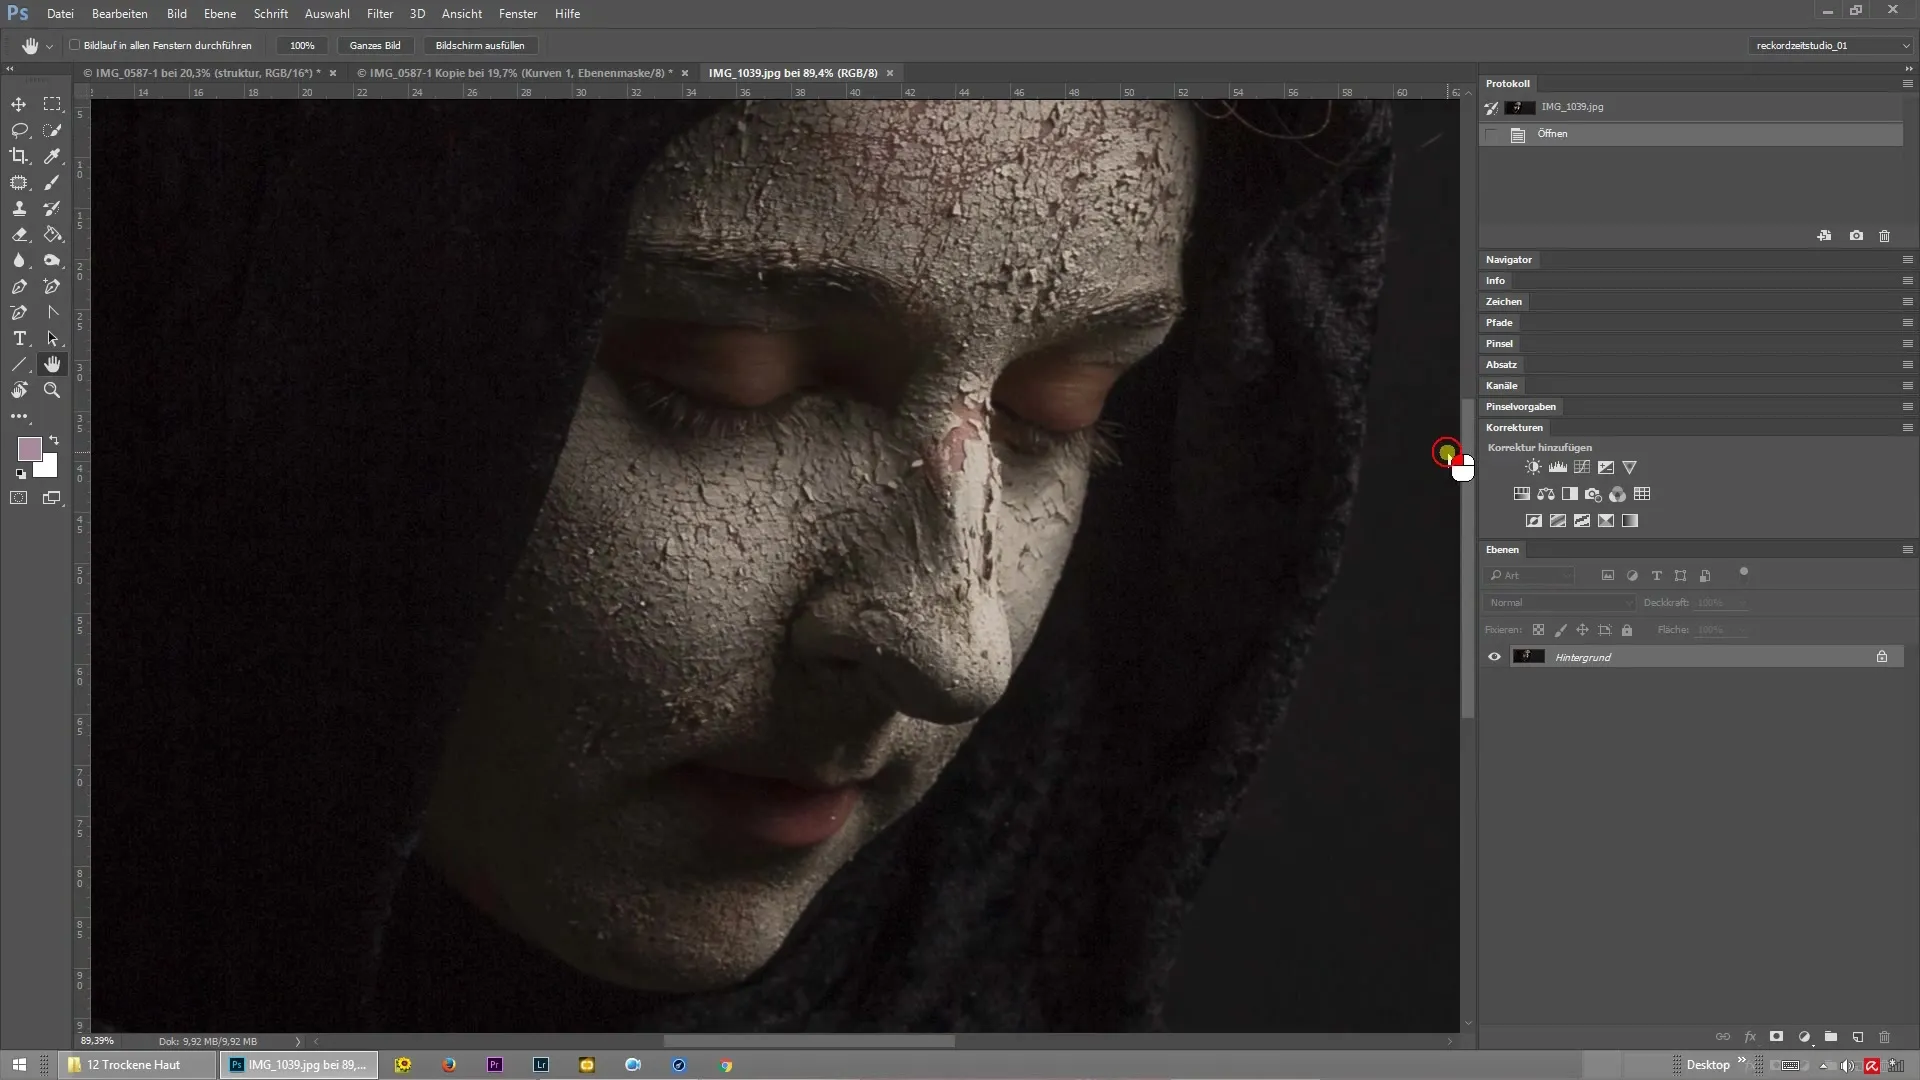
If you are satisfied with the result, you can apply the process to other areas of the image where the texture should be separated from the color. This method is excellent for improving the overall skin appearance and retouching minor flaws.
Summary – Frequency separation for dry skin in Photoshop
With frequency separation, you get a useful tool to carry out skin retouching as simply and efficiently as possible. By separately editing texture and color, you achieve a professional result that is worth showing off. Utilize the possibilities that Photoshop offers you to take your photographs to the next level.
Frequently Asked Questions
How do I use frequency separation in Photoshop?Frequency separation is accomplished by creating two layers: one for texture and one for color.
When is frequency separation useful?Frequency separation is particularly useful in skin retouching to address texture-related issues separately from color issues.
Can I retouch other areas using frequency separation?Yes, frequency separation can be used not only for skin retouching but also for other areas of the image where texture and color need to be separated.
How long does editing take with frequency separation?With a little practice, editing can be completed in just a few minutes.
Are there alternatives to frequency separation?Yes, other techniques like cloning or using healing brushes can also be used if frequency separation is not preferred.
