With frequency separation in Photoshop, you can effectively retouch skin blemishes like pimples and spots while preserving the texture of the skin. This maintains the natural appearance of the face, resulting in a professional look. This tutorial shows you step by step how to apply frequency separation in practice to perfect the image of "Miss Wandelbar."
Key insights
- Frequency separation separates colors and structures.
- Use the stamp tool for precise retouching.
- Pay attention to the correct brush settings for optimal results.
- Keep the helper layer visible to better recognize structures.
Step-by-step guide
Step 1: Open and prepare the image
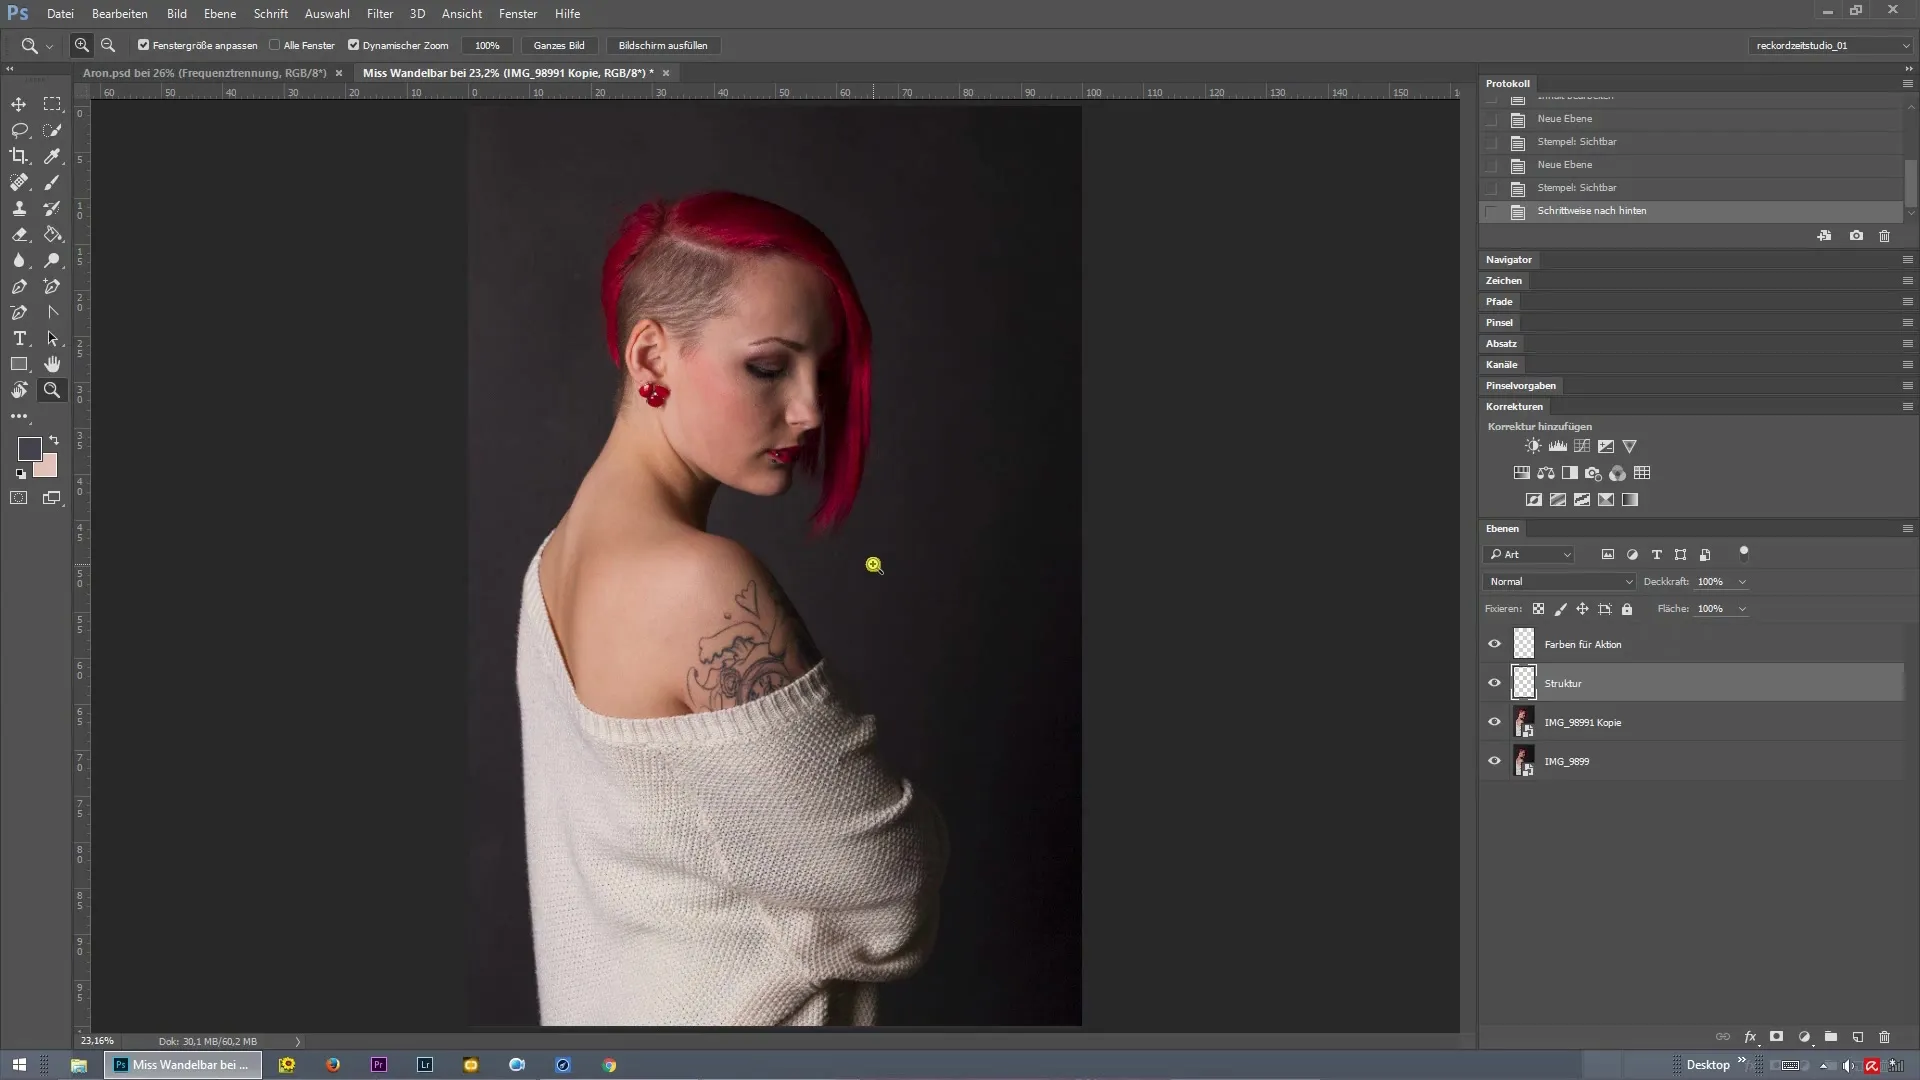
Open your image in Photoshop by loading a bit-depth file (8 Bit). This allows you to utilize many of the subsequent techniques, including frequency separation. With a simple keystroke, you can then play the previously saved action to make the workflow more efficient. Usually, the image window should be moved to one side so that you can access the tools more easily.
Step 2: Perform frequency separation
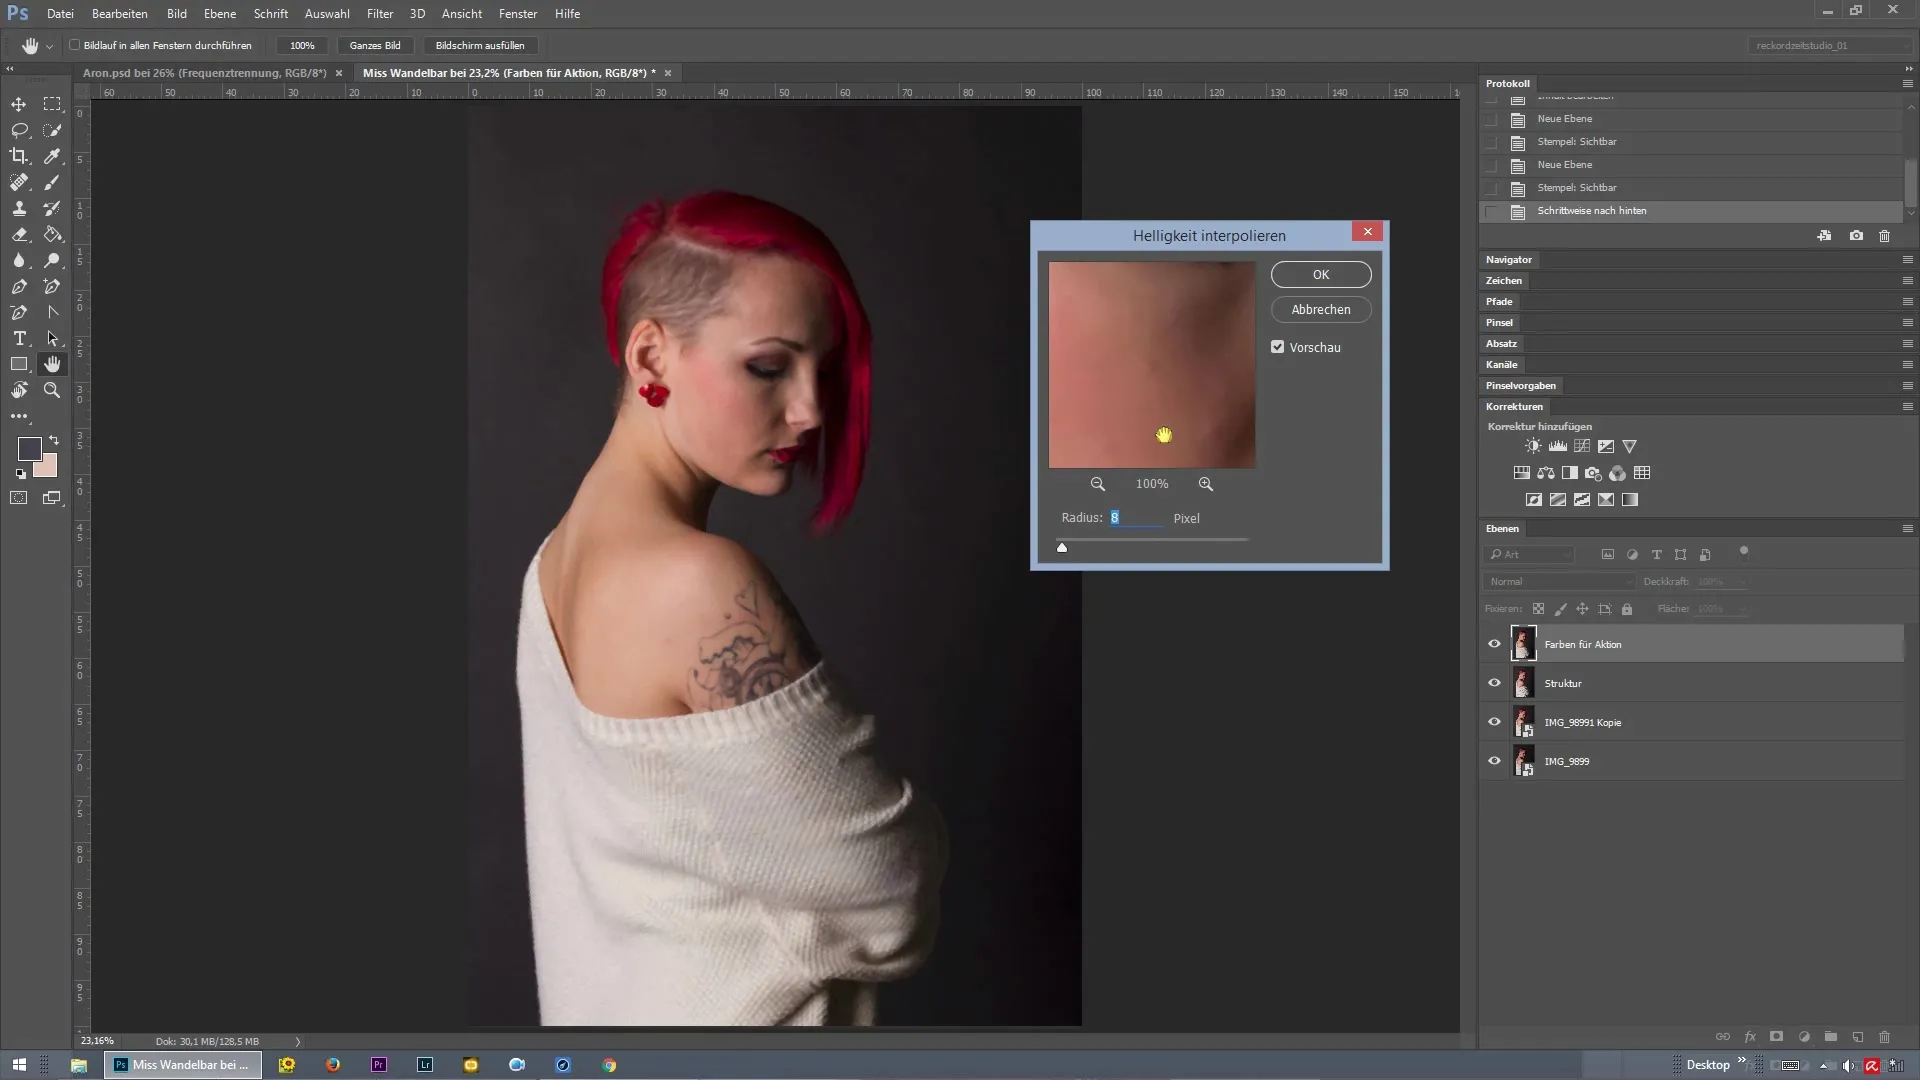
Select the appropriate value for frequency separation. This refers to the pixel size at which the structures remain visible while the colors are faded out. A value of four pixels might be too low; increase the value to a higher pixel count to ensure a clean and targeted separation. Confirm your selection with "OK."
Step 3: Activate the stamp tool
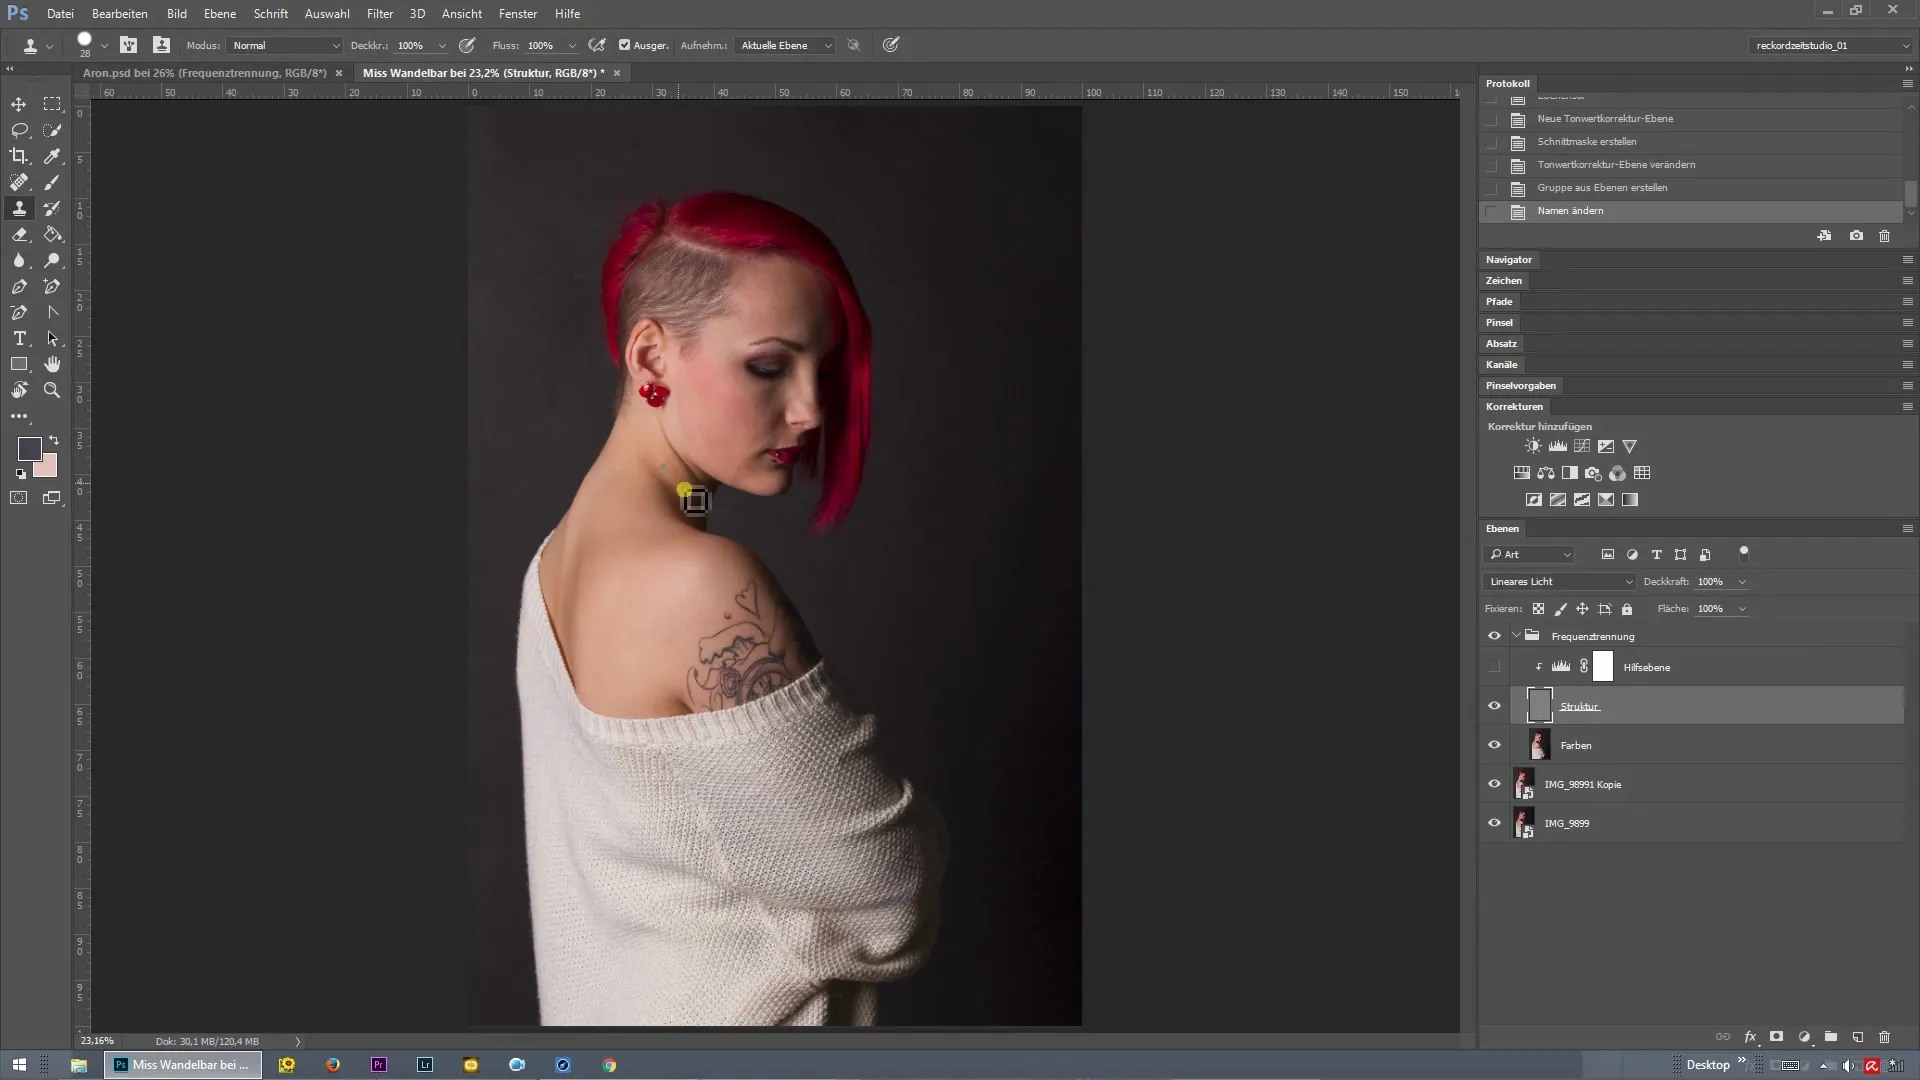
Activate the stamp tool to begin retouching the face. You can stamp clean skin structures from other areas of the face and apply them to the blemishes. Focus entirely on the structure and temporarily ignore the color values. This will make the result look more natural and less edited.
Step 4: Retouch skin blemishes
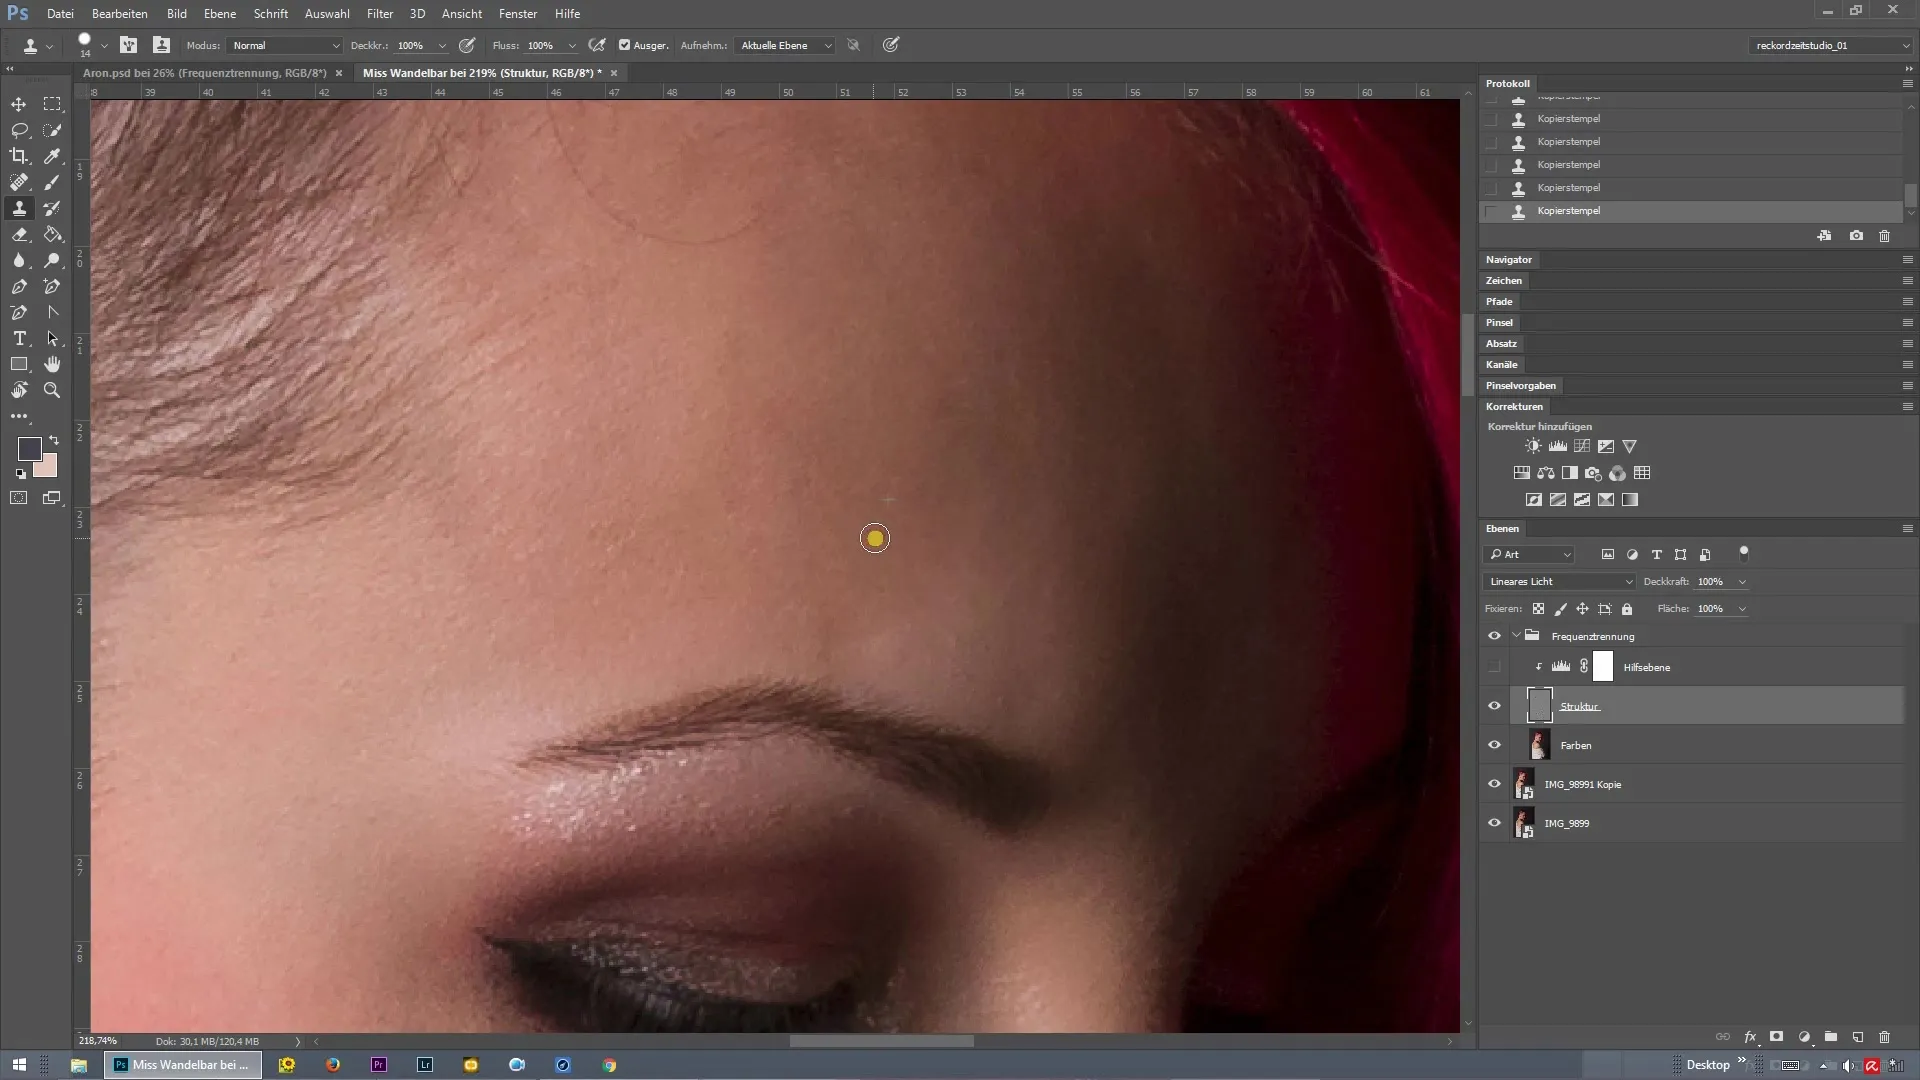
Now begin to correct the skin blemishes by stamping the clean structures over the problematic areas. Make sure to choose the right skin structure to achieve a harmonious surface. You can even edit the smallest details like protruding eyebrows or individual hair strands to perfect the look.
Step 5: Activate the helper layer
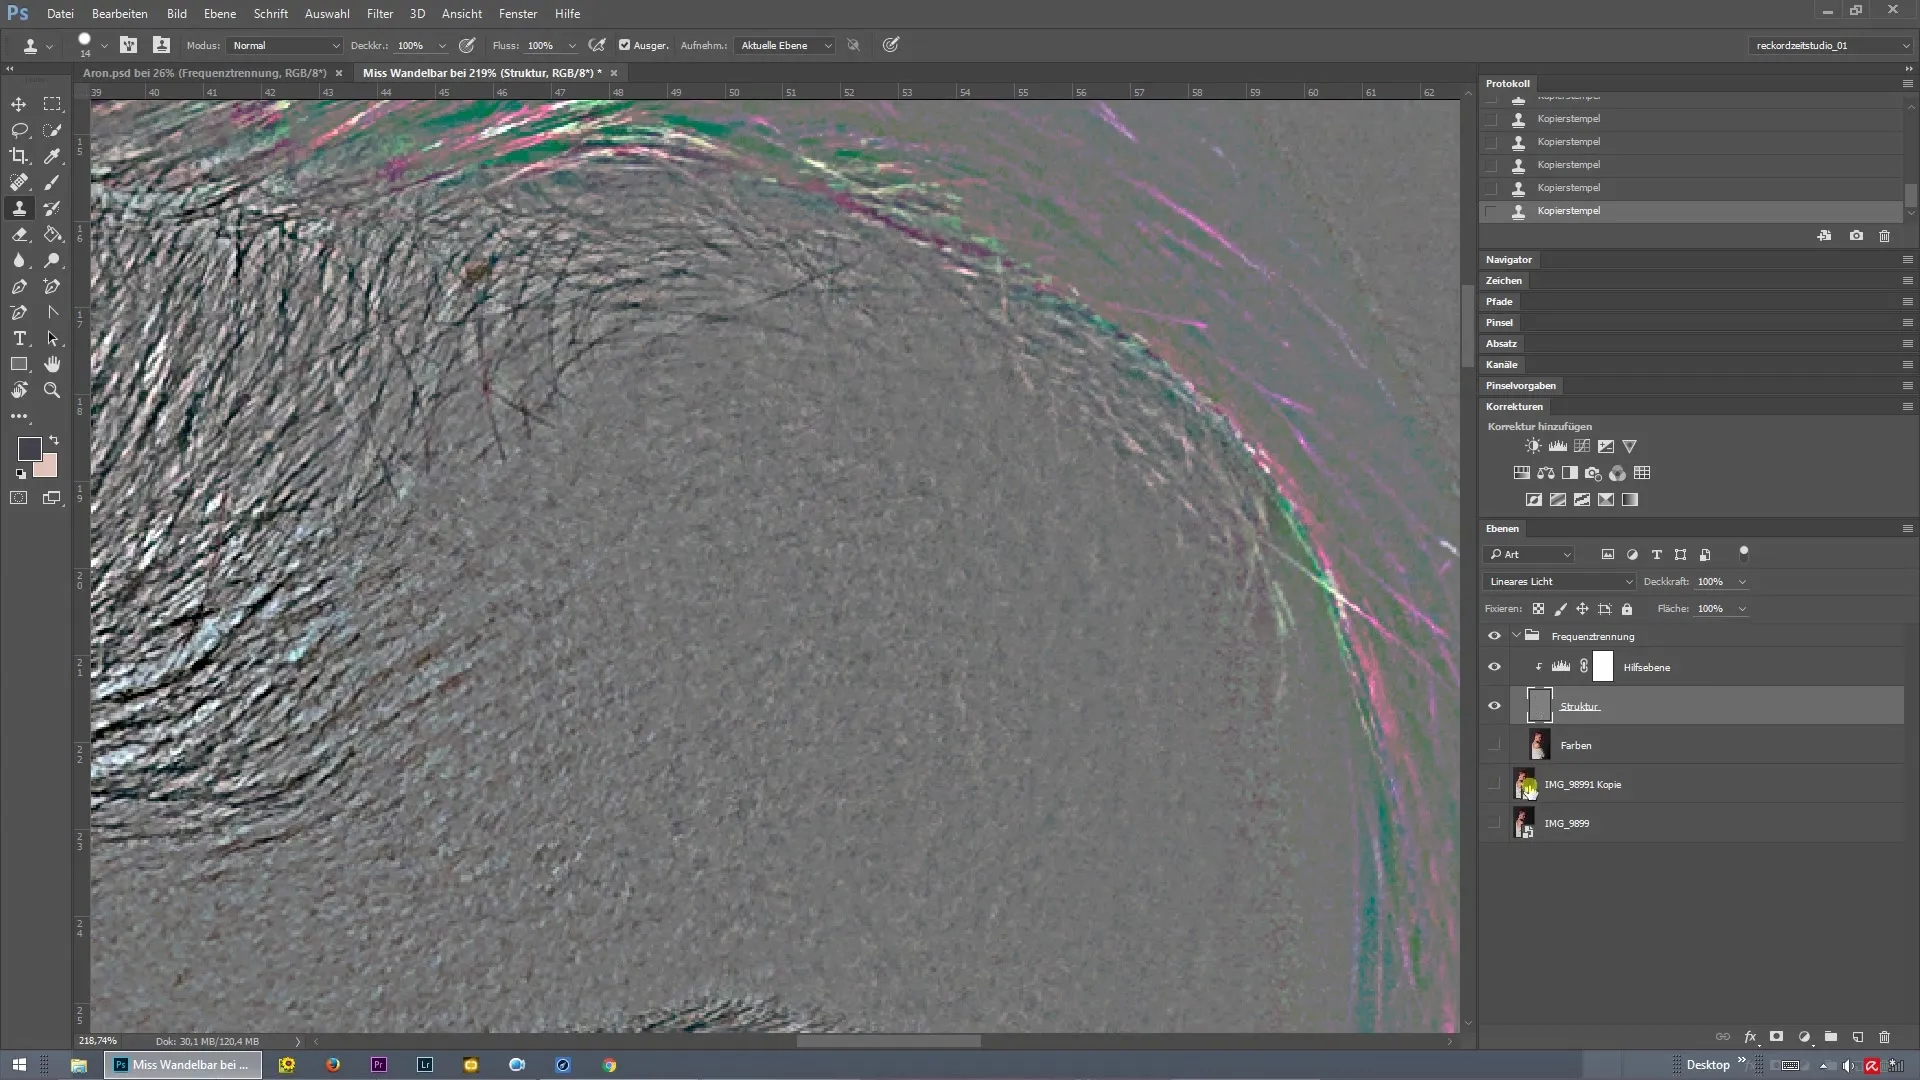
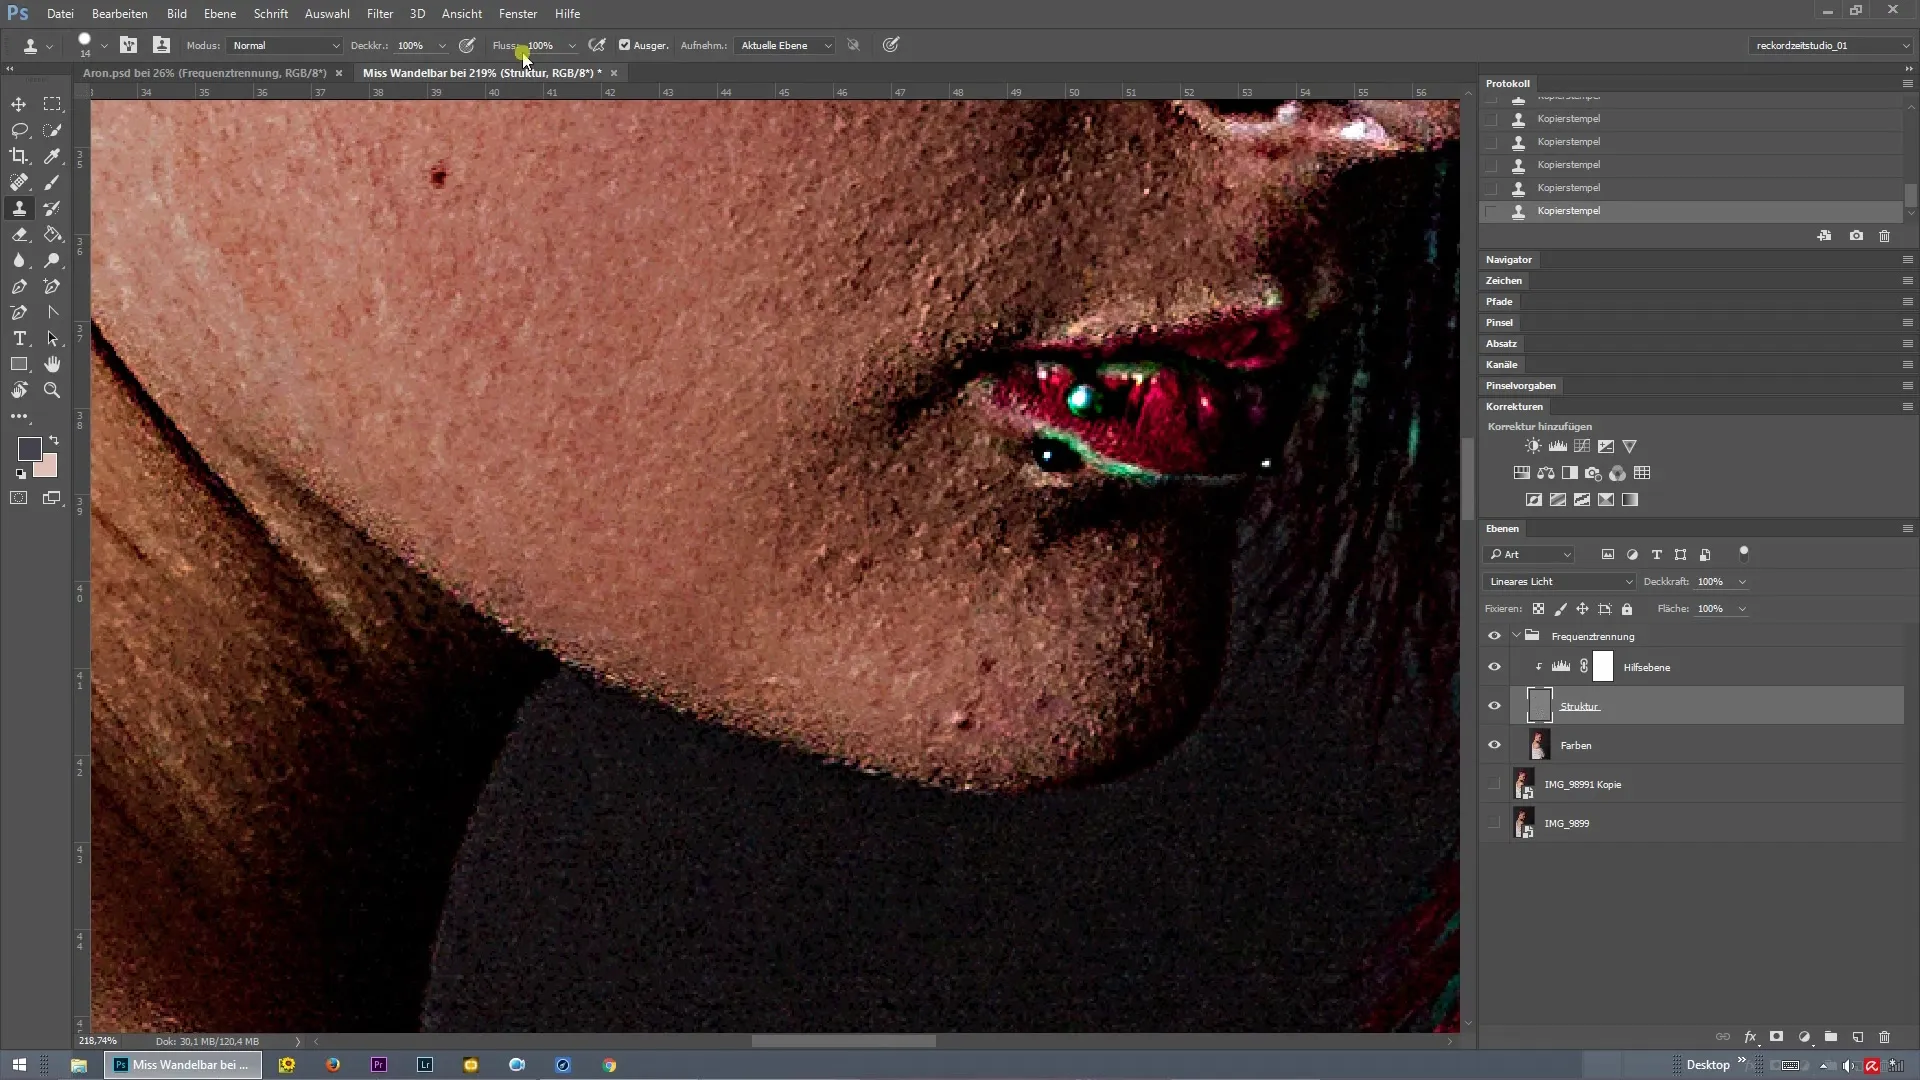
To have full control over the retouching, activate the helper layer. This will show you the structures more clearly while the color information is located in the lower layer. Hide the colored layers if they are distracting. This helps you focus on the texture of the skin.
Step 6: Final touches and brush settings
Finally, make smaller adjustments and be careful not to create double structures. Continue to toggle the helper layer on and off to check if the effect is balanced. Ensure that the brush settings for the stamp tool are optimal: 100% opacity and 100% flow. Set the brush hardness to 100% so that you do not stamp unwanted color edges.
Step 7: Final check
Check your image to ensure that all blemishes have been addressed. Go systematically through the entire face to make sure no detail has been overlooked. Don't forget to pay attention to the nose and around the ears. The image should now exhibit a perfect retouch with a naturally appearing skin texture.
Step 8: Completion
If you are satisfied with the result, you can save the image and apply your technical skills to future retouching projects. If you are interested in further tutorials, you will have the opportunity in the next lesson to edit the structure of shoulders and clothing while continuing to apply frequency separation.
Summary – Frequency separation in Photoshop: Easy skin retouching
In this comprehensive guide, you have learned how to effectively apply frequency separation in Photoshop to retouch skin blemishes while preserving the structure of the face. With the right tools and techniques, you can achieve professional results that give your images the finishing touch.
Frequently Asked Questions
How does frequency separation work in Photoshop?Frequency separation separates the color information from the structures in an image so that you can work on both selectively.
Do I need special tools for frequency separation?No, the stamp tool and helper layers are sufficient to achieve effective results.
How do I find the right settings for frequency separation?A value between 5 and 10 pixels usually works well, depending on the resolution of your image.
Could frequency separation affect image quality?No, if applied correctly, the image quality remains high.
How can I check the results of frequency separation?Use helper layers and toggle color and structure information on and off to get accurate feedback.


