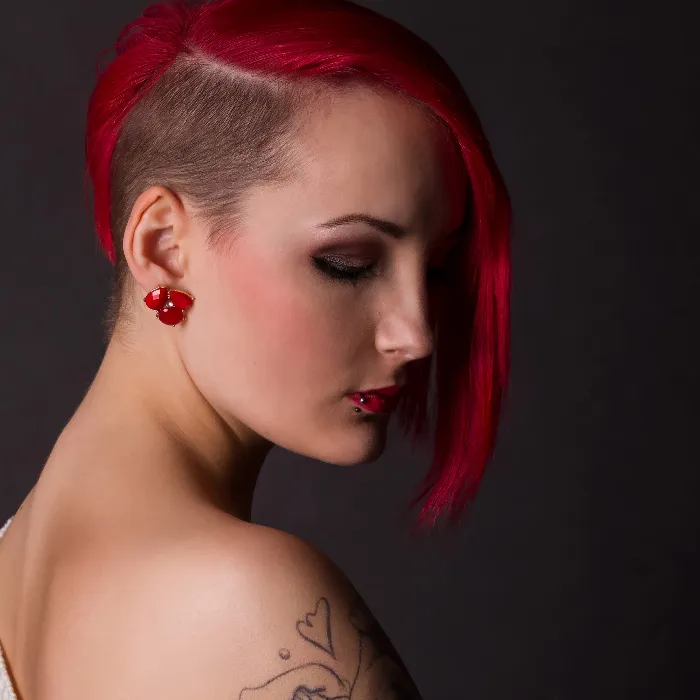
The targeted editing of hair can make a decisive difference in the world of photography. The goal is to give the image more depth and vibrancy. With the methods of frequency separation and the Dodge and Burn technique, you have the opportunity to impressively highlight hair texture and light reflections. This guide will take you by the hand and show you how to effectively edit your images in Photoshop to achieve a more three-dimensional representation of hair.
Key insights
- Use of curves for targeted brightening and darkening.
- Application of the Dodge and Burn technique to enhance image depth.
- Step-by-step instructions for creating and managing layers for optimal results.
Step-by-step guide
1. Preparing the workspace in Photoshop
First, open your image in Photoshop. Make sure you have properly saved your image before you start editing. The precise process will help you thoroughly structure your baseline.
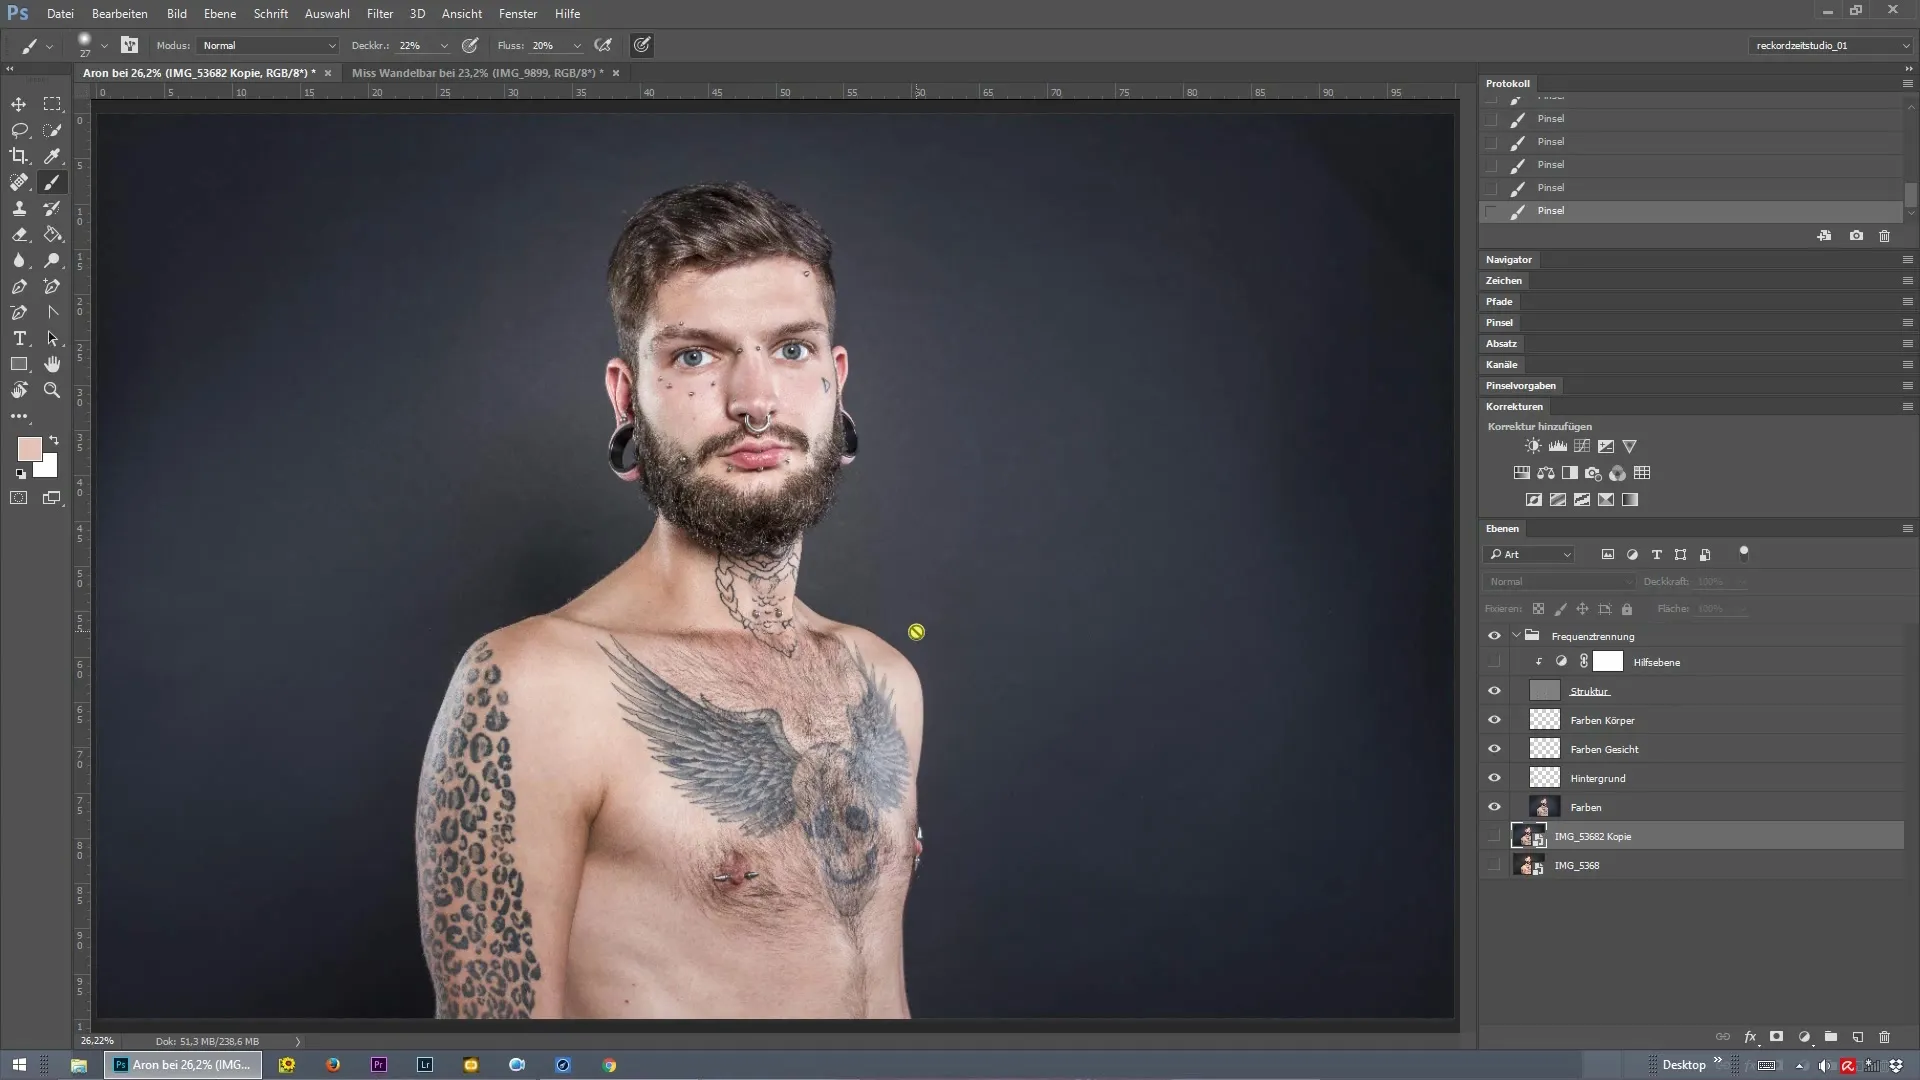
2. Applying the curves
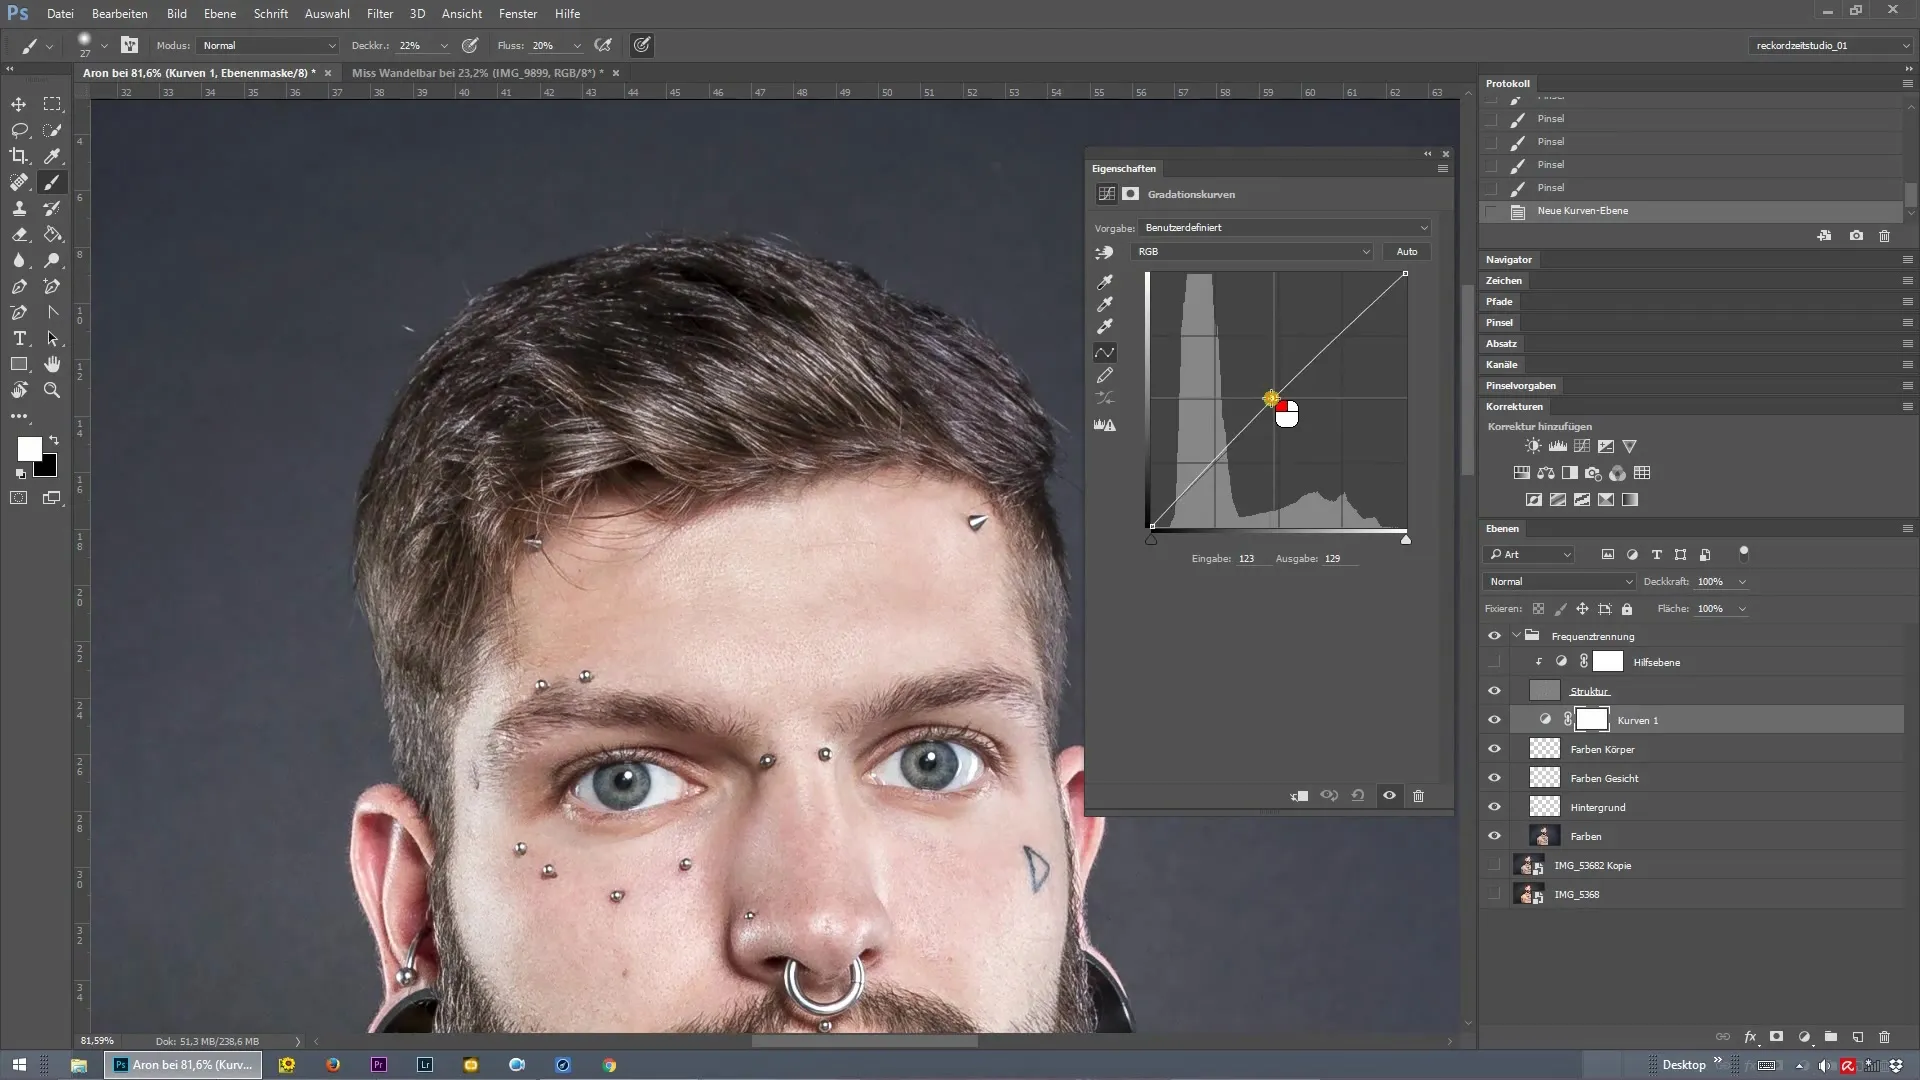
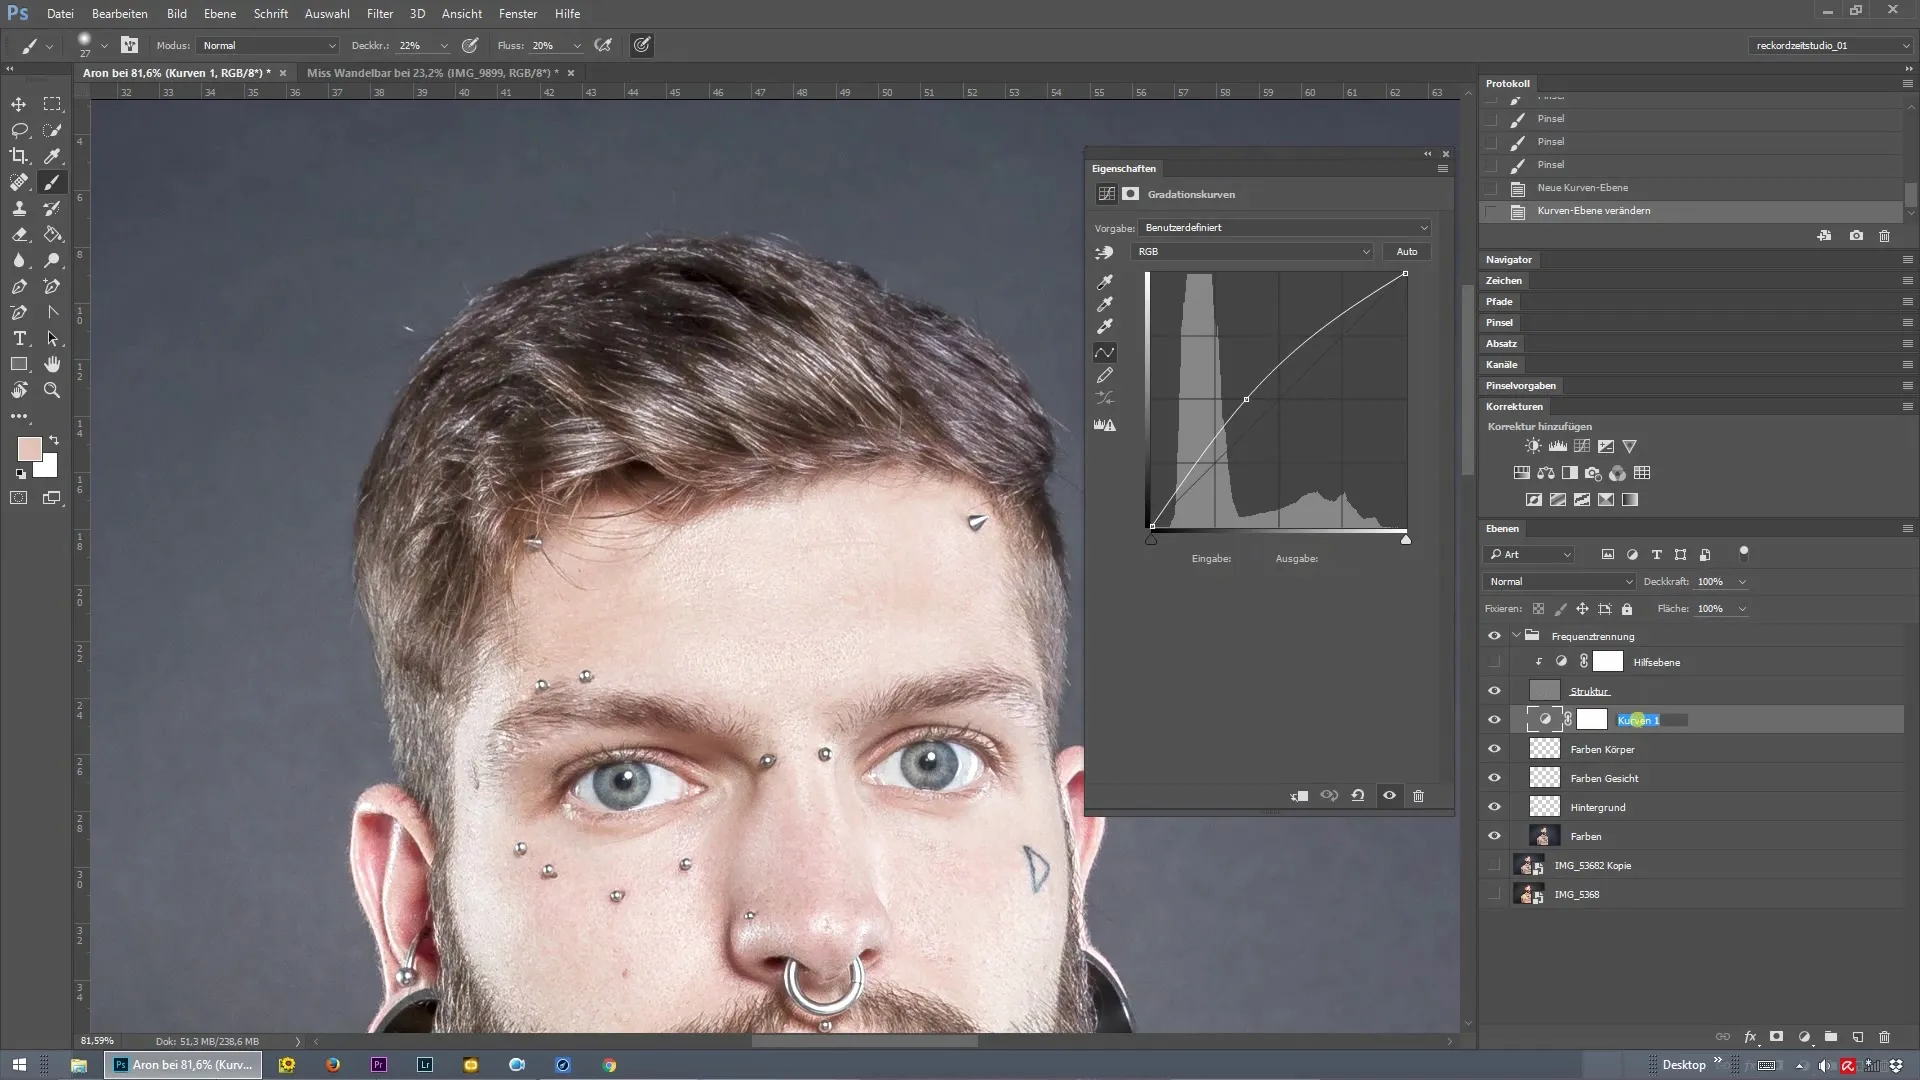
Start with the "Curves" function. Go to the "Layers" menu and select "New Adjustment Layer" and then "Curves." This method helps you control lighting conditions specifically in the desired areas.
3. Brightening bright spots
Now focus on the bright areas, as these can often be modulated more effectively. Select the midpoint on the curve and pull it to the right spot to make the desired bright areas look even more radiant.
4. Renaming the adjustment layer
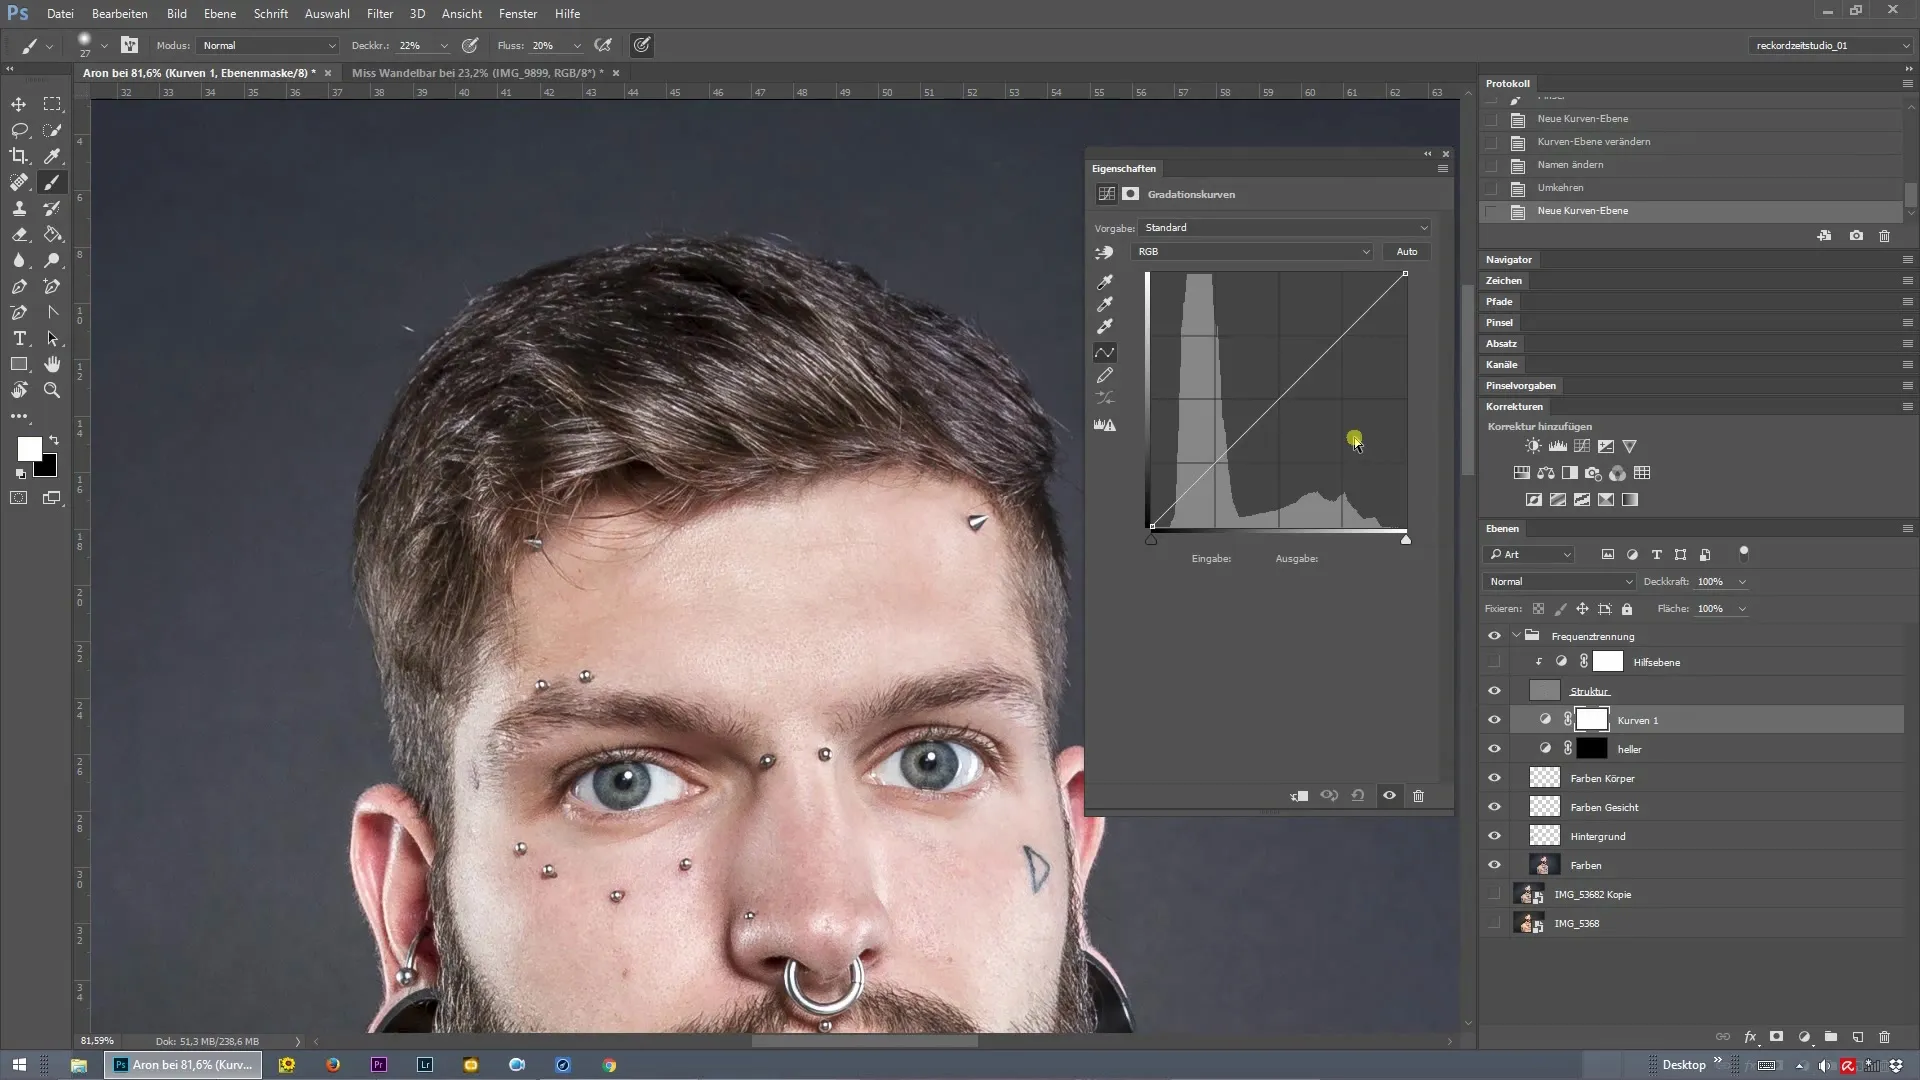
Don’t forget to rename your new curve. This will make navigation easier later. Just call it “Brighter.” Then invert the layer mask – press “Ctrl + I.”
5. Creating a dark adjustment layer
Now create another curve to highlight the darker parts of the image. Repeat the process and name this new layer “Darker.” Again, you need to invert the layer mask.
6. Selecting the brush tool
You now have two layers, but no visible changes yet. Select the brush tool. Make sure the opacity and flow are set low, and choose a soft edge for your brush.
7. Brighten bright spots
Start now by applying the brush to the bright areas. Use white foreground color on the bright layer to gently highlight the areas you want to brighten. This gives the image more depth and makes the hair look livelier.
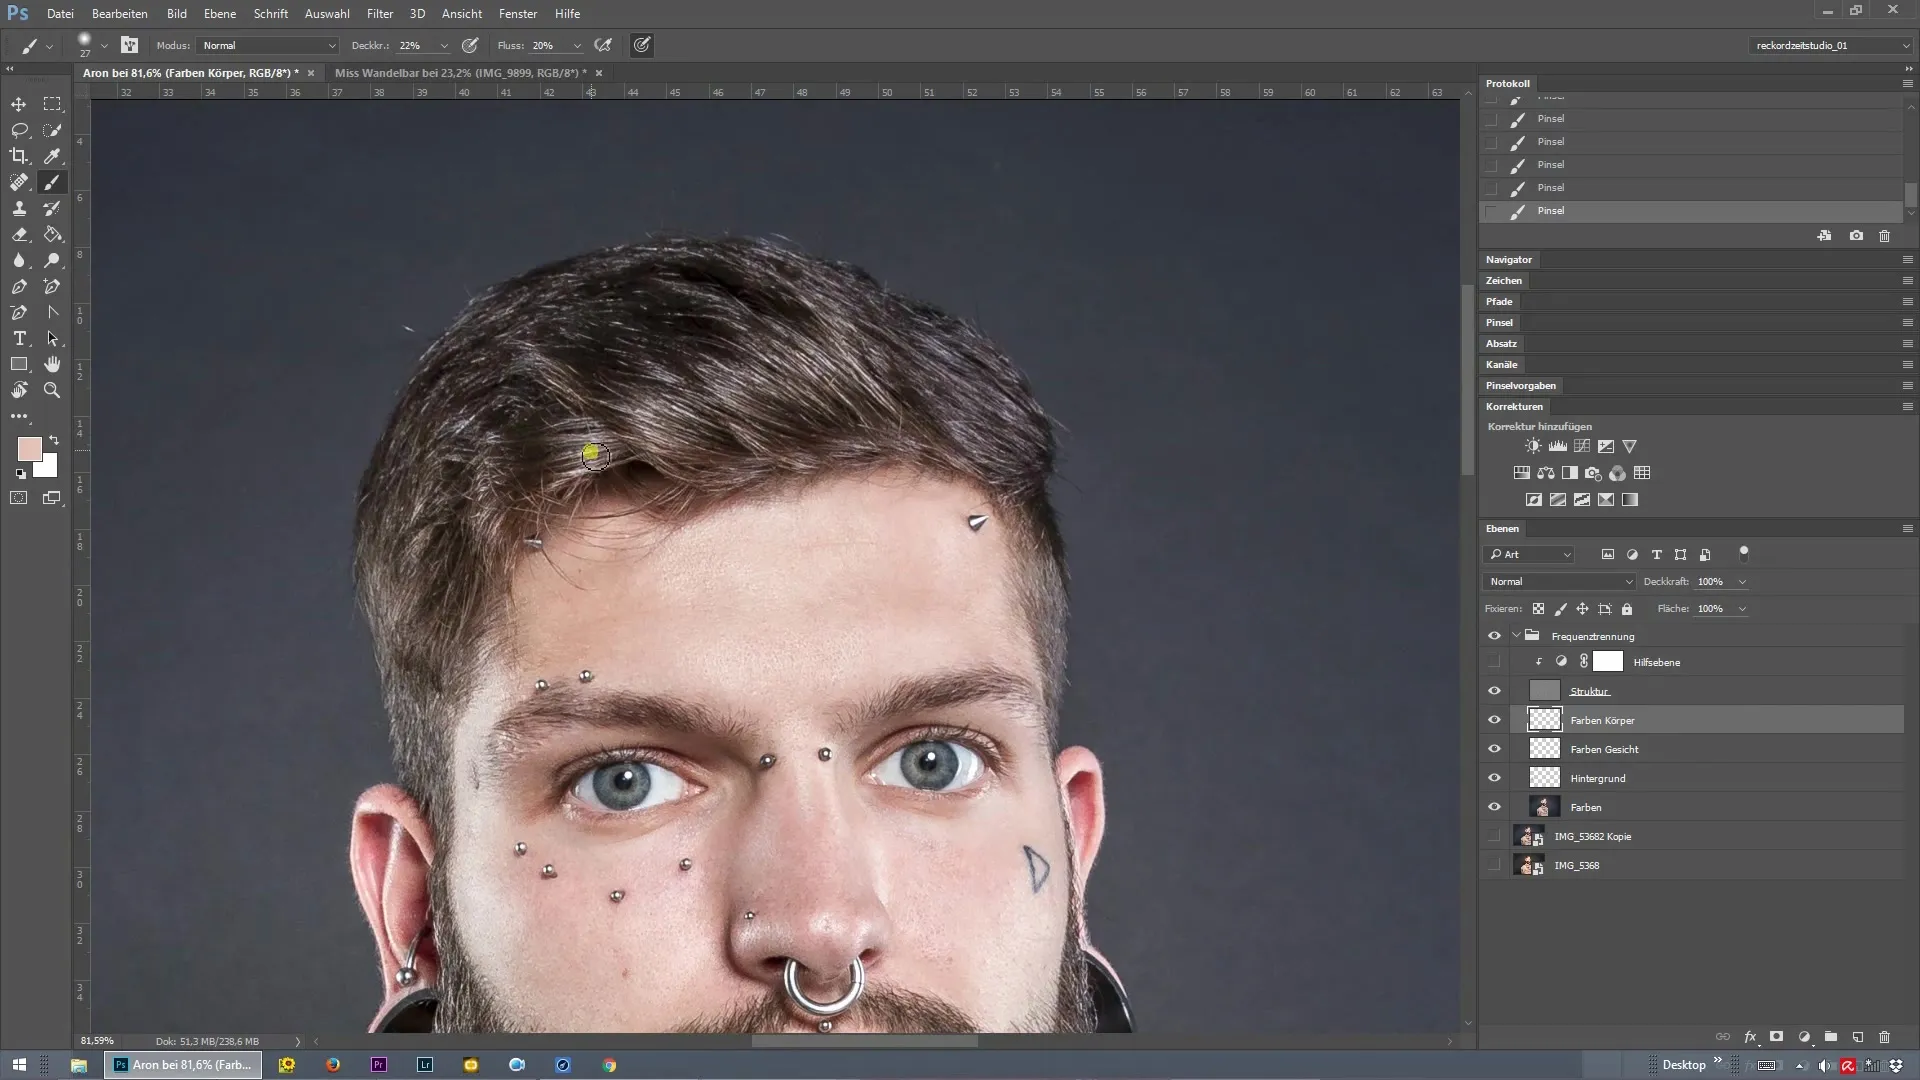
8. Darkening dark spots
Now you are ready to edit the dark spots. Use white foreground color on the dark mask again and accentuate the dark areas. This technique makes the entire composition look more impressive and three-dimensional.
9. Grouping the layers
To maintain clarity, group the layers you created for the Dodge and Burn technique. Select both layers and press “Ctrl + G” to save them in a group. Name the group “Dodge and Burn.”
10. Before-after comparison
You can now compare the original image with your edited version. Simply click the eye icon next to the group and observe how the changes take effect.
Summary – Frequency separation and Dodge and Burn: Effectively shaping hair
In this guide, you learned the basics of the Dodge and Burn technique in Photoshop, specifically applied to hair editing. By using curves for targeted brightening and darkening, you optimized your images. This precise methodology allows you to effectively showcase the hair structure.
Frequently Asked Questions
What is Dodge and Burn?Dodge and Burn is a technique to selectively lighten or darken specific areas of an image.
Why is frequency separation important?Frequency separation helps to edit textures and color differences in the image without losing quality.
Which tool is used for editing?The brush tool is used to apply targeted lighting and shadow effects to the selected layers.
