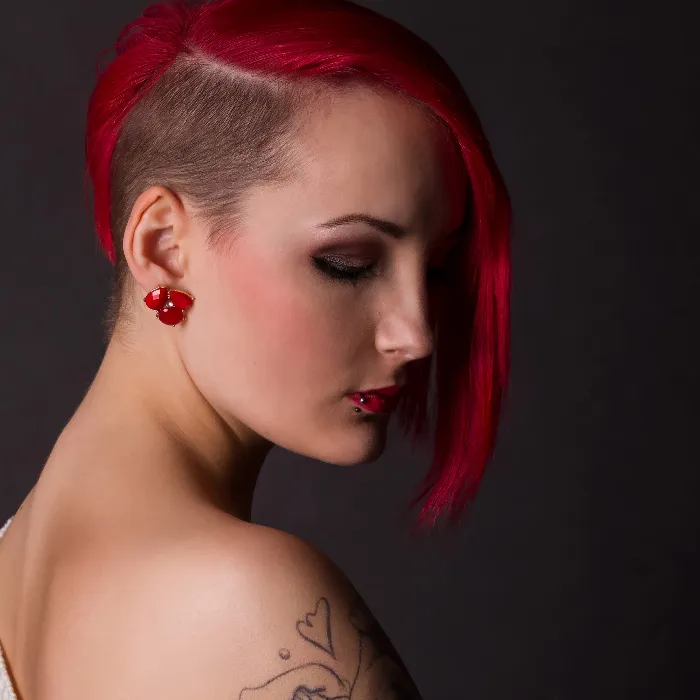
The retouching of images is an art in itself. It becomes particularly challenging when it comes to editing both the background and the hair of a model. In this tutorial, I will explain how to handle the intricacies of retouching using frequency separation in Photoshop. Let's go through the essential steps to make your images stand out even more.
Key Insights
- Pay attention not only to facial features but also to the background and the hair.
- Use helper layers to identify details like stray hairs and small items in the background.
- Use the stamp tool with a larger brush to effectively edit the image.
- Don't forget to correct the hair colors after editing.
Step-by-Step Guide
First, you should open the image in Photoshop and make sure you have created a copy of your working file. This will allow you to undo changes if something doesn't go as planned.
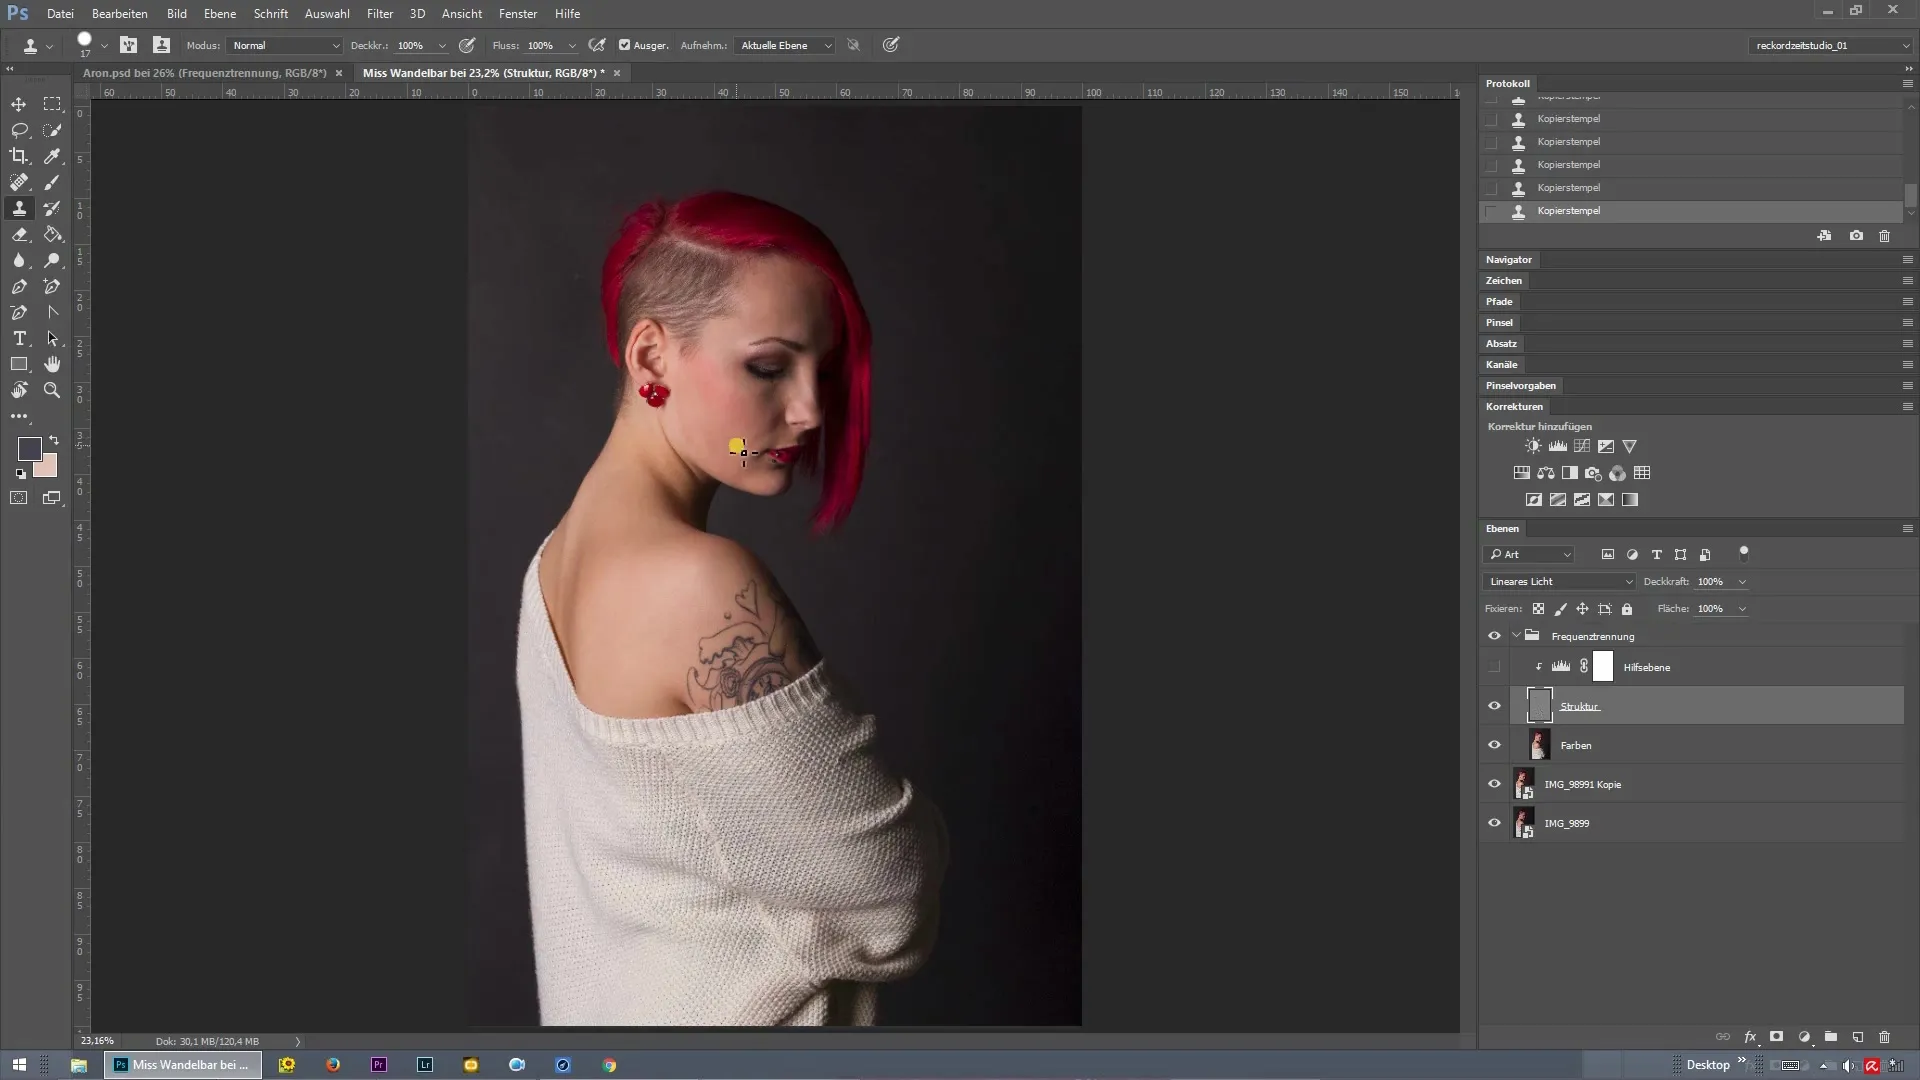
In the next step, you will find the helper layer that aids you in editing. This layer helps you see if the hair is sticking out or if there are unwanted elements in the background that don’t fit the image. Pay close attention to details that could impair the overall picture.
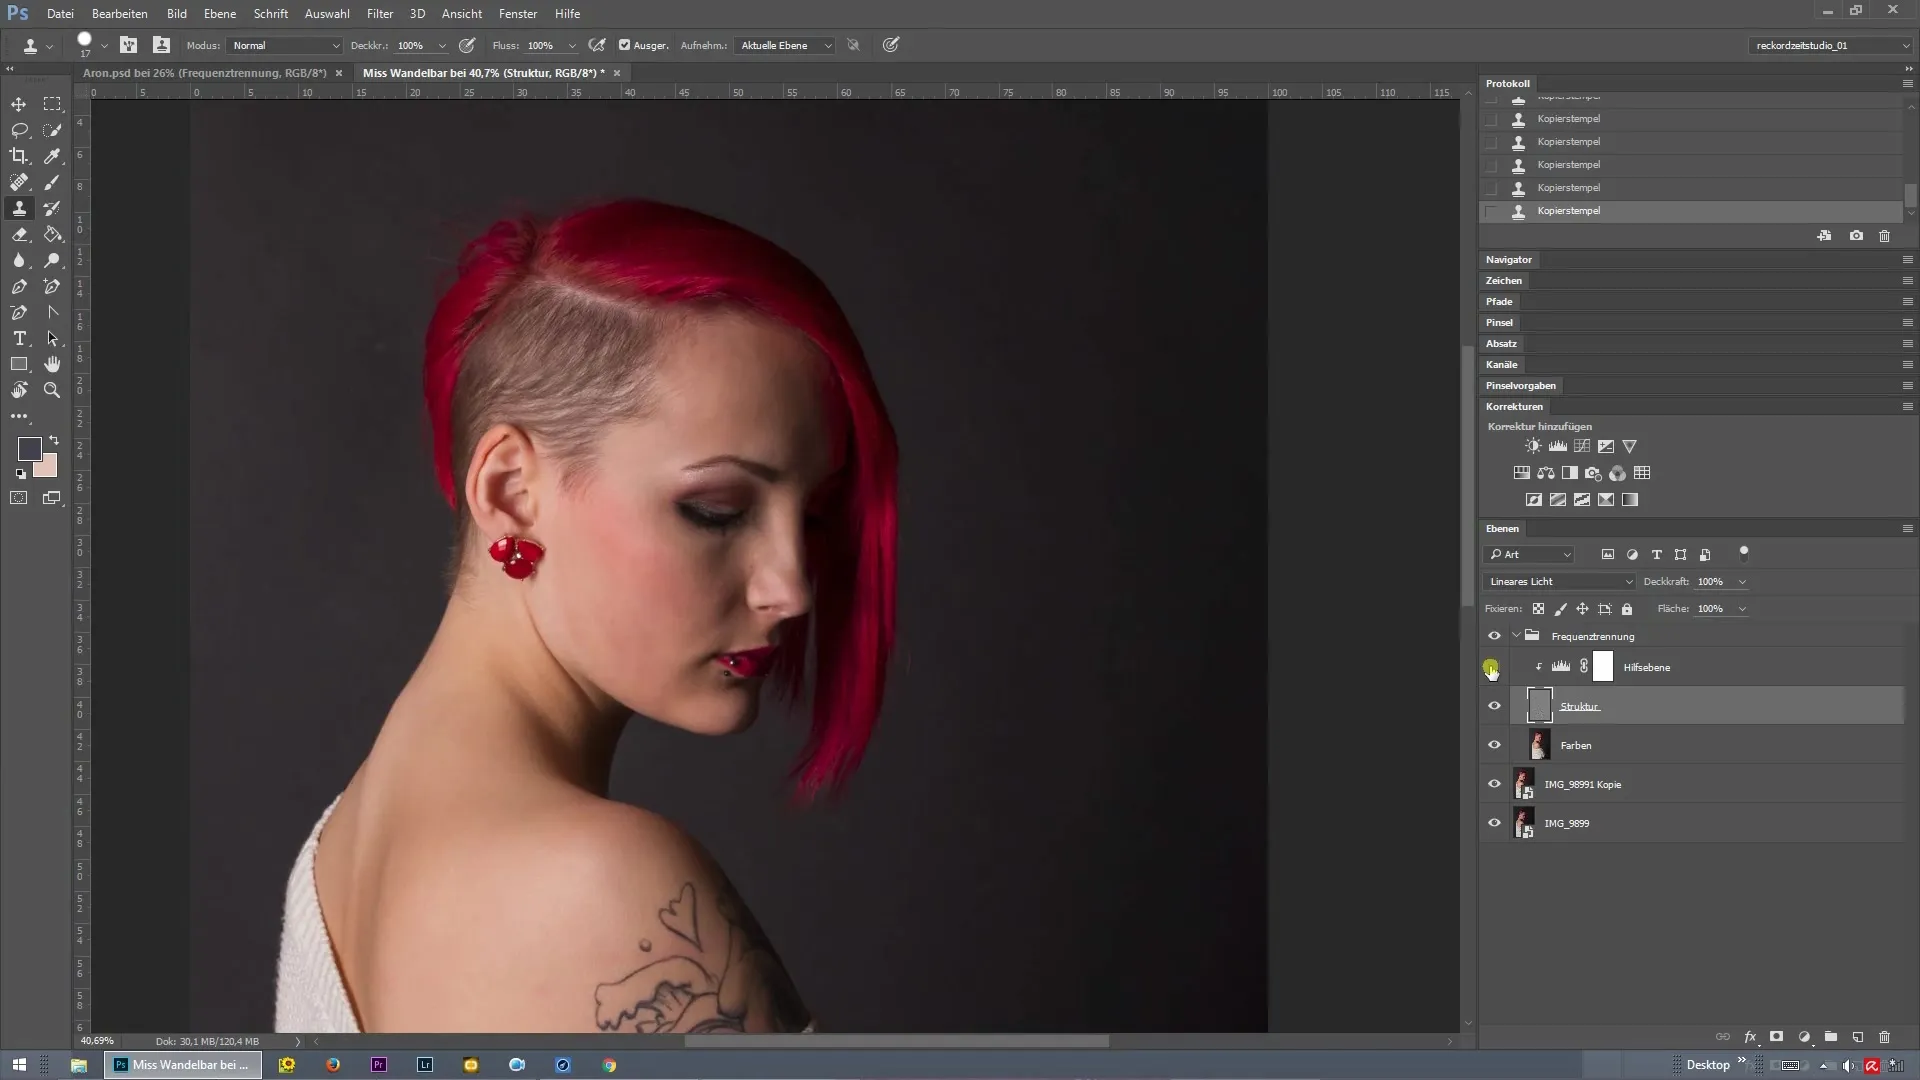
Now proceed to stamp out protruding hairs and distracting background structures. A larger brush is useful for ensuring a uniform texture. Work gradually so that the retouching looks seamless and leaves no artifacts.
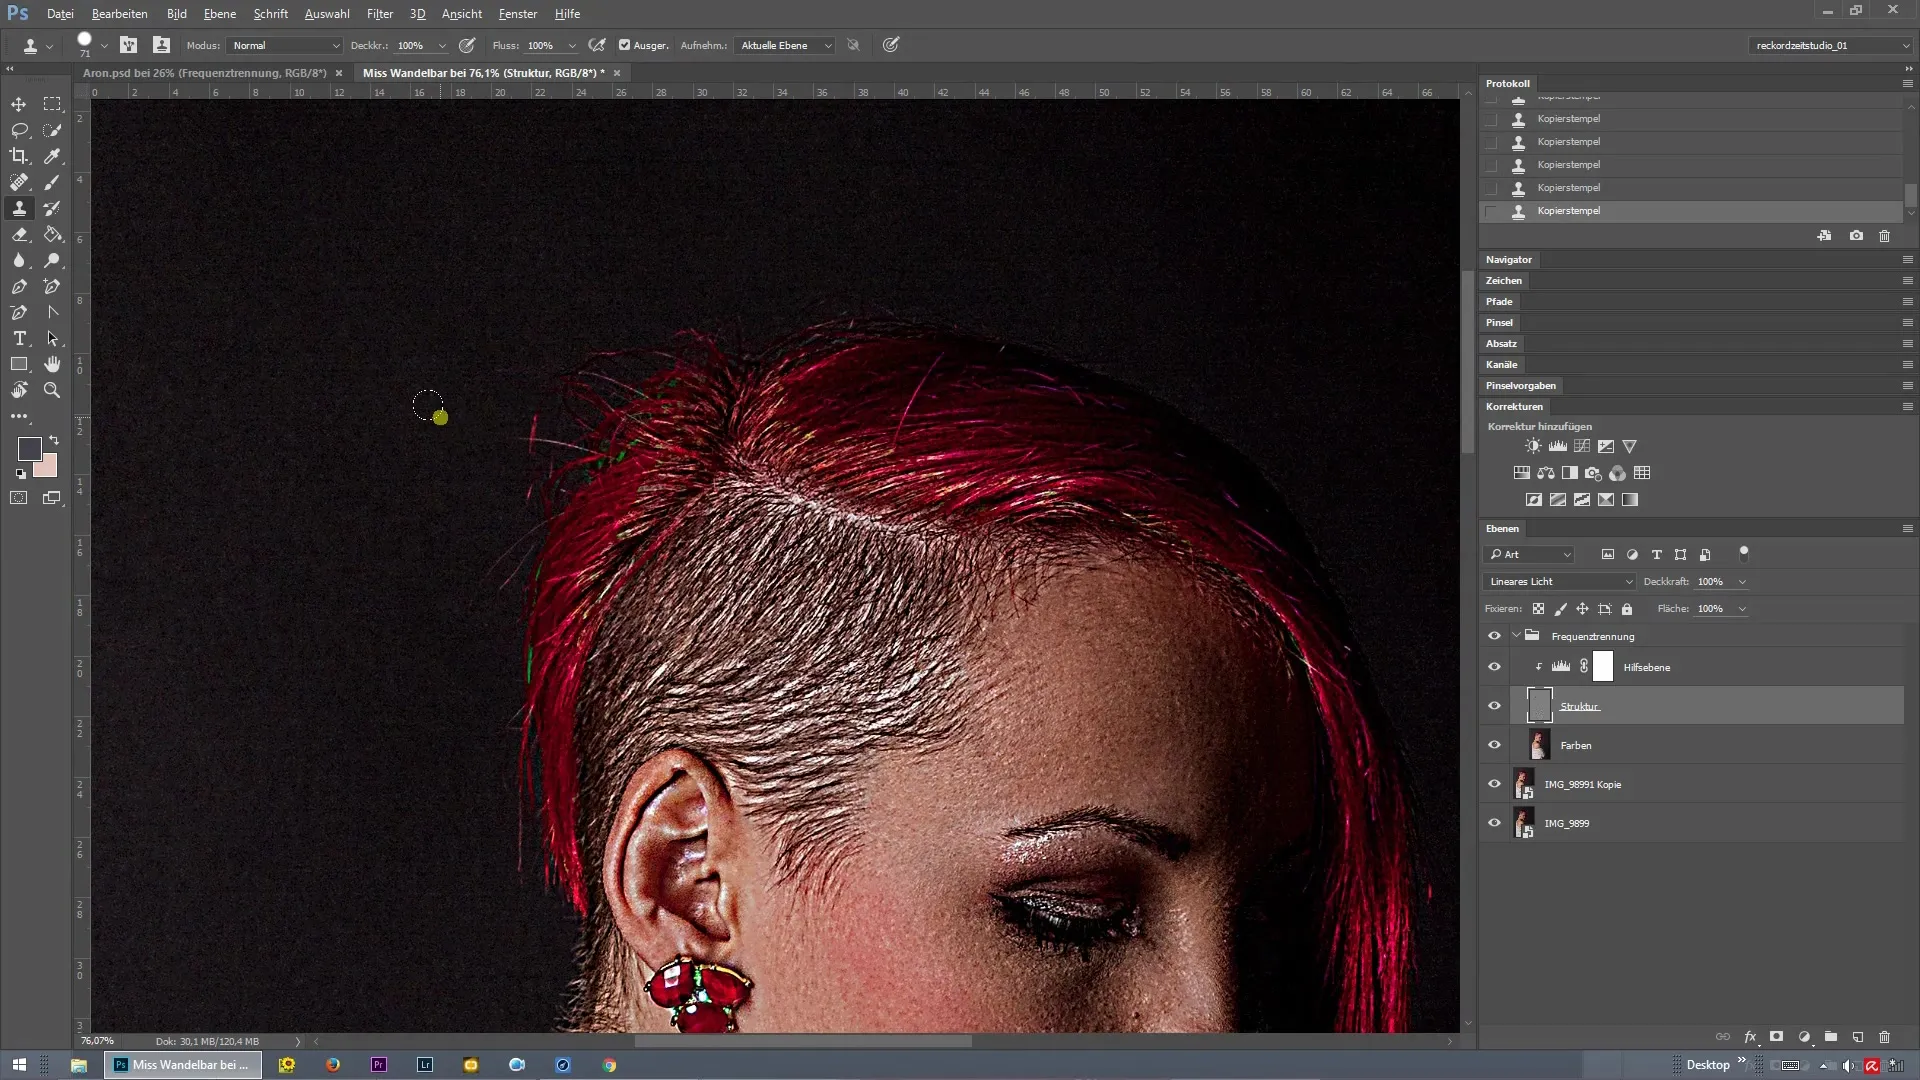
Make sure you don’t accidentally distort parts of the background in your editing. It's important to consider the structure of the background while editing the hair. Use the stamp tool to adjust the structures properly, so that the sticking out hairs can be shortened or removed without losing the context of the image.
Once you have successfully edited the protruding hairs, take a look at the color values. Often, there are areas that can result in unnatural colors due to adjustments. Therefore, you need to ensure that you also correct the hair color nuances after editing to achieve a harmonious overall picture.
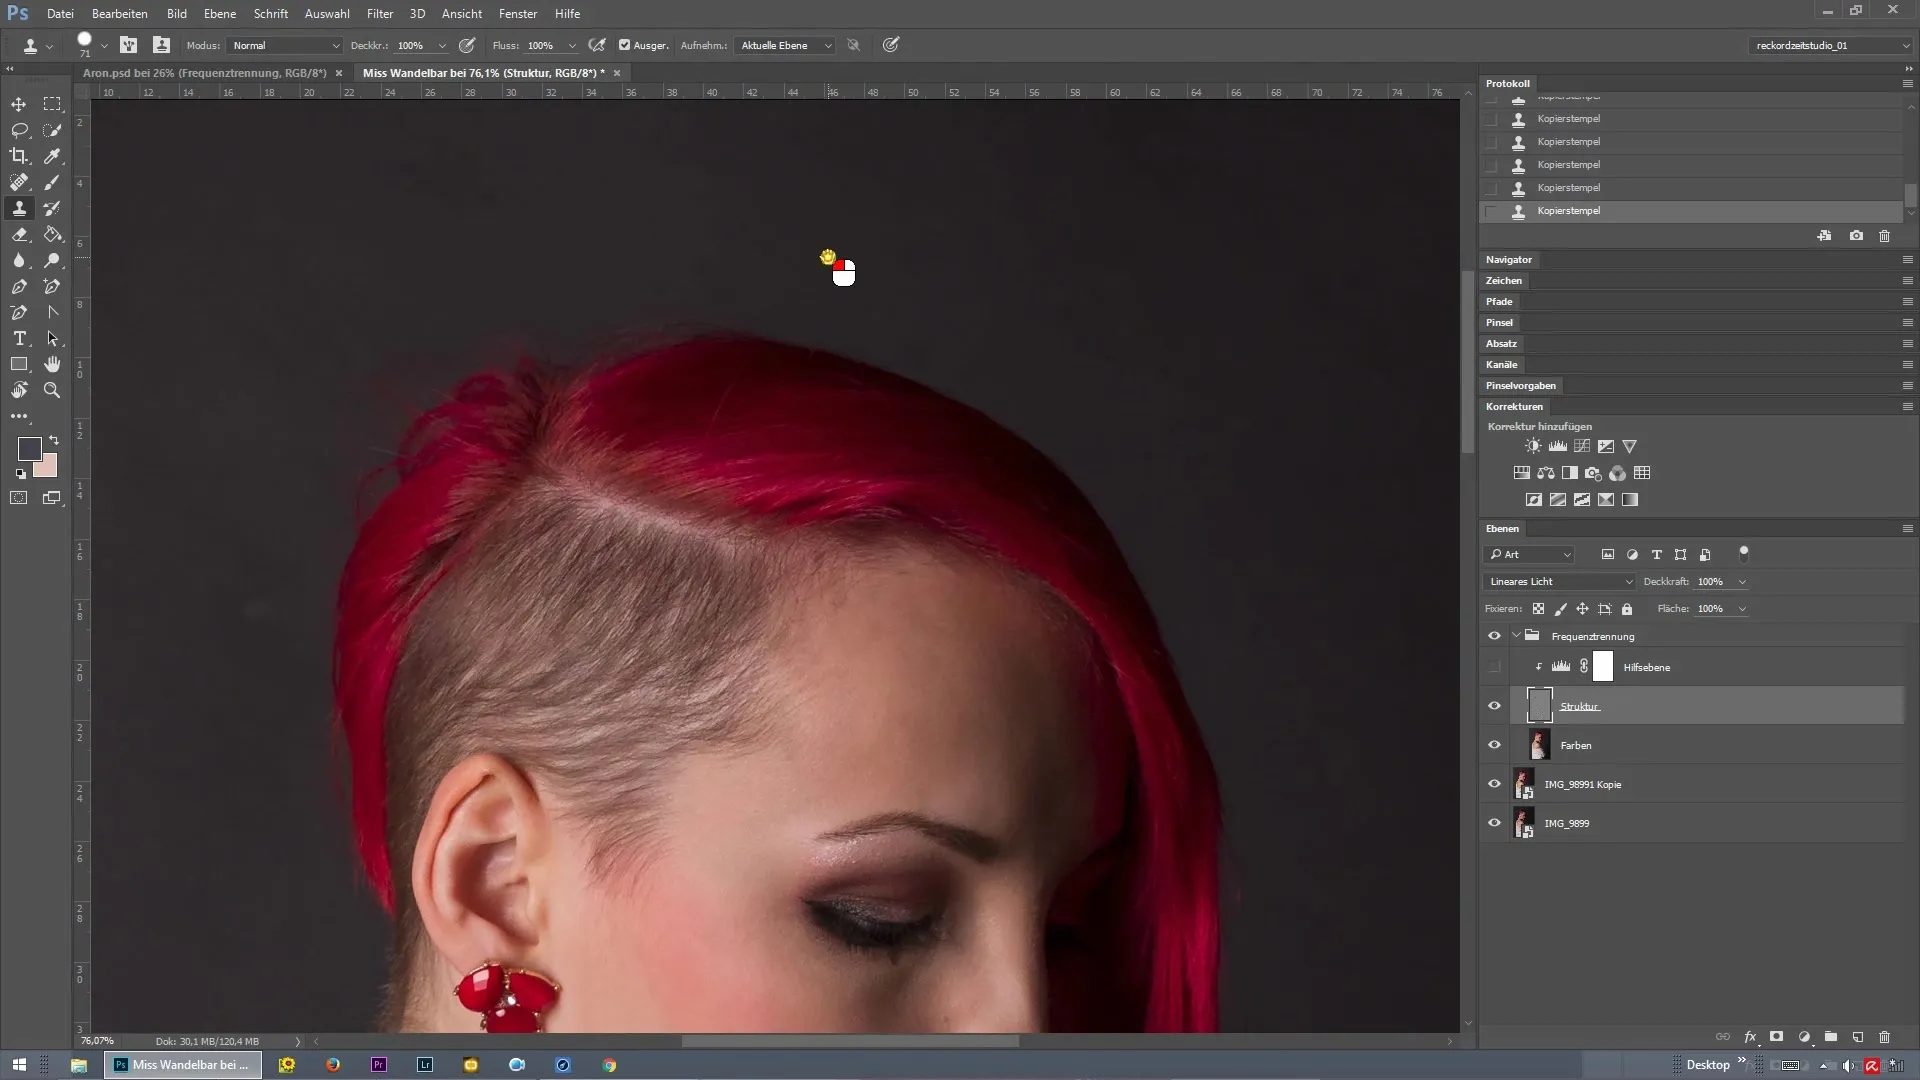
There are usually also small individual hairs that should be considered. These details can often be overlooked, but they make a significant difference in the final retouch. Make sure to edit these smaller elements appealingly as well.
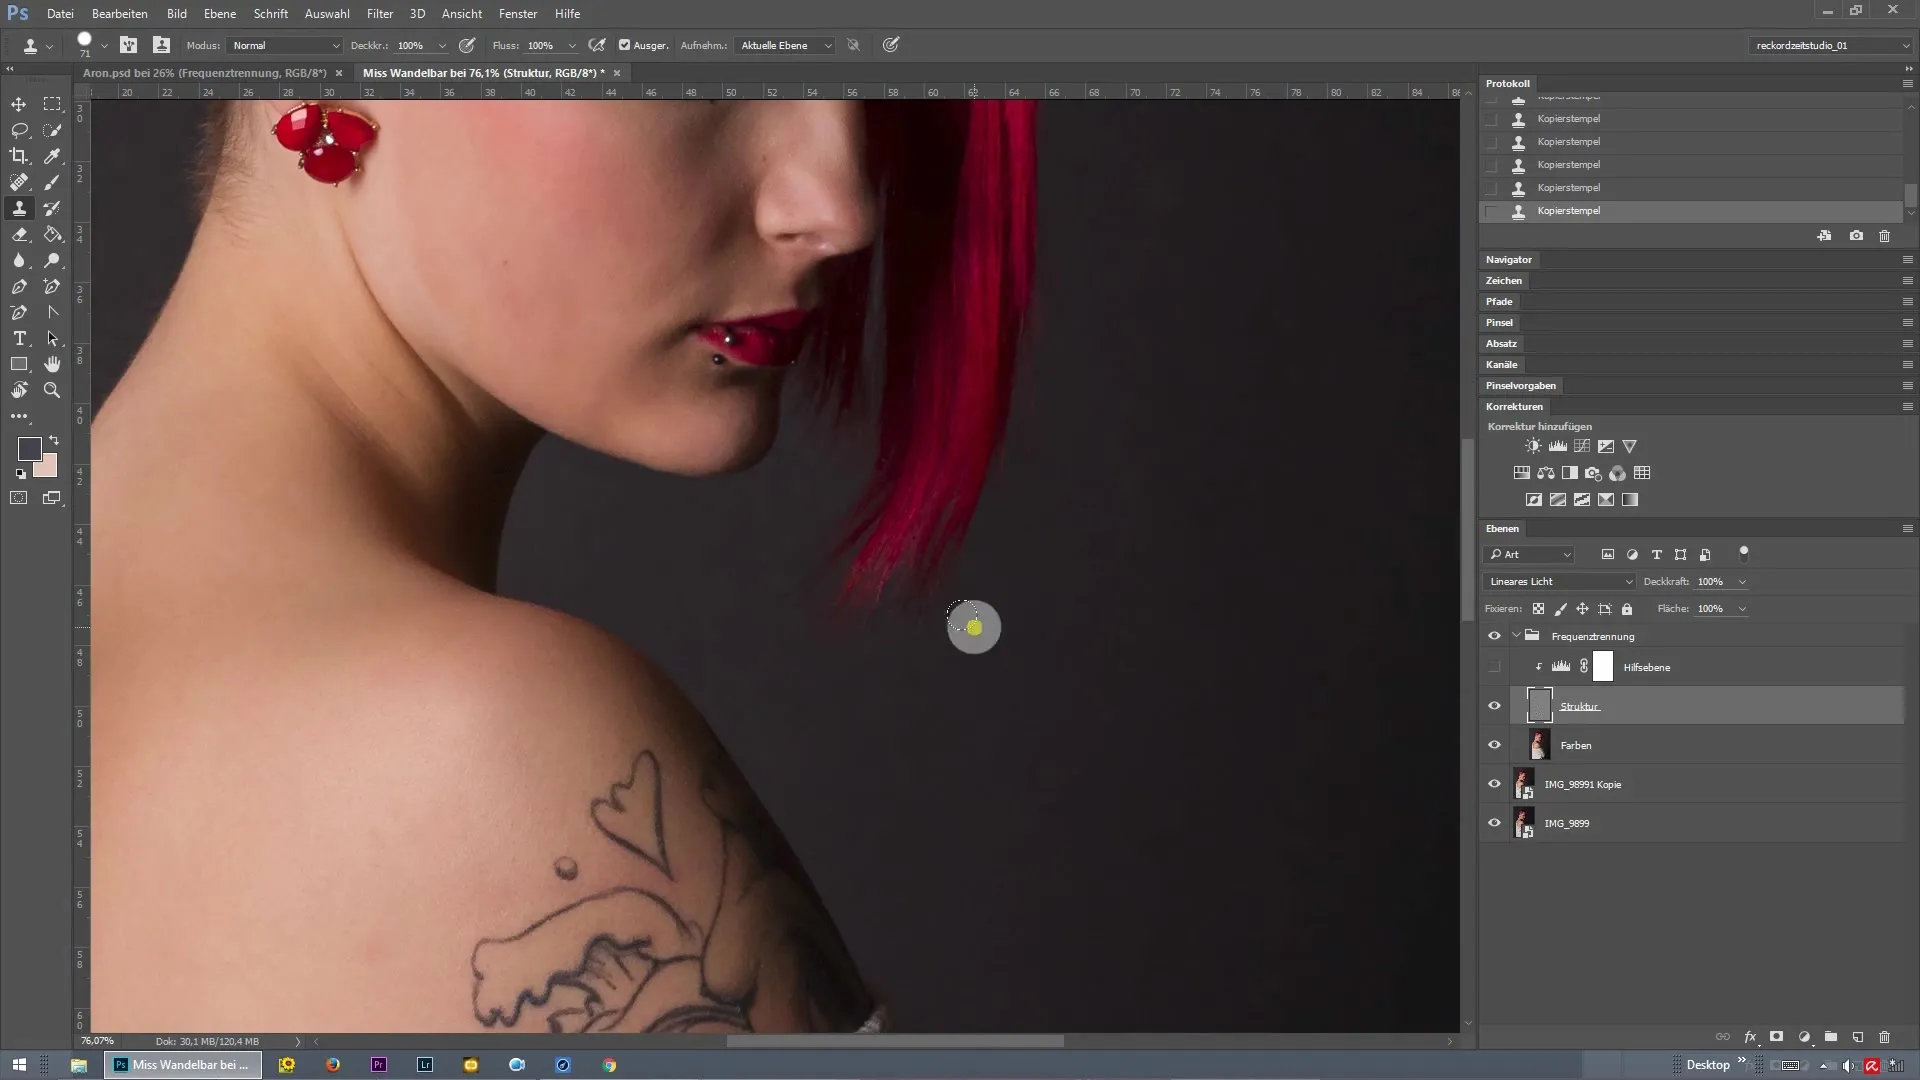
Finally, you need to get the color layer under control. Make sure that the colors in your image look harmonious before saving your project. It might be helpful to view the entire section of the image in full view again.
Summary – Frequency Separation in Photoshop for Effective Retouching of Background and Hair
Frequency separation in Photoshop enables you to specifically retouch images, especially when it comes to editing the background and hair of a model. With the right technique and attention to detail, you can achieve stunning results. The steps you should follow ensure a harmonious final result, with every detail being considered.
Frequently Asked Questions
How do you perform frequency separation in Photoshop?Frequency separation is done by duplicating the image layer and applying a blur filter to the top layer while the bottom layer retains the texture.
Why is it important to consider the background during retouching?A cluttered or distracting background can diminish the impact of the main subject and make the image look unprofessional.
What tools are best suited for editing hair?The stamp tool and the brush are the most commonly used tools to adjust both the structure and color of the hair.
How do I correct the colors of hair after editing?You can use adjustment layers such as "Hue/Saturation" or "Curves" to enhance the color of the hair and harmoniously integrate them into the overall image.
What should I do if I am unhappy with my editing?Use the undo function or work with masks to make changes easily and non-destructively.
