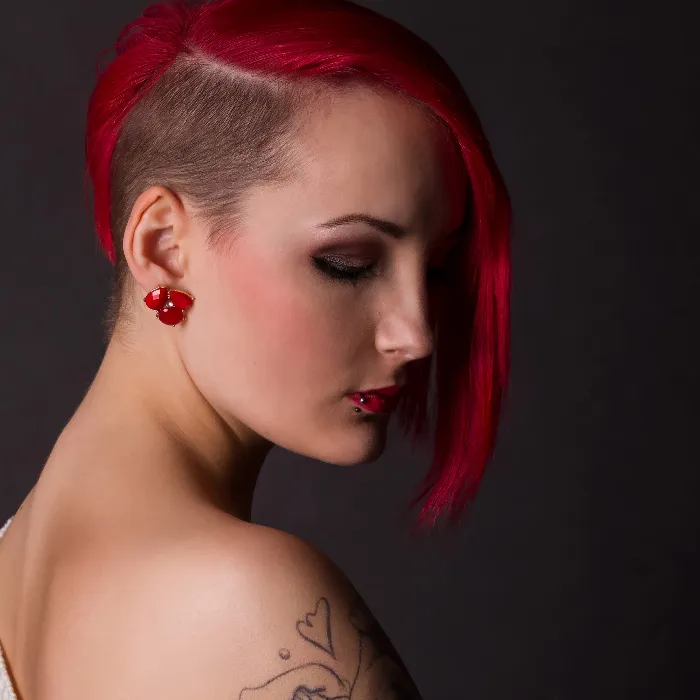
You want to subtly change the appearance of a nose in the image without resorting to complicated methods like liquefying? With the “Dodge and Burn”-Technique, you can specifically use light and shadows to model the contours and create an appealing richness of facets. In this guide, I will show you how to make simple yet effective adjustments using frequency separation in Photoshop.
Key Insights
- Dodge and Burn can selectively apply light and shadow to the nose to highlight contours.
- The technique allows for precise modeling without liquefaction.
- Only a few steps are needed to achieve significant changes.
Step-by-Step Guide
Start with your image and open the layers you want to use for the Dodge and Burn technique. The tutorial will address separate layers for Dodge (increasing brightness) and Burn (decreasing brightness). The first step is to activate the “brighter” layer and select the tool.
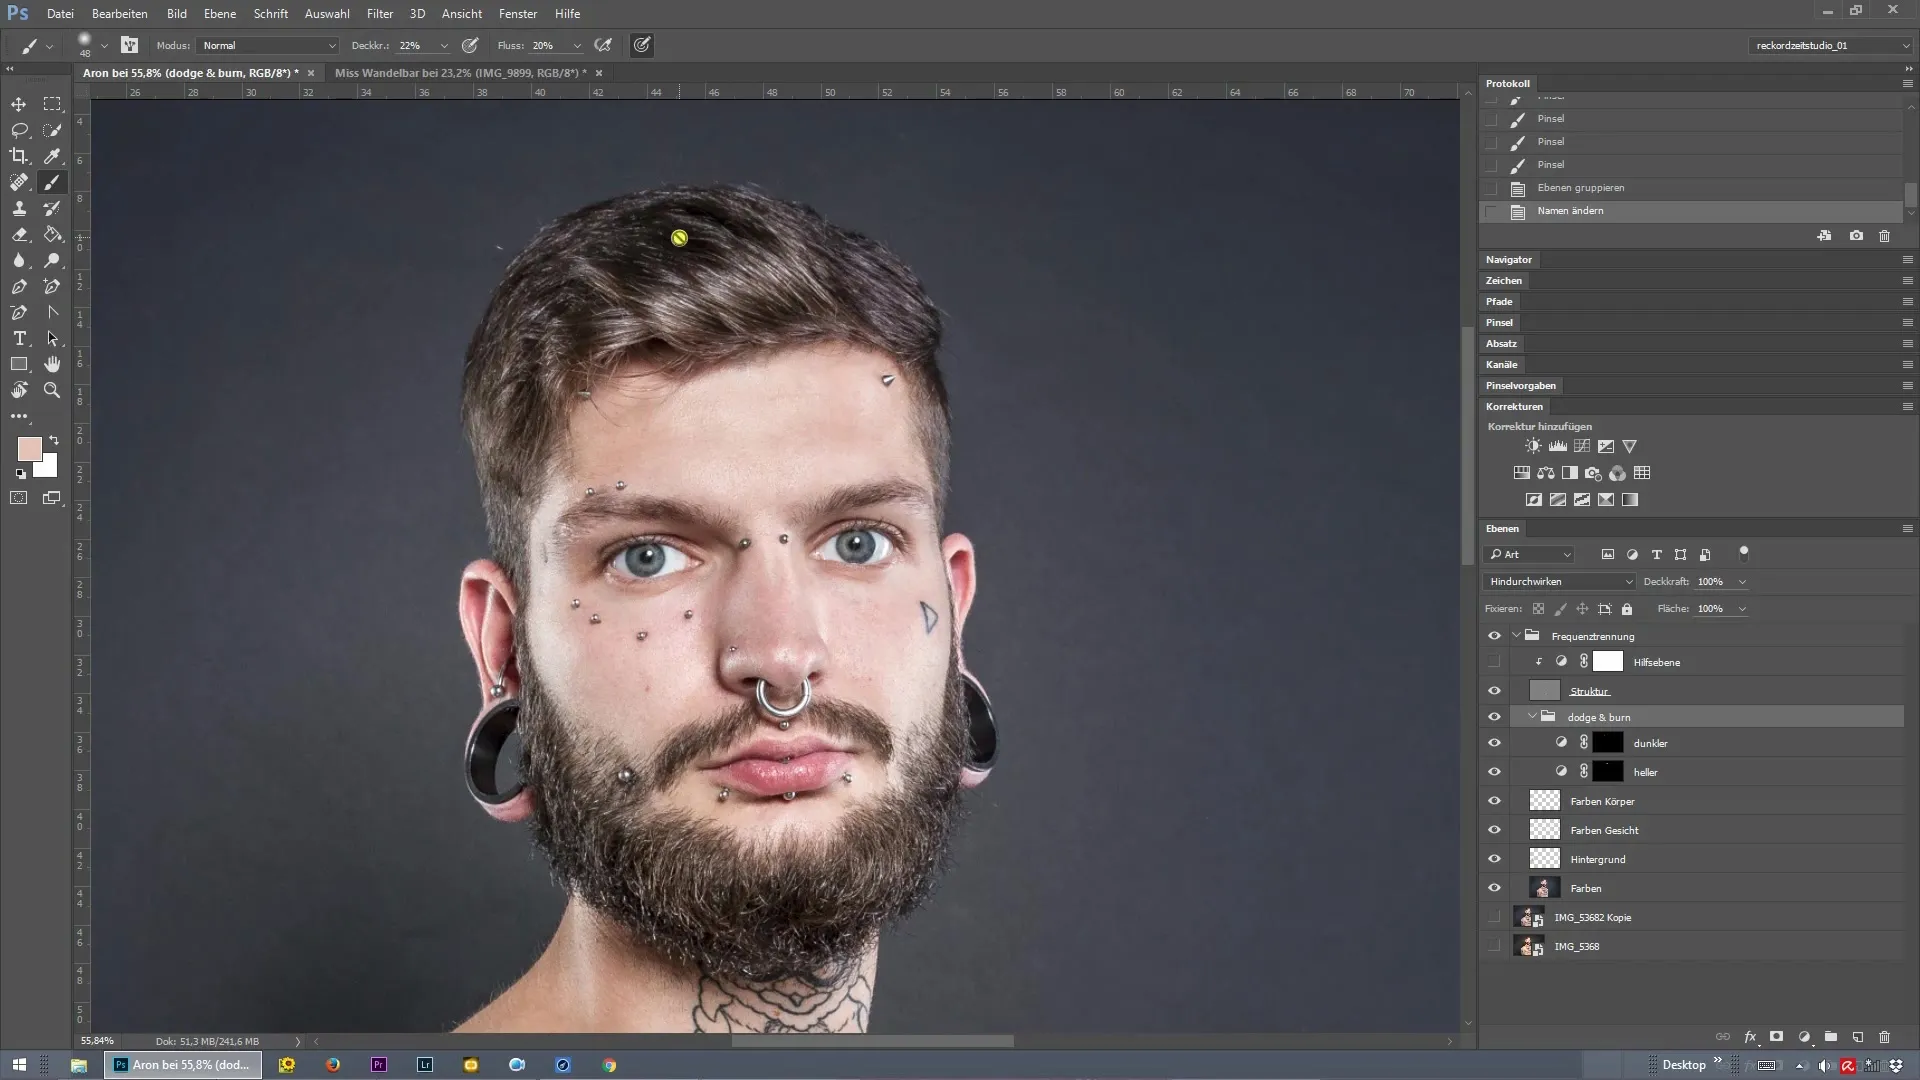
You should focus on the bridge of the nose, which highlights the desired effect. Bright sections visually come to the forefront, while dark sections recede. So let's paint the bridge of the nose a bit brighter to achieve this effect.

The next step is to slightly darken the nostrils to define the contours of the nose. Pay attention to the balance between the light and dark areas to achieve a harmonious overall image.
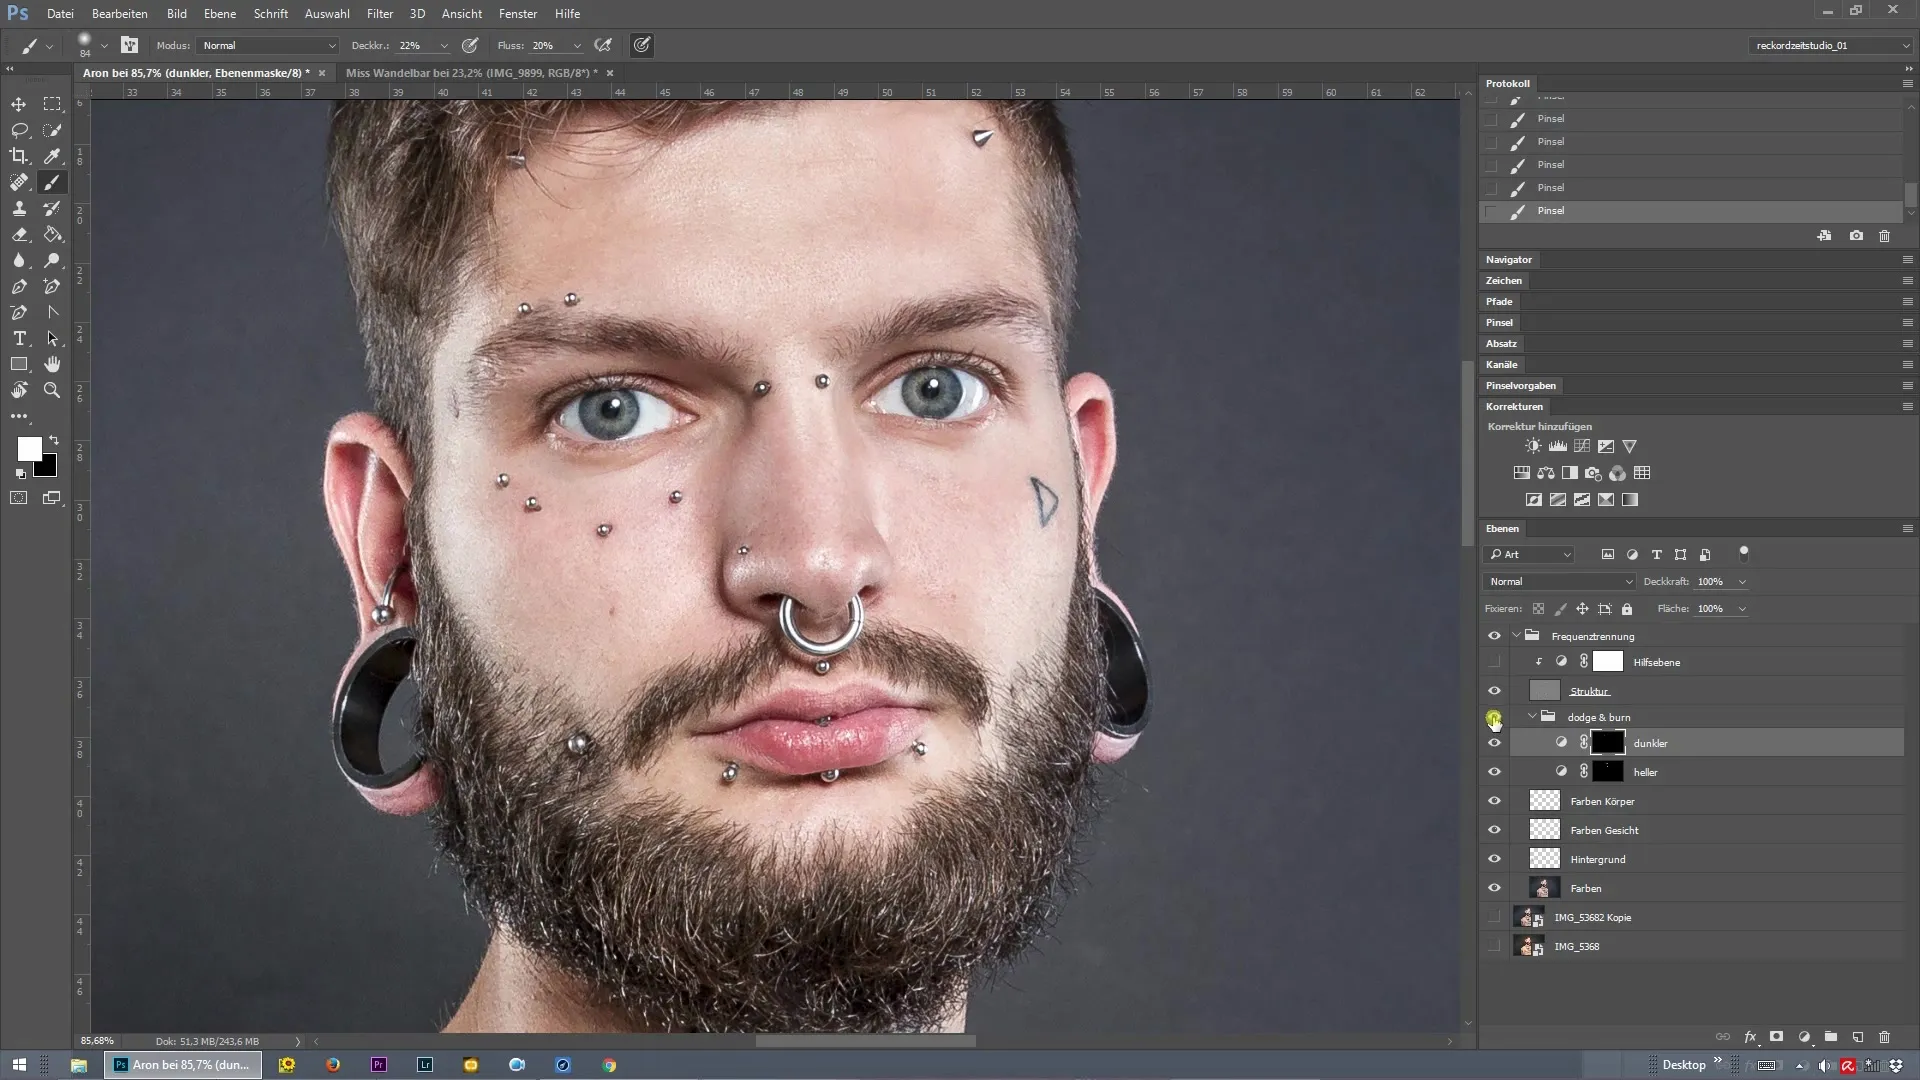
After these adjustments, comparing the two states is helpful. You will see that with just a few clicks, the nose has already been slightly modified, which benefits the overall aesthetics of the image.
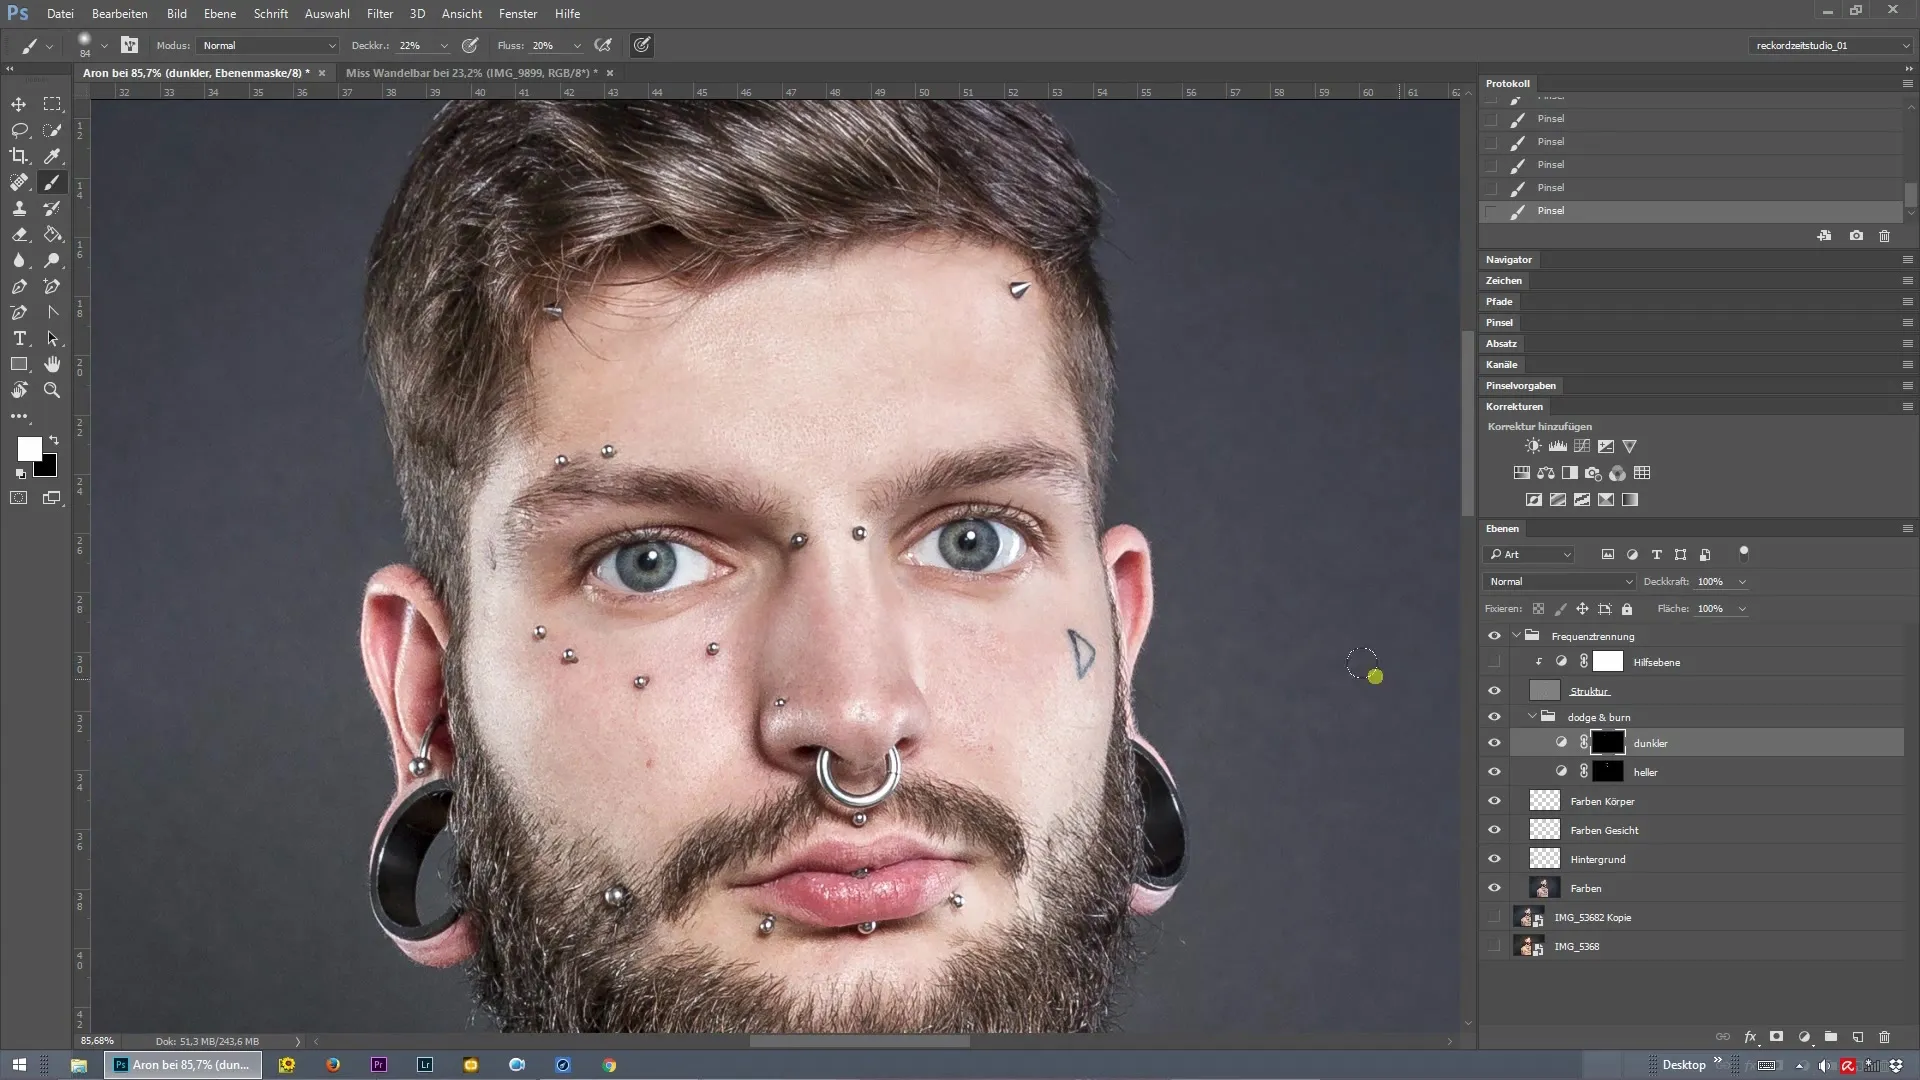
Another trick is to lighten the area between the eyebrows. This technique makes the eyebrows appear visually wider apart, which opens up the face and makes it look more vibrant.
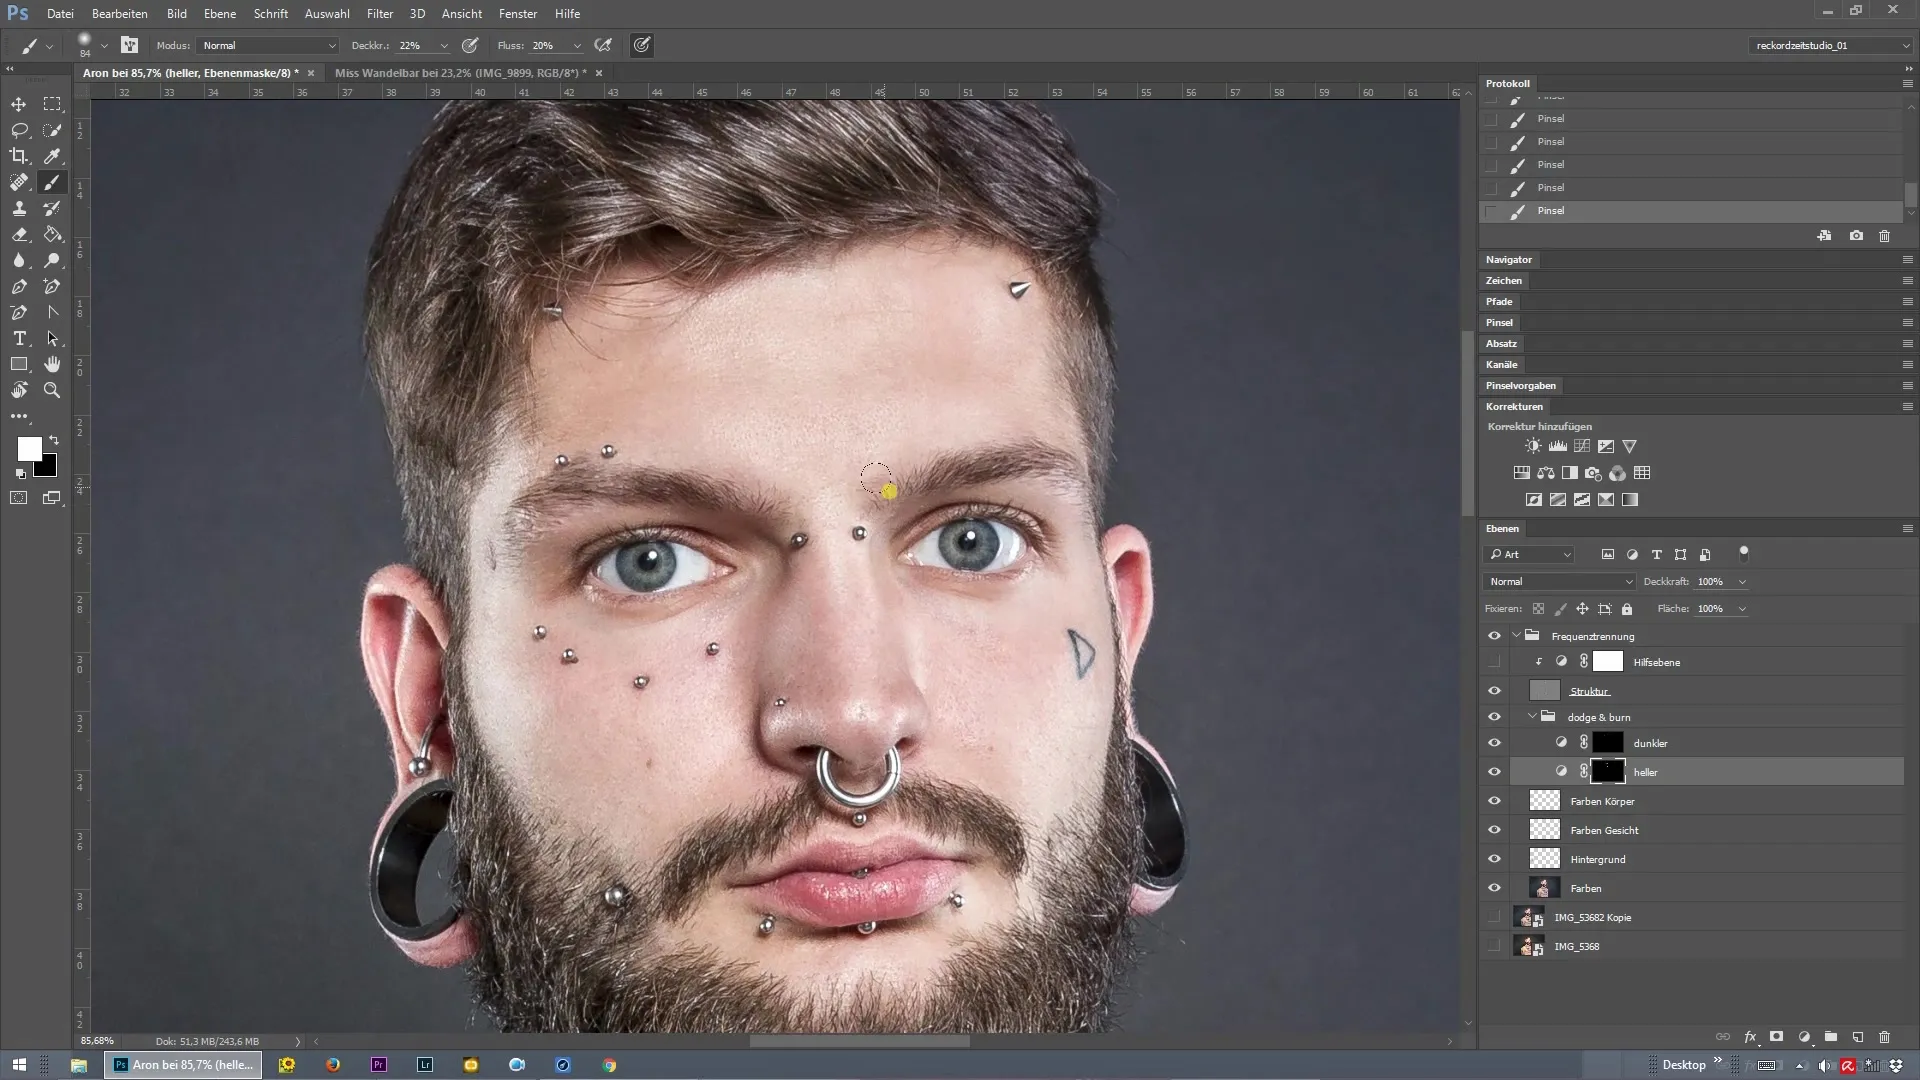
Don't forget to slightly darken the hairline as well. This adds additional space and depth to the image by anchoring the hairline in the background. The even application of these techniques results in a very appealing final product.
Finally, you can make a brief before-and-after comparison. Here it becomes clear how easy it is to achieve a significant visual improvement with the right technique and just a few clicks.
Summary – Frequency Separation in Photoshop – Modeling the Nose with Dodge and Burn
With the Dodge and Burn technique, you can effectively and precisely model the contours of a nose without resorting to complicated editing methods. You should utilize the principles of light and shadow editing to achieve a more impressive result in just a few steps.
Frequently Asked Questions
How can I implement the Dodge and Burn technique in Photoshop?Use separate layers for Dodge and Burn to model lighter and darker areas.
Can I apply the technique to other areas of the face?Yes, you can use the technique anywhere on the face to highlight or soften contours.
How many clicks do I need for a significant change?Often just a few clicks are enough to achieve clear results and enhance the image.
