Through precise image editing in Photoshop, you can significantly enhance the quality of your photos. One technique that is often used is frequency separation. This method allows you to break the image down into its structure and color layers, and sharpen specifically where needed. In this guide, you will learn how to use frequency separation to optimize the sharpness of your images.
Key insights
- Frequency separation allows targeted sharpening of image details.
- By duplicating the structure layer, you can adjust the sharpening level.
- With layer masks, you can selectively add sharpness.
Step-by-Step Guide
Step 1: Open the image in RAW format
Start by opening your image in the Camera RAW Filter. You can find this in Photoshop to make basic adjustments before working with frequency separation.
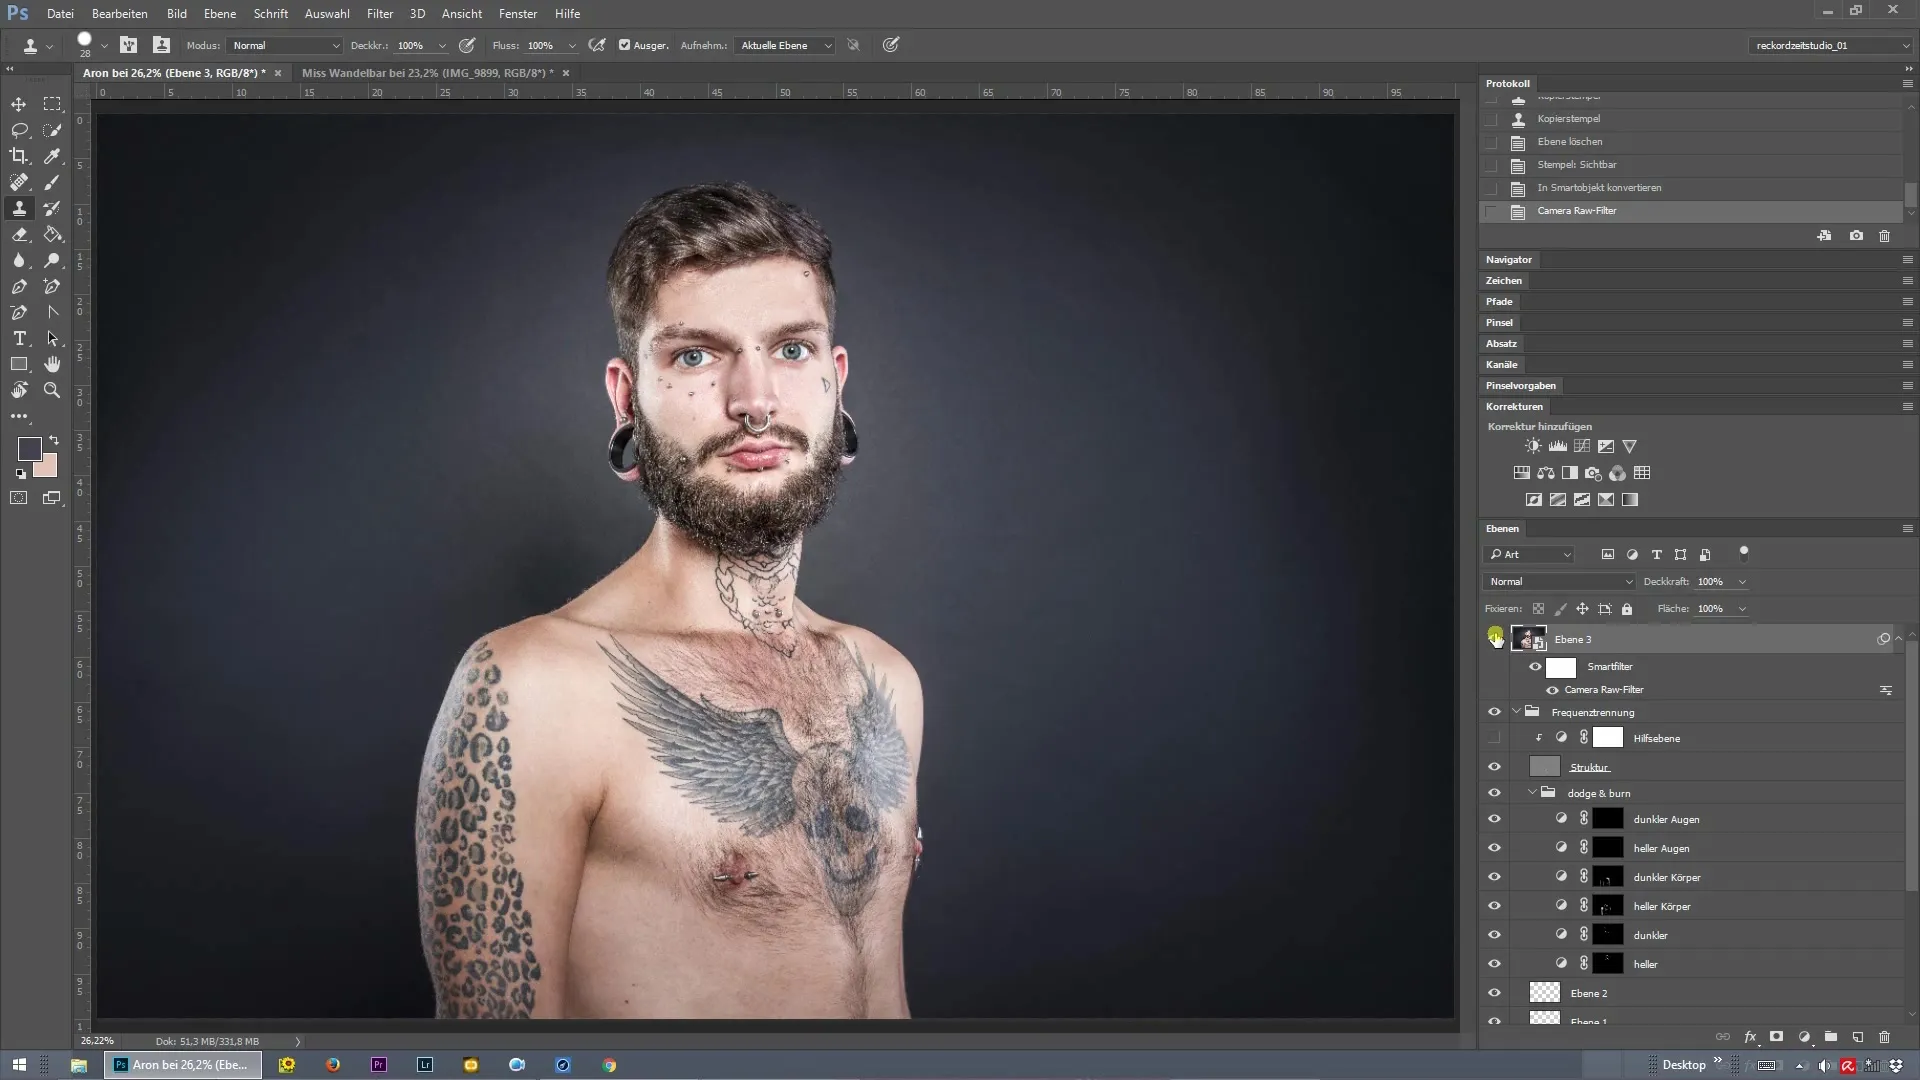
Step 2: Prepare frequency separation
To apply frequency separation, you need to split your image into two layers: one for structure and one for color. Duplicate the background layer twice, naming the first duplicate "Color" and the second "Structure."
Step 3: Create structure layer
Switch to the structure layer. This is about sharpening image details, particularly skin pores. Apply a filter using “Blur > Gaussian Blur” to smooth the colors. Be careful to blur only enough to retain the structure.
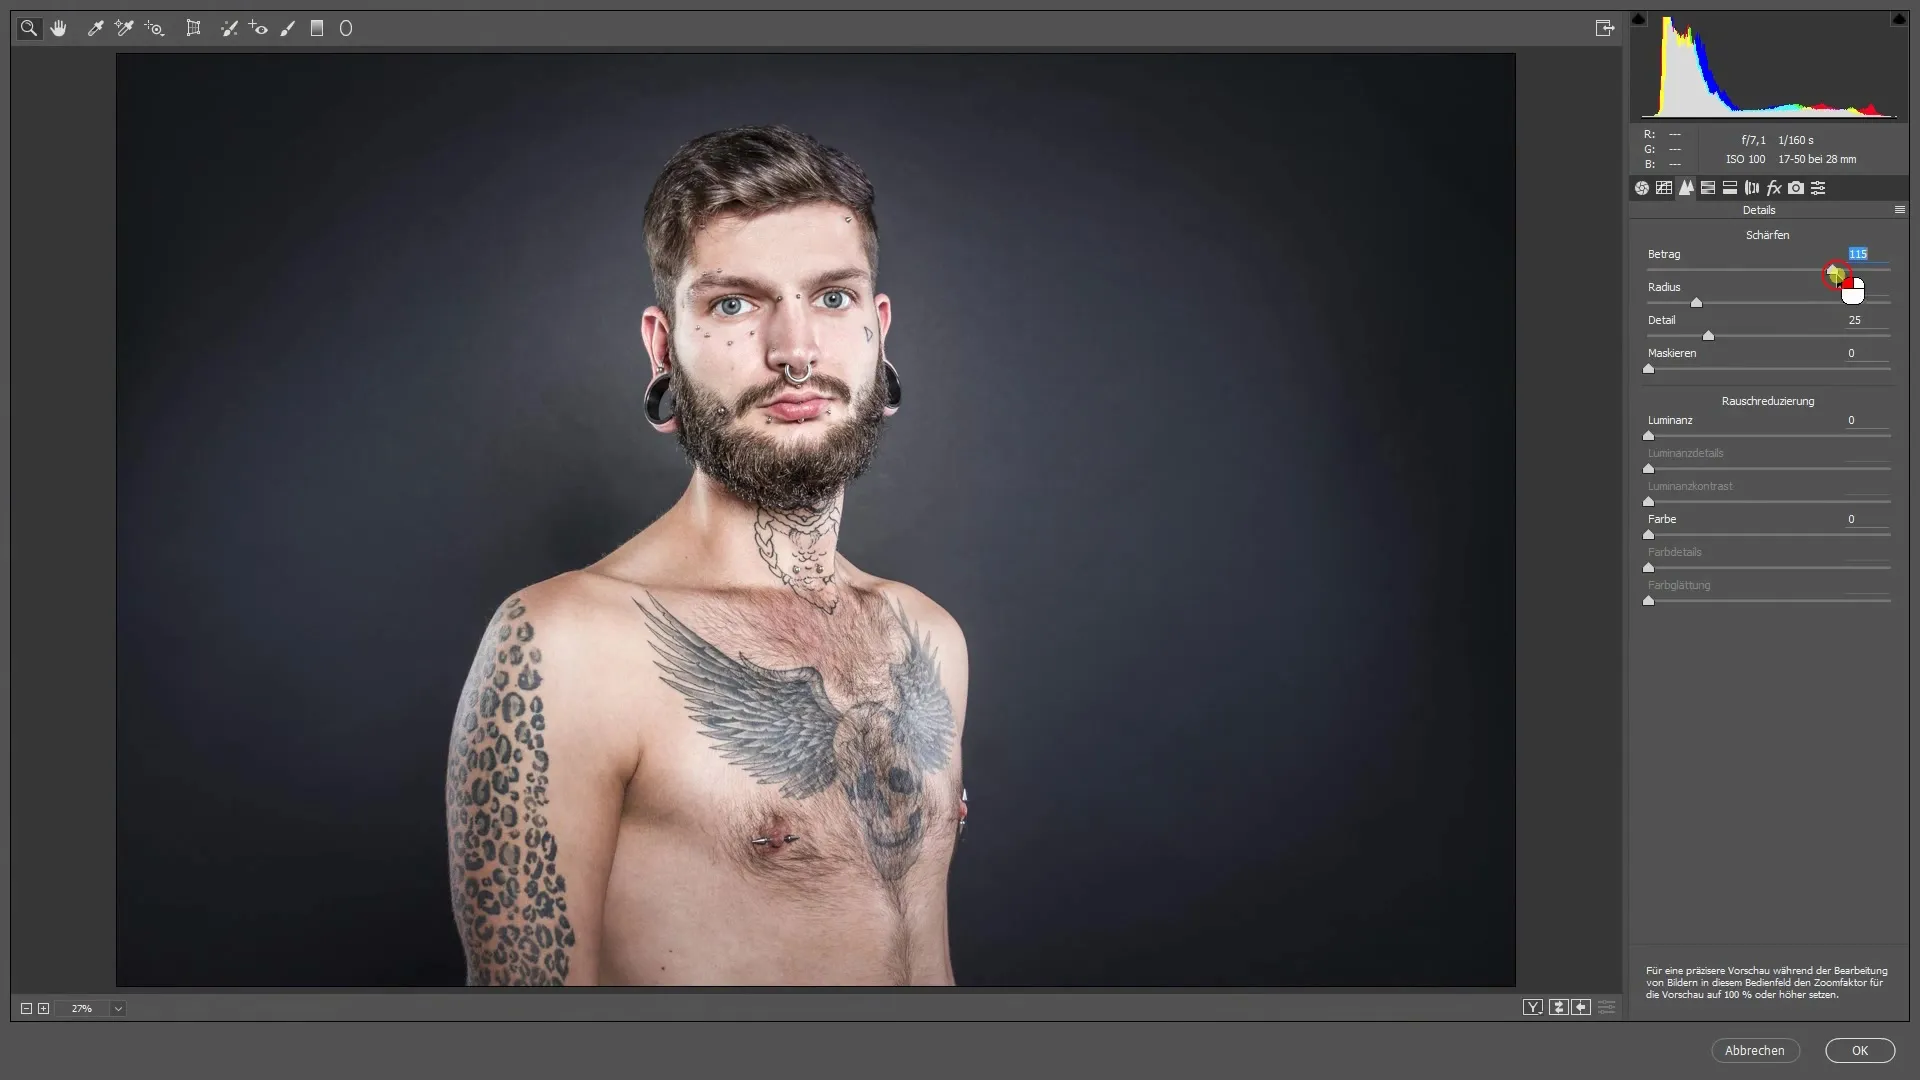
Step 4: Adjust color layer
Now activate the top color layer and add the “High Pass” filter. Set the radius so that only the structure remains visible. After that, set the layer mode to “Soft Light” or “Hard Light” to bring back the sharp contours.
Step 5: Adjust sharpness
To optimize sharpening, you can adjust the opacity of the structure layer. Experiment with different values to achieve a natural result.
Step 6: Add layer mask
To add sharpness selectively, add a layer mask to the structure layer. Click on the mask icon and then select the mask icon while holding the Alt key.
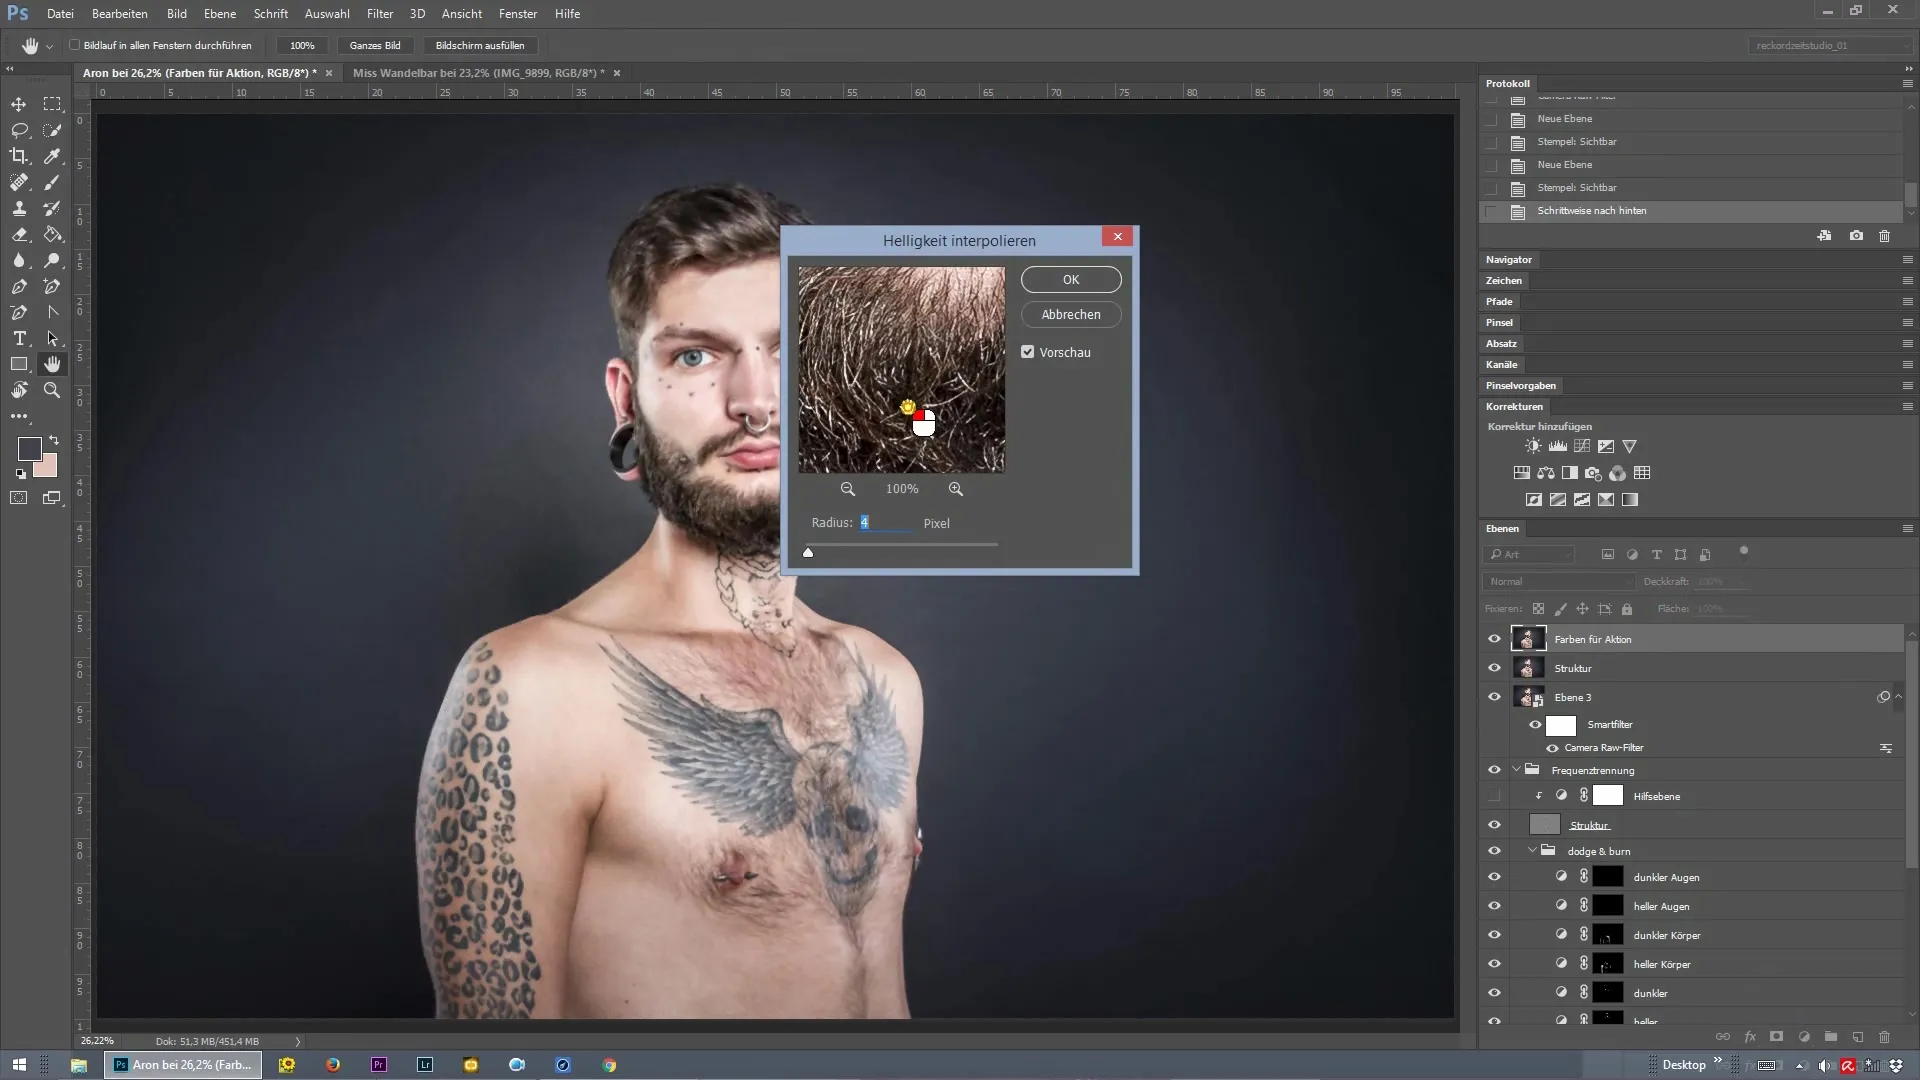
Step 7: Apply sharpness selectively
Select the brush tool and make sure your foreground color is set to white. Now paint over the areas you want to sharpen, such as the eyes or skin details, to intensify the sharpness effect there.
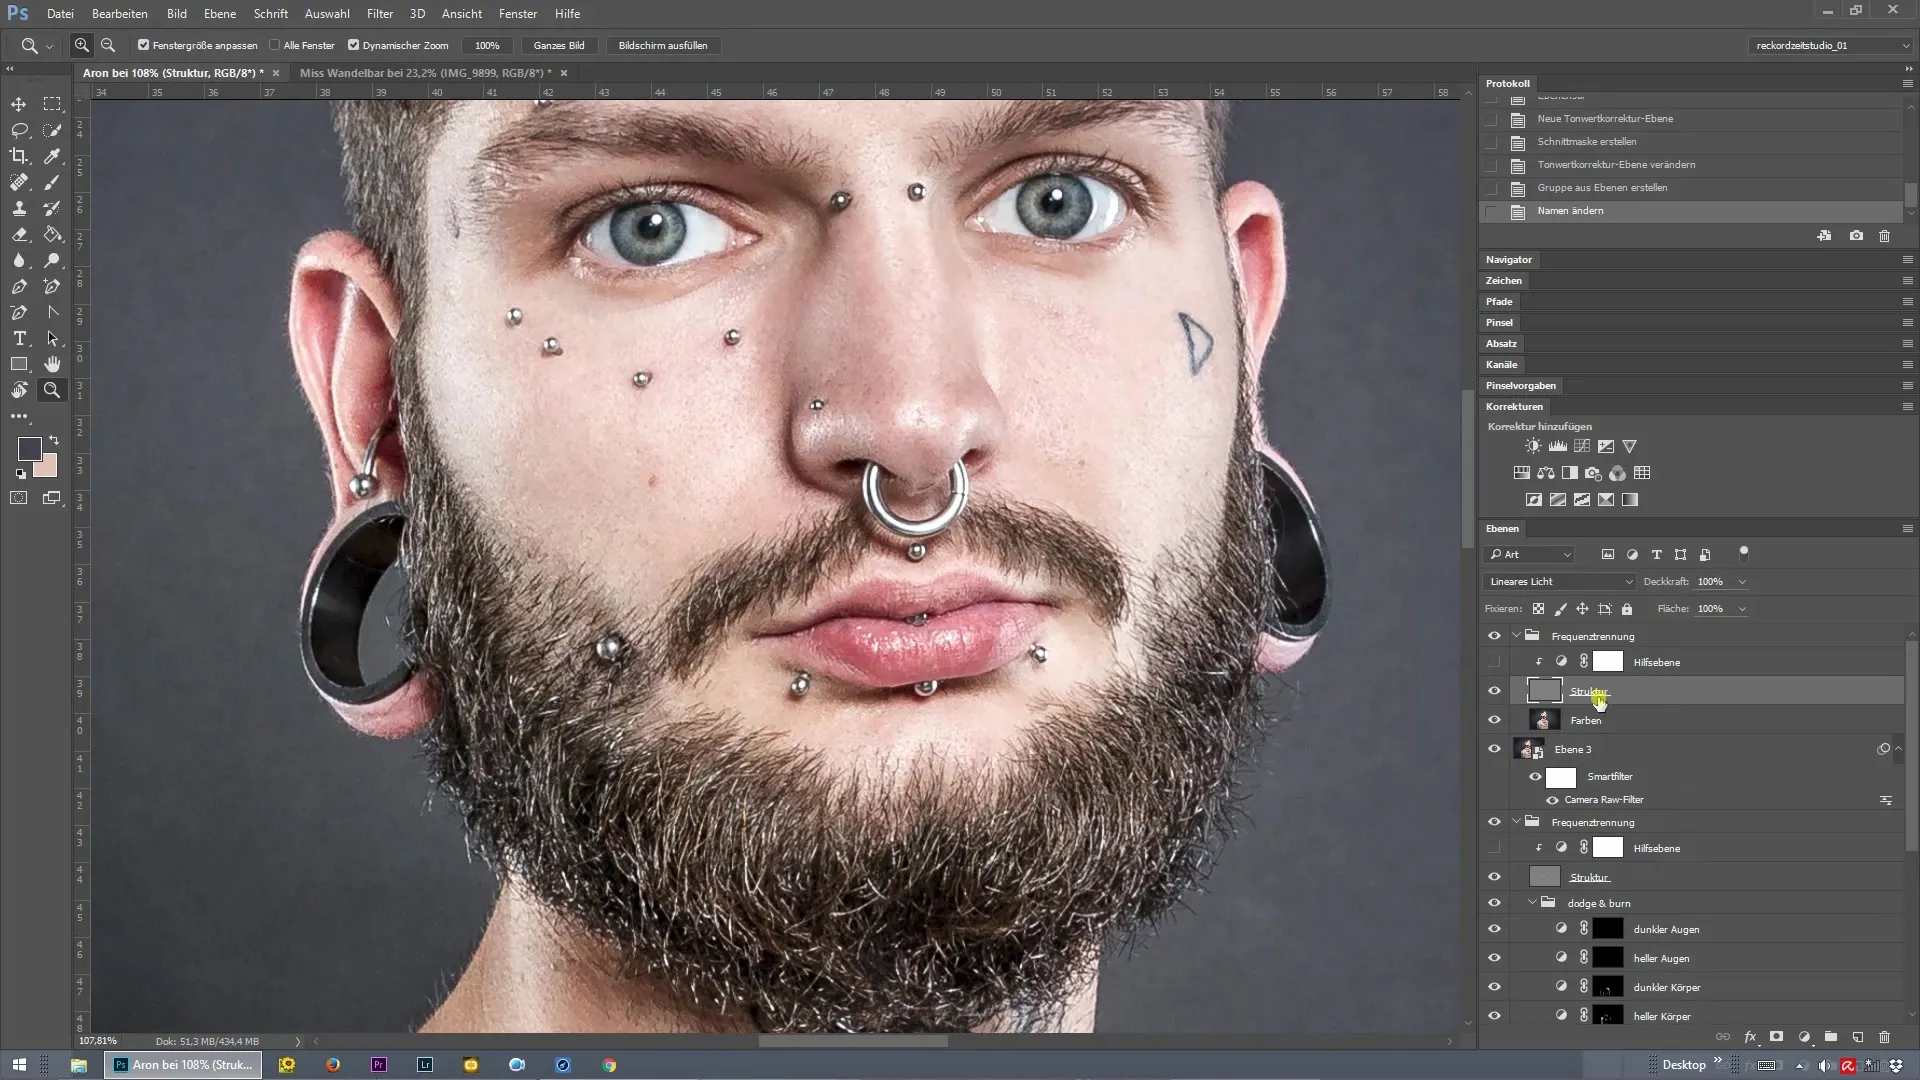
Step 8: Fine-tune the selected sharpness
Flash the image again to evaluate the selectively sharpened areas. You can adjust the opacity of the layer mask during this process.
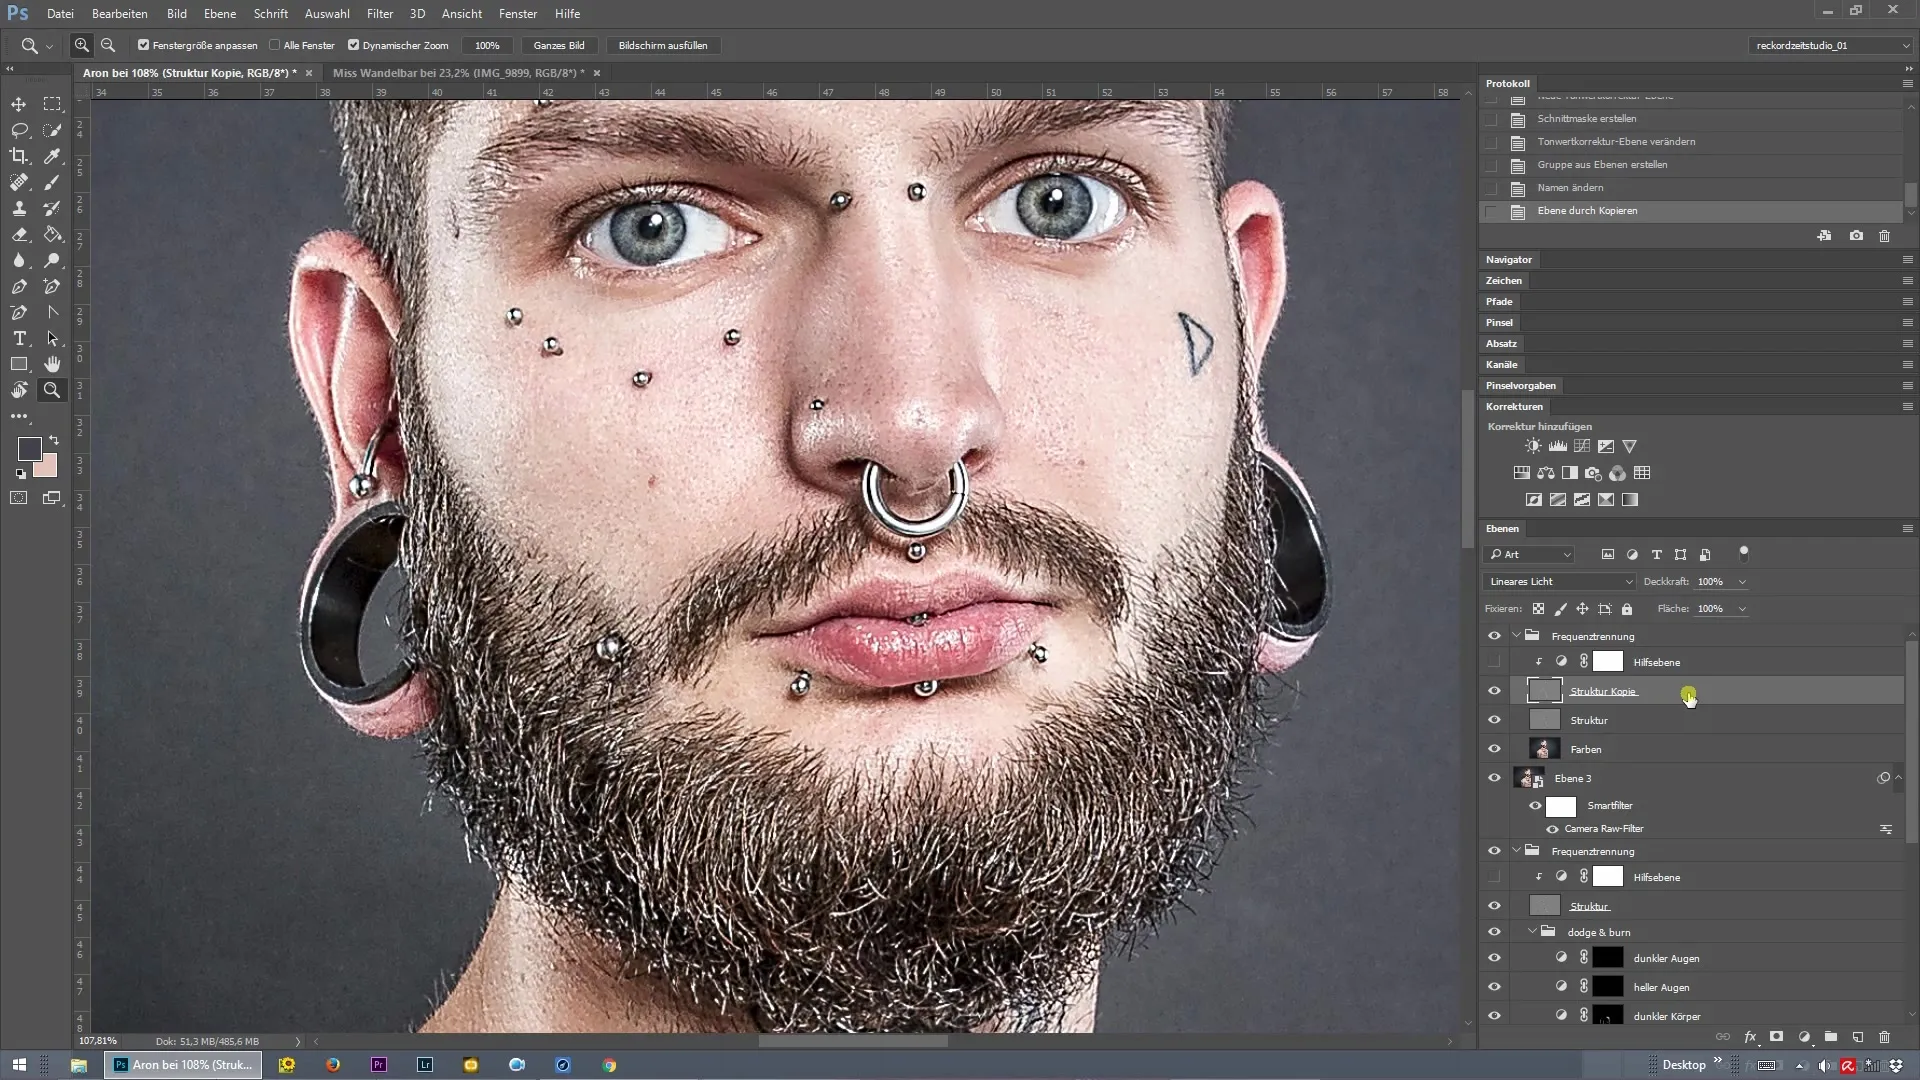
Step 9: Final check
Take your time to review the entire image, including the sharpened areas. Ensure that the sharpening effect looks harmonious and not exaggerated.
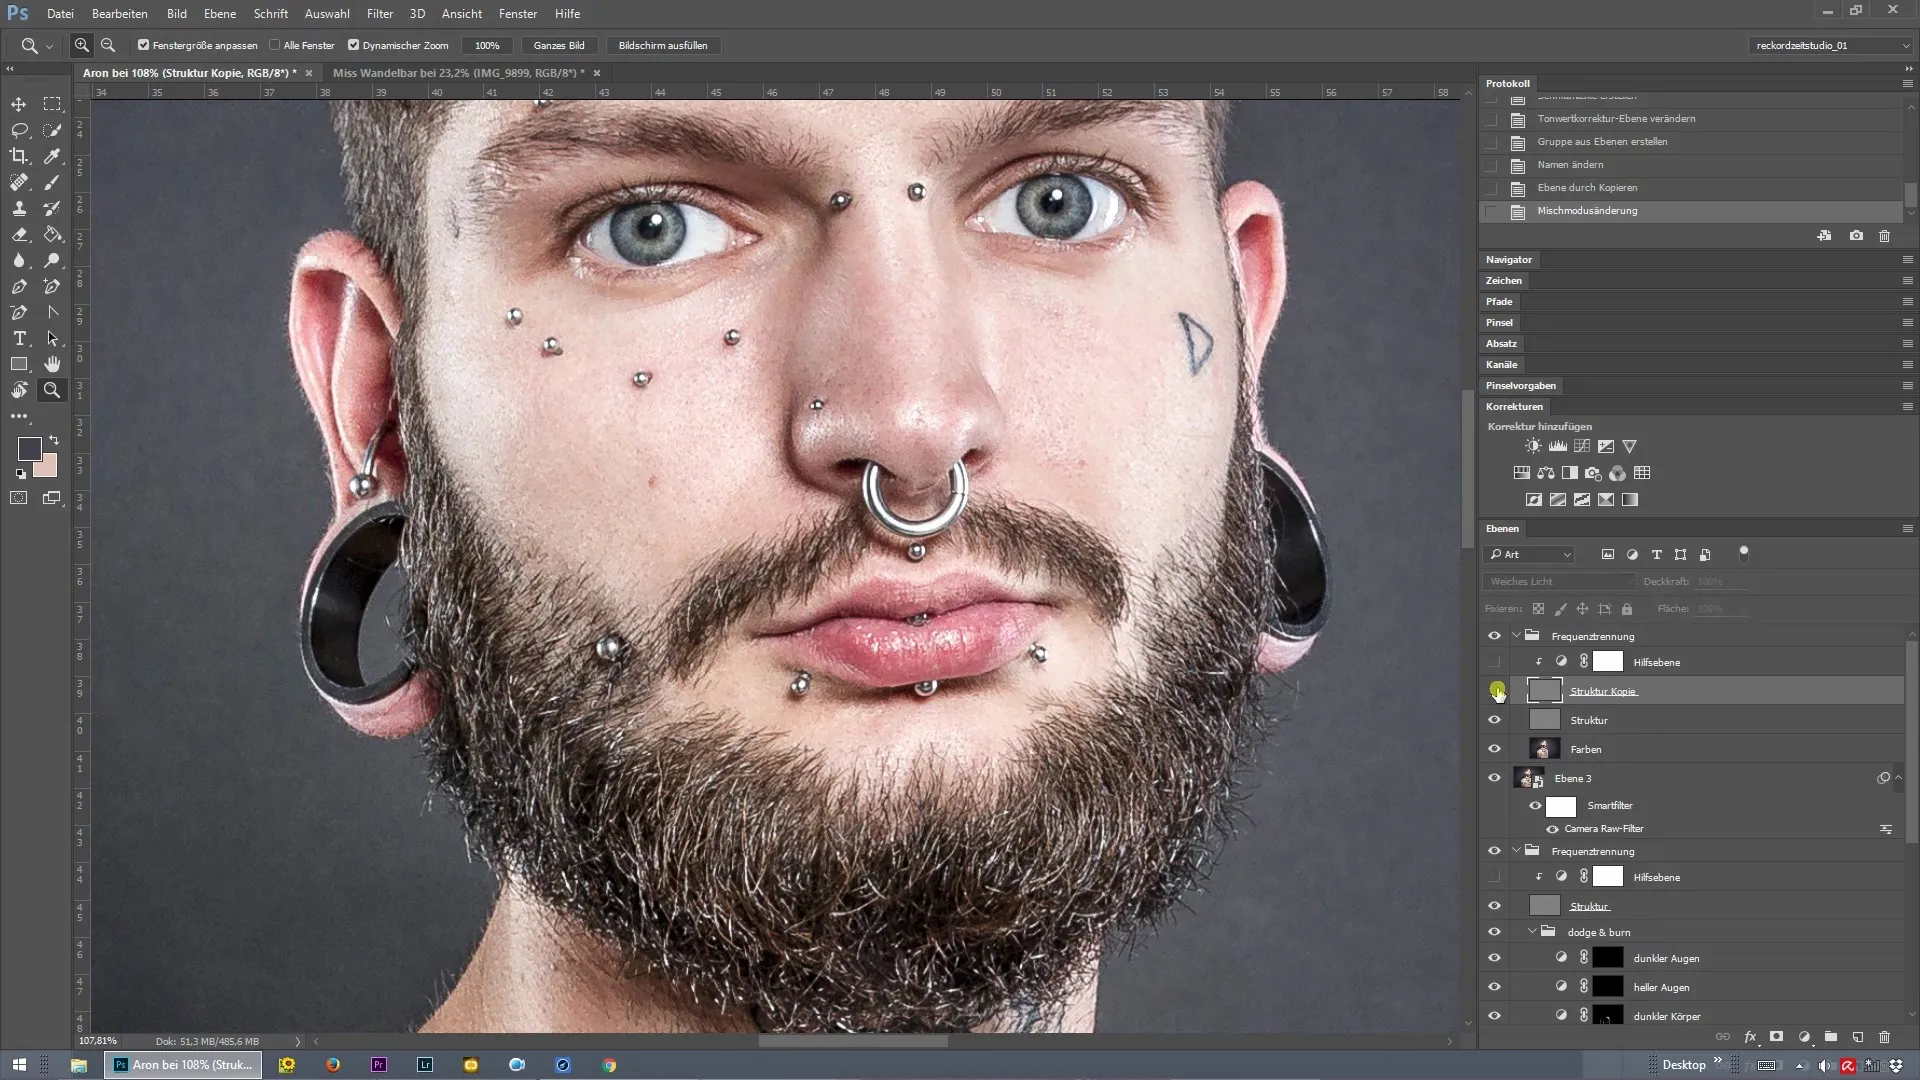
Step 10: Save the final image
Finally, save your image in the desired format. Select “File > Save As…” and choose the format that best suits your intended use.
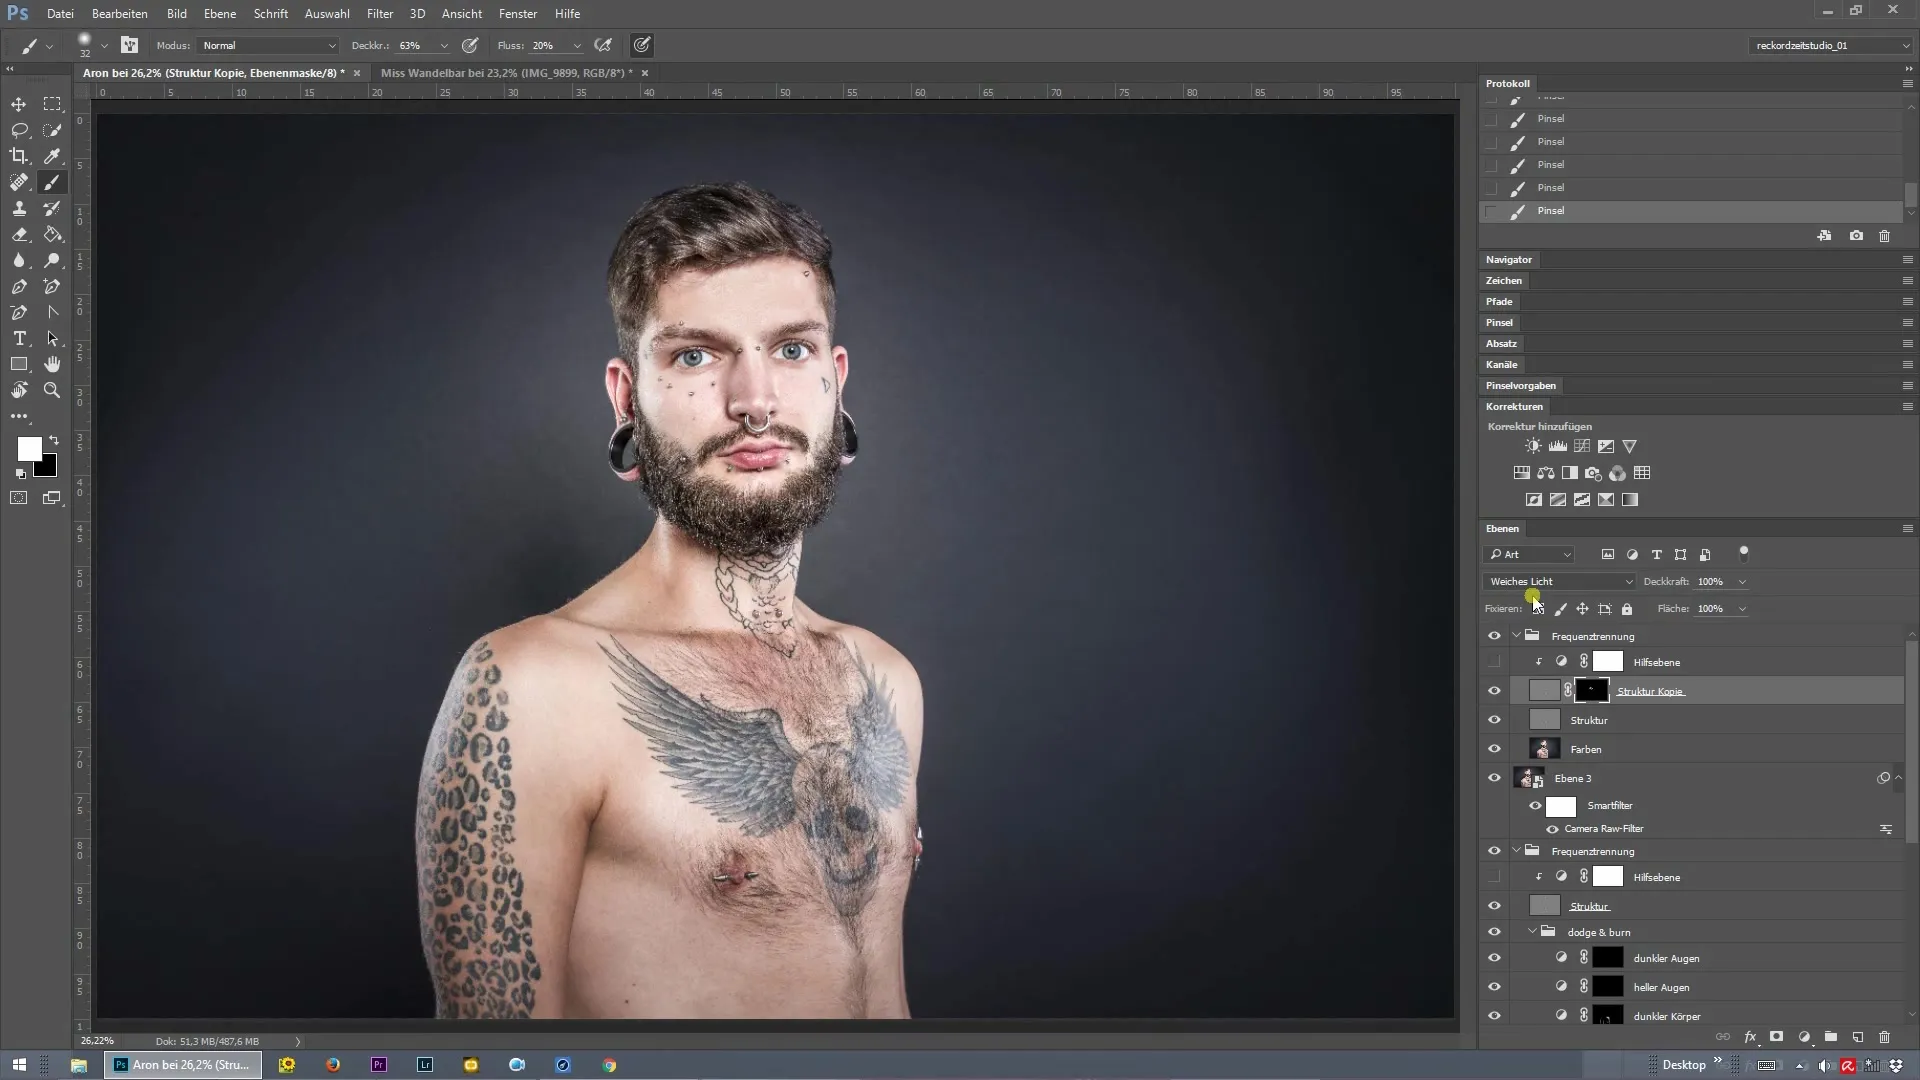
With this, you have successfully implemented frequency separation in Photoshop and given your image a targeted detail sharpening.
Summary – Frequency Separation in Photoshop: Effectively Applying Detail Sharpness
Frequency separation is a powerful technique in Photoshop that allows you to apply sharpness precisely and selectively in your images. With the steps outlined above, you can preserve the structure of your image while highlighting the desired details.
Frequently Asked Questions
How does frequency separation work in Photoshop?Frequency separation divides your image into a structure and a color layer, enabling targeted sharpening.
What is the advantage of using layer masks?Layer masks allow you to apply sharpening effects selectively, giving you control over individual image details.
What should I do if my image looks over-edited?Reduce the opacity of the structure layer or work with the layer mask to soften the effect.


