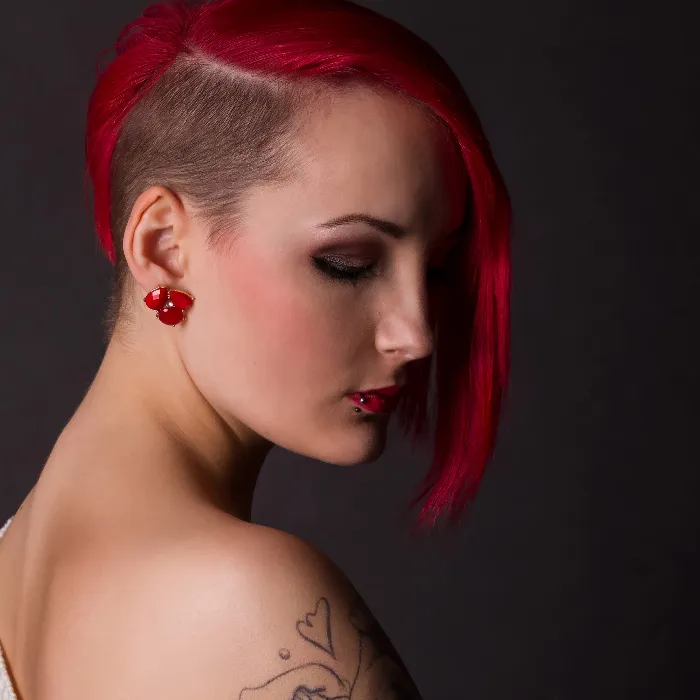
In the field of digital photo editing, there are numerous techniques to create appealing images. One very effective method is frequency separation, which allows colors and structures to be edited on different levels. In this tutorial, you will learn how to color the hairline of a model using frequency separation. Follow the individual steps to achieve a clean and professional result.
Key Insights
- Frequency separation allows for the separate editing of color and structure
- Creating a new layer for color changes is crucial
- Pay attention to lighting conditions when painting and the structure of the hair
Step-by-Step Guide
To effectively recolor the hairline, here are detailed steps for implementation.
First, we focus on the hairline after the skin texture and color have already been adjusted. Here, it is noticeable that the hair is slightly grown out and the hair color has changed in some places. This needs to be corrected. For this purpose, we create a new layer and name it "Hair Color".
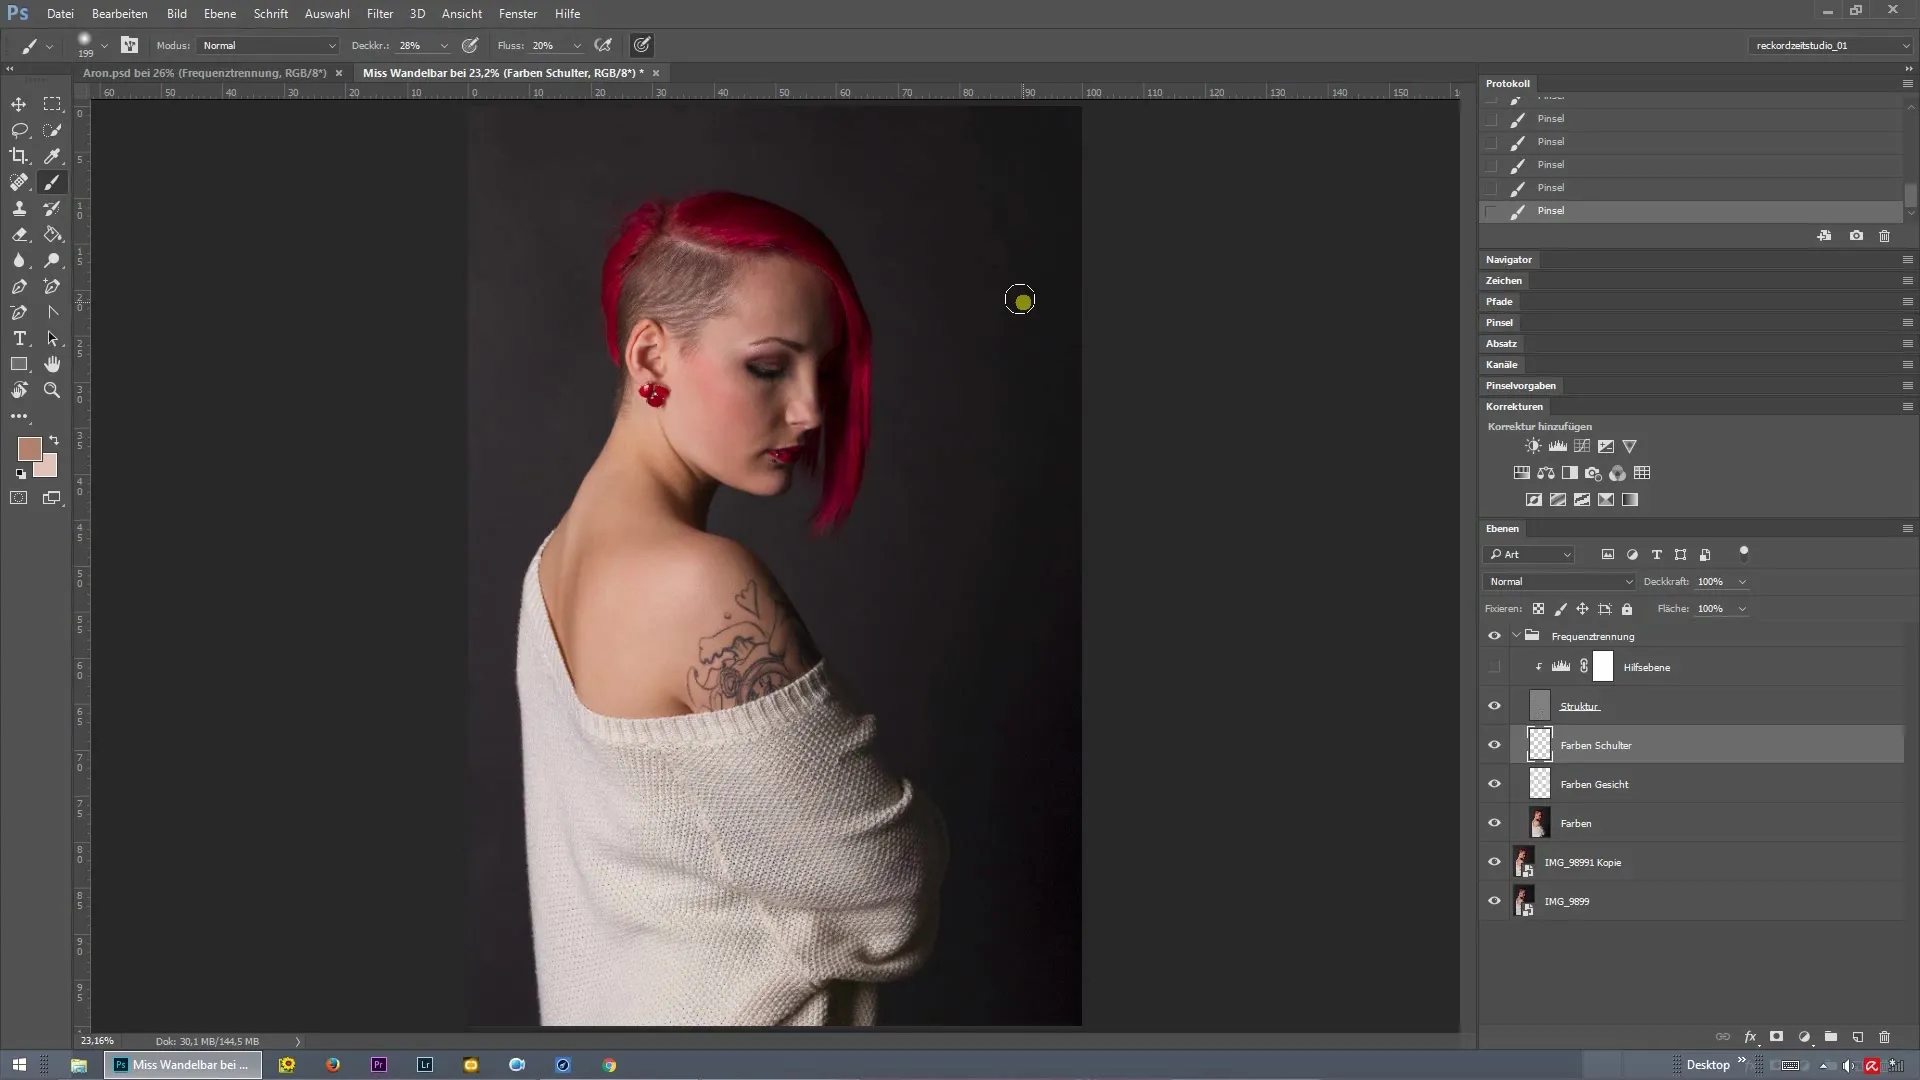
Once the new layer is created, adjust the brush to a smaller size for more precise work. Go to the menu and adjust the brush size accordingly. Zooming in on the hairline area helps you to recognize the details better.
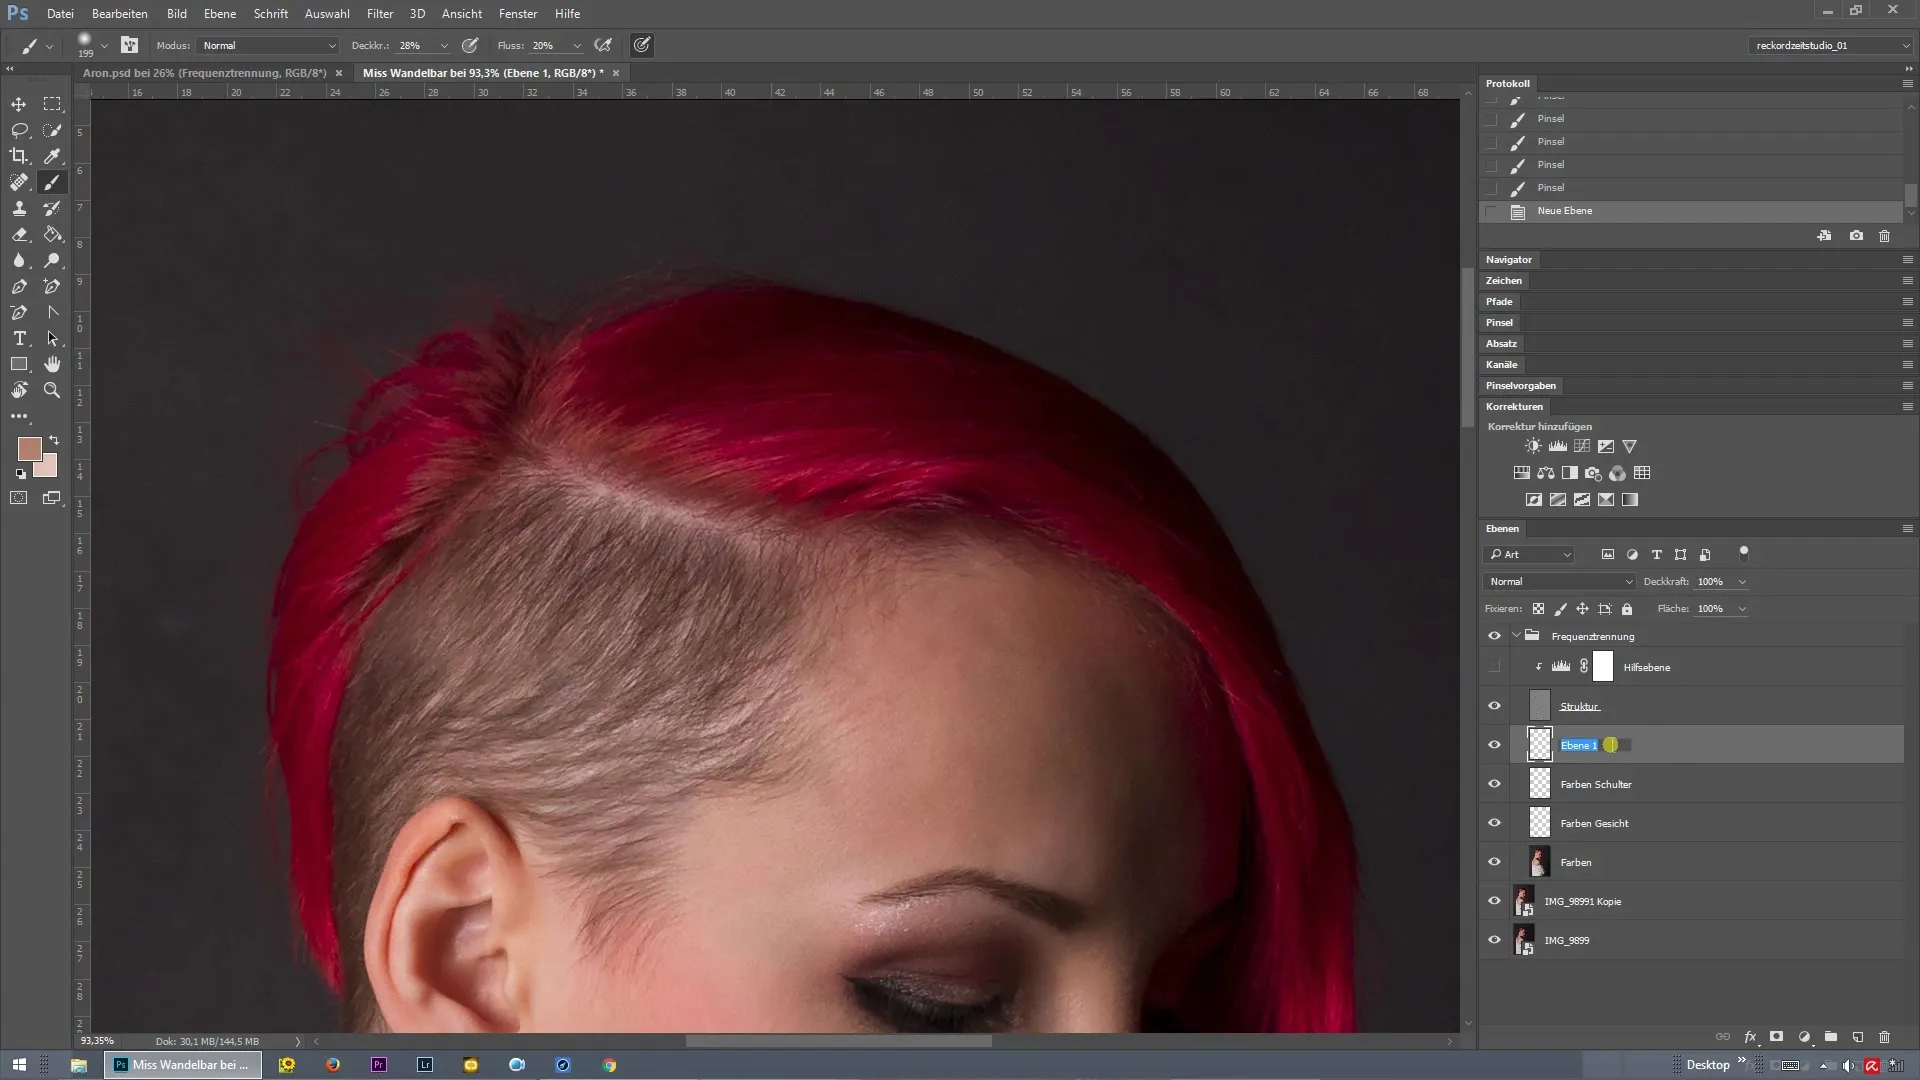
Now you have the opportunity to pick up the color for the hairline. Make sure the selected color matches the overall aesthetic of the image well. In this case, soft lilac or pink tones are recommended. Start painting this color over the affected areas until you are satisfied with the result.
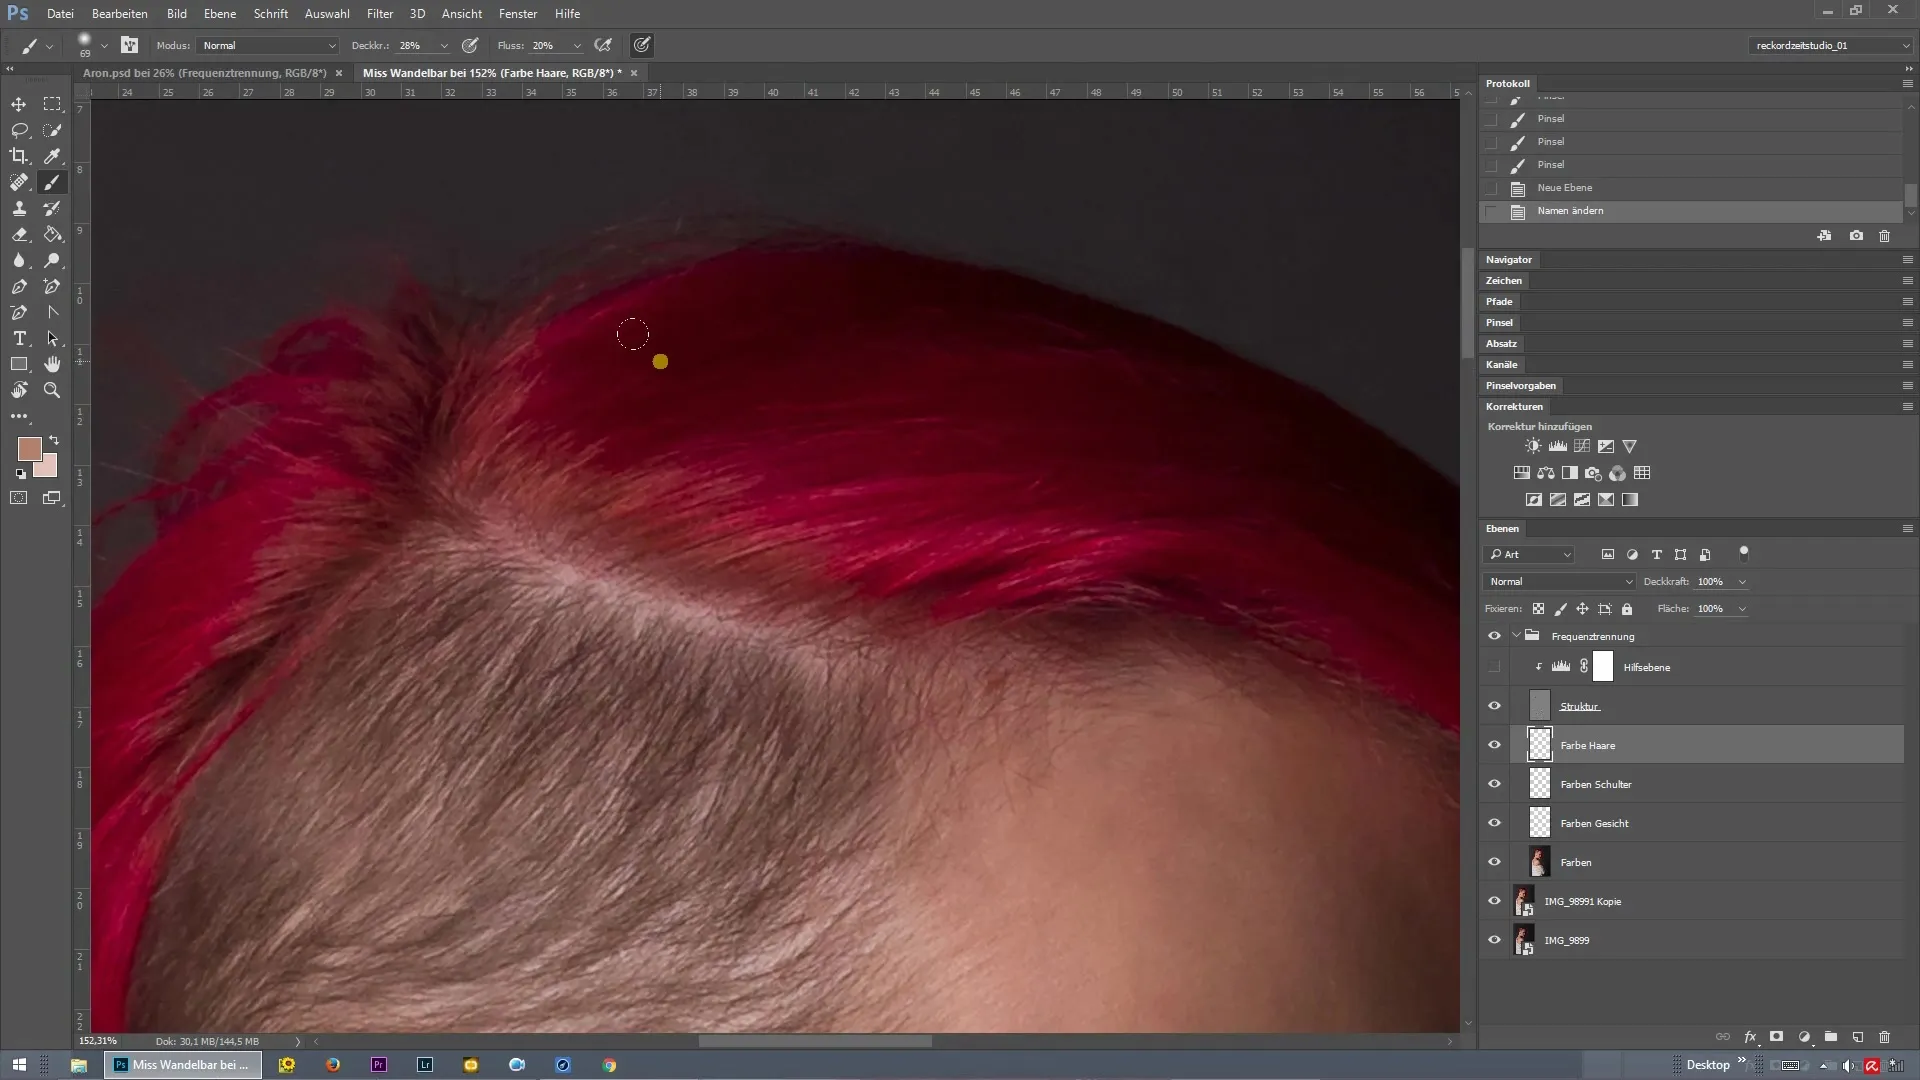
A significant advantage of frequency separation is that the structure of the hair is on separate layers. This way, you can focus solely on the coloring without affecting the structure. The more you paint and adjust the color, the better the final result will be.
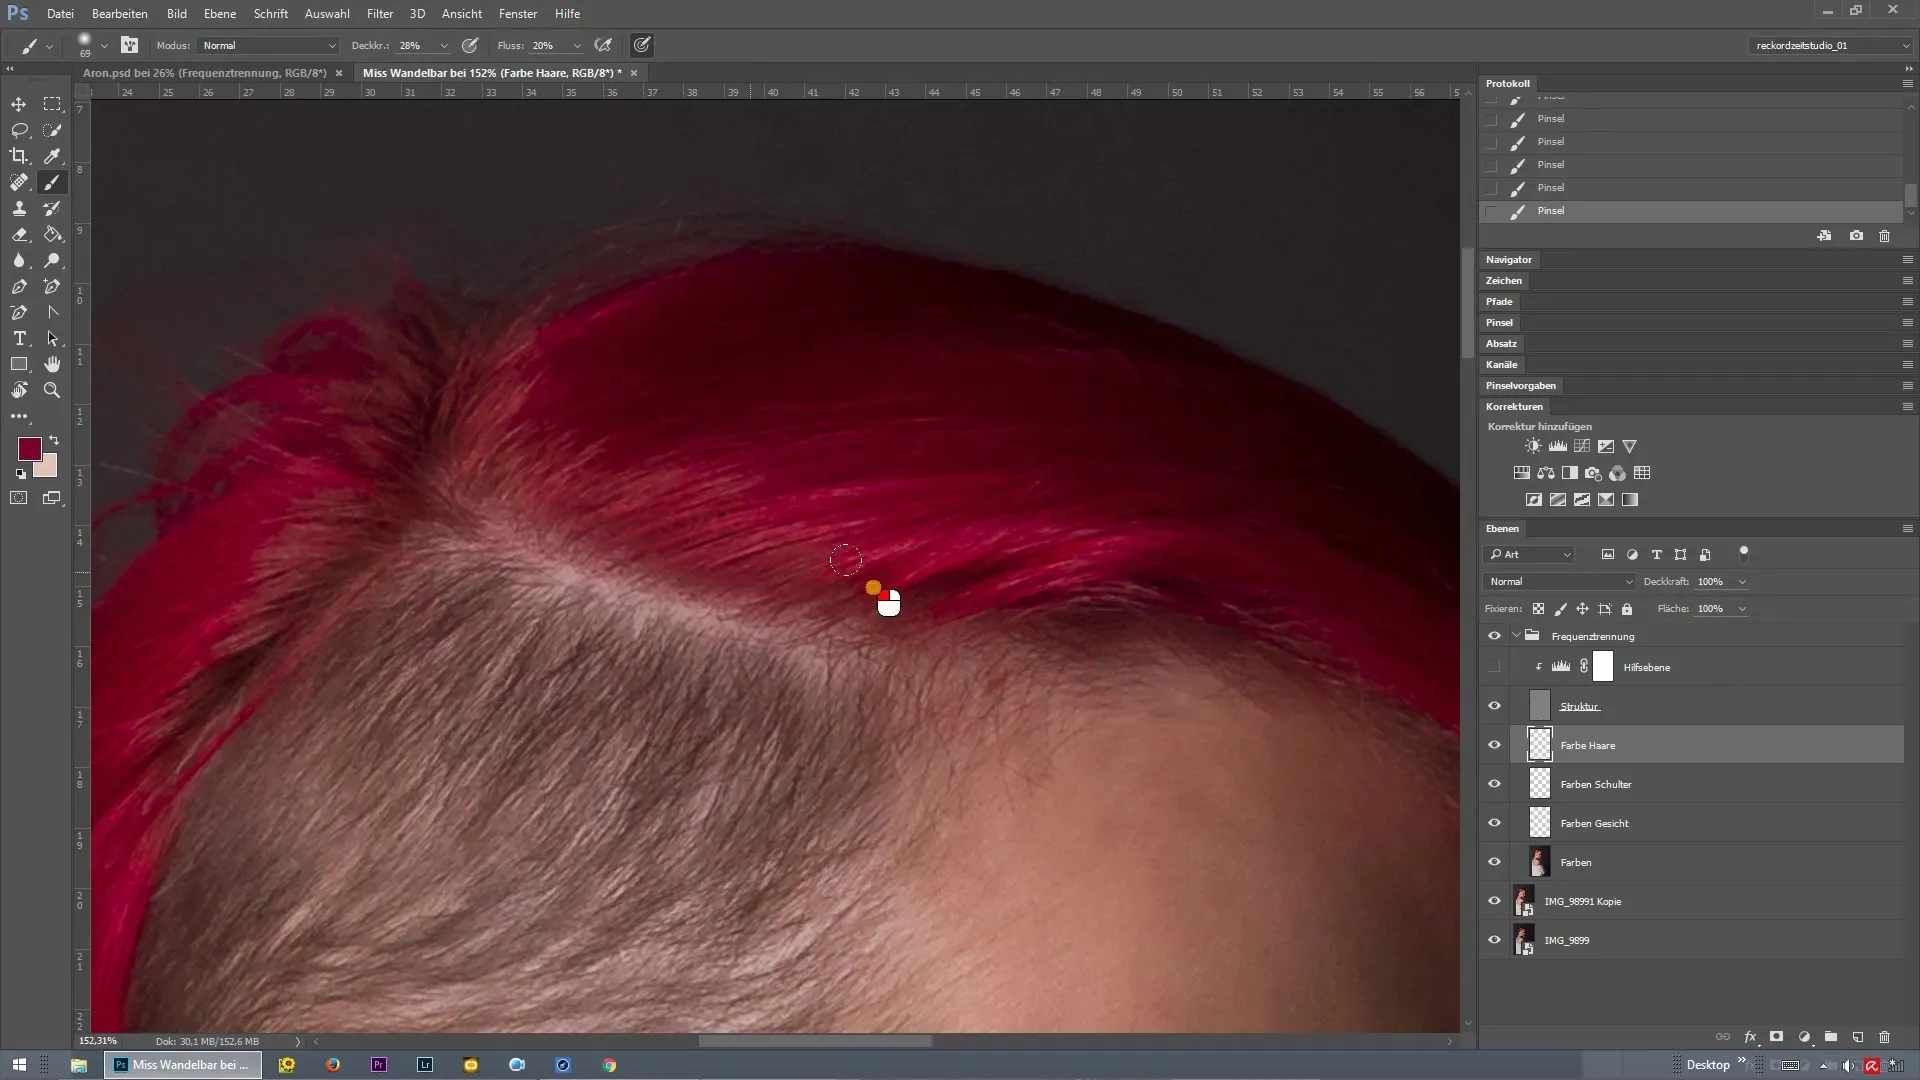
When painting the color, be mindful of where the light falls on the image. Experiment with the color tones, especially at the hairline, to create a realistic image. A lighter shade at the roots creates a harmonious overall appearance and prevents the impression that the color is painted on.
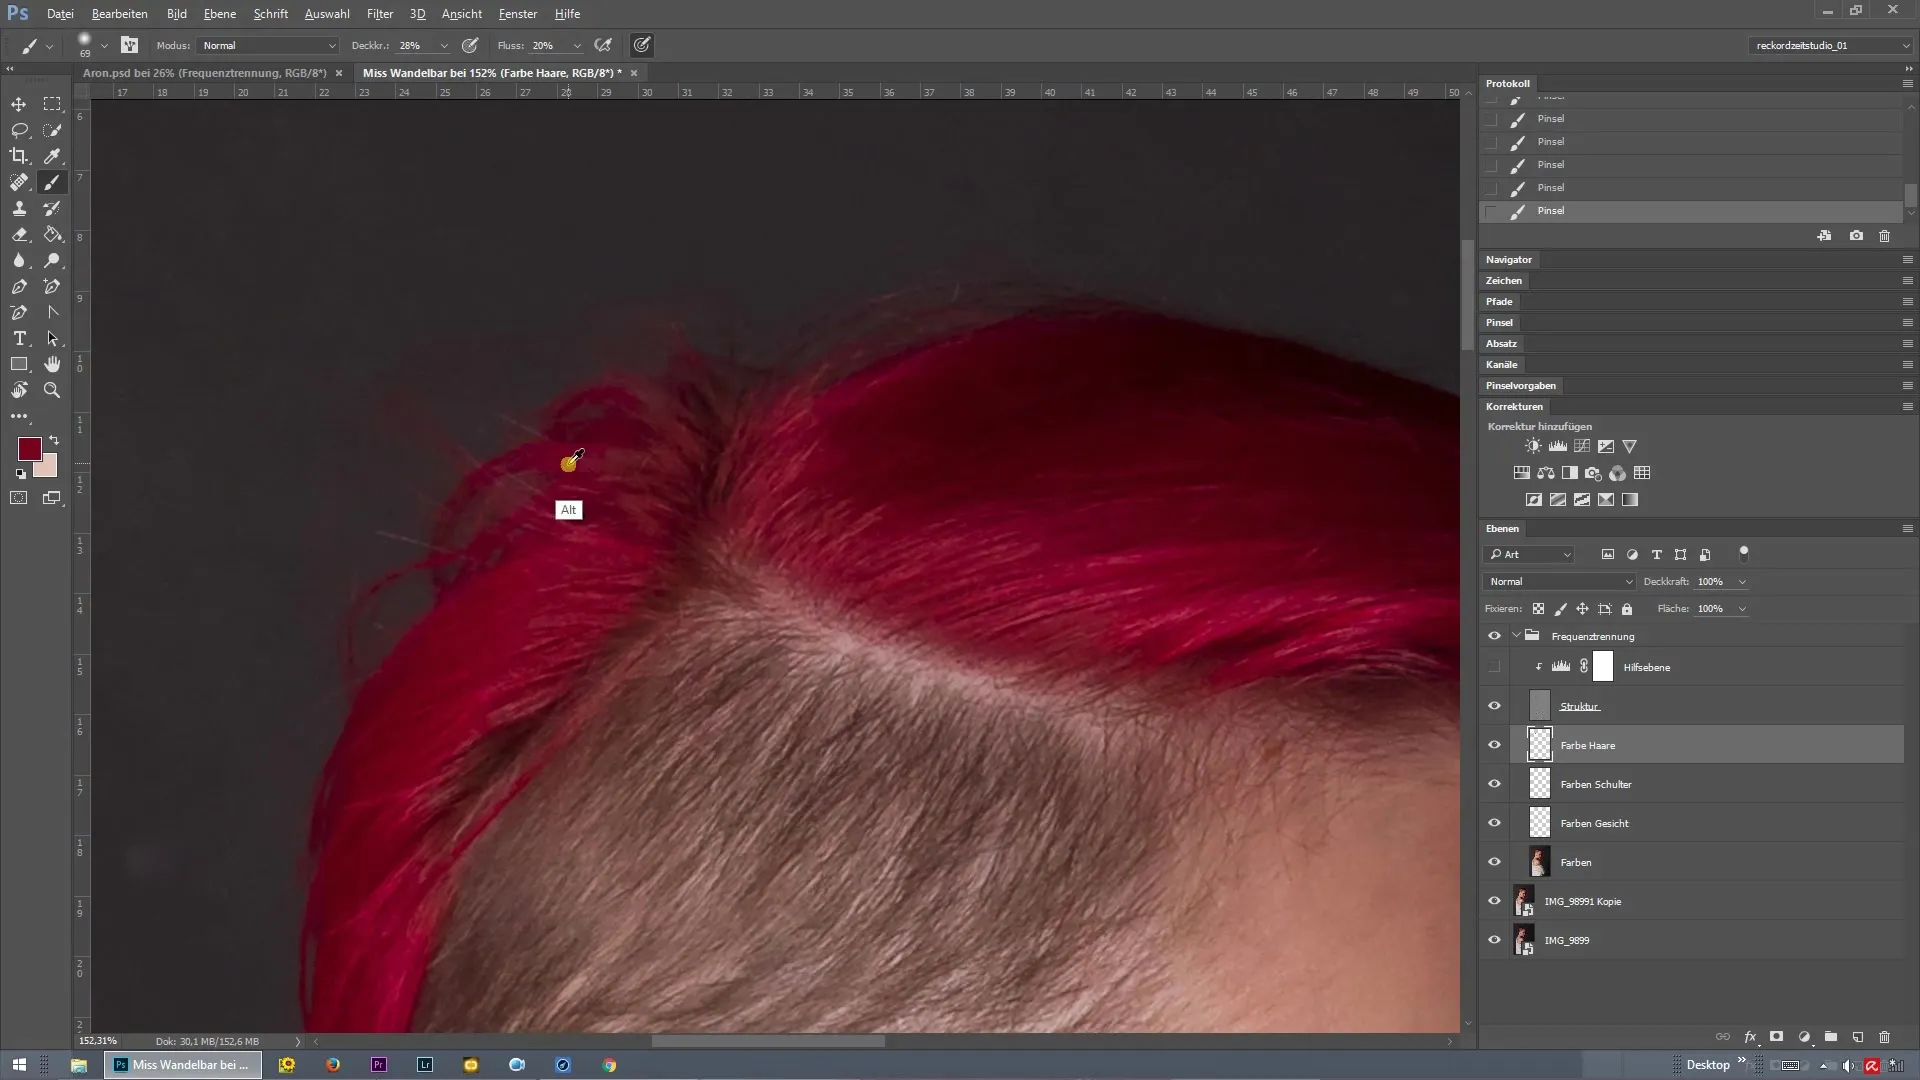
After applying the main color, make sure to also color the hanging strands correctly. Pick up the color again and paint these strands accordingly until they harmonize with the overall picture.
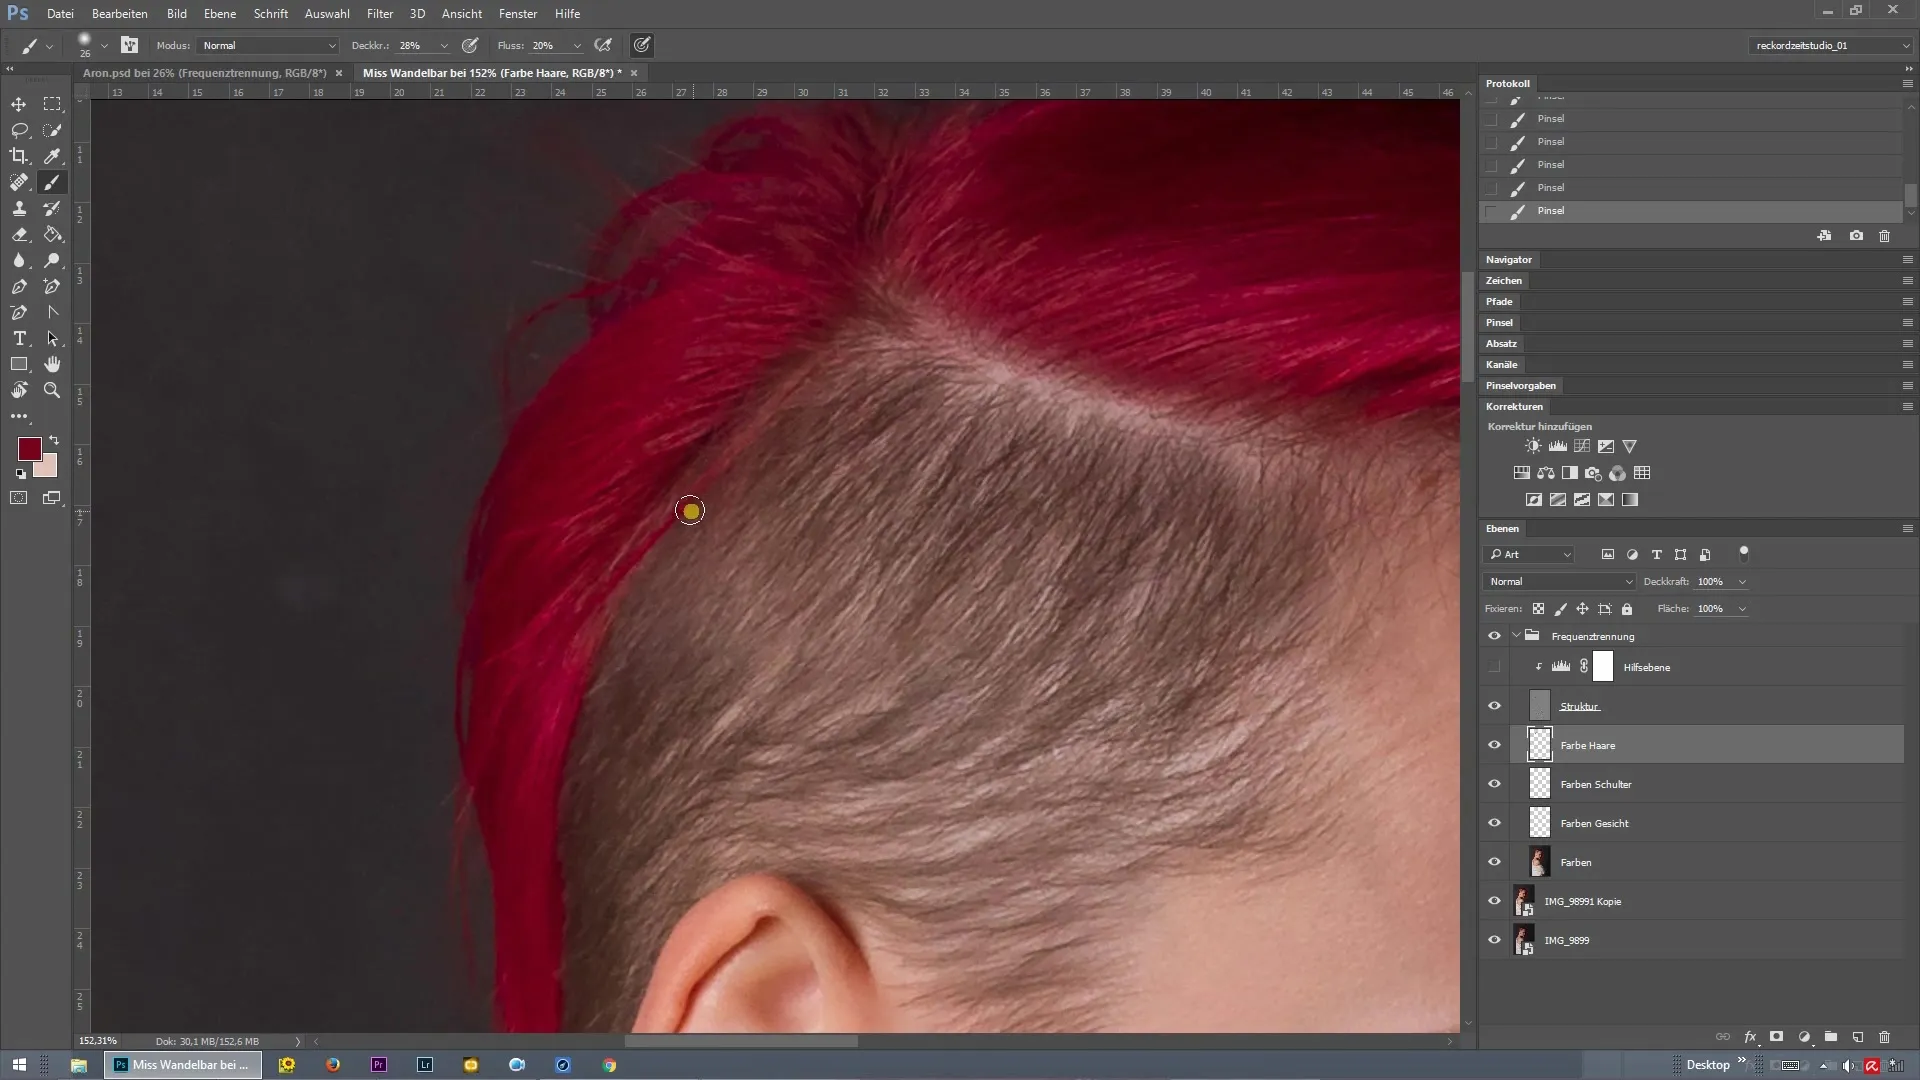
If you notice during the painting process that the structure of the hair does not appear clean, simply go back to the structure layer. There, you can improve the faint hairs. Repeat this step if necessary to eliminate unwanted transitions and achieve a clean result.
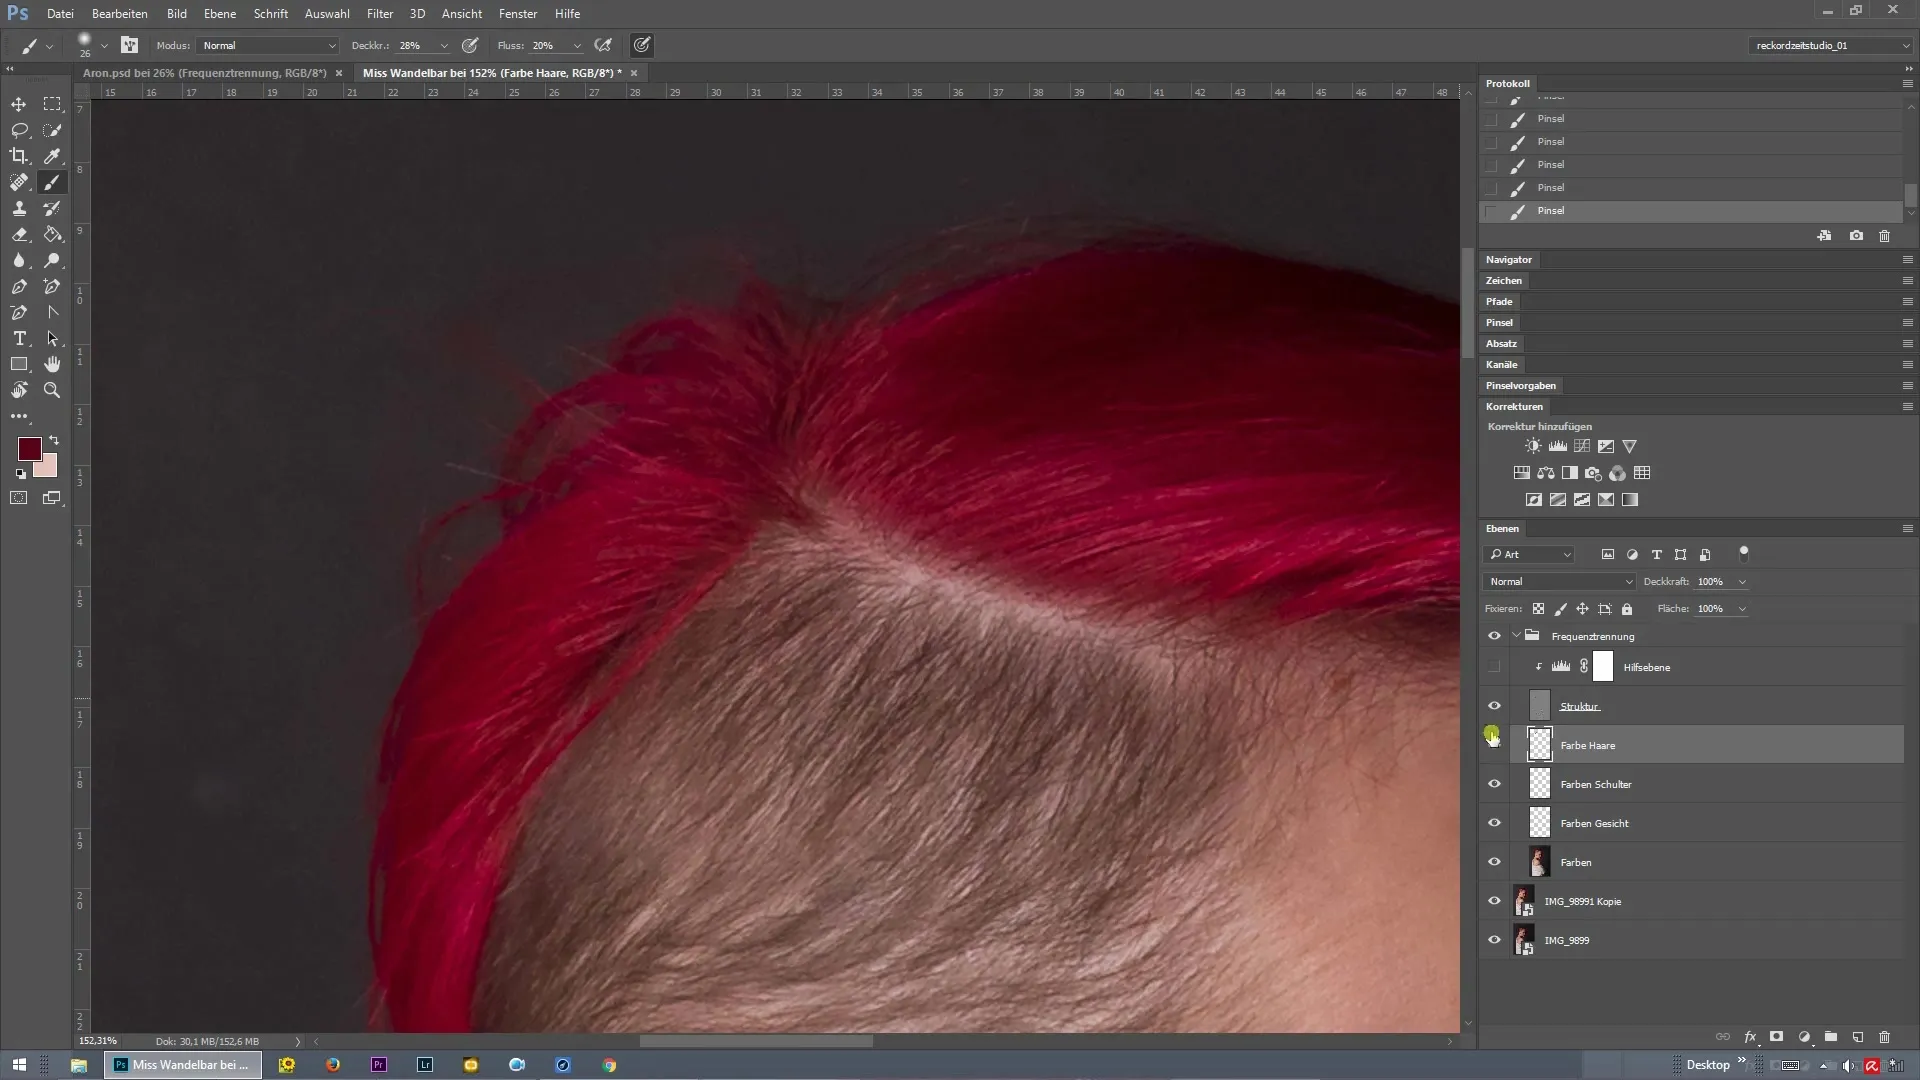
Once you are satisfied with the color and structure, you can make a quick comparison of the before-and-after view. Hold down the Alt key and click on the eye icon of the corresponding layer. This will give you a clear view of the edited image.
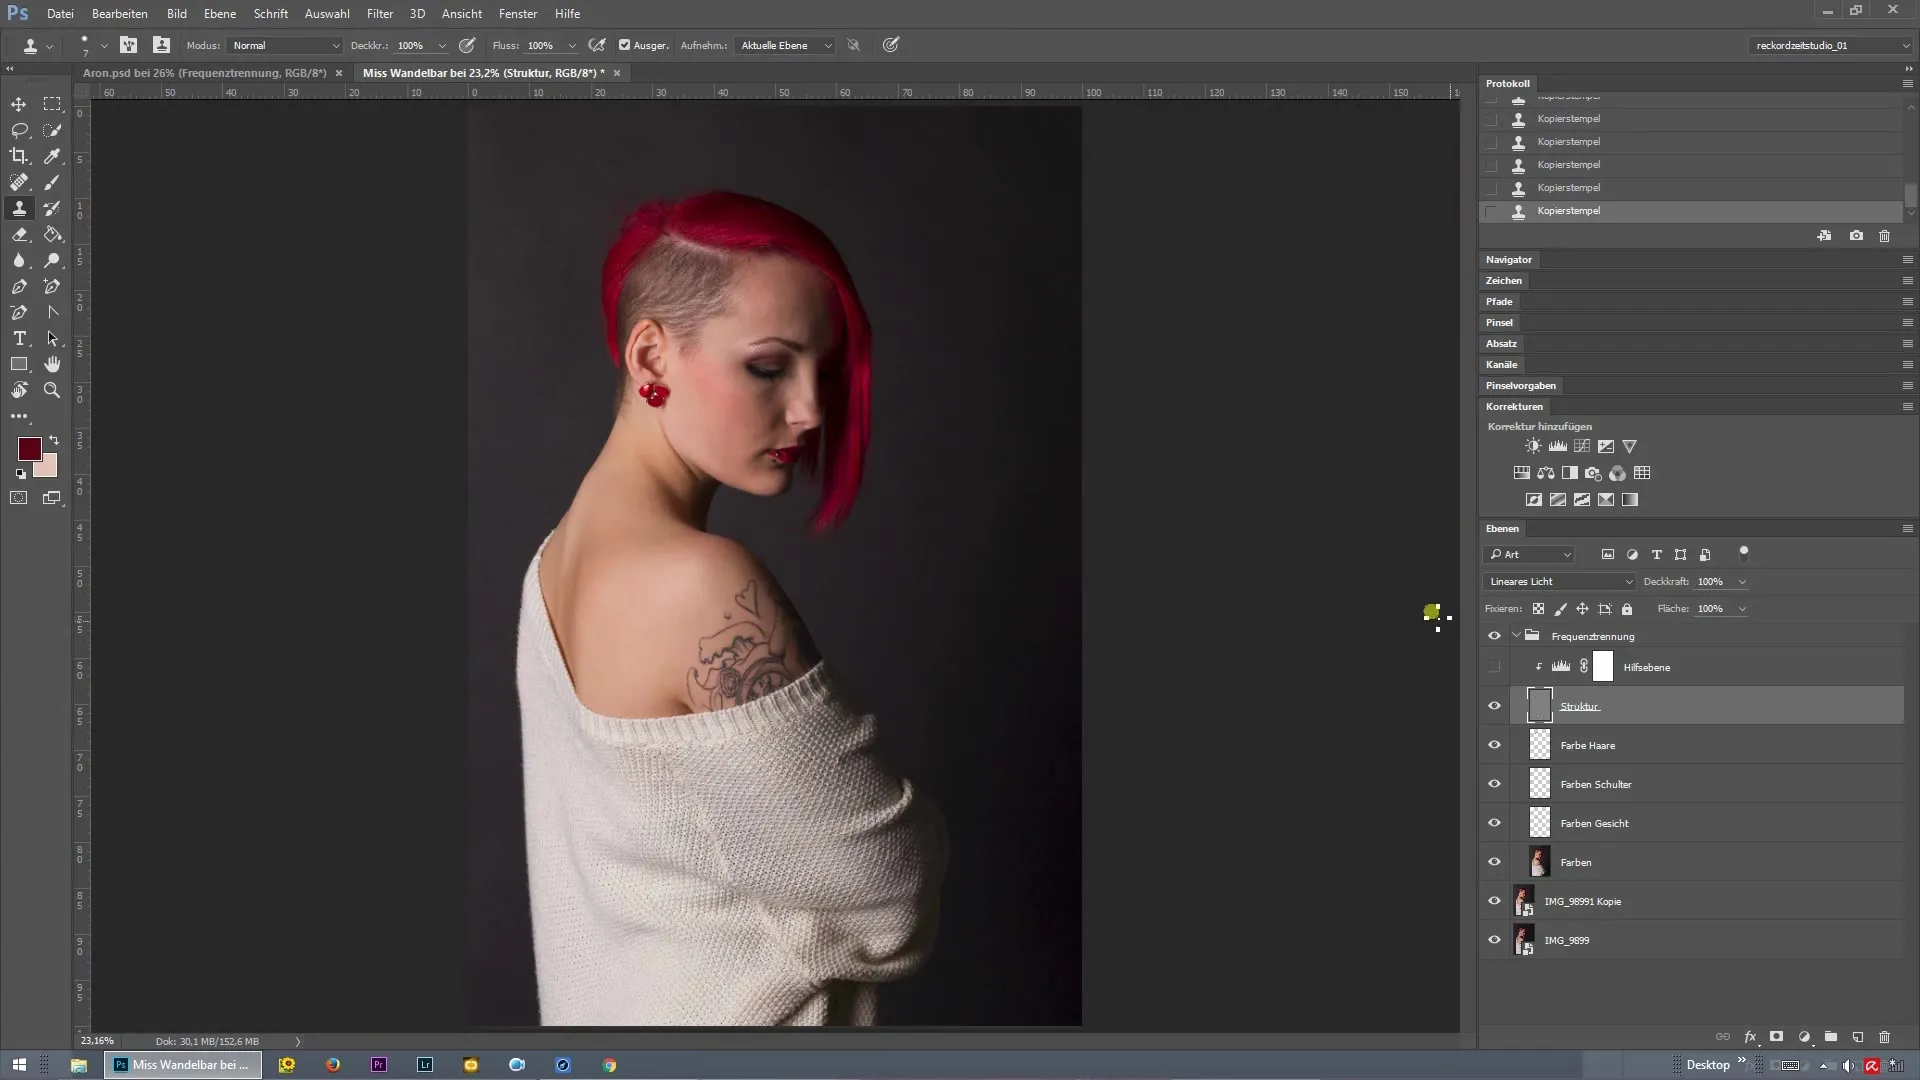
Summary - Coloring Hairline with Frequency Separation in Photoshop
By applying frequency separation, you can efficiently recolor hair and make precise adjustments in coloring without affecting the structure. The right timing and choice of colors are crucial for a successful finish.
Frequently Asked Questions
How does frequency separation work in Photoshop?Frequency separation divides the image into two layers: one for structure and one for color, allowing both to be edited independently.
Which tool should I use for recoloring?A brush with adjustable size is best suited for making precise color adjustments.
Why is the light source important for hair color?The light source affects color perception in the image, making the color adjustments appear more realistic.
Can I adjust the structure afterwards?Yes, you can always return to the structure layer and make detail corrections if the transitions do not look clean.
