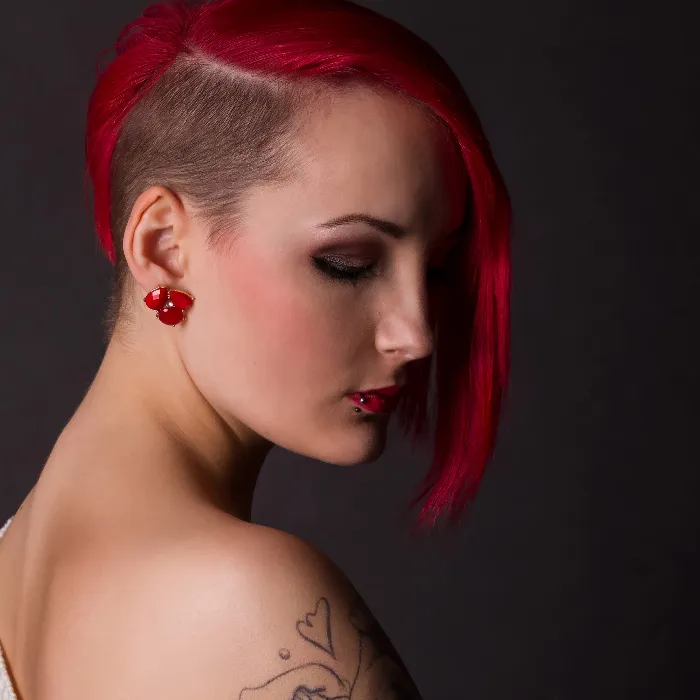
The treatment of skin blemishes is an art in itself. Especially when retouching models, frequency separation in Photoshop can help preserve skin texture while simultaneously removing blemishes. In this guide, I will show you how to effectively apply frequency separation to achieve clean results in retouching body parts. Let’s go through the steps together so you can give your image the finishing touch.
Key insights
- Frequency separation preserves the texture of the skin while precisely eliminating blemishes.
- Make sure to use the right brushes and settings to achieve a natural result.
- Ensure that you thoroughly edit all necessary areas to complete the image optimally.
Step-by-step guide
To successfully apply frequency separation, follow these steps:
First, open your image in Photoshop and prepare it for frequency separation. To do this, duplicate the background layer to create a working copy. To achieve a clean skin texture, separate the color from the texture layer. You can do this by splitting the image into two separate layers. The 'High Pass' and 'Gaussian Blur' filters will help you isolate the different frequencies.
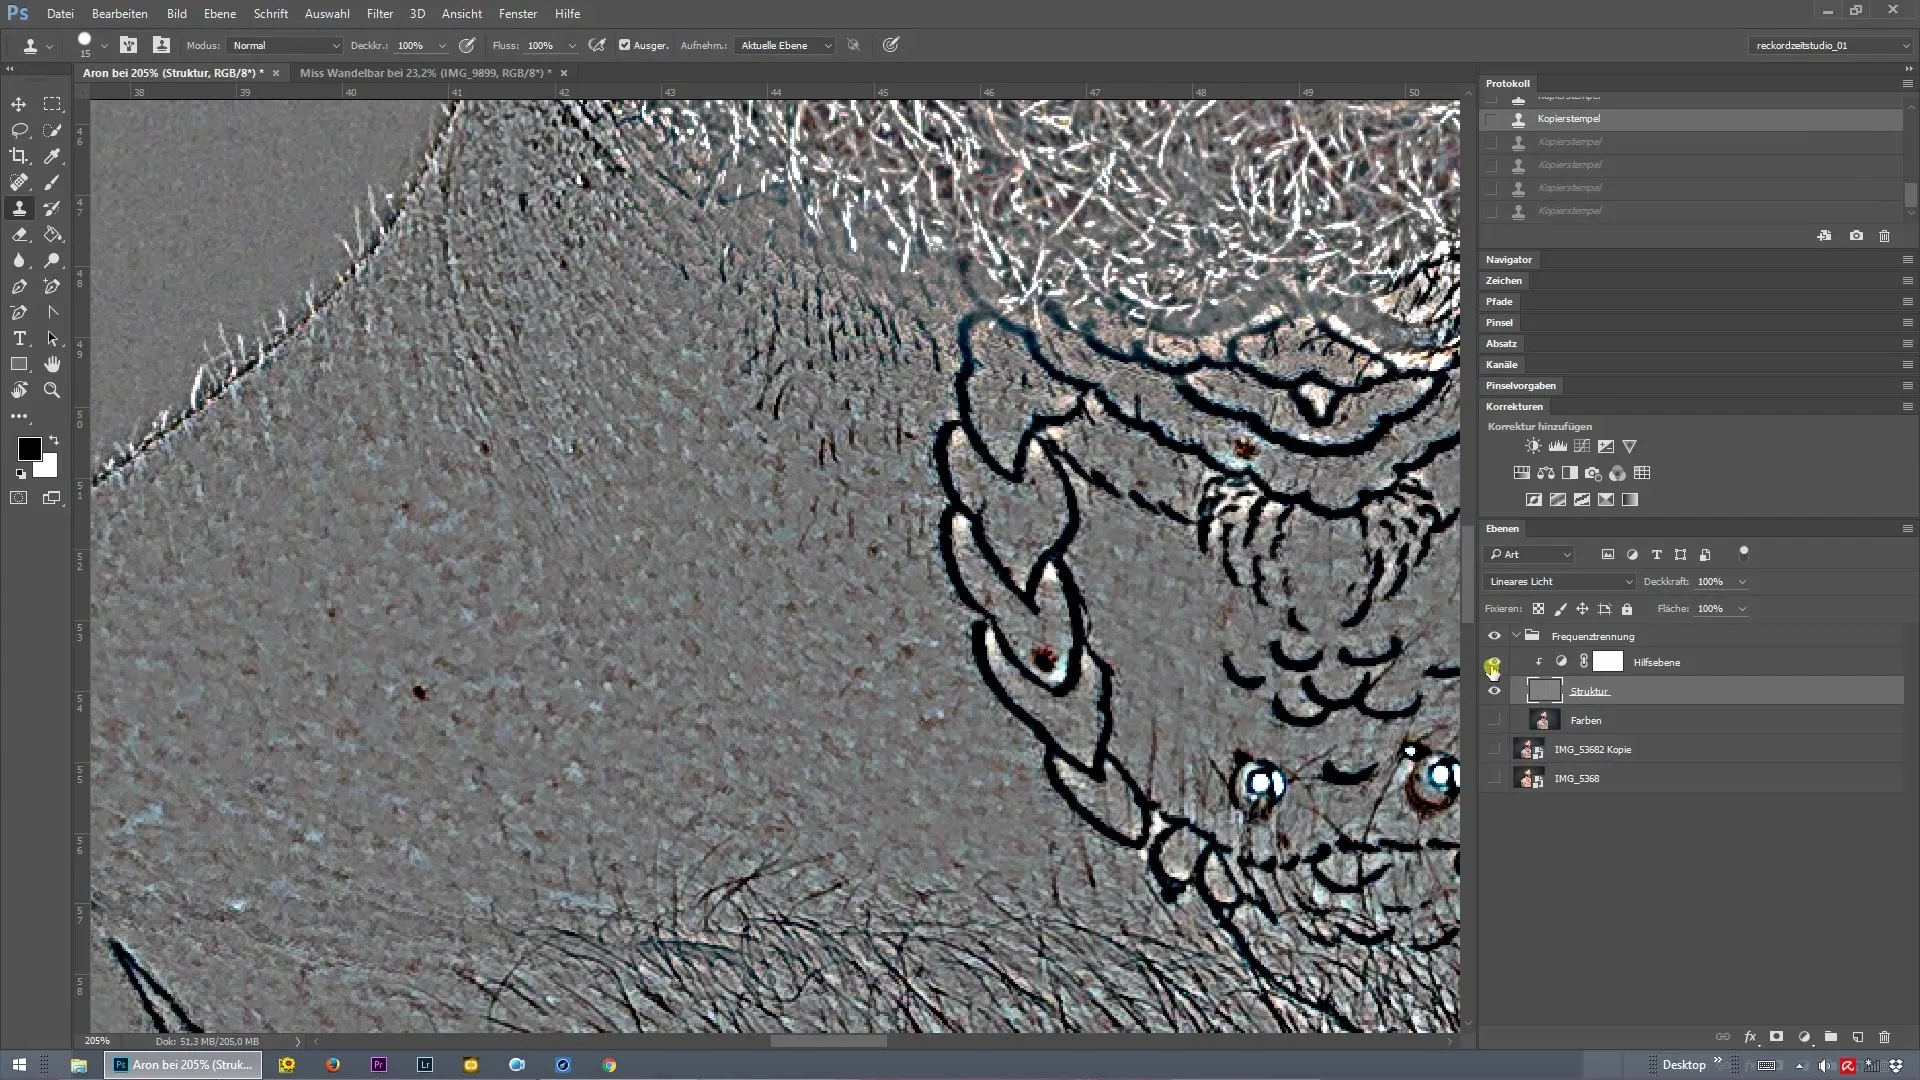
That's enough theory for now. Let's look at the practical implementation. Select the structure and color layer to begin retouching. Make sure you have the structure layer activated, as you want to correctly stamp the skin texture here. Use a brush tool with an appropriate size to create clean transitions and avoid unwanted details. Carefully go over the desired skin areas and stamp the clean skin texture from the original layer.
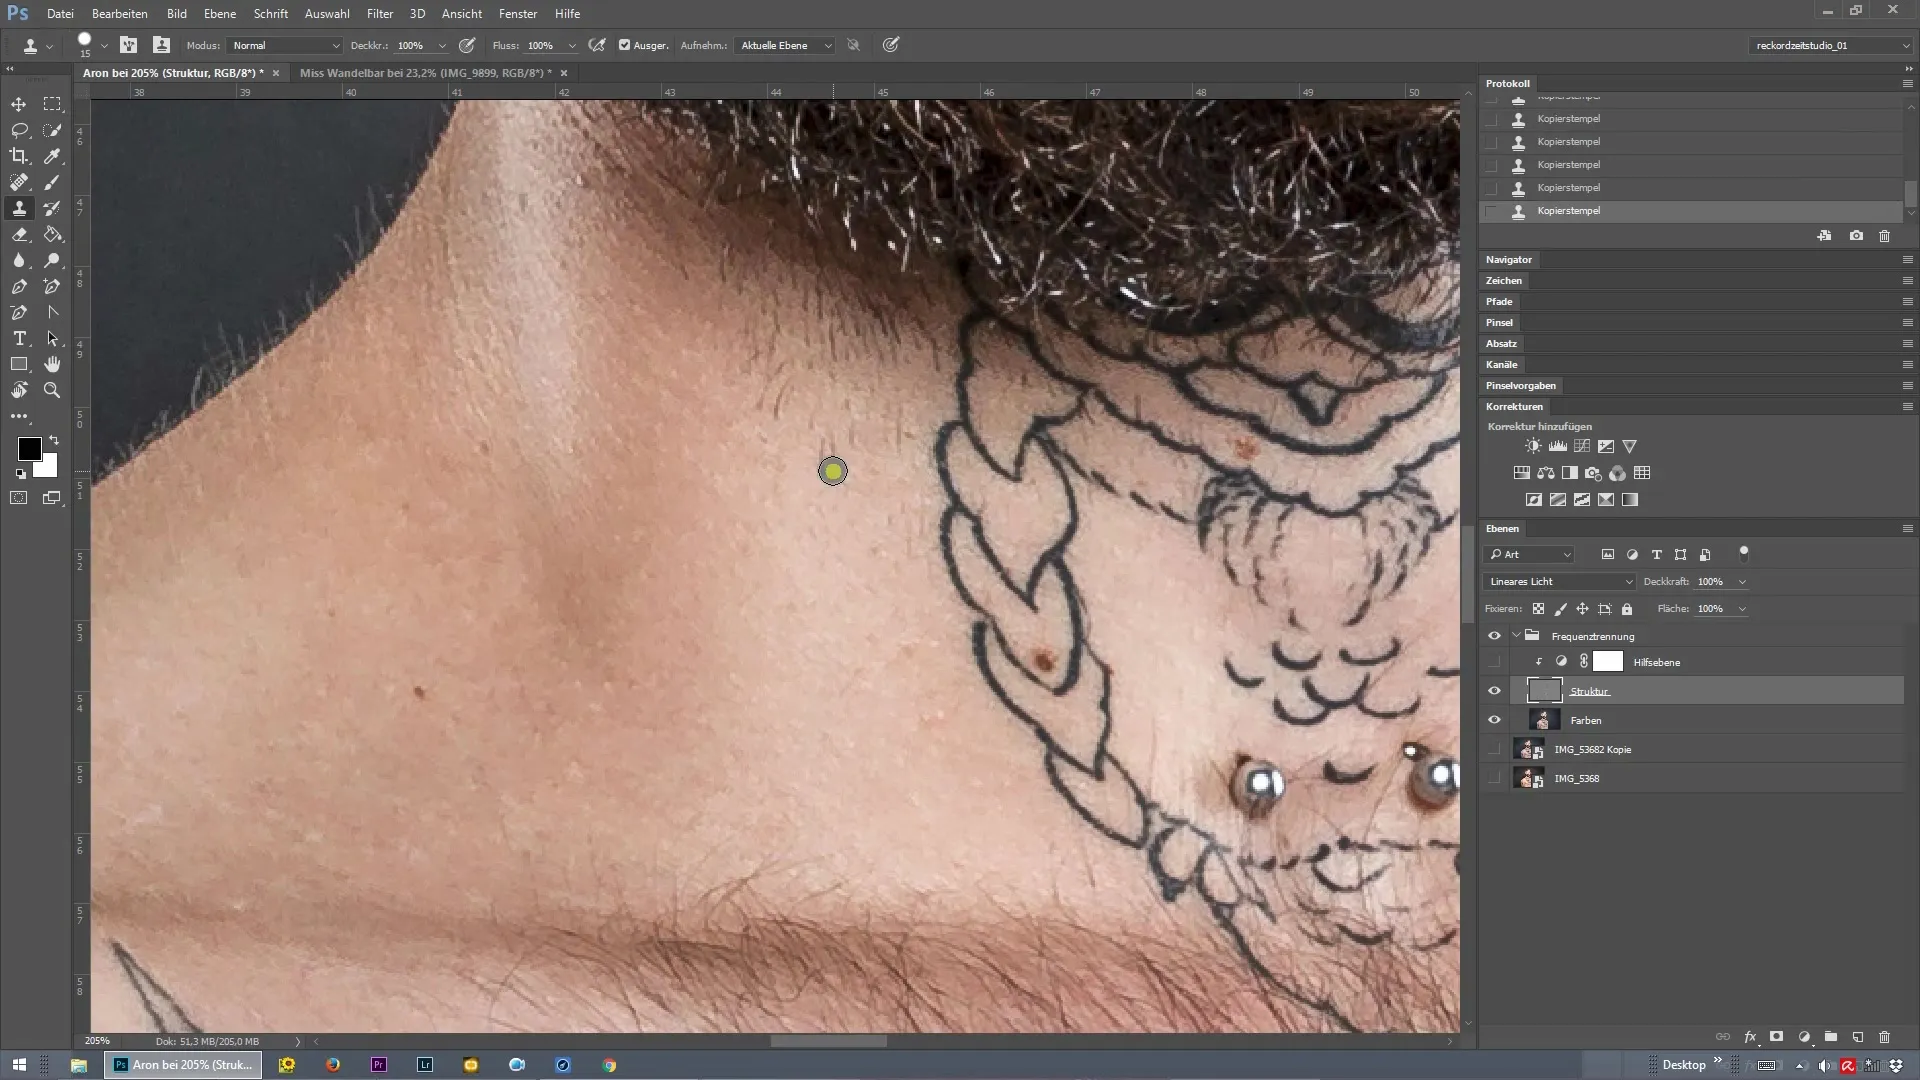
While you work, you may find that you cannot optimally capture the texture in some areas, as there may be tattoos or shadows present. It is important to use smaller brush tips to work precisely. Be particularly careful not to accidentally clone tattoos or other important features.
If there are still areas left behind, don’t worry. You can edit these later on a separate layer. The goal is to keep the skin texture even while removing all inappropriate areas.
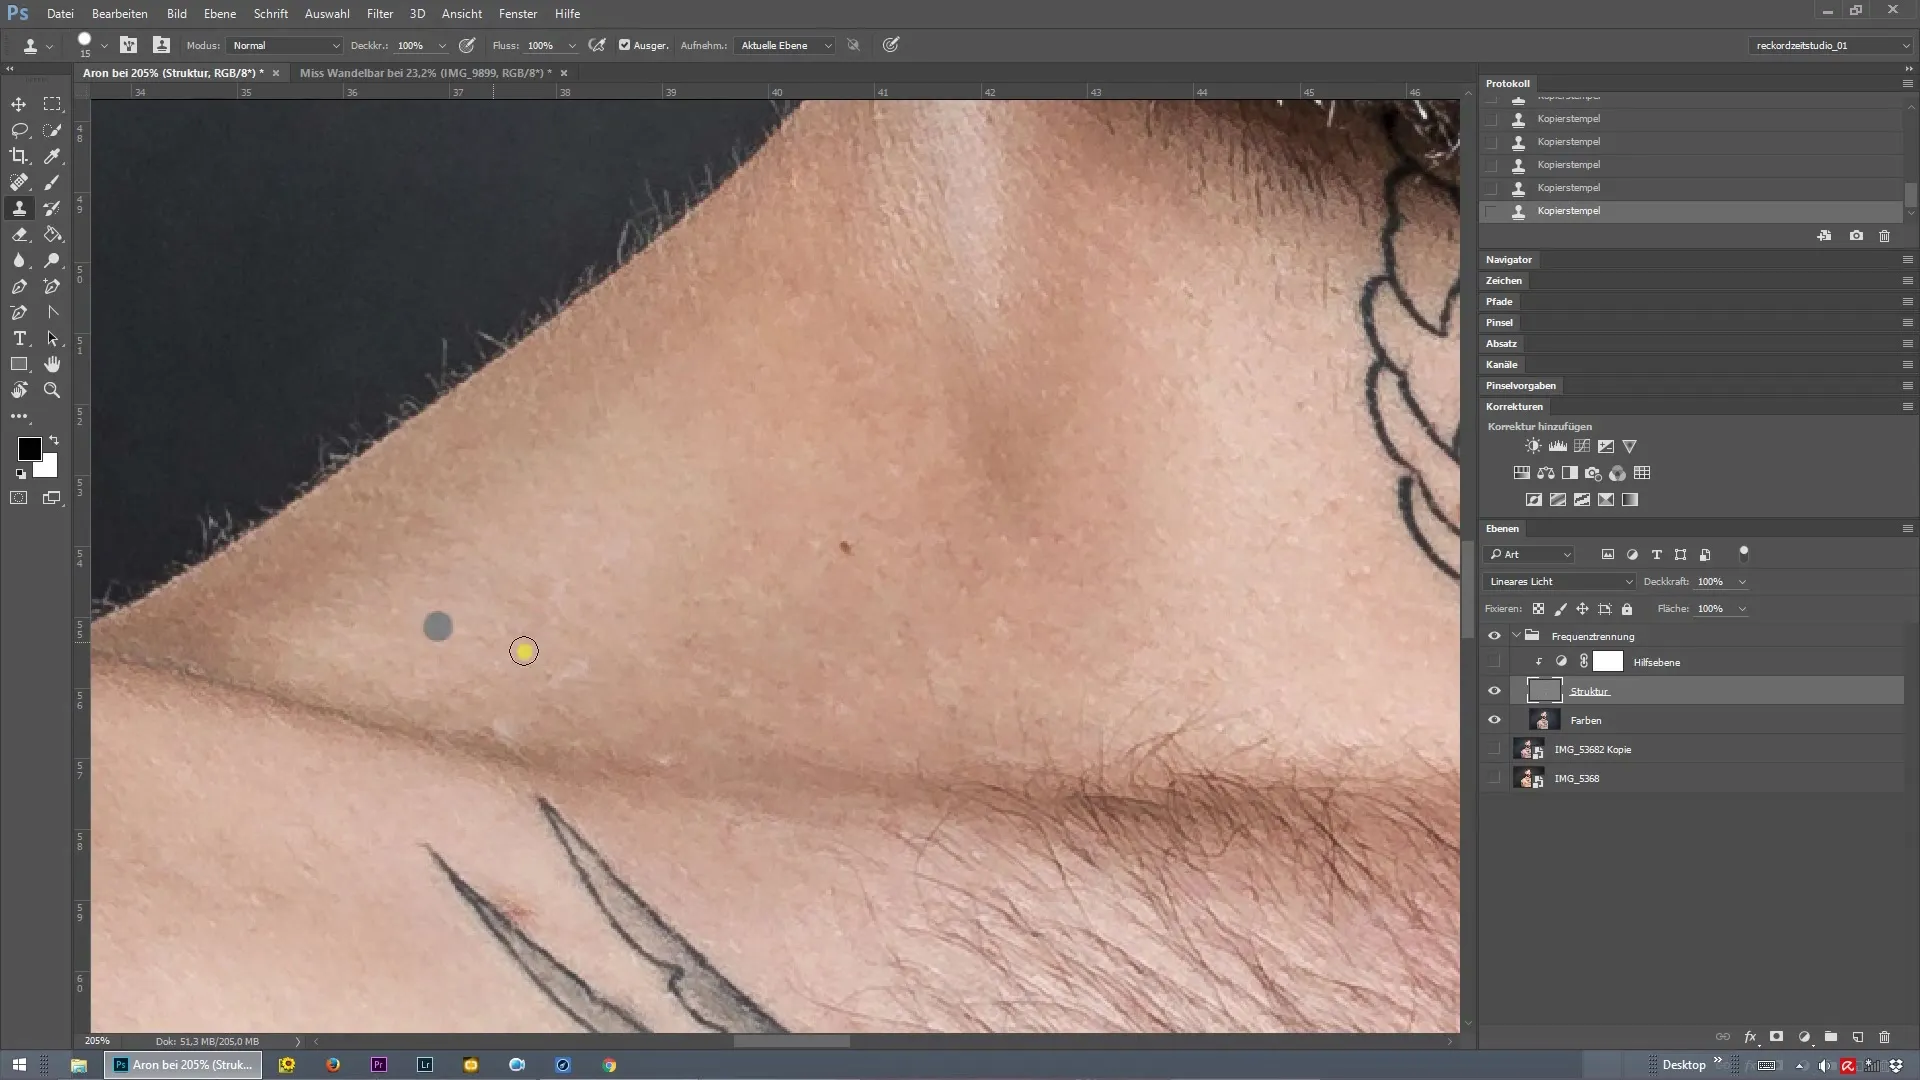
If you notice that you forgot an area, you have the option to run the frequency separation action again at any time as long as the action was set up correctly. This allows you to edit your progress later without having to start over.
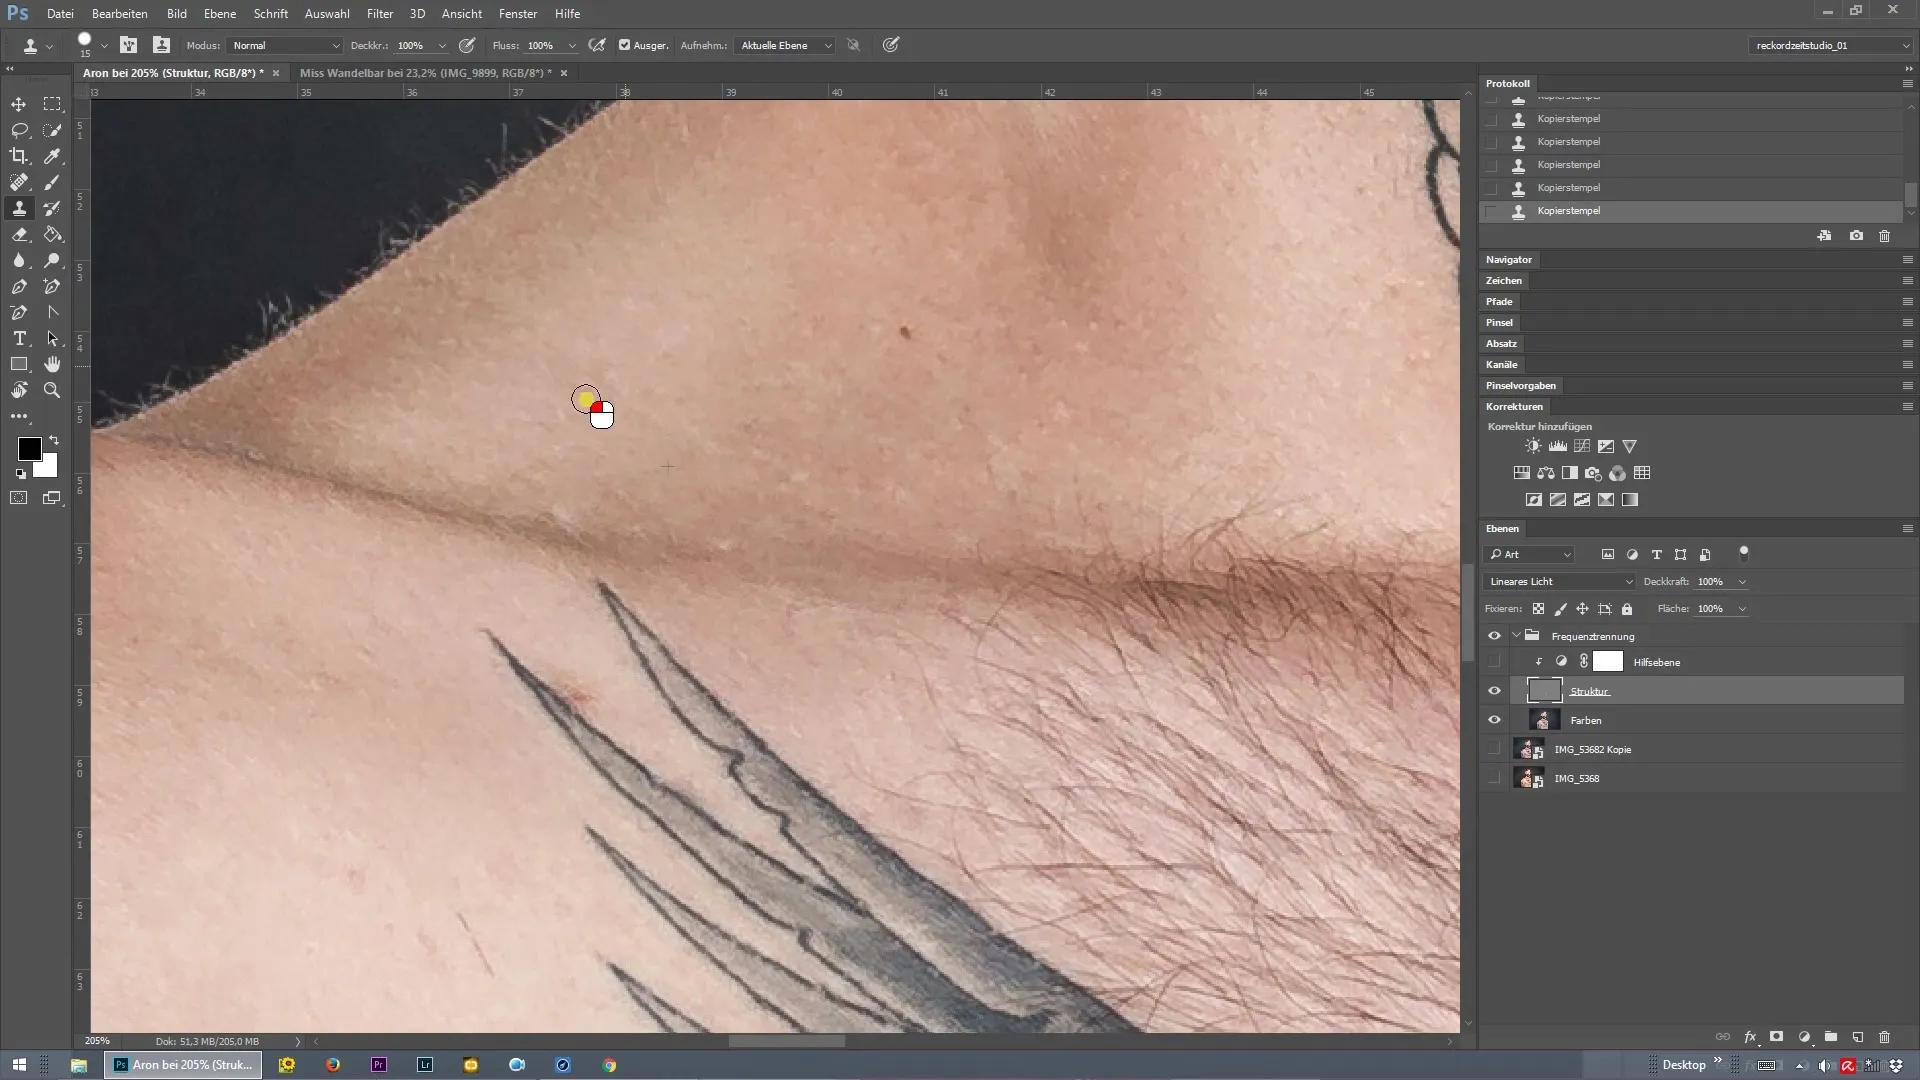
Now you have already done a large part of the work. Take care of rough spots, like moles that you do not want to remove; these are part of the model's individuality. Also maintain a safe distance from other areas to achieve a consistent result.
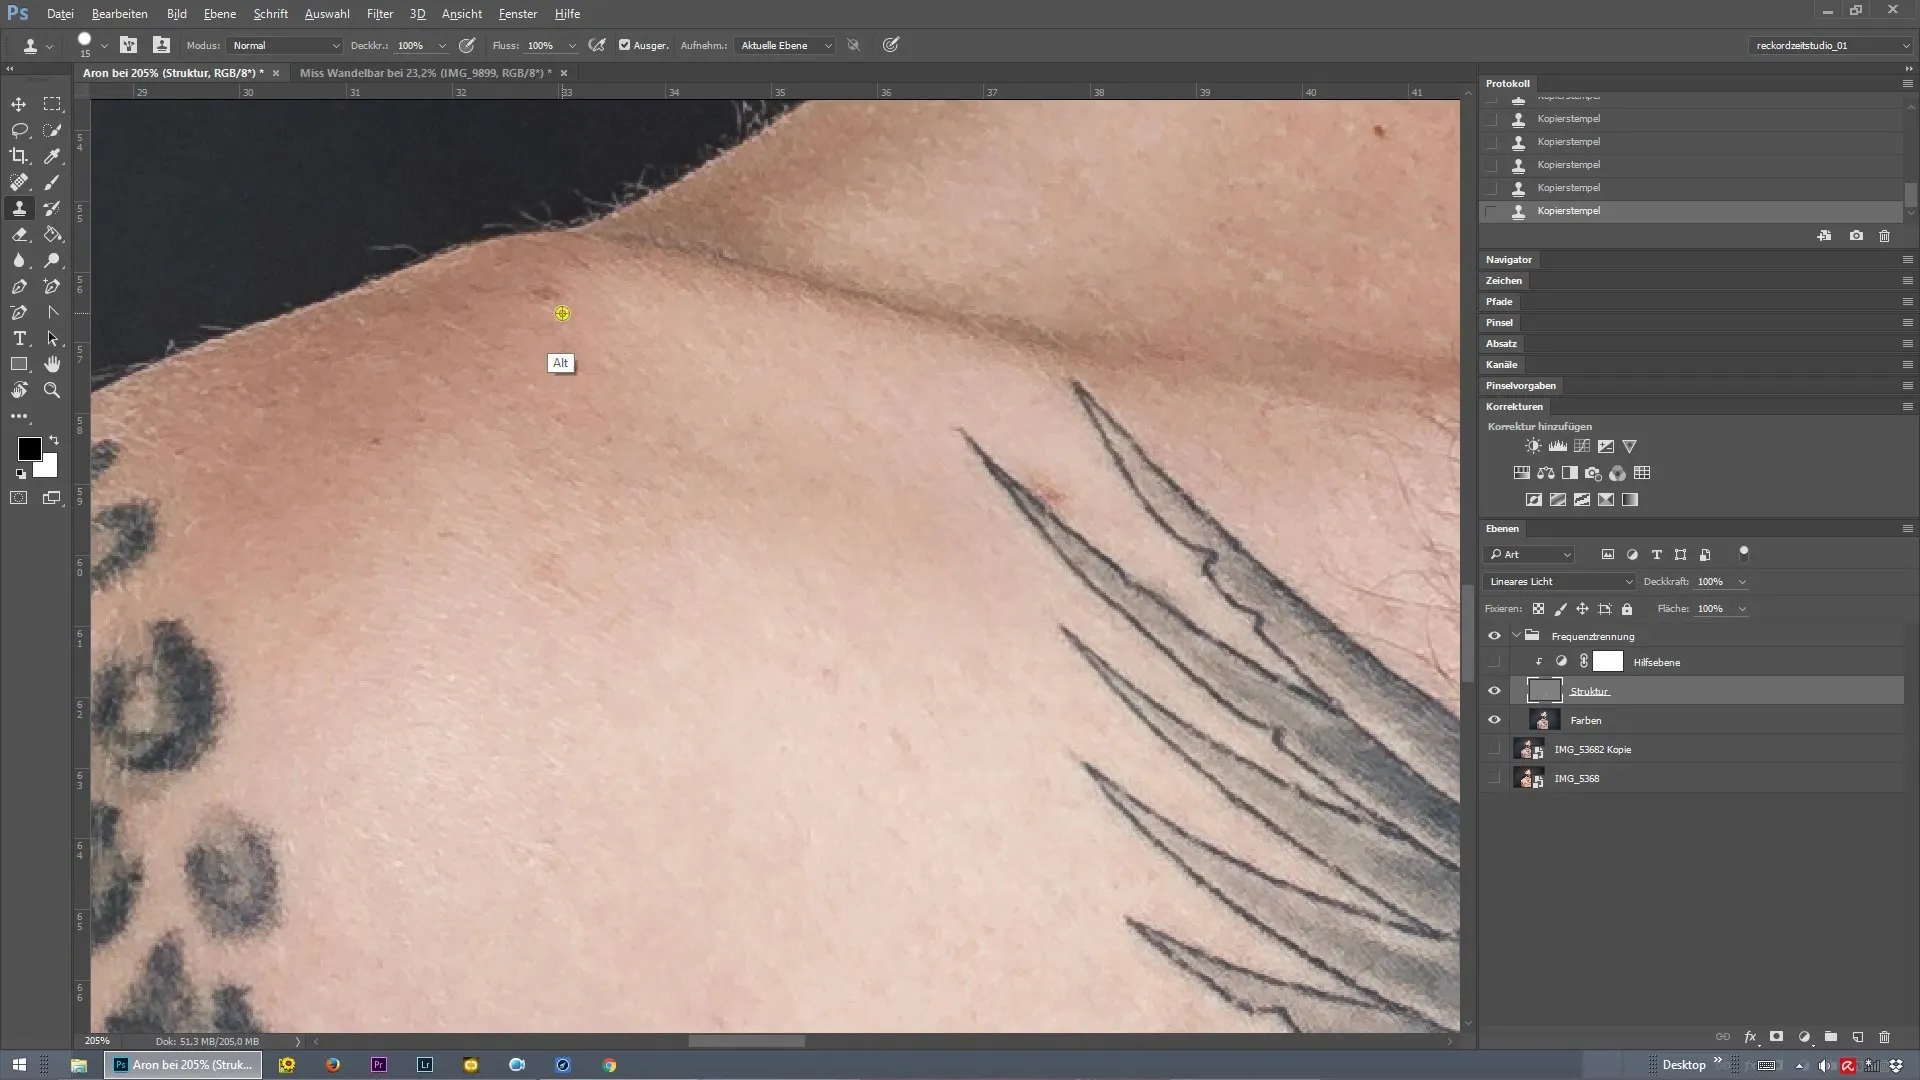
It is now important to review your work, especially the edges. Ensure that you work gently when addressing blemishes and the texture, and do not pick up any incorrect textures. Sometimes it may be necessary to work directly in the troublesome areas to correct the texture.
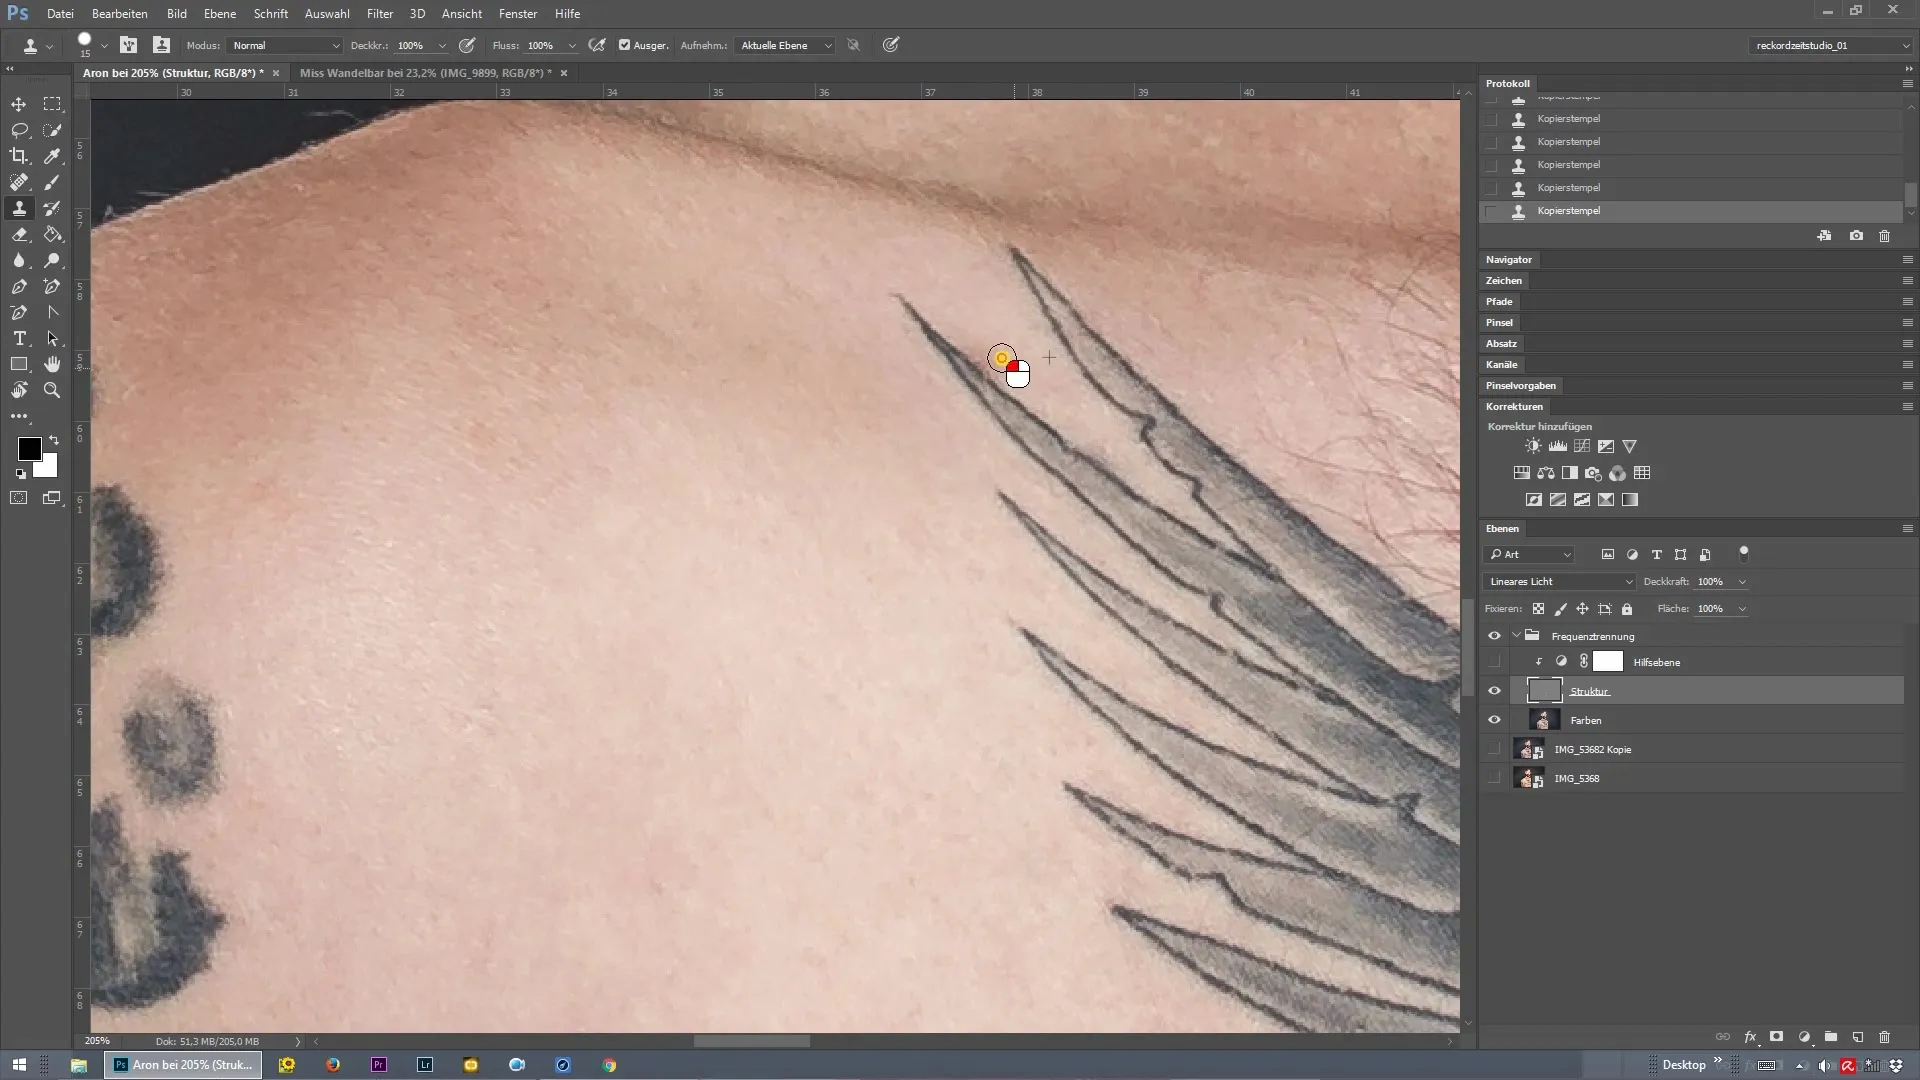
Once you’ve made all the final touches and corrections, you can look with satisfaction at your work. The textured skin should look exactly as you imagined it, clean and natural.
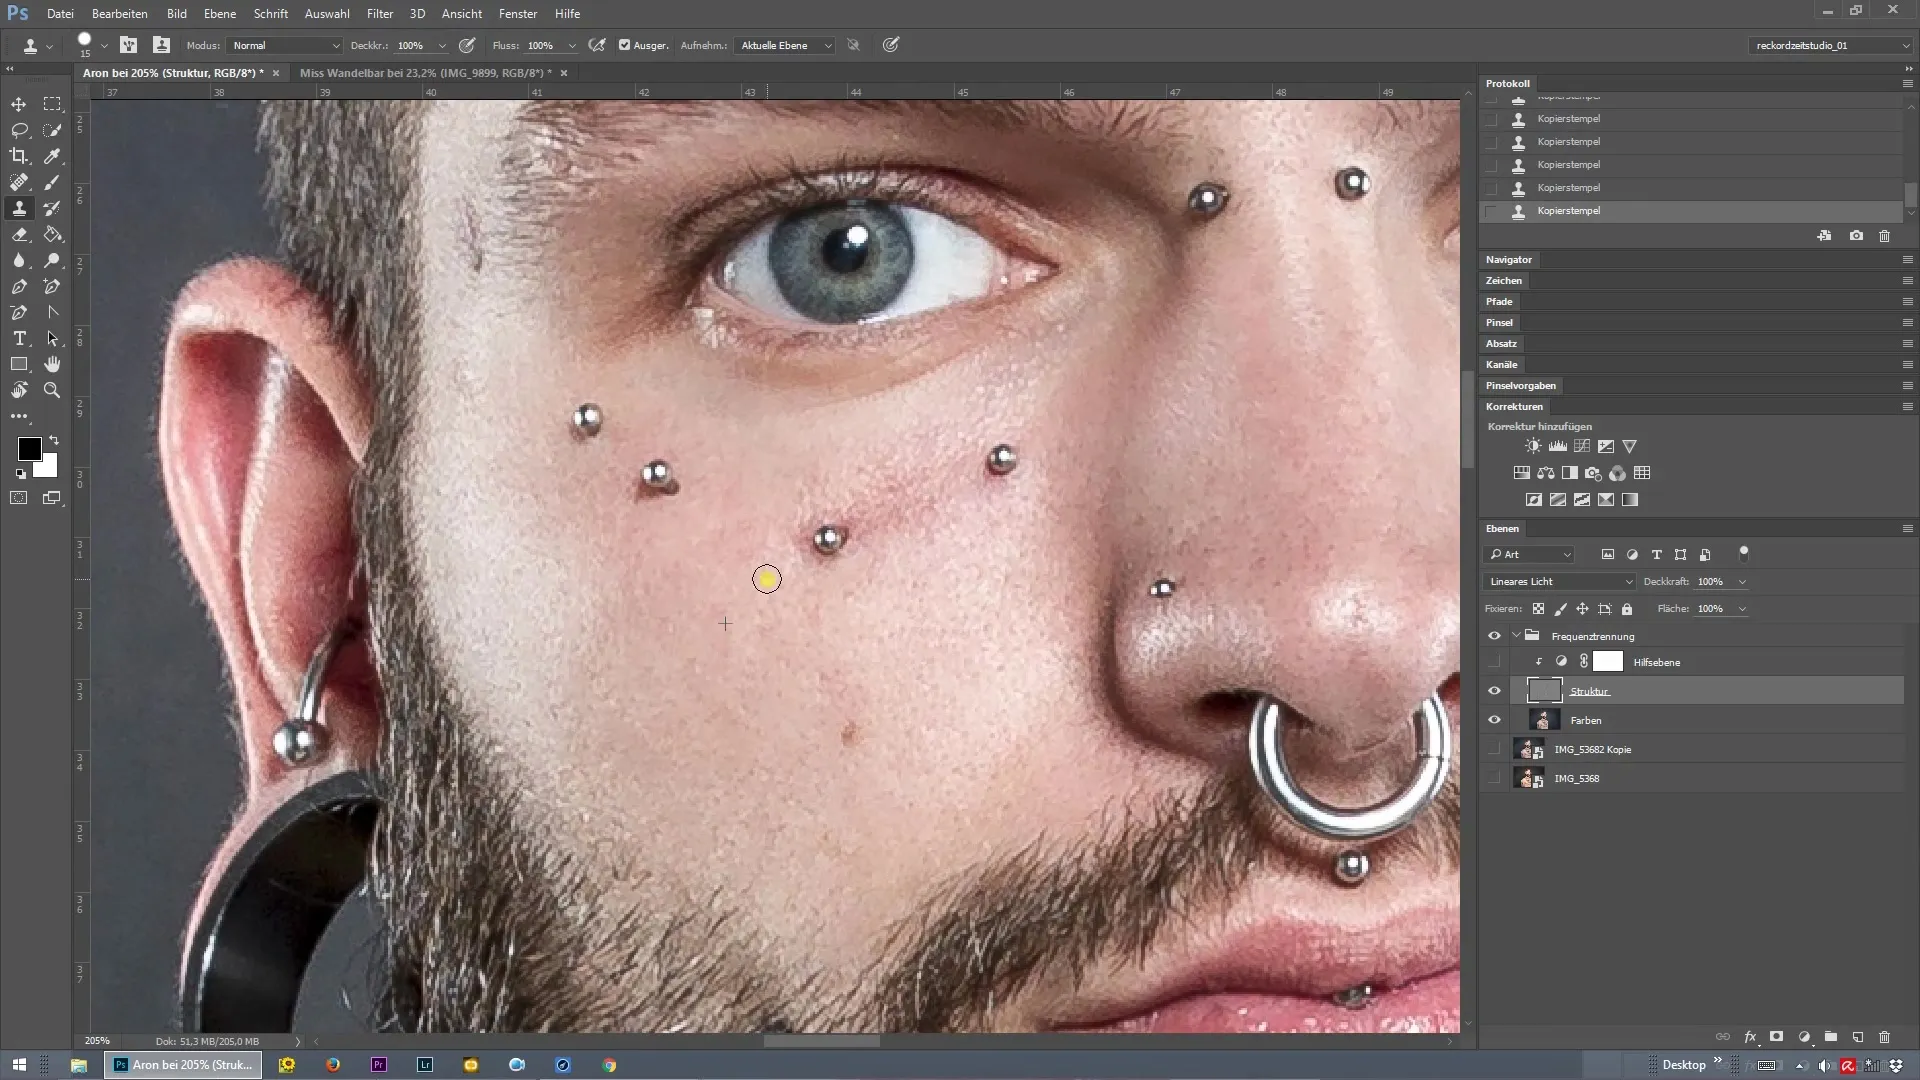
Summary - Frequency separation for skin retouching in Photoshop
Frequency separation is an essential tool for photographers and retouchers aiming for high-quality skin editing. The steps for application and the technical details are crucial for achieving the best results.
Frequently Asked Questions
How does frequency separation work in Photoshop?Frequency separation splits an image into two layers: one for colors and one for textures, which can be edited independently.
Why should I use smaller brush tips?Smaller brush tips help work precisely, especially in areas with tattoos or fine details.
Can I change my editing later?Yes, as long as the frequency separation action was set up correctly, you can edit later at any time.
Do I have to remove all moles?No, moles and individual features make the model unique and should not always be removed.
What is the advantage of the structure and color layers?By separating these layers, you can perform retouches without affecting the natural skin texture.
