Editing images in Photoshop poses many challenges, especially when it comes to retouching skin and other details. An effective technique that has proven successful in image editing is frequency separation. It allows you to edit texture and color information separately, resulting in a harmonious overall image. In this tutorial, you will learn how to apply the blur effect on the color layer to soften the transitions of brightness and colors.
Key insights
- Frequency separation allows for separate editing of texture and color.
- The blur effect can be applied on the color layer to minimize skin imperfections.
- You can make targeted adjustments with masks without changing the entire layer.
Step-by-step guide
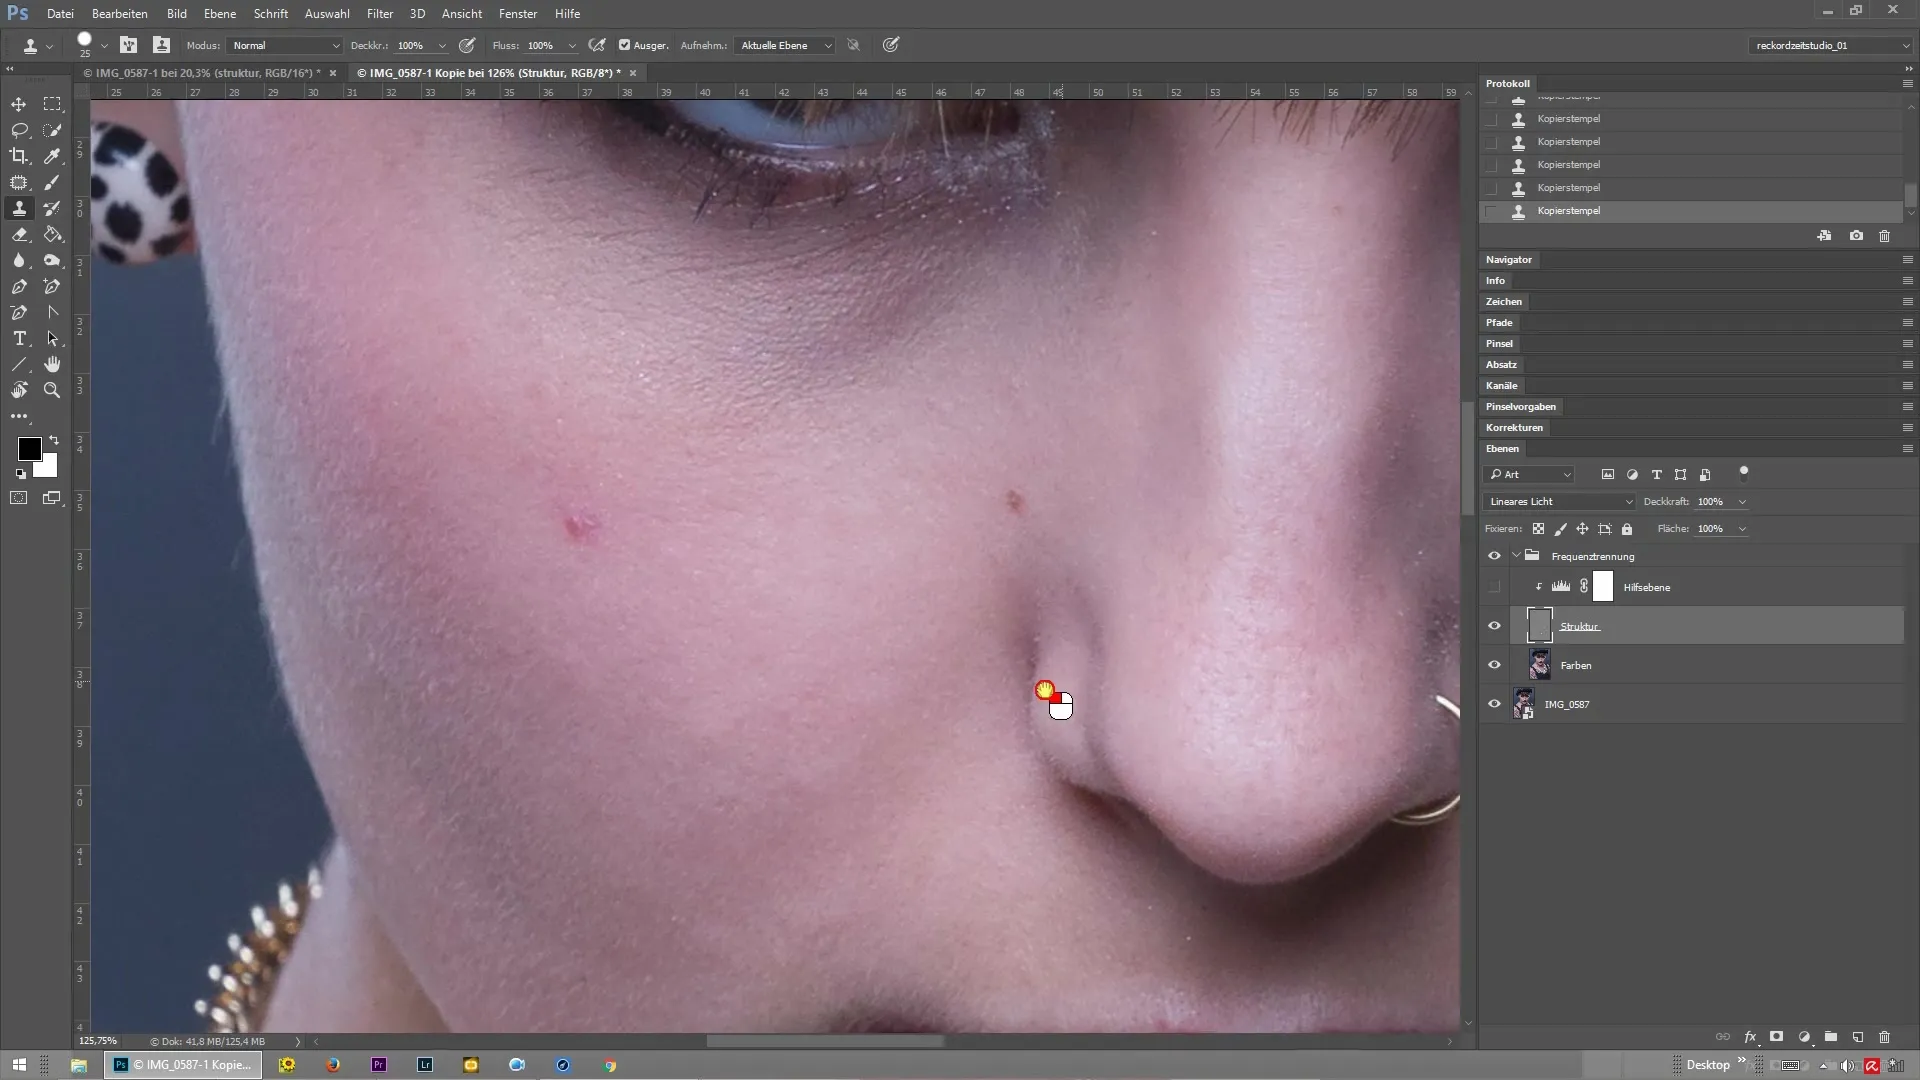
First, you should prepare your workspace in Photoshop. Load your image and create the texture layer and the color layer. To do this, duplicate the layer and apply the high-pass filter to the texture while leaving the color layer unchanged. Now you are ready to edit the color layer.

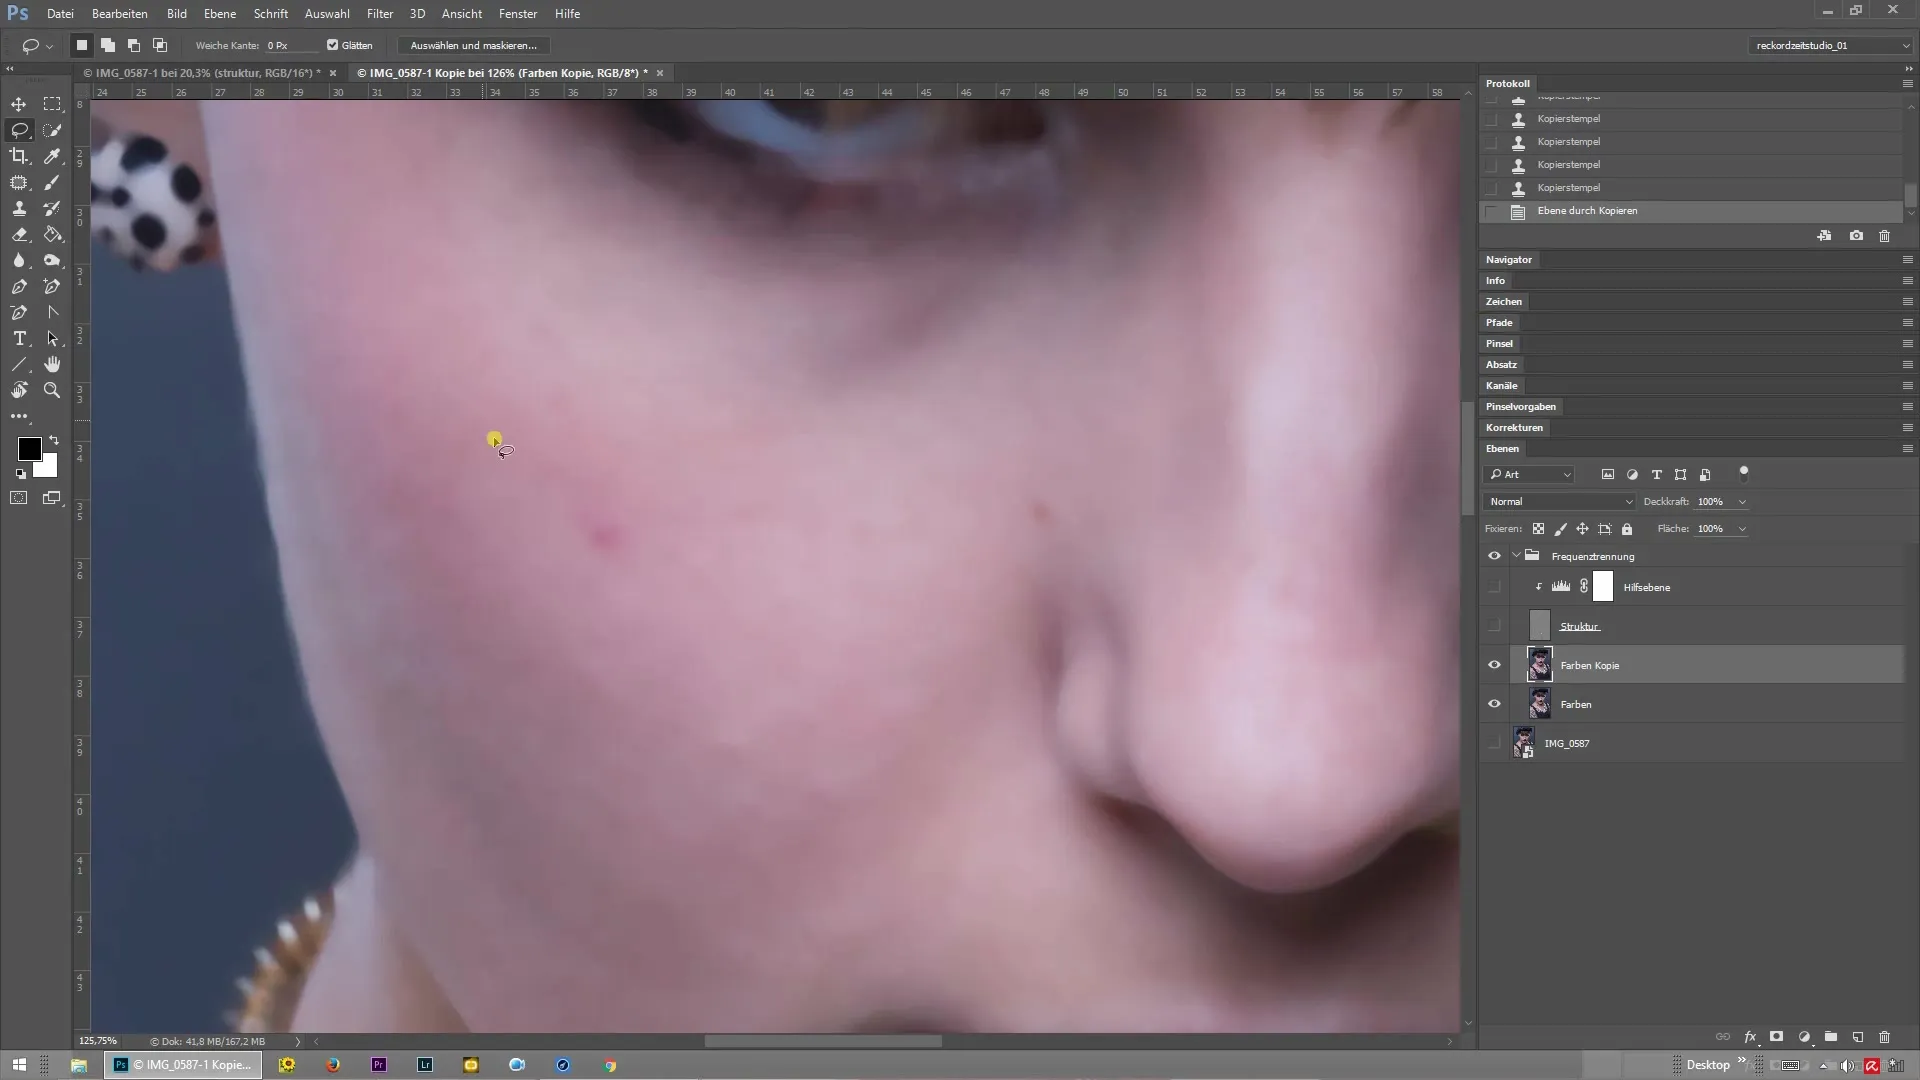
You have now isolated your color layer. To make the colors smoother, you should apply the blur effect. Go to the color layer, select an area you want to edit, then click on the “Blur filter” and subsequently on “Gaussian Blur”.

In the next step, enter a value for the blur. It is important that this value is not set too high to preserve the details of the image. Make sure that the colors blend nicely and spots are minimized.
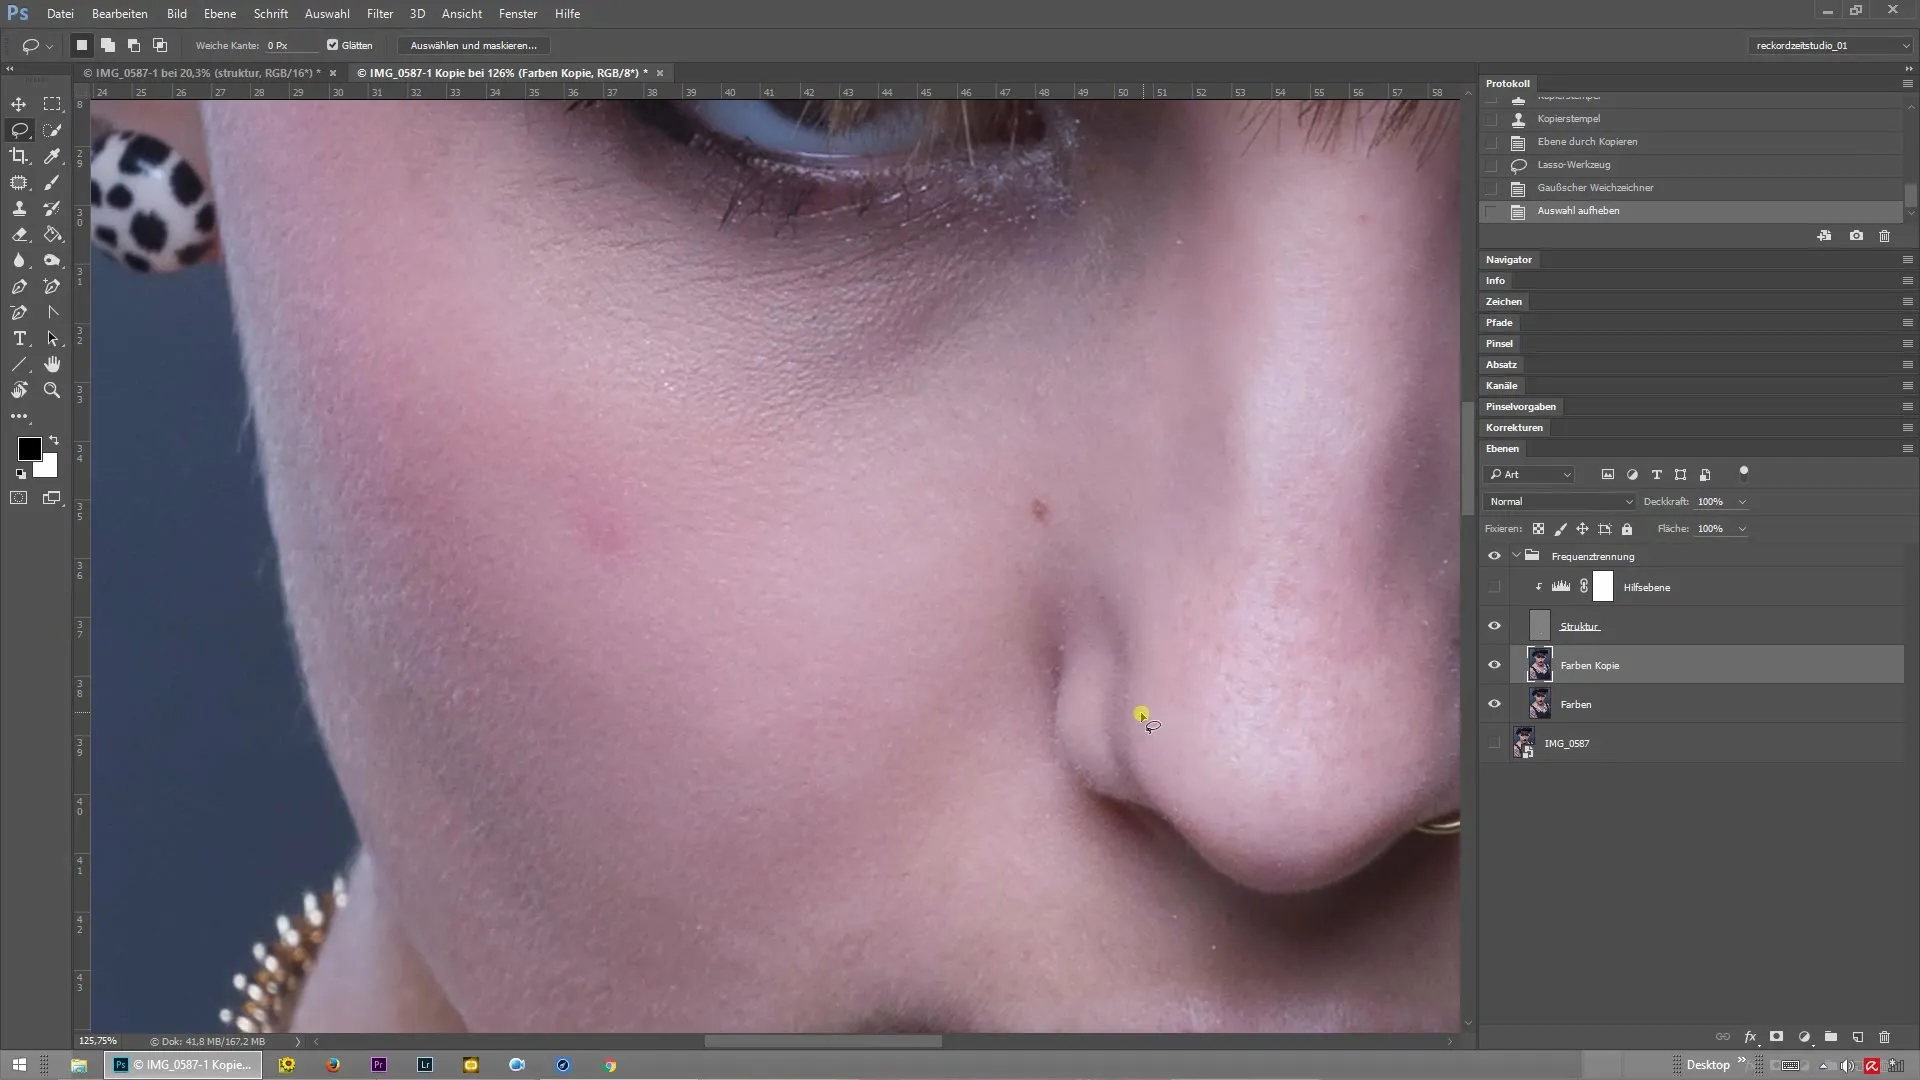
Once you have set the value, confirm the selection. Now, reveal the texture layer again to see how the edited color layer interacts with the texture. To do this, press Control + D to change the visibility of the layer.

If the transitions appear too soft, you have two options for adjustment. You can either reduce the opacity of the color layer so that the effects are less pronounced, or add a black mask. Hold down the Alt key and click on the mask icon.
With the brush tool, you can now selectively go over the areas you find too blurred. Ensure that the foreground color is set to white so that you can make details visible again. This approach allows you to softly regulate the hardness in the color transitions.
Remember to use masking subtly. You should not brush across the entire image indiscriminately but rather selectively choose the areas where the transitions do not look satisfactory. This approach ensures that the image remains natural and the retouching does not appear exaggerated.
Summary – Frequency Separation in Photoshop: Smooth Color Transitions
Throughout this guide, you have learned how to apply the technique of frequency separation in Photoshop to optimize the color transitions in your images. With the Gaussian Blur and targeted masking, you achieve harmonious results without losing the structural details of your subject.
Frequently Asked Questions
How does frequency separation work in Photoshop?Frequency separation separates the structural and color information of an image, allowing them to be edited independently.
What does Gaussian Blur do?Gaussian Blur helps to make color transitions smoother and minimizes harsh edges.
How can I correct over-edited areas?You can add a black mask and selectively brush over areas to bring back more natural appearances.
Why should I adjust the opacity of the color layer?By reducing the opacity, you can decrease the intensity of the blur effect so that the image does not look unnaturally soft.
Are there other blur filters that are effective as well?While Gaussian Blur is very popular, other filters can also produce good results depending on the image content.


