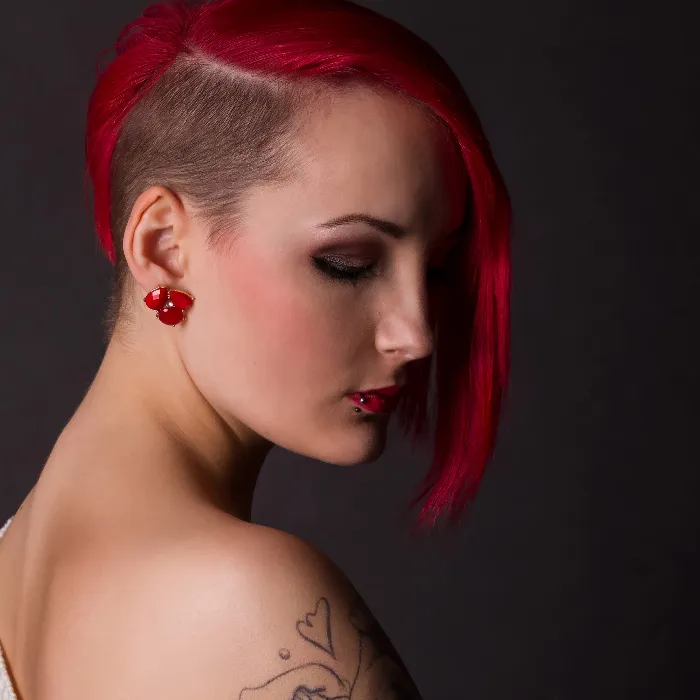
The care of portraits is an art that requires precision and sensitivity. With the technique of frequency separation in Photoshop, you specifically address the highlights and shadows in a model's face. Through Dodge & Burn, you can enhance the texture of the skin while concealing unwanted details without losing the image's naturalness. This guide provides you with a clear overview of how to effectively implement this technique to achieve impressive results in your portrait retouching.
Key Insights
- Frequency separation allows for targeted editing of highlights and shadows.
- Dodge & Burn is a proven method for skin optimization.
- Frequent before-and-after comparisons are essential for harmonious results.
Step-by-Step Guide
First, you should open an image in Photoshop and prepare the fundamentals of frequency separation. This technique helps you separate the color and texture components of an image, allowing you to work more precisely in the later steps.

First, document the fundamentals of Dodge & Burn to get a feel for the individual steps. It is important to know that you should not work on just one spot – the entire face is your canvas.
Start with the cheeks. You can brighten the cheeks to create a fuller appearance. Be sure to use light brush strokes. Less is often more to maintain the naturalness of the face.
It is also sensible to optimize the eye area, especially if dark circles are visible. These can be removed with gentle brightening. However, be careful that the result does not look artificial.
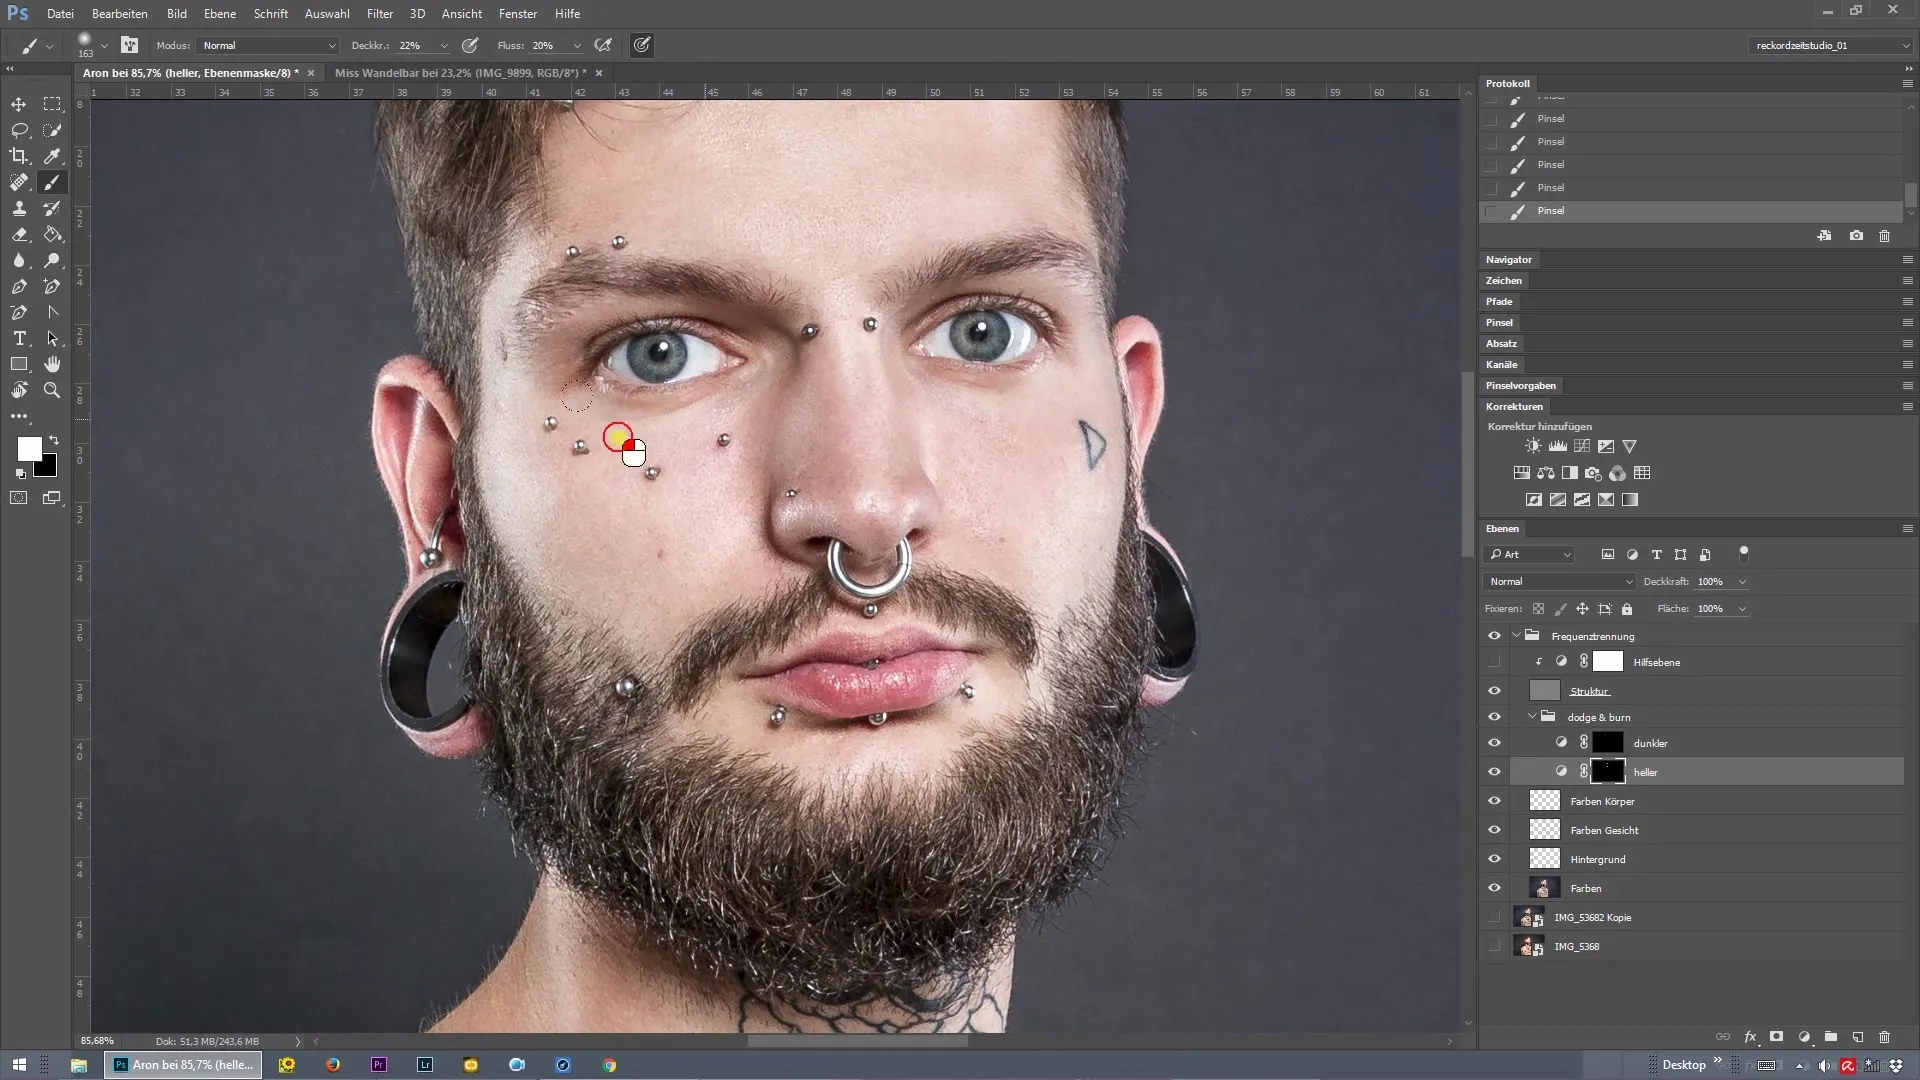
Another point is the cheeks. Here, it is also advisable to carry out brightening measures. Use a fine brush to emphasize the desired areas. Avoid applying too much color.
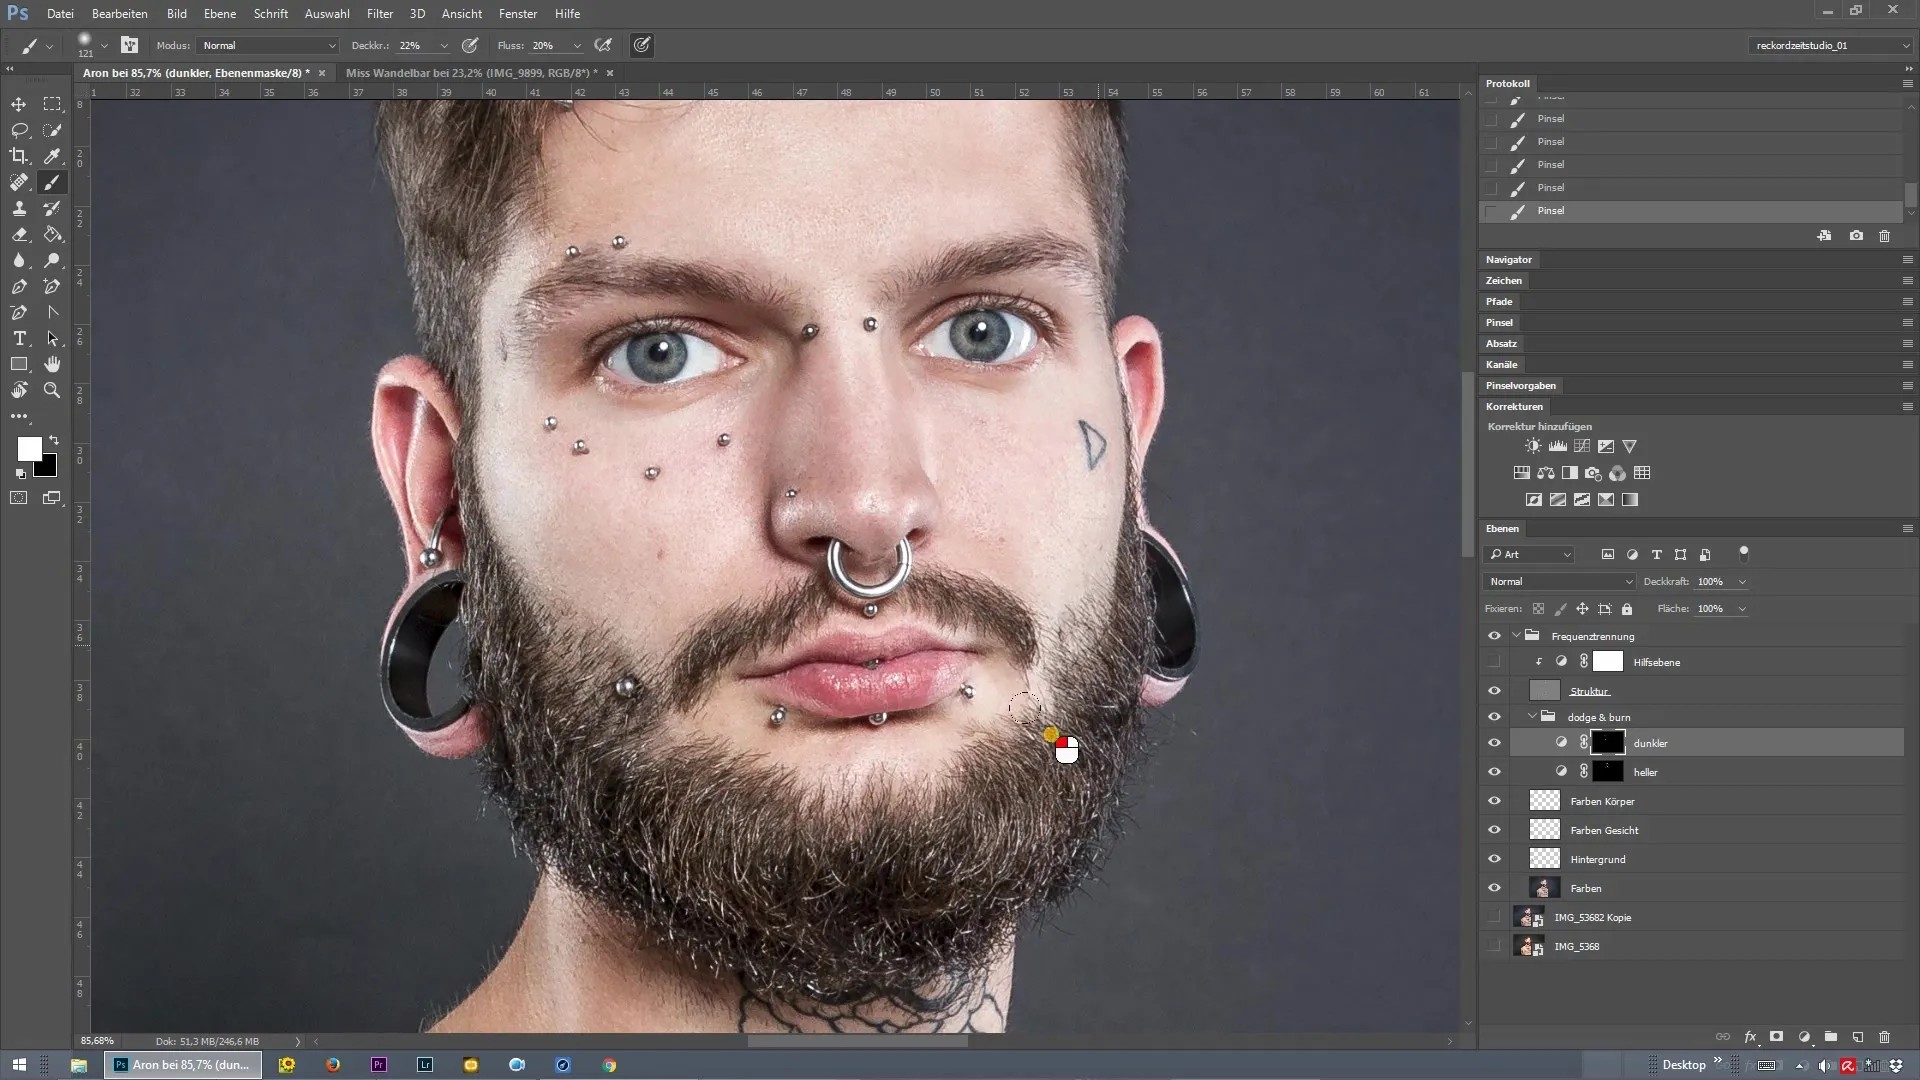
Now let's move on to the beard area. A targeted darkening of this spot can define the beard and give it shape. Be specific here as well to avoid leaving sharp edges. It is always important to maintain the harmonies in the image.
You can also work on the beard itself to enhance its structure. Here, you should not overdo the technique. A harmonious look is more important than sharply pronounced contrasts.
The lips are another important part of the face that you can optimize. With a gentle darkening, you can create more fullness without losing the natural contours.
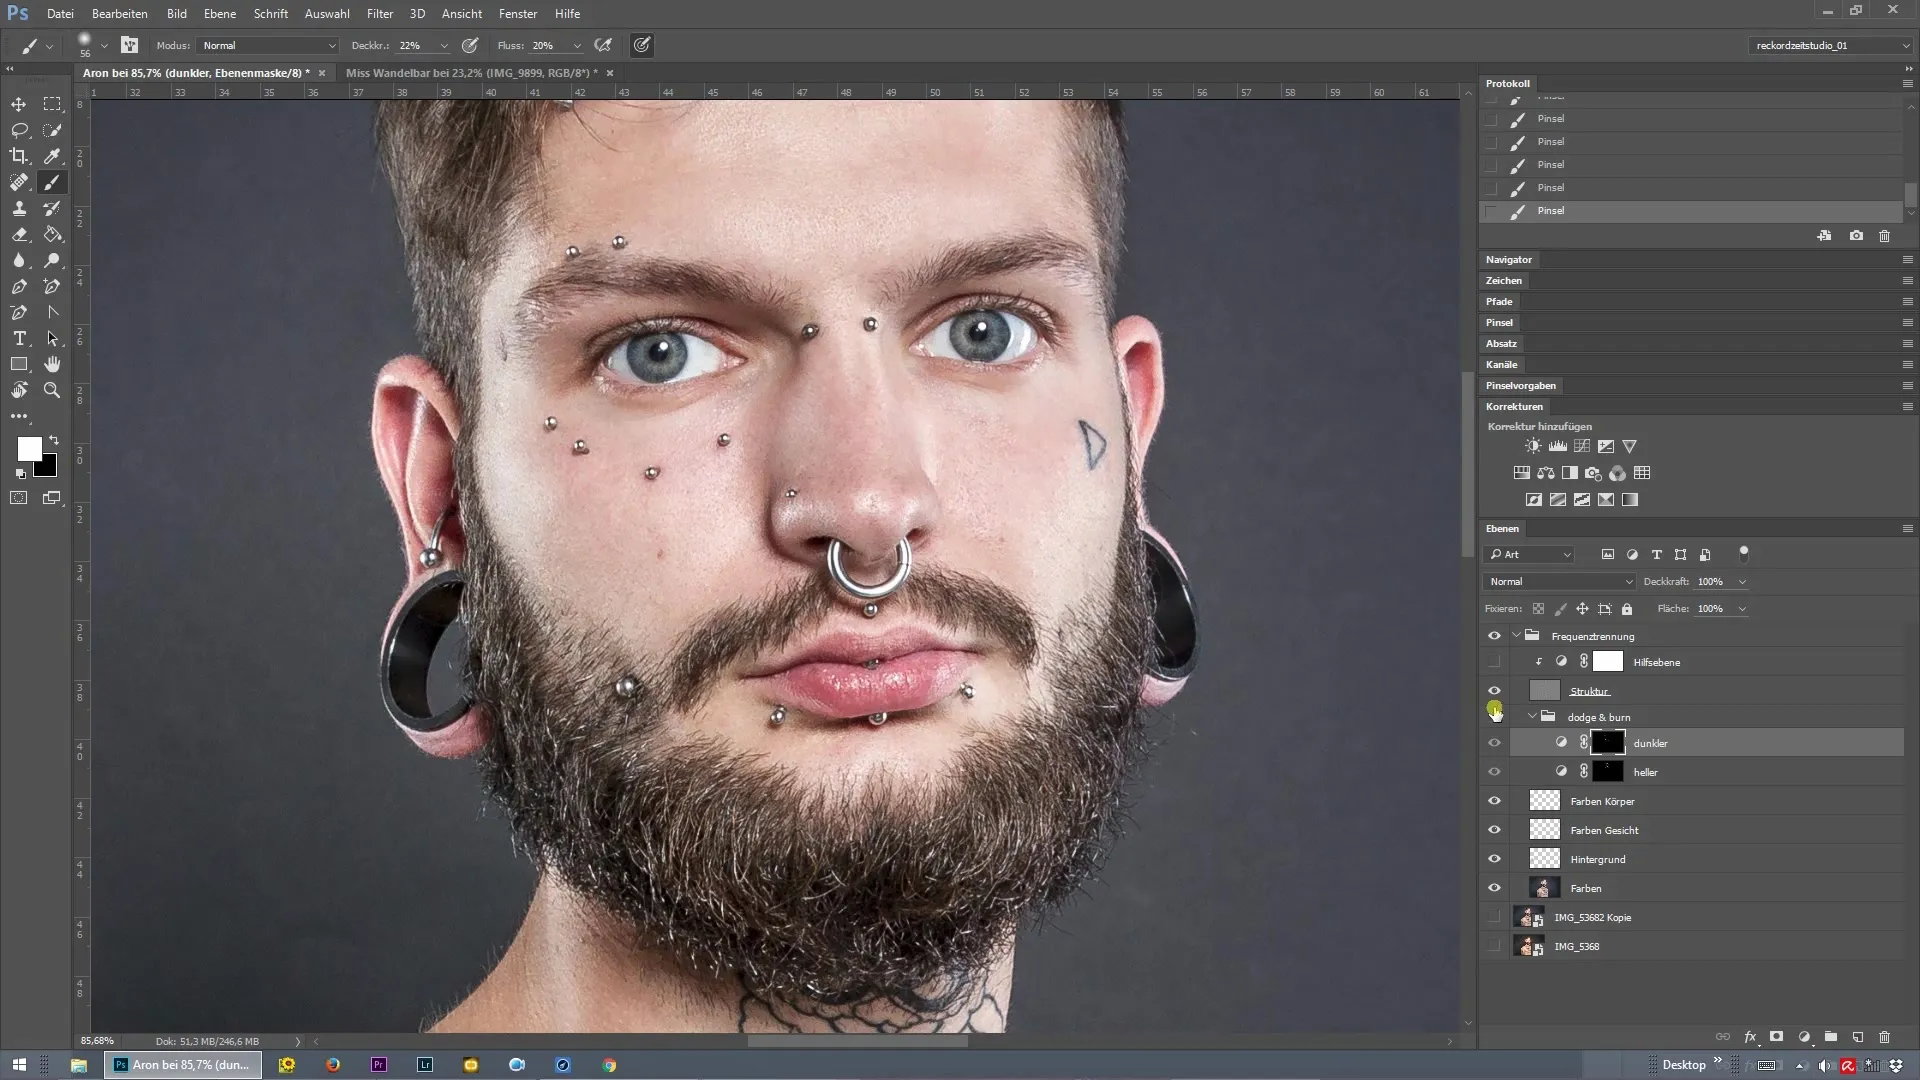
Adding light accents to the highlights of the lips can further enhance them. Use a very fine brush tip to carefully lighten the bright areas.
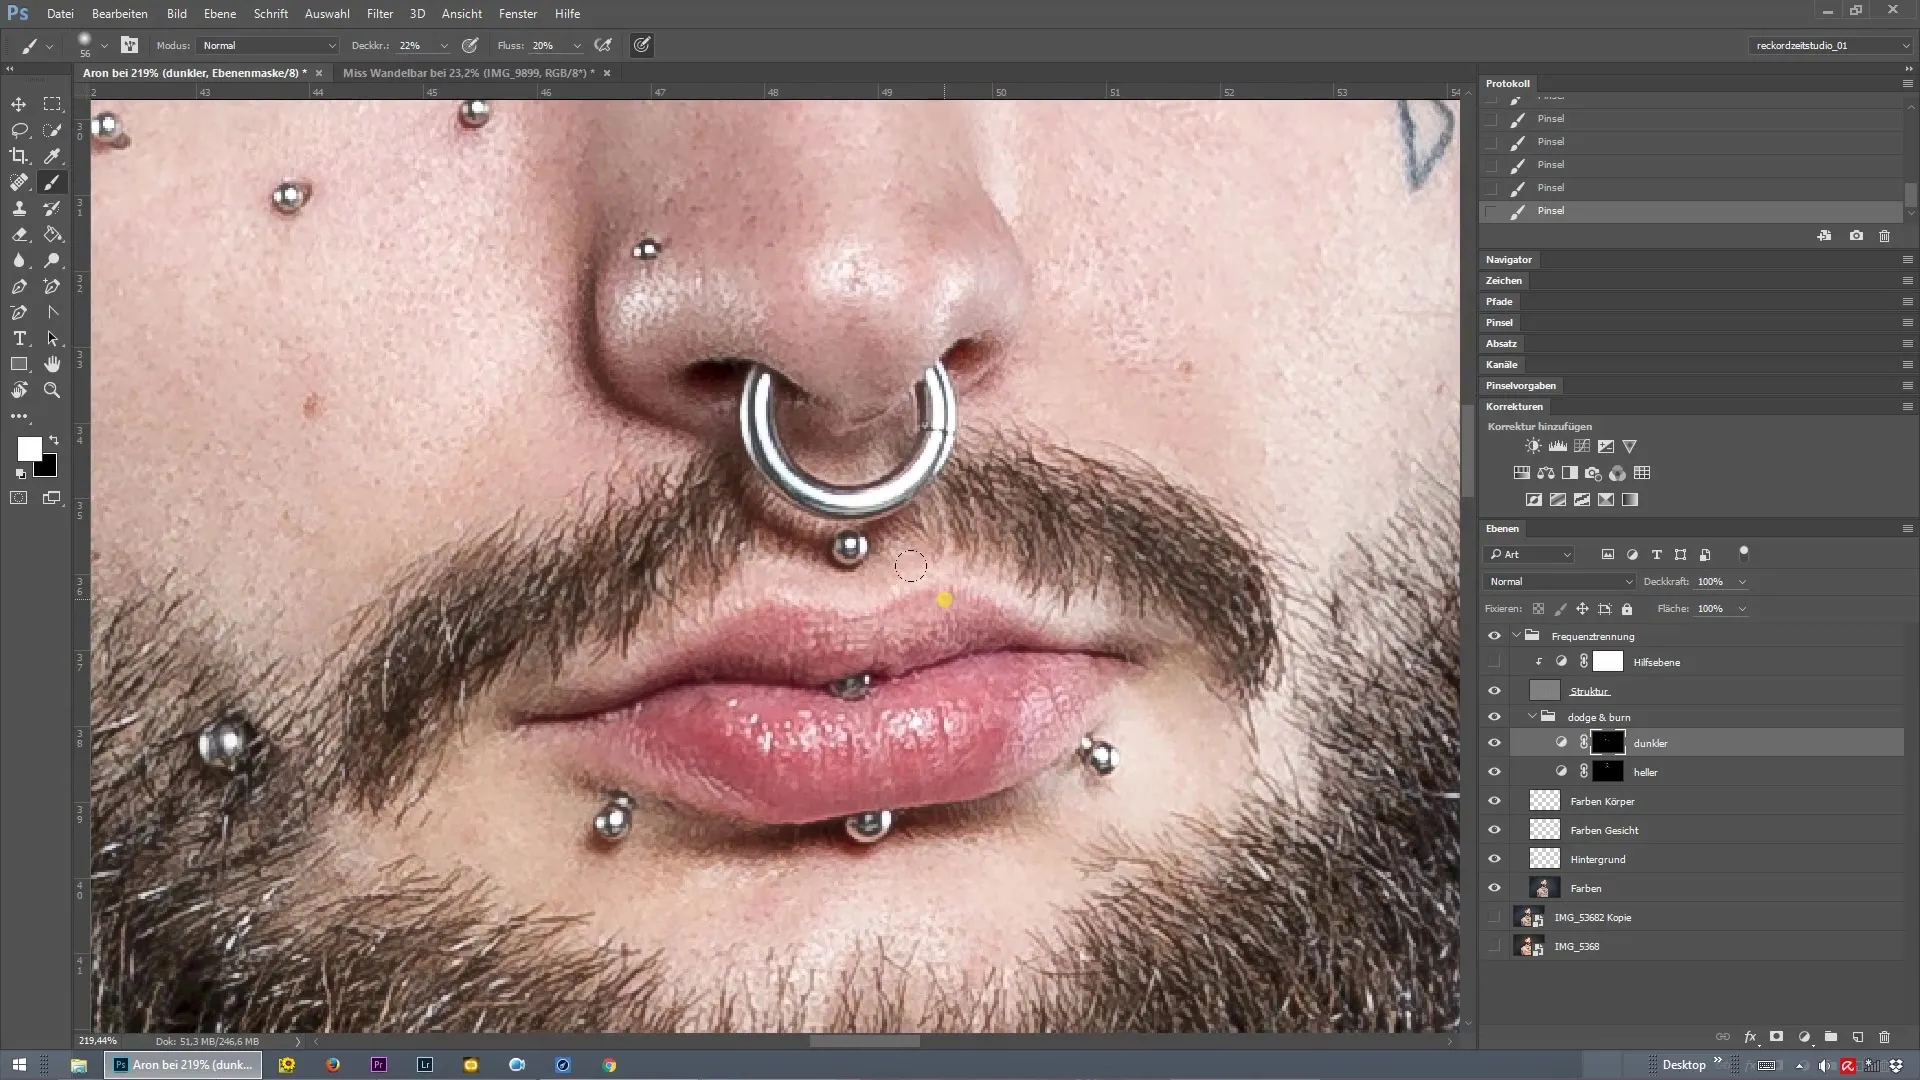
Throughout the editing process, you should regularly perform before-and-after comparisons. This will help you assess the impact of your changes and make adjustments as needed to create a cohesive overall image.

Summary – Frequency Separation in Photoshop – Dodge and Burn for Face
Frequency separation in Photoshop, combined with the technique of Dodge & Burn, is an effective means to optimize portraits. By selectively brightening and darkening areas, you not only achieve a balanced interplay of light and shadow but also ensure a natural and appealing skin texture. It is important to always keep the harmony of the overall image in mind and to regularly conduct before-and-after comparisons.
Frequently Asked Questions
What is frequency separation in Photoshop?Frequency separation is a technique where color information and textures of an image are edited separately.
Why should I use Dodge & Burn?Dodge & Burn helps to optimize the face by working specifically with light and shadow without losing image quality.
How often should I do before-and-after comparisons?Regular comparisons during editing are important to achieve a cohesive and harmonious result.
