You have decided to learn the secret of frequency separation in Photoshop. The workflow presented enables you to achieve higher-quality results in image editing. In this tutorial, you will learn how to build the individual layers and which techniques to use to perform impressive retouches. Let's dive straight into the topic.
Key insights
- Frequency separation separates colors and textures for more precise retouches.
- Building the layers is essential for the structure of your work.
- With targeted adjustments to the image, you can control the viewer's focus.
Step-by-step guide
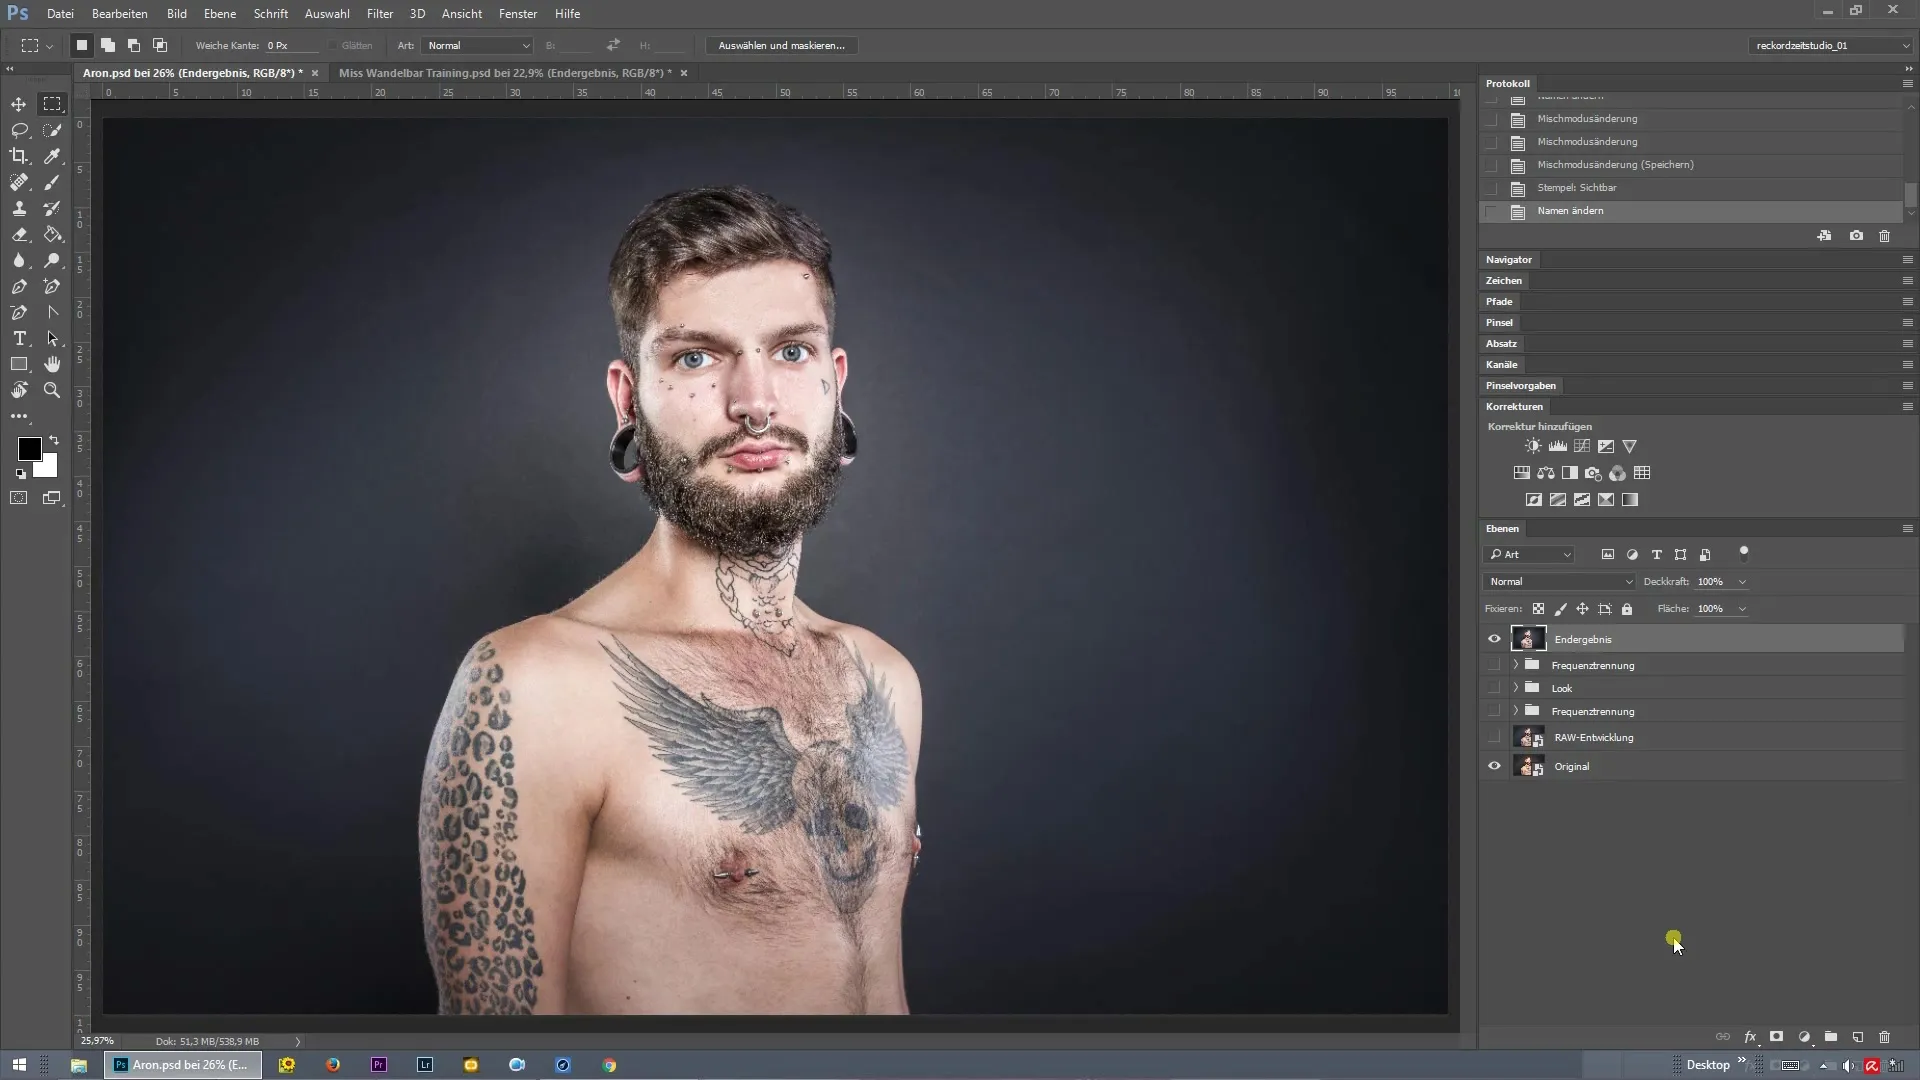
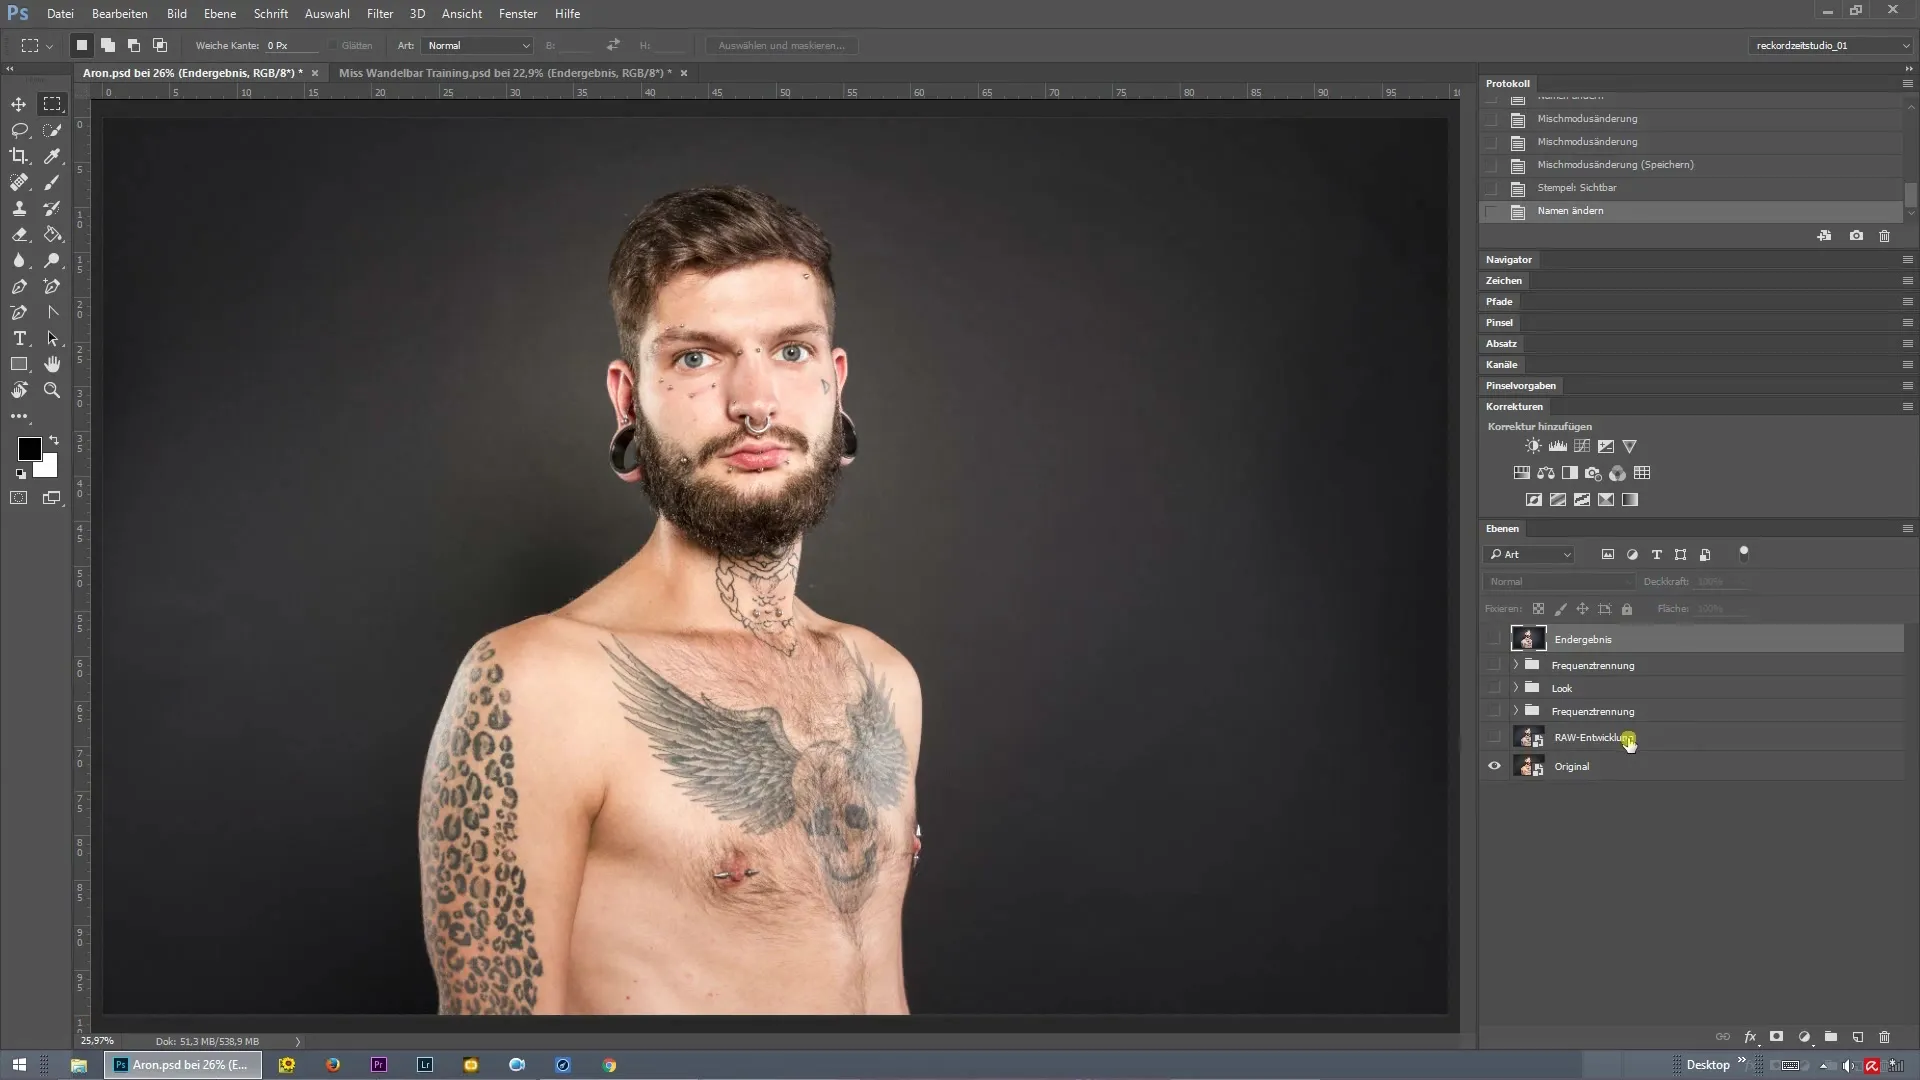
First, you will see how the final result of your image editing will look. In the structure of the layers, you will find all the components you need to optimize your retouch. You can compare the image before and after editing and see how much work goes into a professional retouching process.

In the next chapter, we will deal with RAW development. Here, we will edit the global colors and lights of the image to create a solid foundation for the later retouch. It is crucial that the starting point is right before you dive into the details.

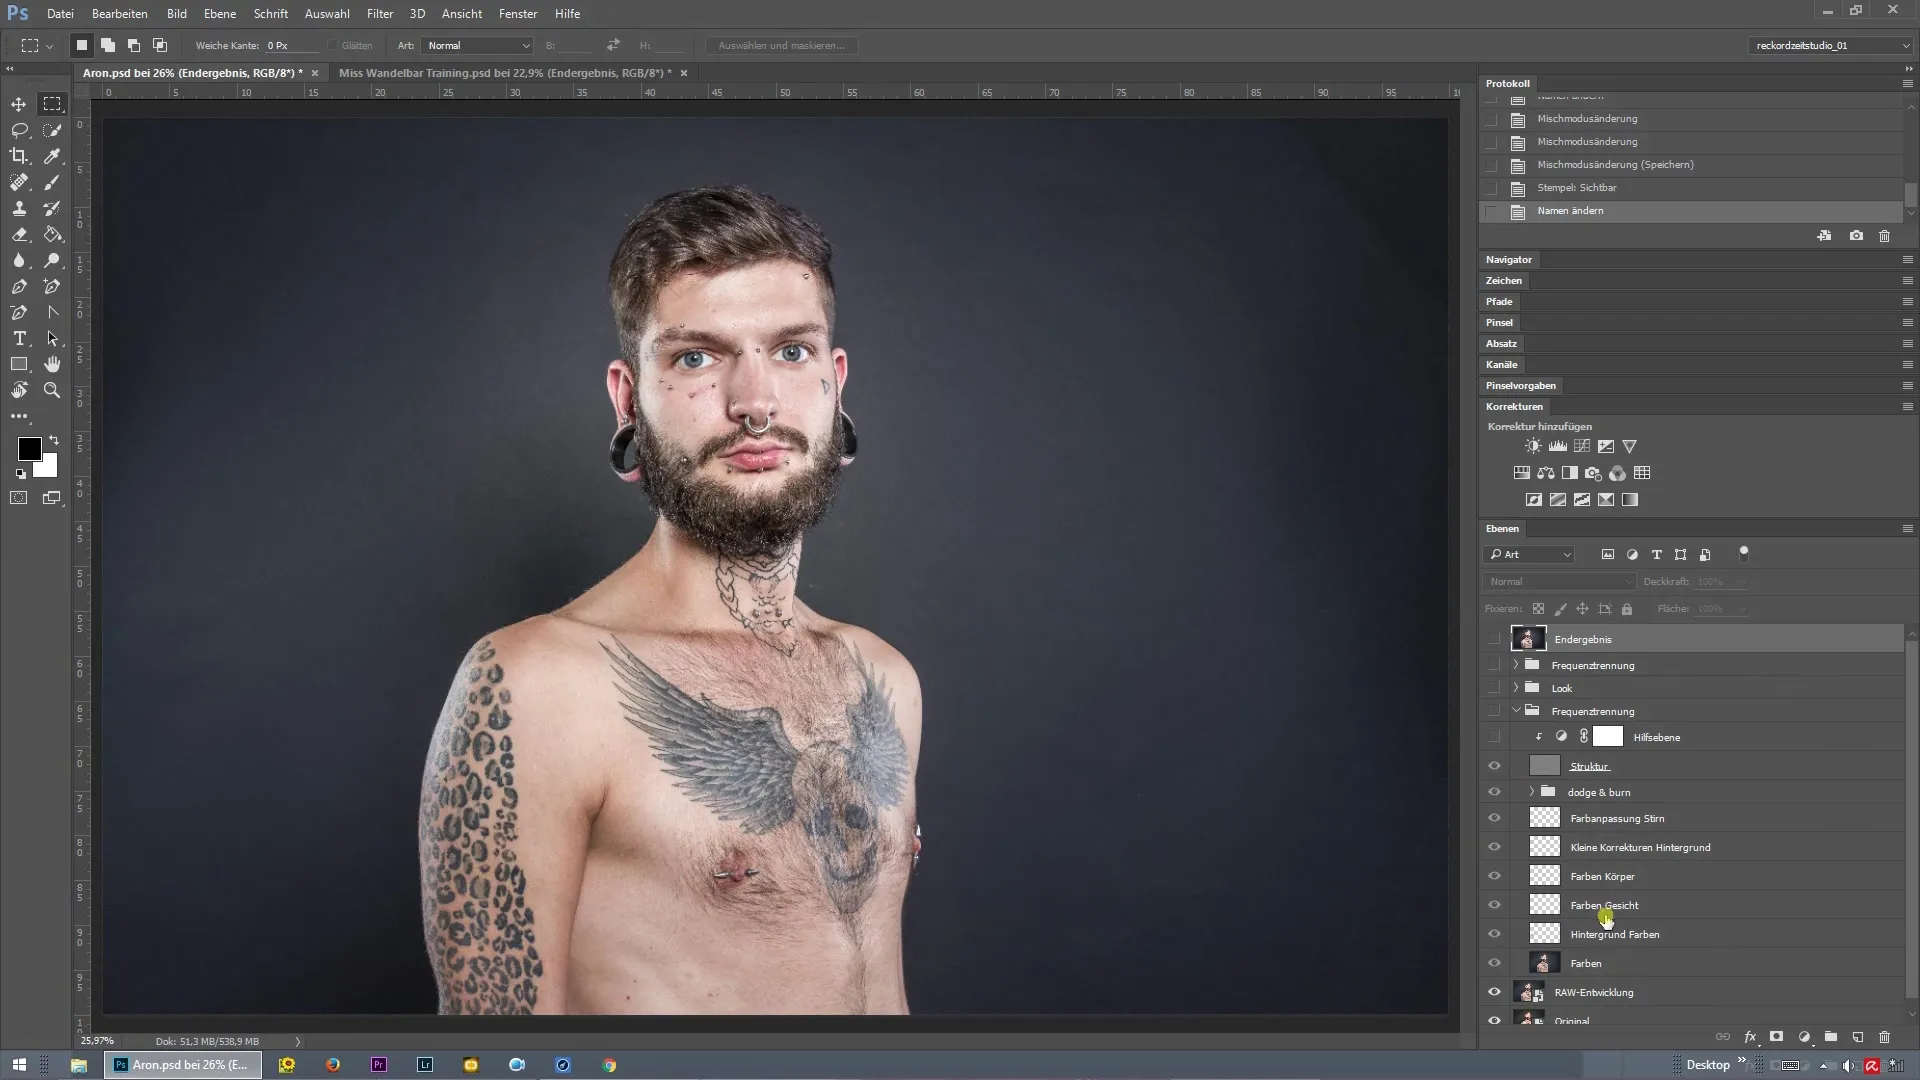
Now, when you move on to frequency separation, you will notice that there are many empty layers. These are the central component of the retouch. You will learn how to use these layers effectively to edit textures and colors separately. This gives you the flexibility you need during the editing process.

An important step in your retouch will be the targeted brushing in these layers. Here you can use the brush tool to apply your retouches and optimize various textures. The goal of this technique is to achieve a natural and harmonious effect.
Additionally, you will learn how to add a vignette to draw the viewer's attention to the main subject. This method not only strengthens the composition but also increases the visual tension of your image.
Finally, there is another folder for frequency separation that helps you sharpen the image locally. This step is particularly important to highlight specific areas and further optimize the overall image.
Now you have a comprehensive guide and the tools to carry out your own retouching. I wish you much joy in trying out and exploring the possibilities in Photoshop.
Summary - Efficient use of frequency separation in Photoshop
In this guide, you have learned the basics of frequency separation. You now know how to build the layers, work with the tools, and edit your image to achieve more impressive results. Use this knowledge to take your skills in image editing to the next level.
Frequently asked questions
How does frequency separation work in Photoshop?Frequency separation separates the image into two layers: one for colors and one for textures, allowing for more precise adjustments.
What are the advantages of RAW development?RAW development offers greater control over colors and lights, improving image quality.
How do I add a vignette?You can add a vignette by creating a new layer and applying the vignette effect via layer styles or using a mask.


