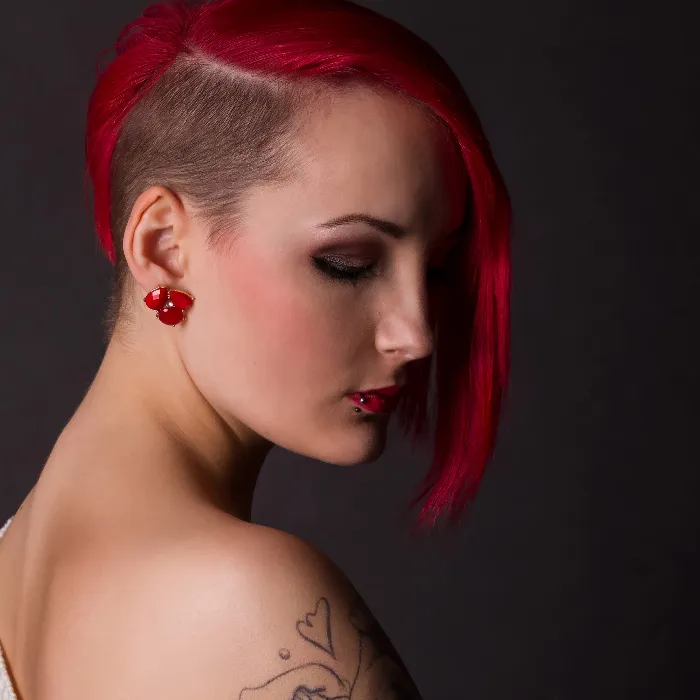
The art of retouching in Photoshop requires a lot of precision and sensitivity. With techniques like frequency separation, you can not only eliminate skin blemishes but also strategically optimize the overall look of an image. In this post, I will show you how to use different adjustment layers to check your retouching and make necessary adjustments. Let’s dive right in and go through the necessary steps.
Main insights
- Apply curves to reveal extreme color differences.
- Use the brush tool effectively to make targeted color corrections.
- Use helper layers for precise control of colors and structures.
Step-by-step guide
1. Identify color differences
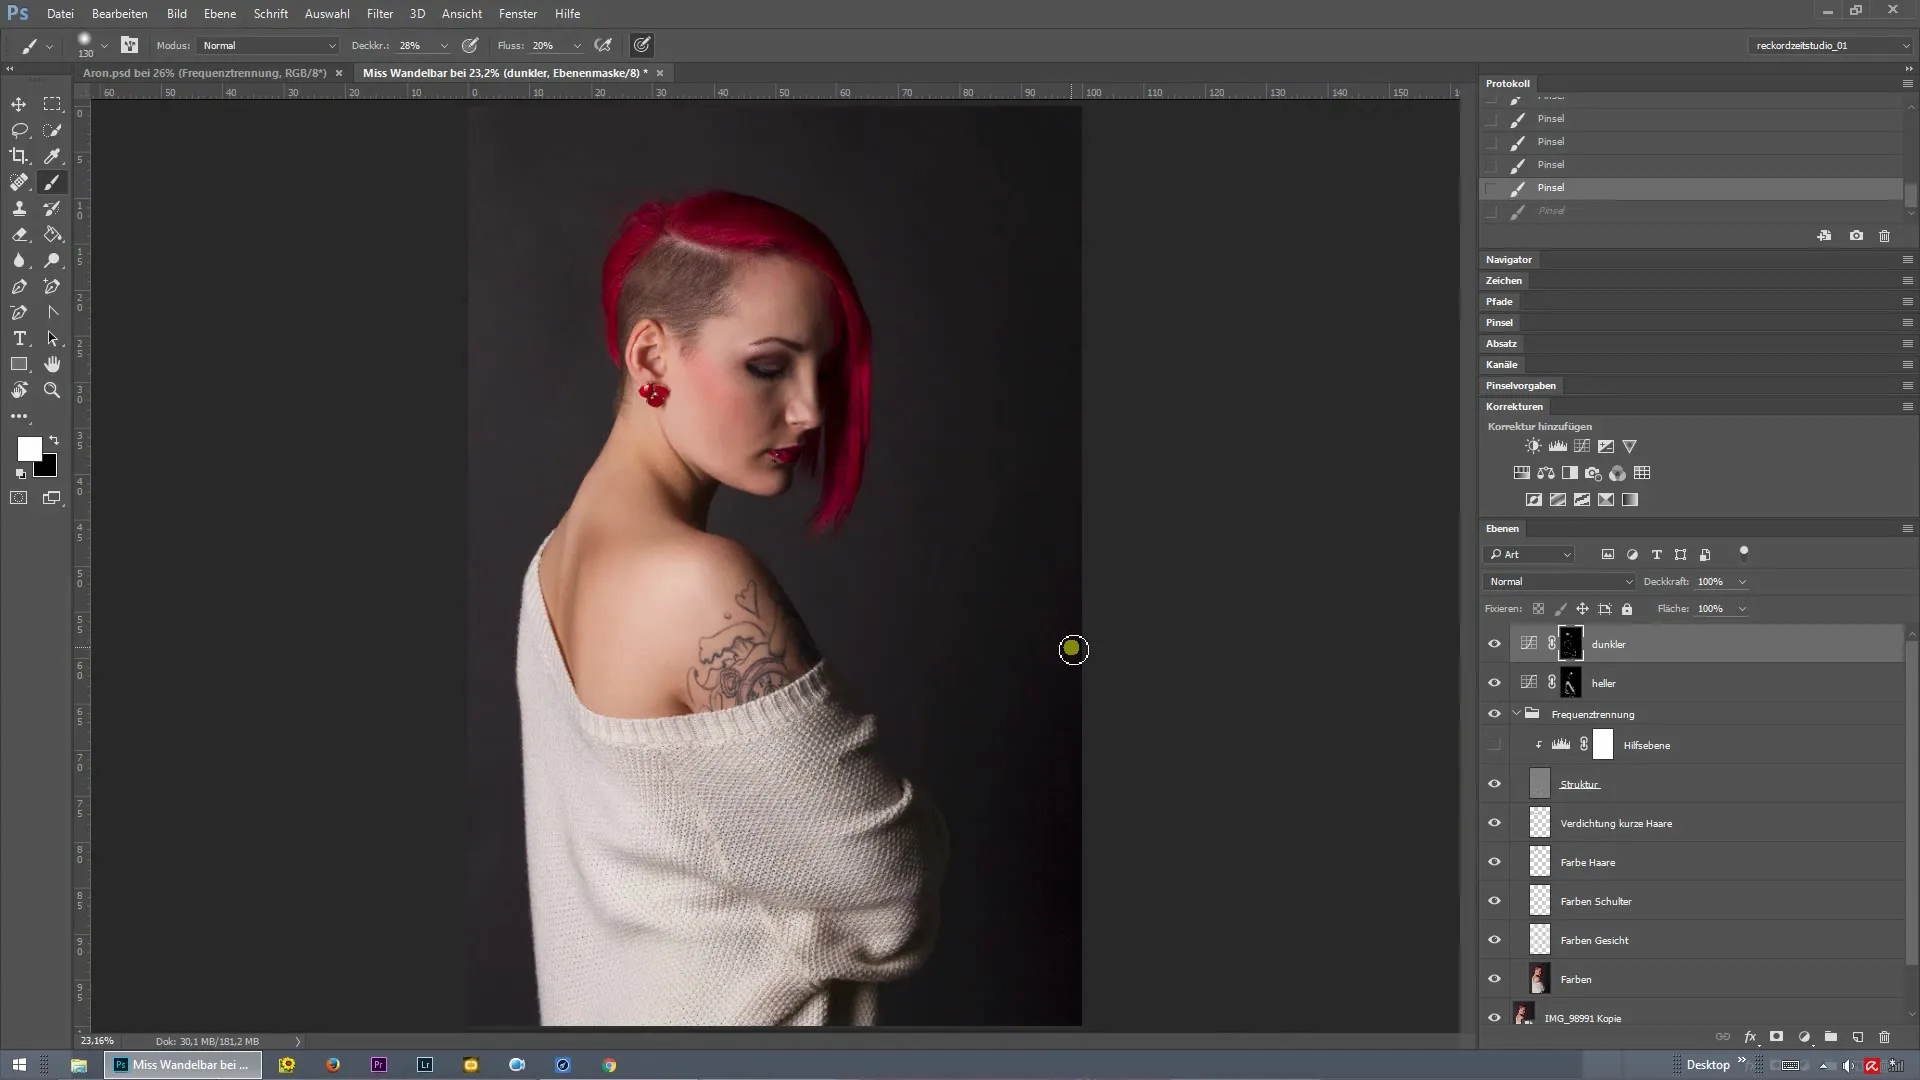
To determine which areas of your image might still need retouching, you can create a curve. Start by pulling this curve down to identify extreme color differences. Pay attention to how the image appears then: Do any noticeable discrepancies catch your eye?
2. Test brightness
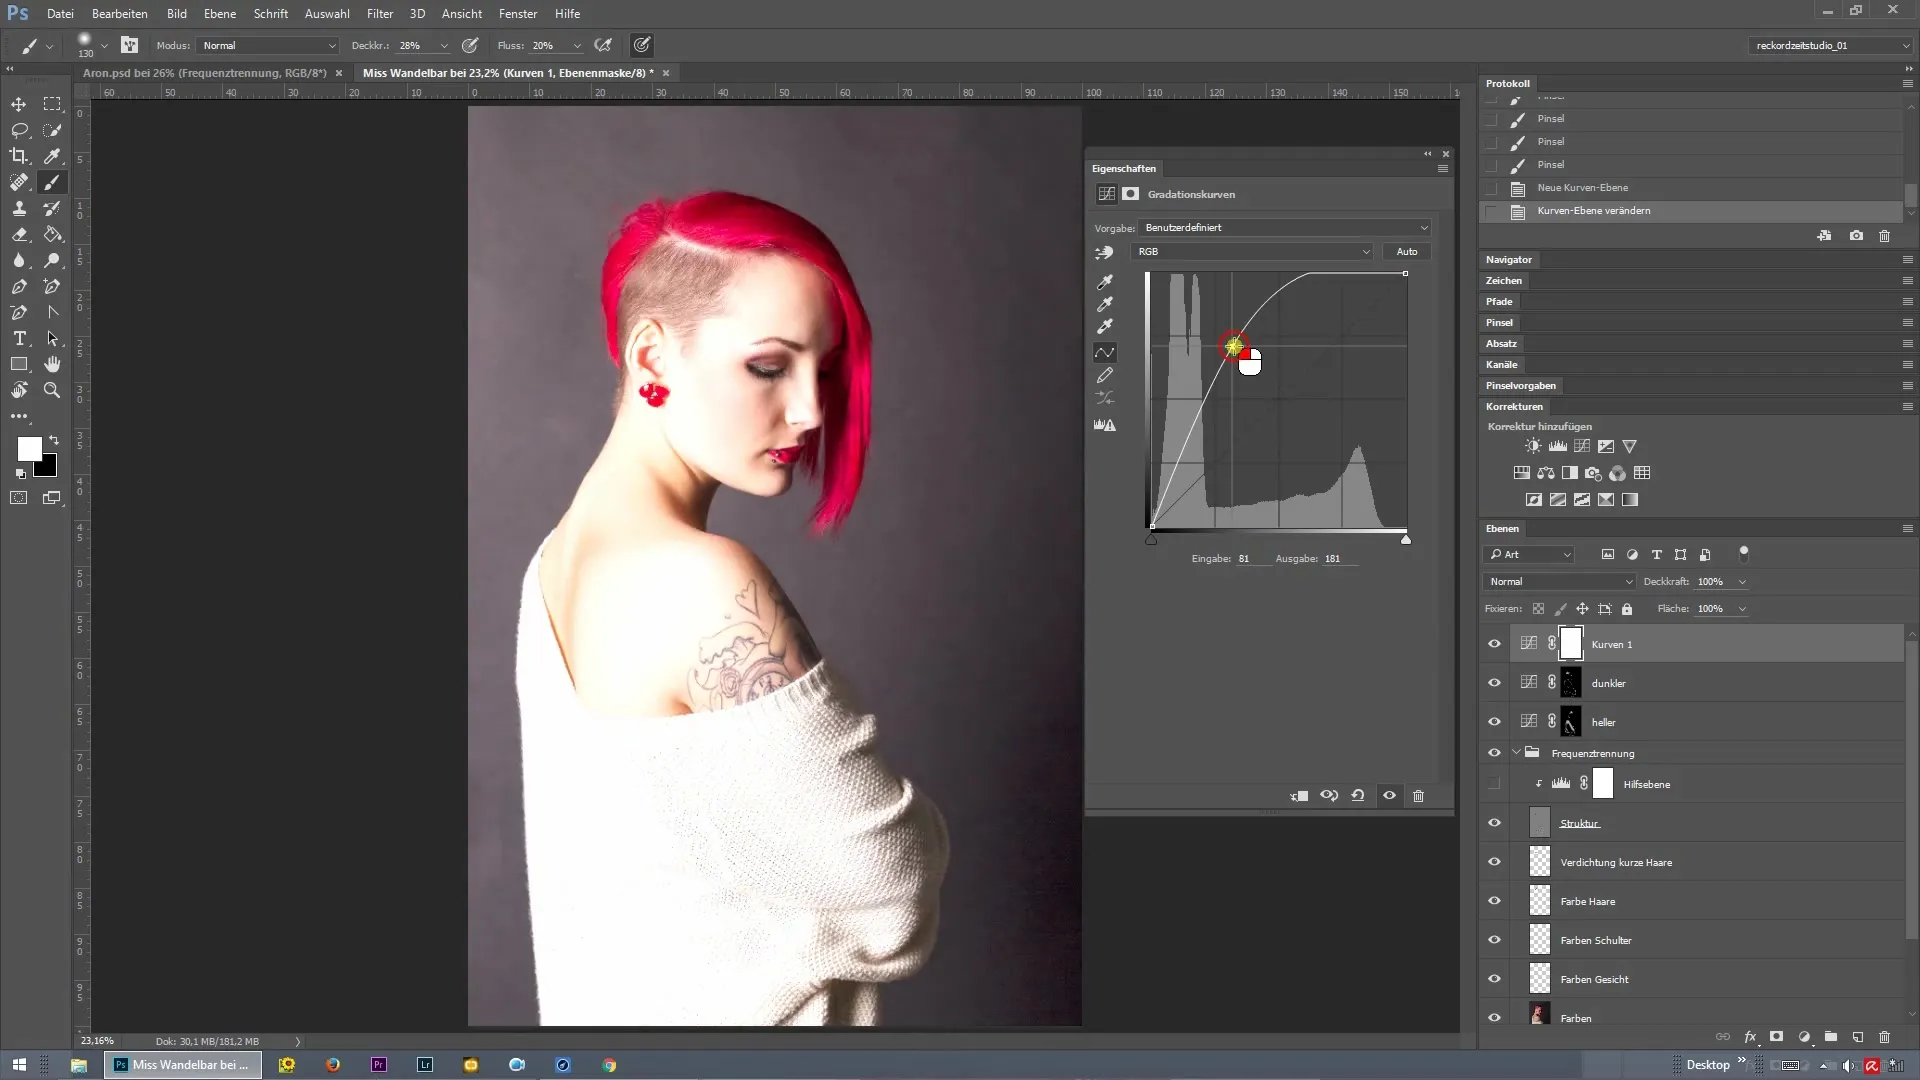
Alongside the dark curve, you can also add a bright curve. Here, you will use the lighter tones of the image to check if there are spots in the background or colors that still need further editing. Often, you will notice small color shifts in these areas that require correction.
3. Color selection for corrections
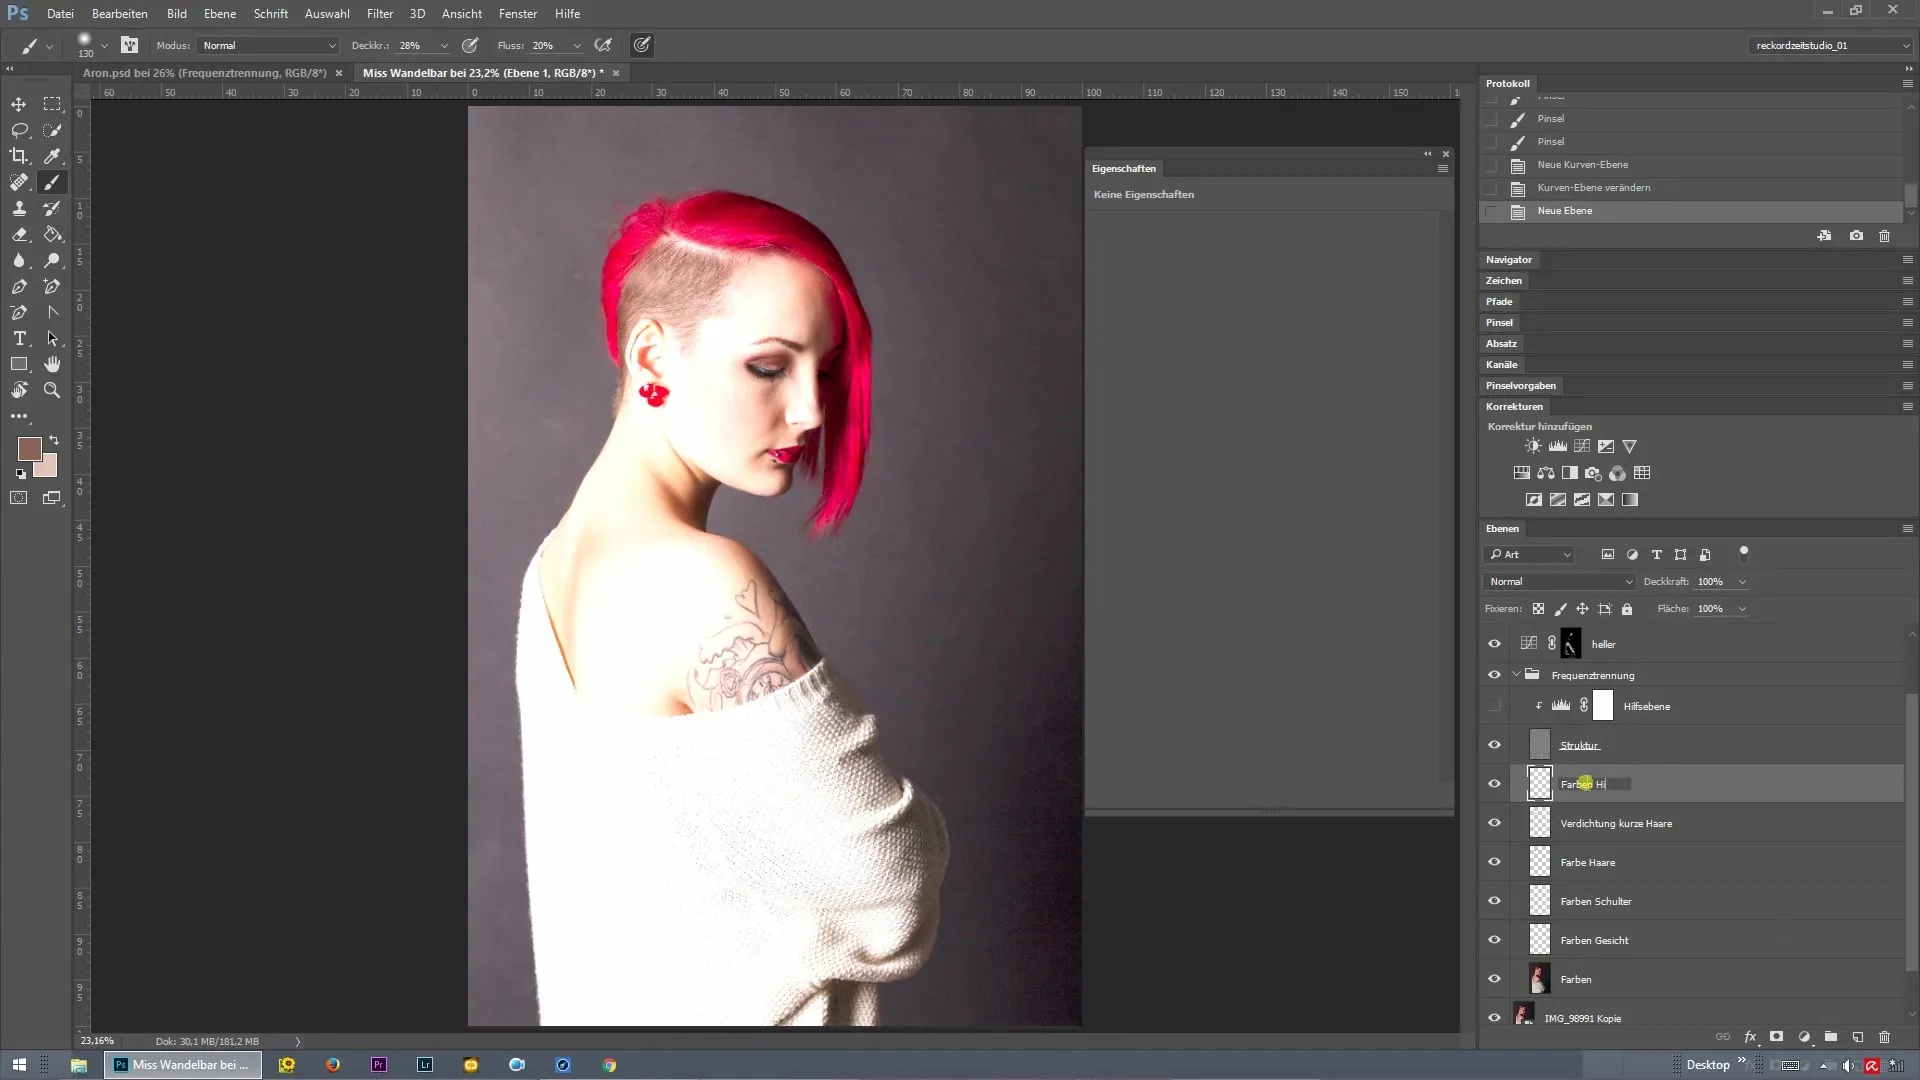
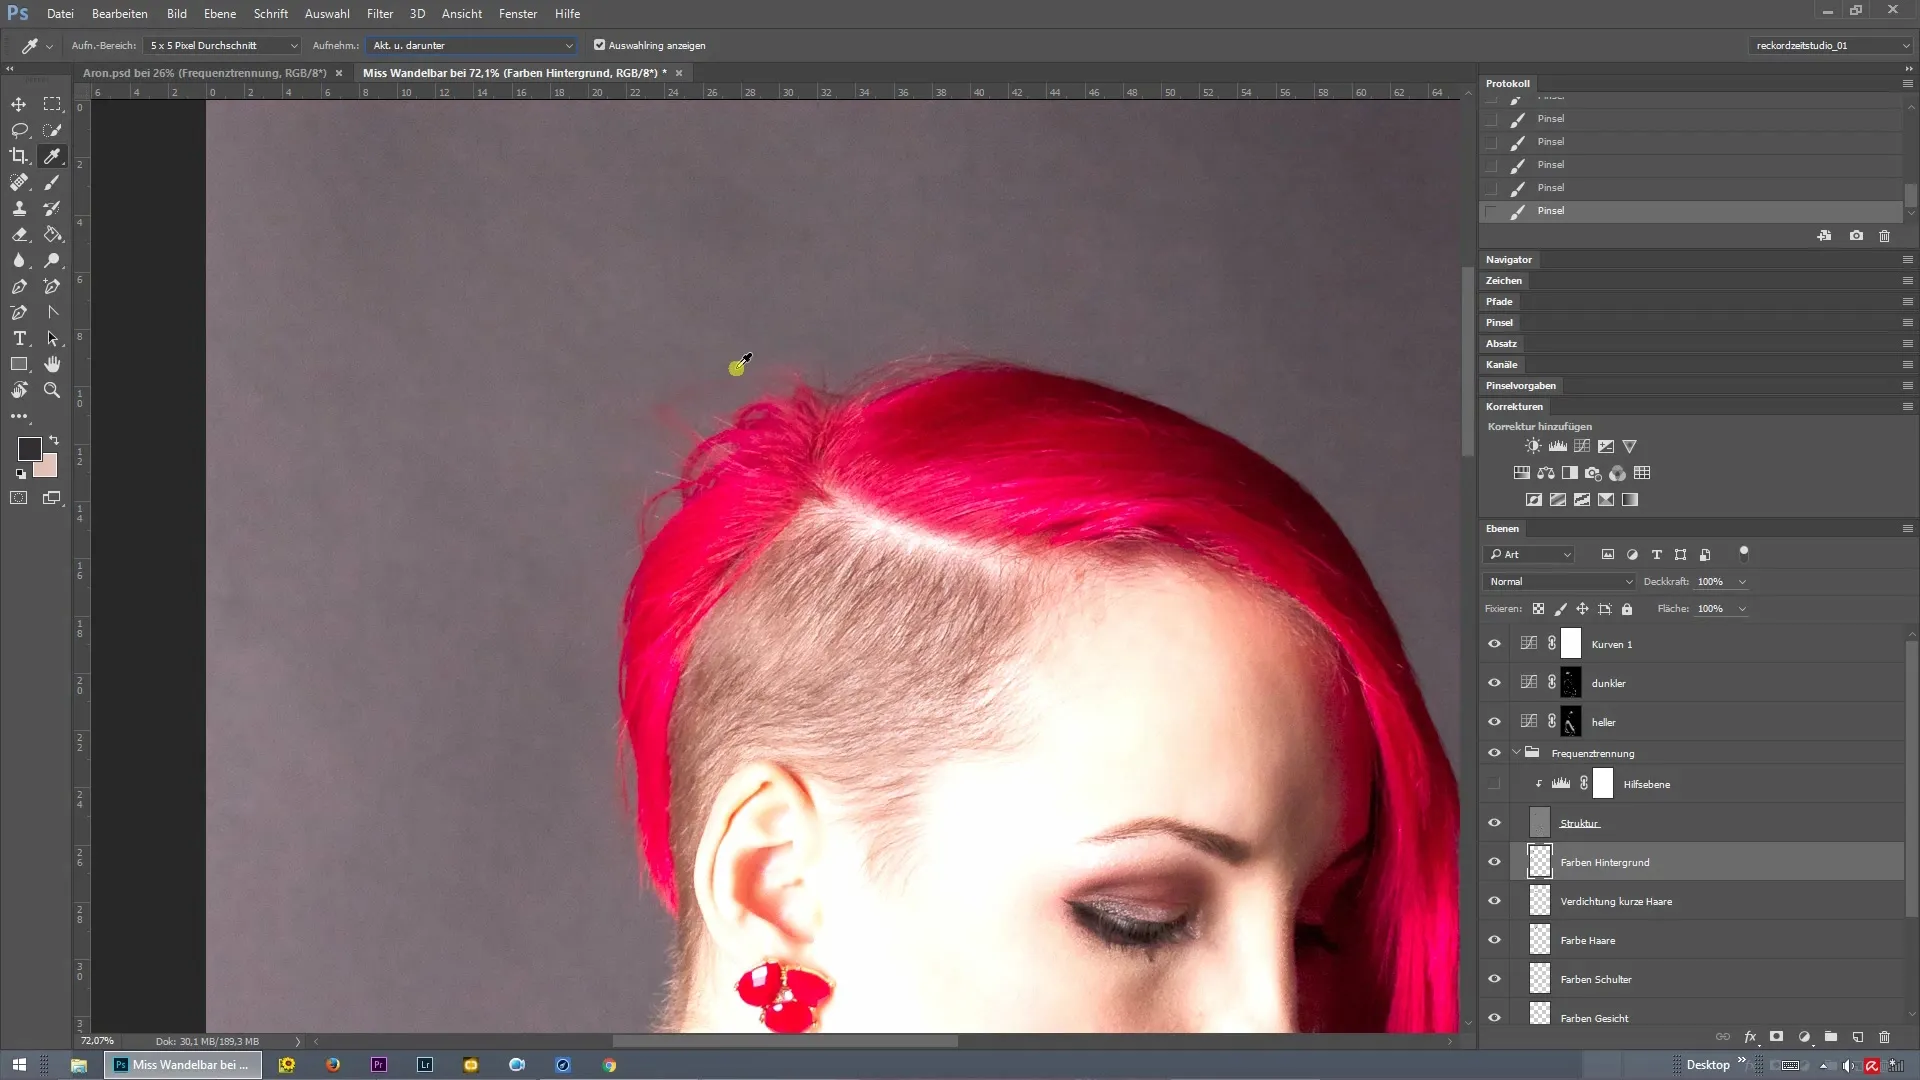
Create a new layer and name it “Background Colors.” Activate the previously created control curve and start painting over the noticeable spots with the brush tool. It is advisable to pick the color while holding down the Alt key. This ensures that you hit the right shade that matches your background.
4. Adjust brush tool settings
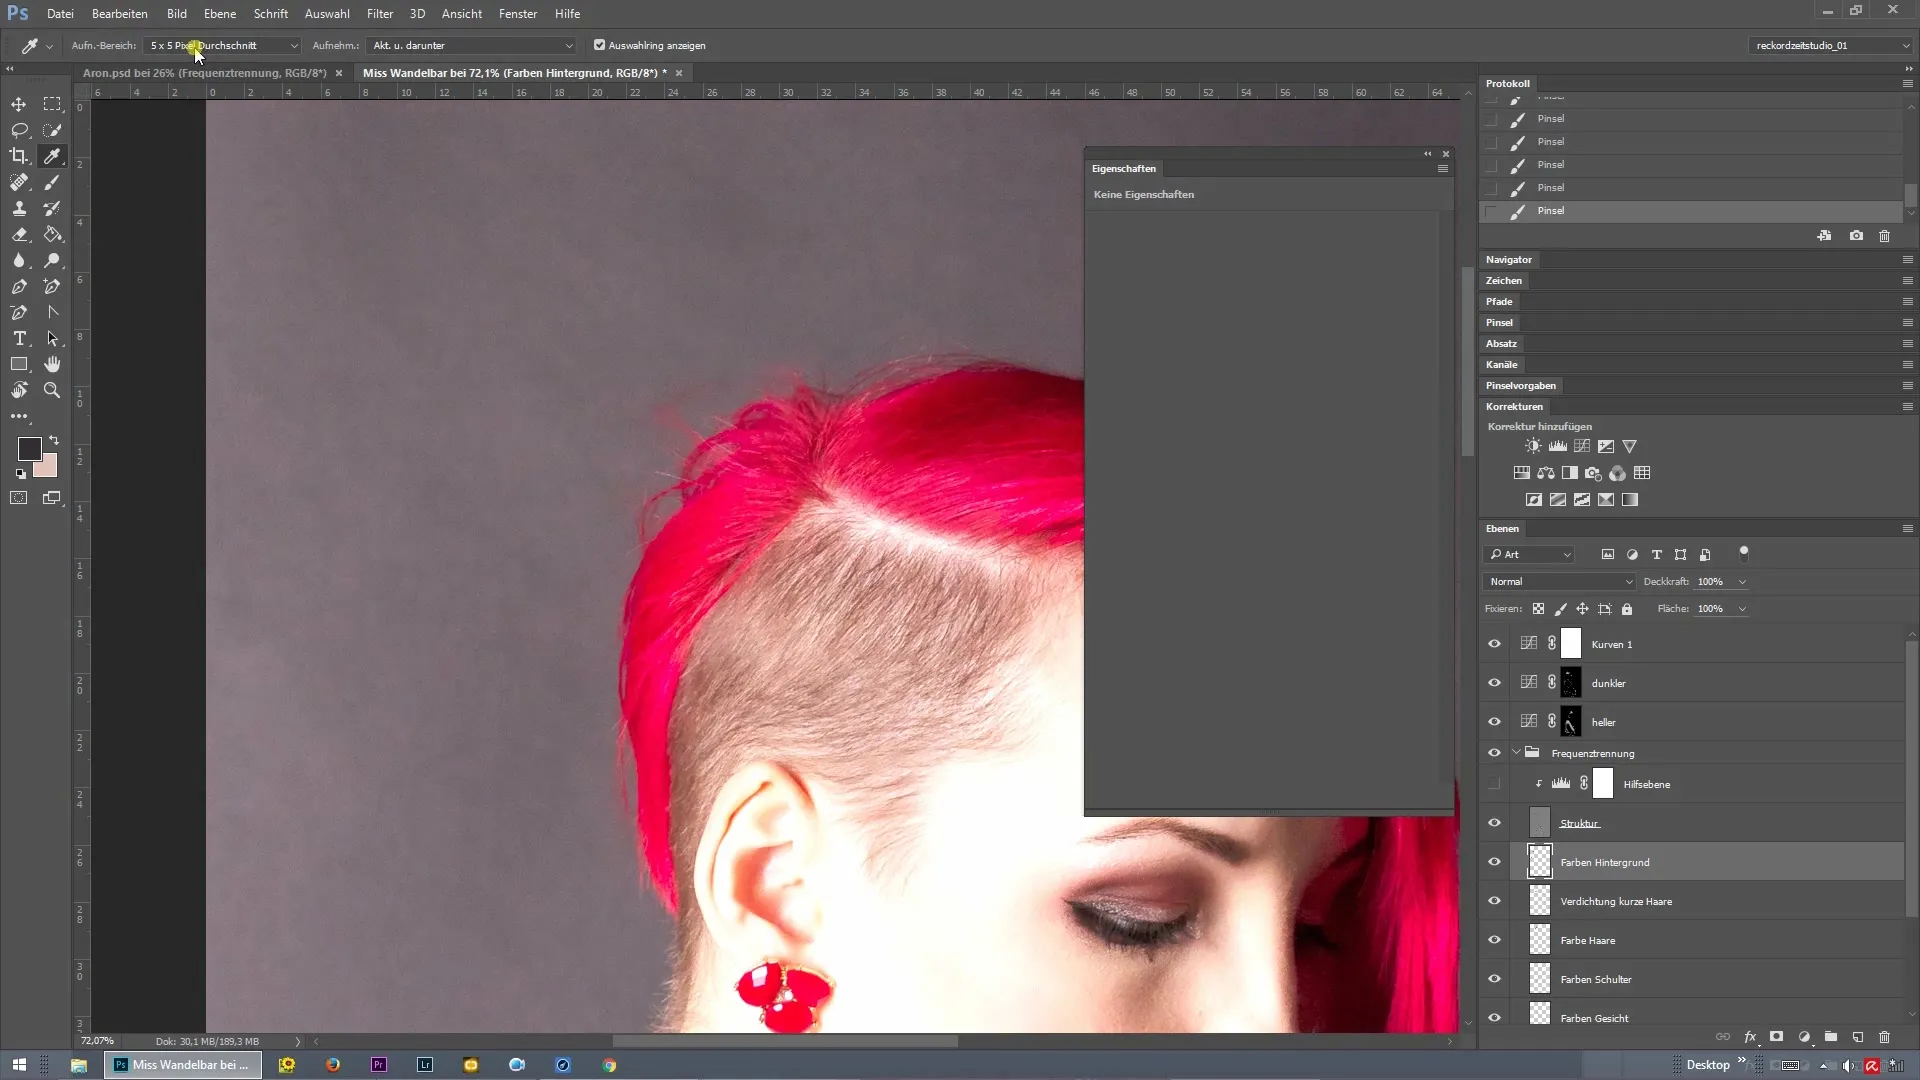
For painting work, it is crucial to make the right settings in the brush tool. Set the average to 5 x 5 pixels to capture the color precisely. Make sure that you select not the entire layer but only the current one, without corrections. This way, you achieve the best results.
5. Eliminate unevenness
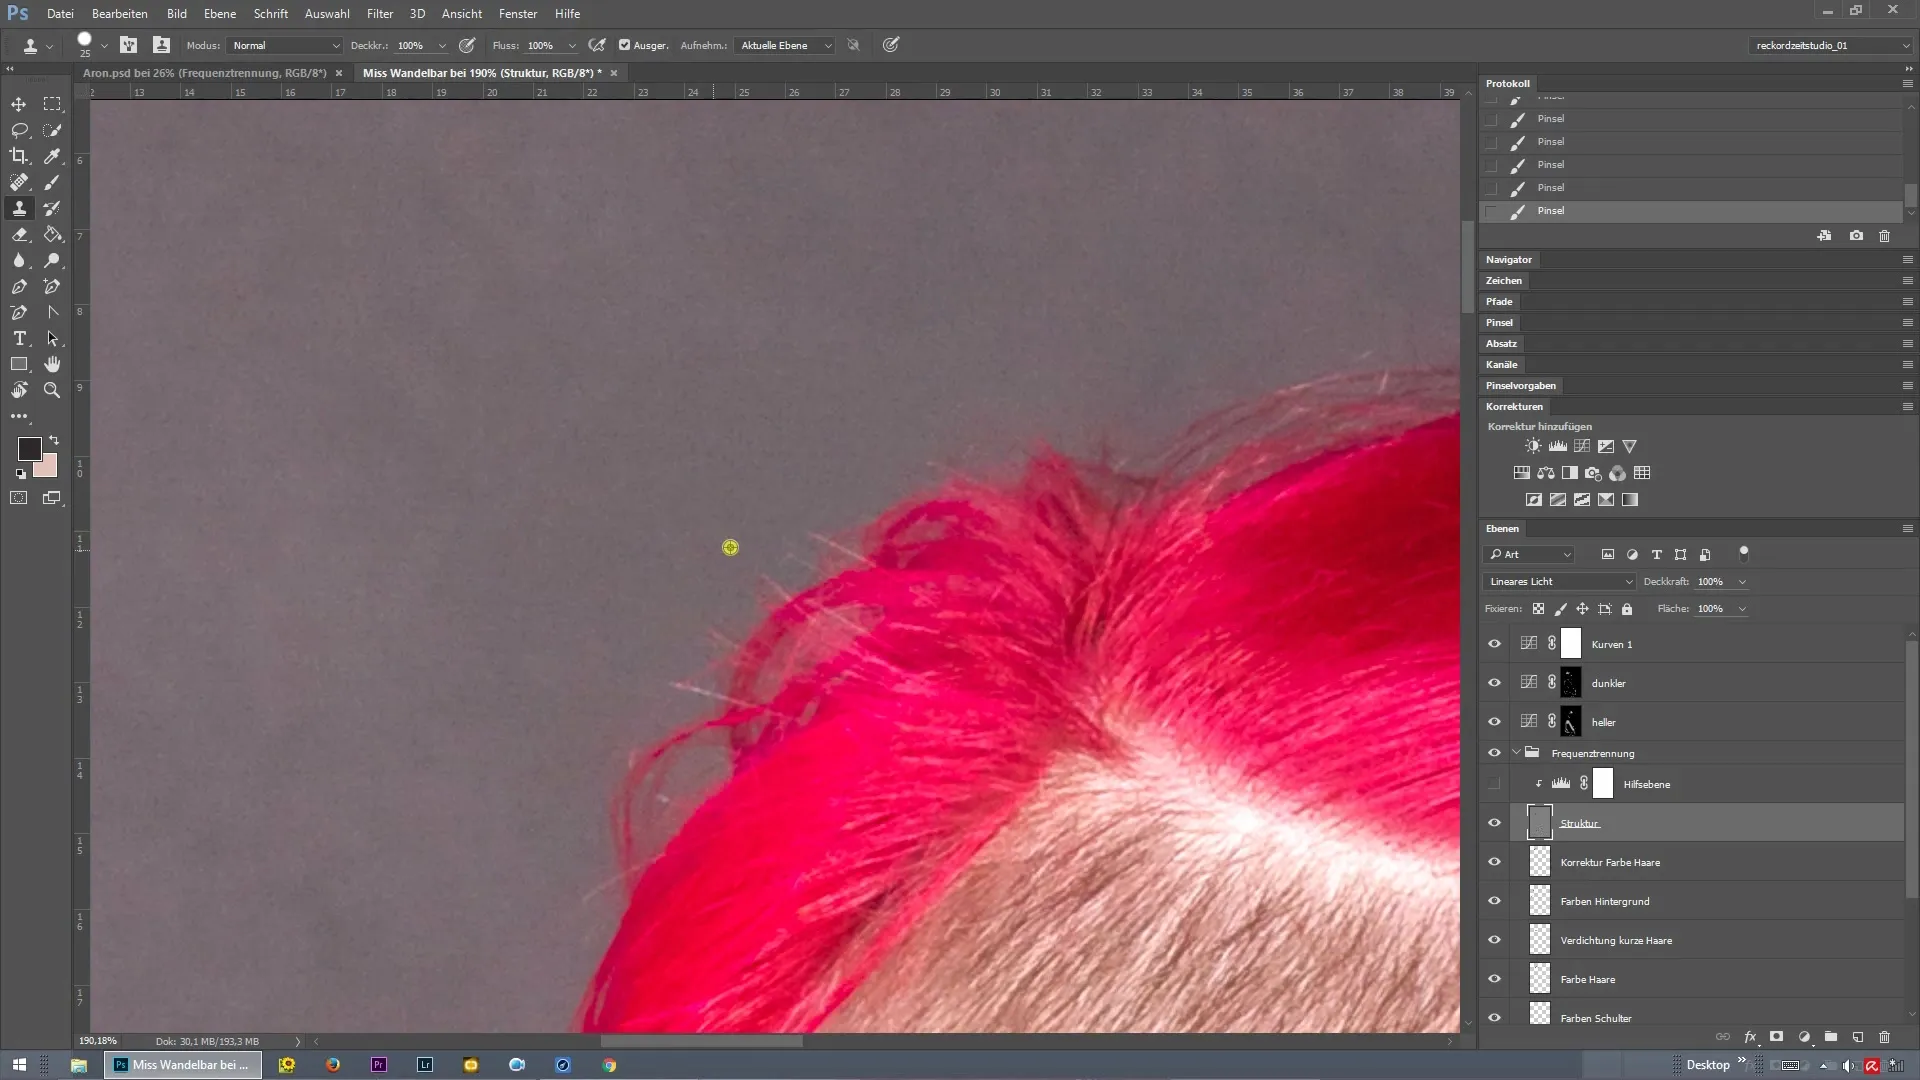
After you have removed the spots in the background, you should also consider the hair that may still be visible. Often, these small blemishes are not immediately noticeable, but after completing the editing, they may no longer be acceptable. With a new layer (named “Hair Color Correction”), you can specifically work on the hair.
6. Fine-tune hair colors
Before retouching, you must again make adjustments to your correction layer. Use the brush tool to adjust the hair colors. Be sure to work with small brush tips only to achieve more precise results. This ensures that the background does not unintentionally transfer onto the hair.
7. Add a rainbow curve
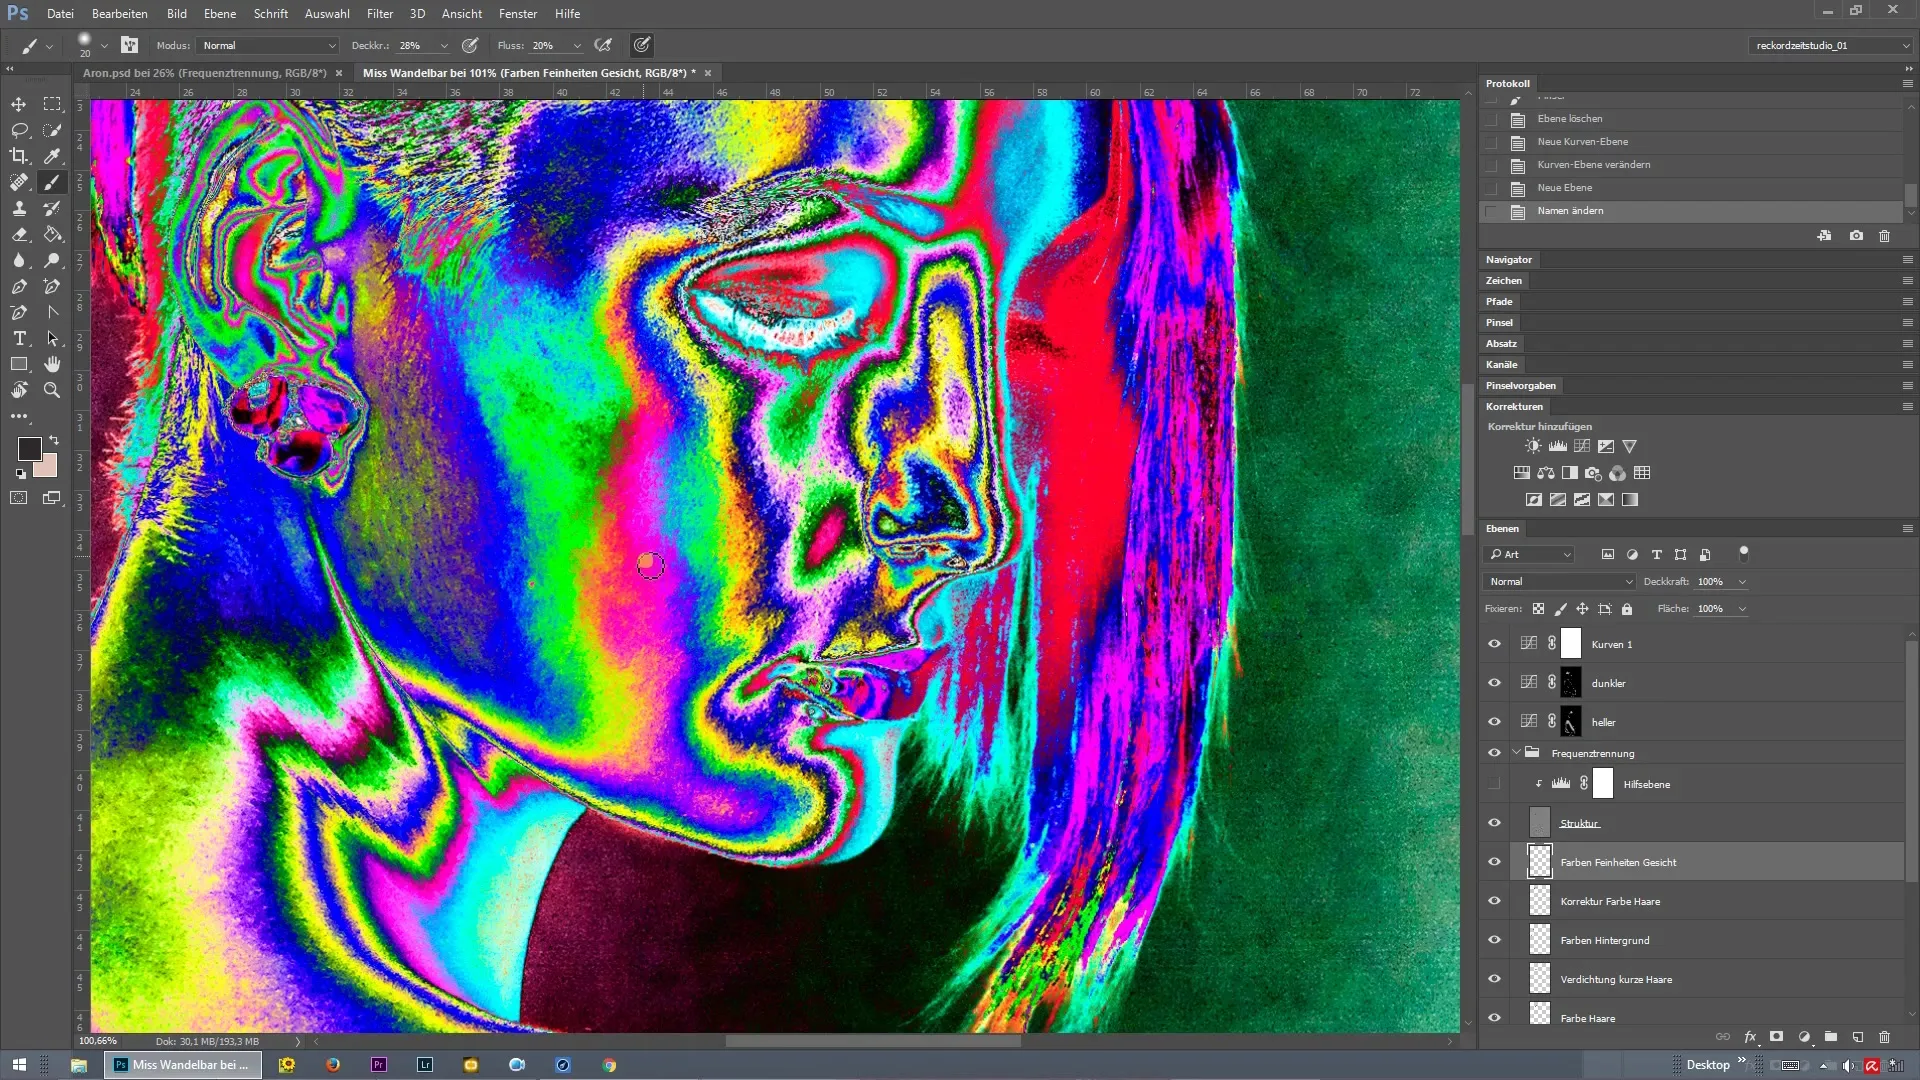
To give a final touch, you can now make a small adjustment with a rainbow curve. This allows you to view the image in different color nuances. With this technique, you can check whether all colors harmoniously match together.
8. Detail work
Create a new layer “Face Color Details” to make any final color adjustments. Once this layer is active, you can again work with the brush tool and harmoniously adjust the iso colors. Be sure to work subtly to ensure a natural result.
Summary – Frequency separation in Photoshop: Using 47 adjustment layers
To perfect your retouching in Photoshop, it is crucial to use various adjustment layers and carefully check where corrections are necessary. With the right application of curves and the brush tool, you can eliminate unwanted color differences and improve the image overall.
Frequently Asked Questions
How do I create a curve in Photoshop?You can create a curve via the “Layers” menu > “New Adjustment Layer” > “Curve”.
How can I capture colors accurately?Hold down the Alt key while making a color capture in the brush tool to get the right color shade.
What is frequency separation?Frequency separation is a technique in Photoshop that allows you to edit skin tones and textures independently.
