The frequency separation is a proven technique in image editing that allows you to edit colors and details independently. This method is particularly useful when it comes to the retouching of skin imperfections or other fine structures without compromising the color quality of the image. In this guide, you will learn how to efficiently use this technique to achieve excellent results in your projects.
Key insights
Frequency separation separates the skin texture from the colors of the image, allowing you to edit skin imperfections without affecting the hues. This method delivers clean results as you work on the texture layer and the color layer independently. You can work quickly and effectively without disturbing other image properties.
Step-by-step guide to frequency separation in Photoshop
First, you need an image you want to work with. Open the image in Photoshop and you're ready for frequency separation.

Step 1: Analyze the background layer
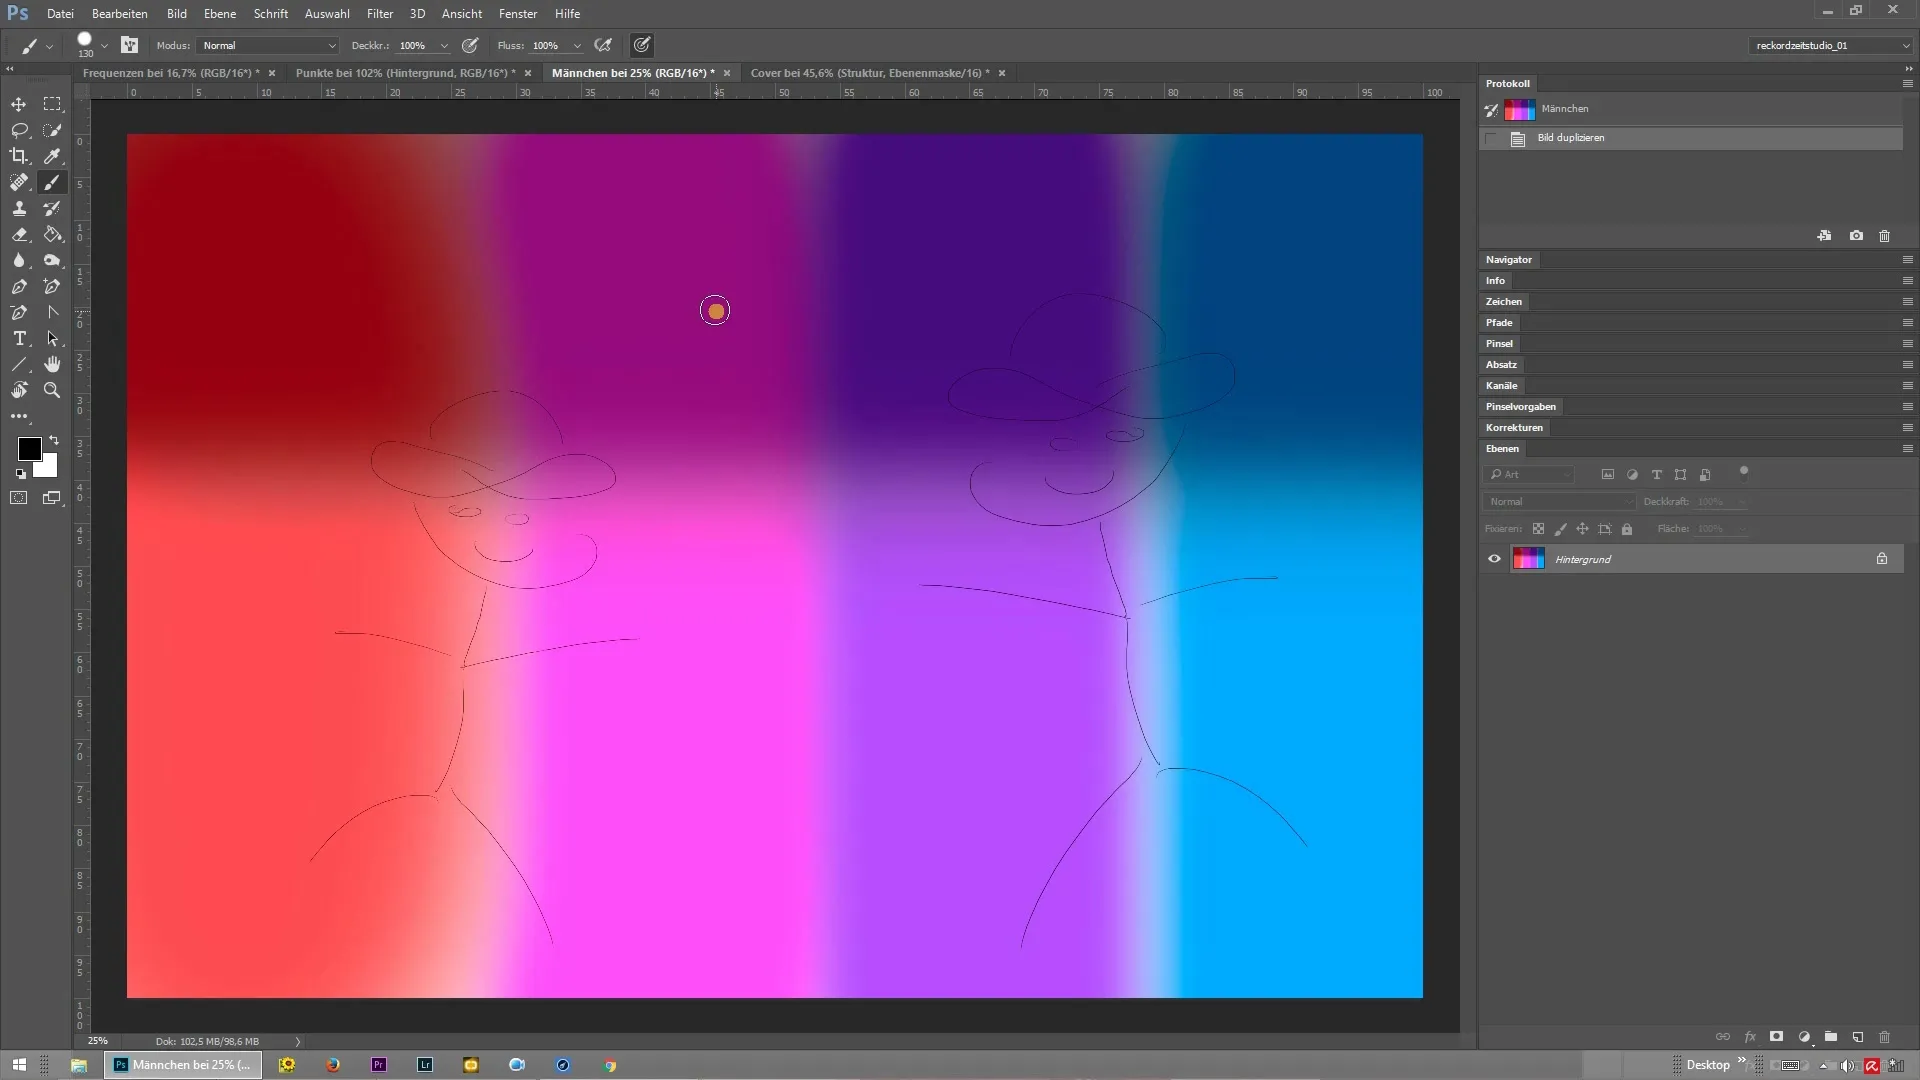
To understand the effect of frequency separation, first look at the high-frequency structures of your image. Zoom in on the image and pay attention to the details. You will notice that there are harsh transitions between the colors and the structures. These unsightly edges can be problematic with traditional retouching techniques.
Step 2: Perform frequency separation
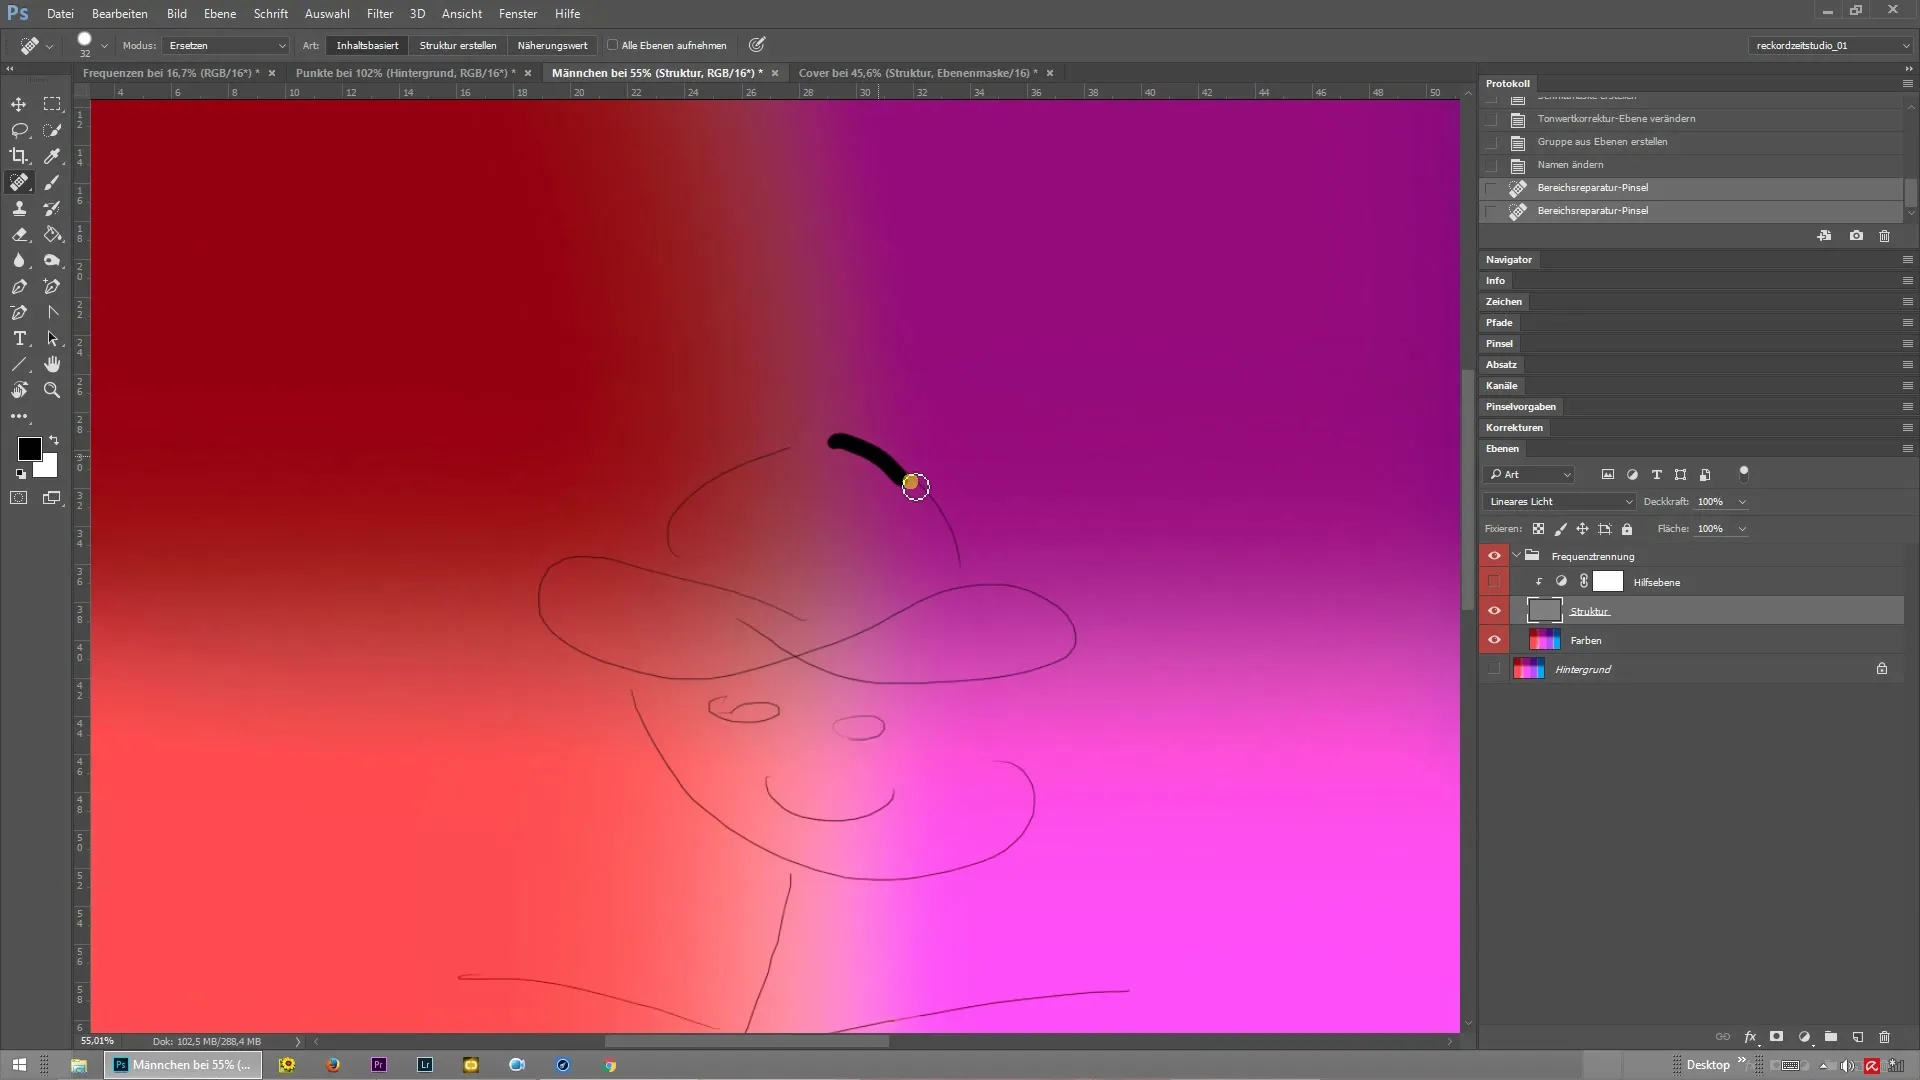
Now it is time to activate frequency separation. You can set up an action or use a script to create the layers automatically. In this process, Photoshop separates the structure from the color. You will get two separate layers: one for the structure and one for the colors.

Step 3: Edit the texture and color layers
Now you have two layers that can be edited independently. Start by editing the texture layer. Here you can remove skin imperfections or details using tools like the healing brush or the clone stamp.

In the color layer, you stay within the color and can make color changes without affecting the texture. This way, you can ensure that the colors remain harmonious while you edit the details in the texture layer.
Step 4: Check the results
After completing the retouching, you should look at the overall image. Merge the texture and color layers again to ensure they appear harmonious. If necessary, you can make adjustments and optimize the image.
Summary – Frequency Separation in Photoshop: Benefits and Implementation
Frequency separation is an extremely practical tool in Photoshop that helps you efficiently edit colors and structures independently. With this technique, you achieve clean, beautiful images without distracting color edges or other issues that can arise with traditional methods.
Frequently Asked Questions
How does frequency separation work?It separates the structure from the colors of the image into two separate layers.
What benefits does frequency separation offer?It allows clean retouching of skin imperfections without affecting the colors.
Do I need special knowledge to apply frequency separation?Basic knowledge of Photoshop is helpful, but the technique is relatively easy to learn.


