If you want to optimize your retouches in Photoshop, it is essential not only to pay attention to the skin texture or other main features of your subjects, but also to edit the background accordingly. Often, this part is overlooked, even though it significantly contributes to the overall effect of an image. In this guide, you will learn how to effectively and specifically retouch the backgrounds of your images using the technique of frequency separation.
Key Insights
- Frequency separation allows for detailed correction of texture and color.
- Edit the texture of the background separately from the colors for better results.
- Attention to the selection of brushes and opacity can significantly enhance the retouching.
Step-by-Step Guide
To apply frequency separation for background retouching, follow these steps:
Correct Skin Texture
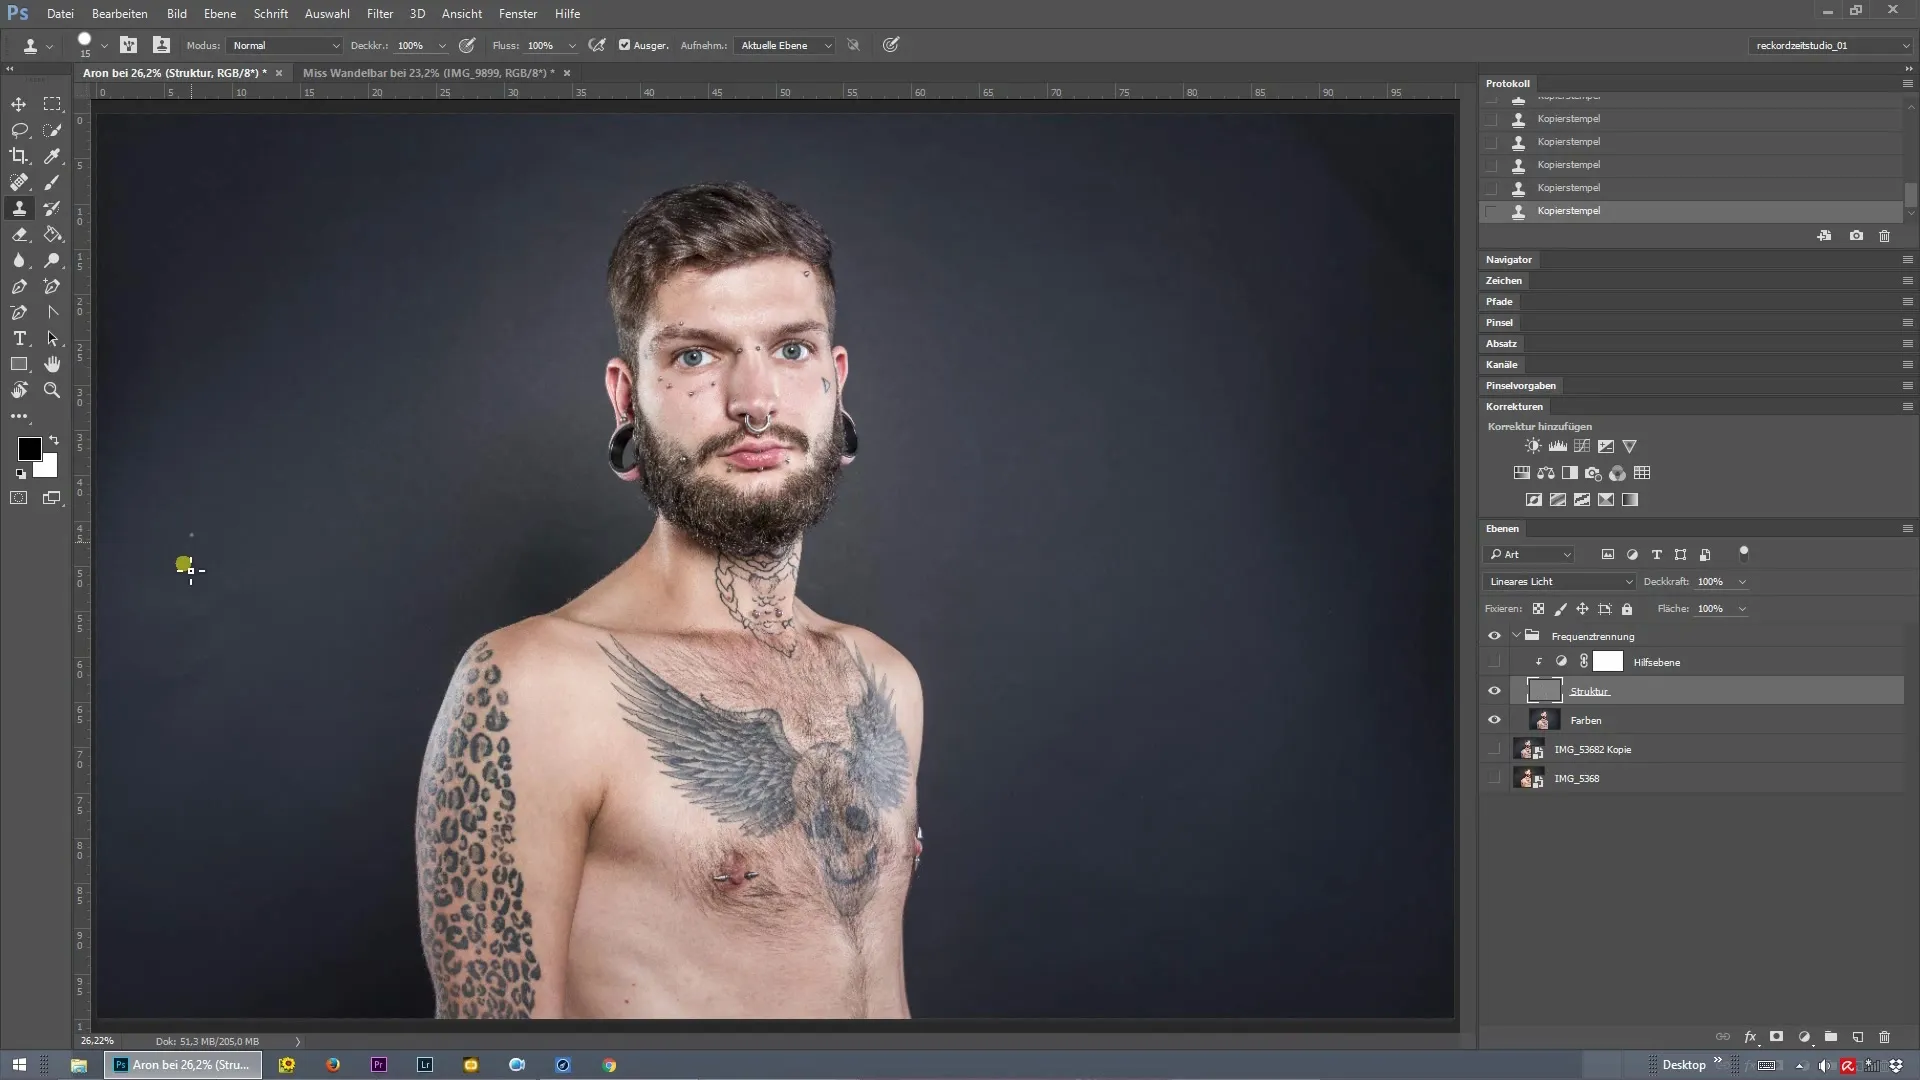
Before addressing the background, ensure that the skin texture of your subject has been edited. Go over the skin and remove small blemishes to create a smooth base for further editing. After the correction, you will find that the background may also need adjustments.

Hide Structure Layer
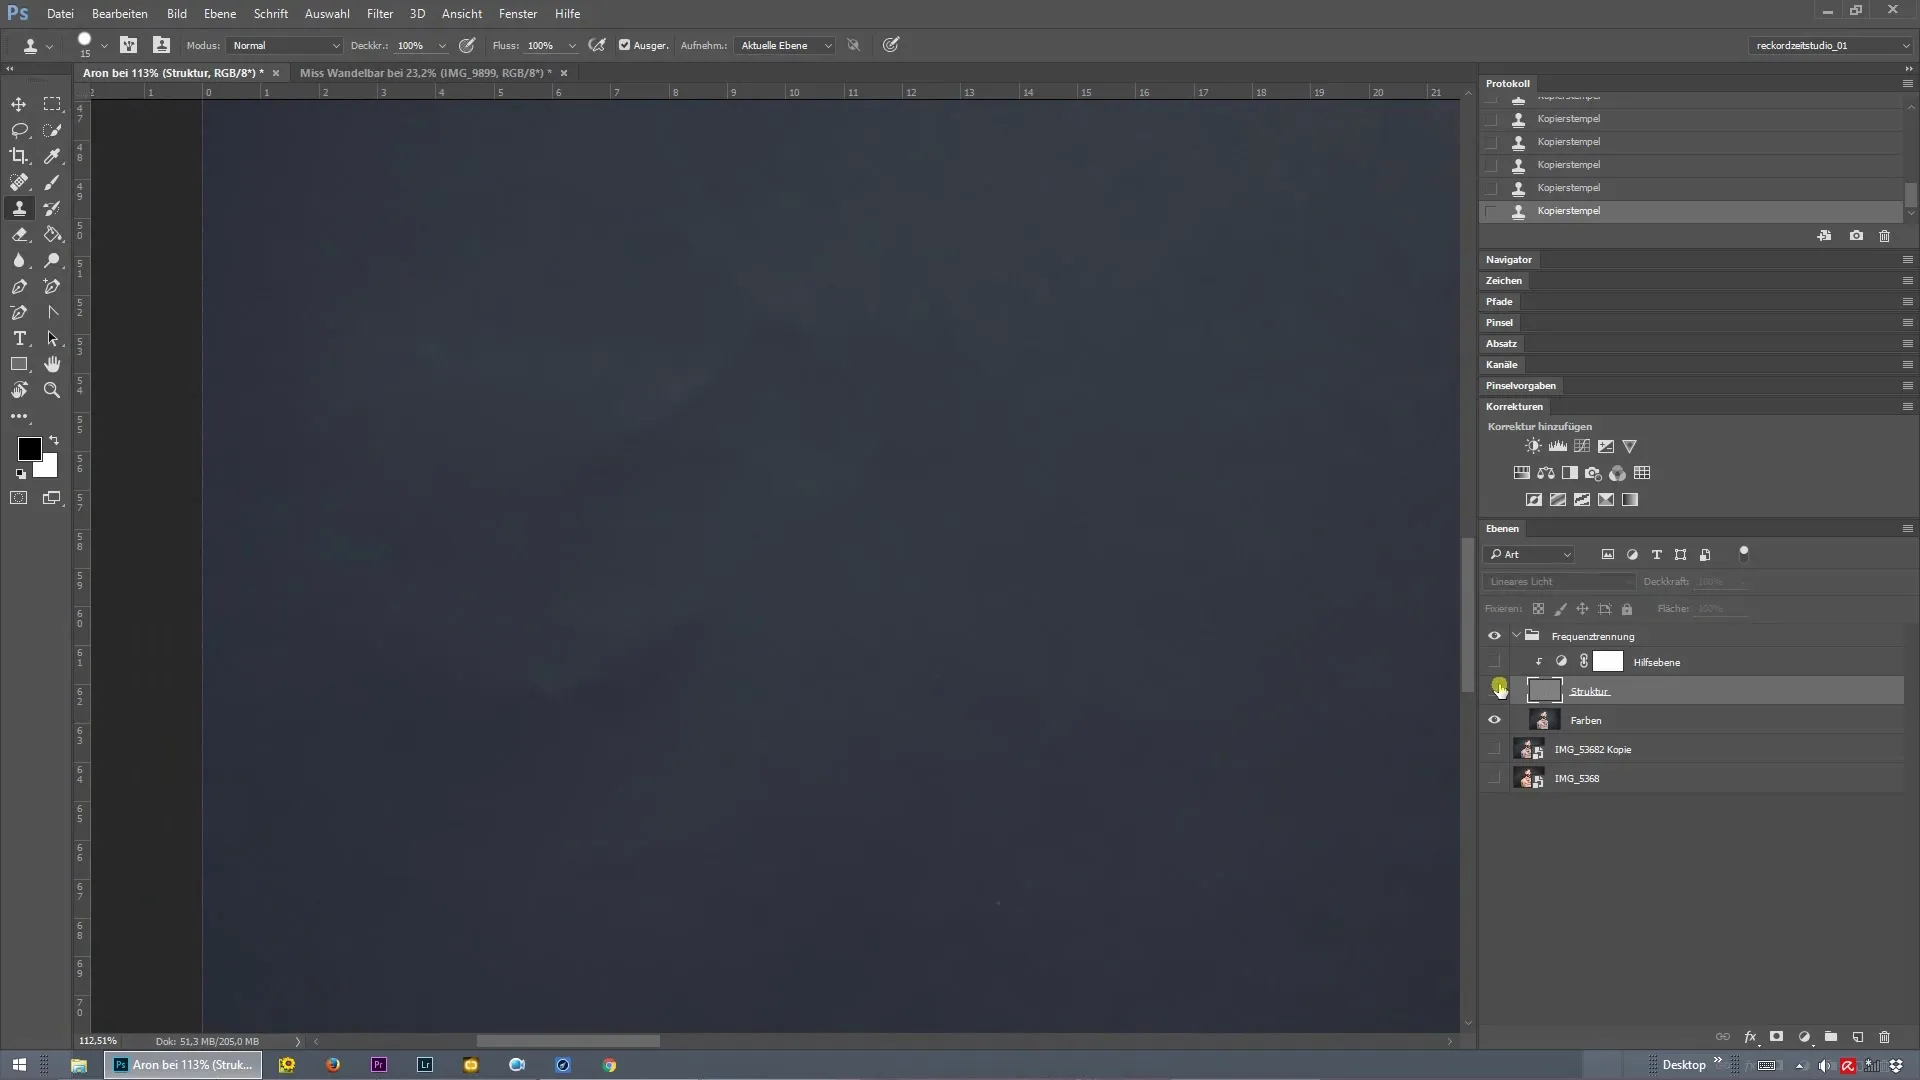
With the already edited skin texture as a basis, you can temporarily hide the structure layer. This gives you a clearer view of the background and helps identify areas that also need adjustment. Be sure to recognize the differences between the edited and unedited areas.

Make Corrections to the Background
Examine the areas of the background that still have folds or other irregularities. These should also be corrected. The first step here is to correct the texture - to ensure everything looks clean. Focus on identifying the spots that need editing.
Adjust Colors
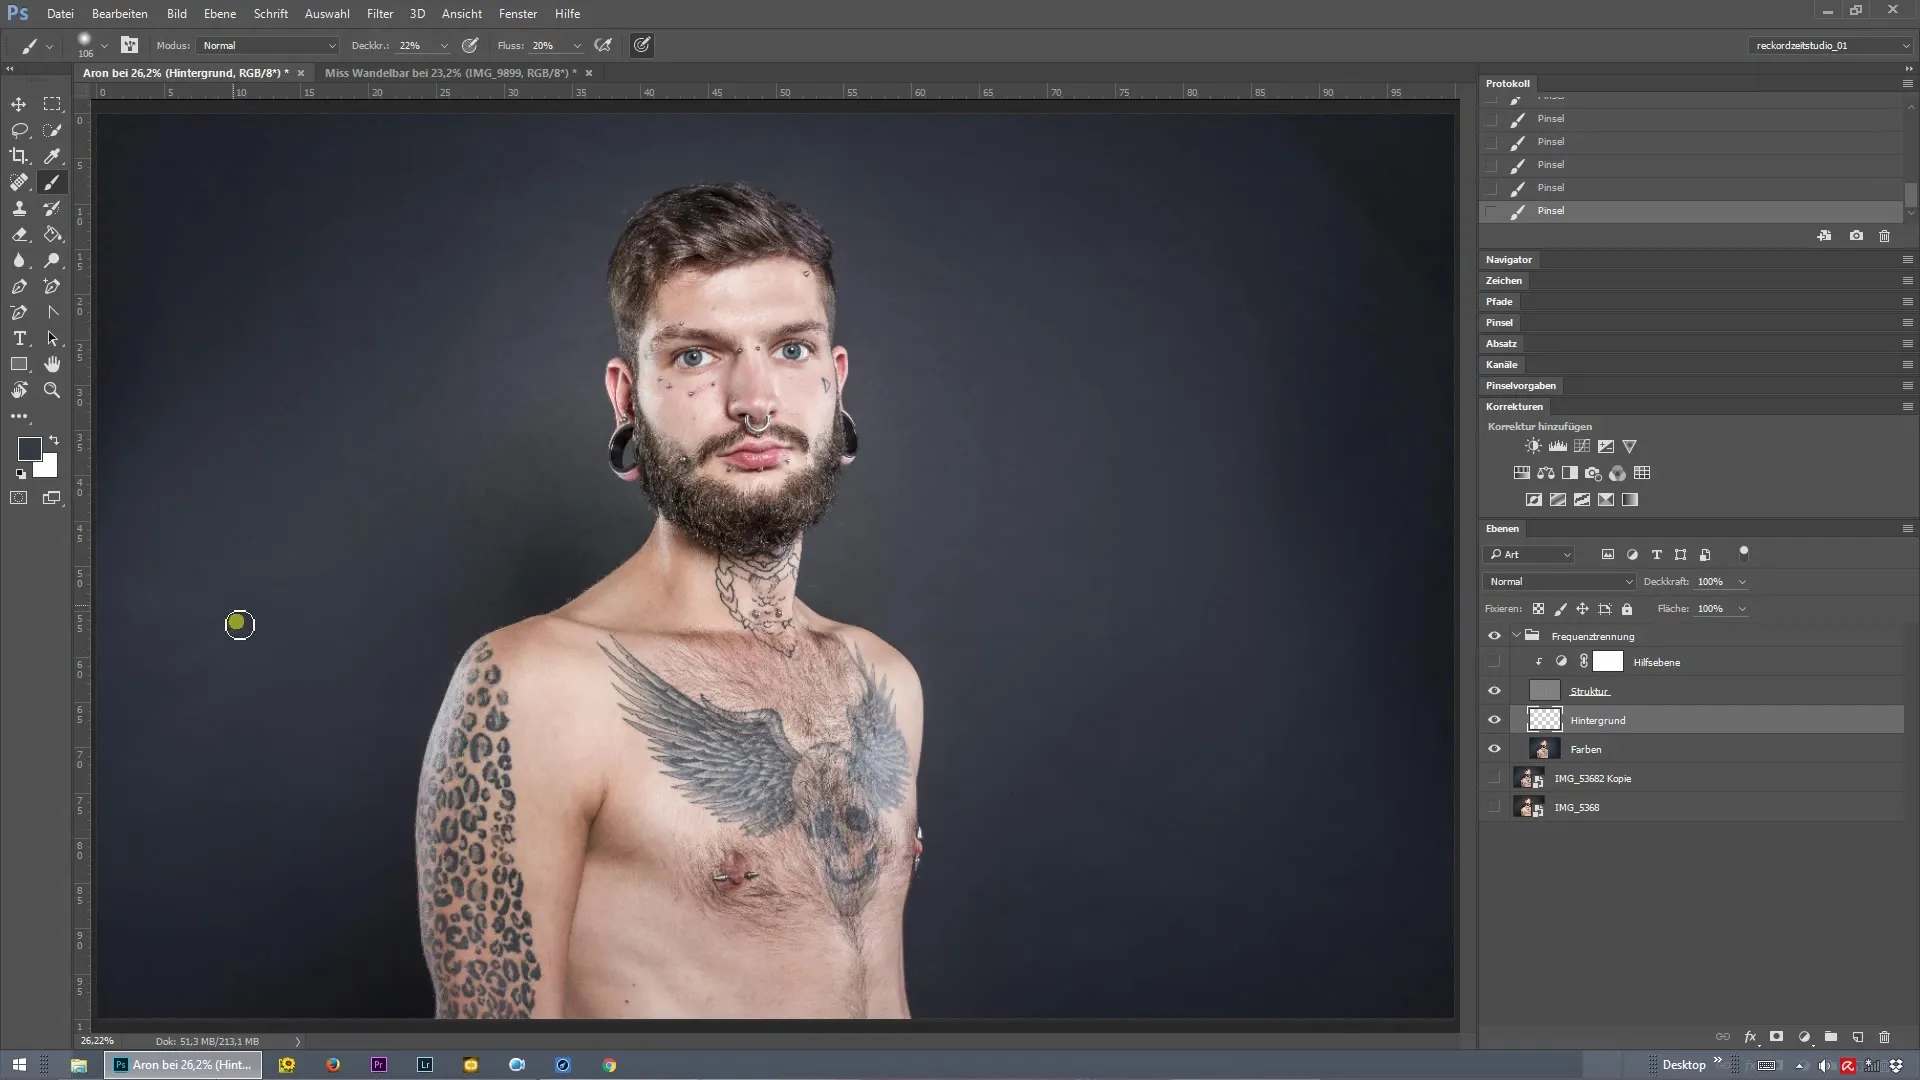
After you have adjusted the texture, the next step is to optimize the colors. Create a new blank layer, which you might call “Background.” This layer will help you adjust the colors without affecting the structure.
Set Brush and Opacity
Choose a brush with an opacity of about 15 to 30 percent for precise and controlled work. While I opted for a value of 22 percent, you can adjust this to achieve the best look for your image.
Color Shadows
Now select a slightly lighter color that matches the background. Carefully start editing the shadow areas. Be sure to use only delicate strokes to allow for a natural transition and blend the background softly.
Adjust Image
When you are satisfied with your background retouching, press “Control + 0” to fit the image back in. Check how the changes affect the overall look of your image. By toggling the edited layer on and off, you can see the progress and make adjustments.

Final Adjustments
Fine-tuning helps you find the optimal balance between texture and colors. Toggle the various layers on and off as needed to ensure that everything appears harmonious. Transitions should be smooth, and the retouching should blend seamlessly into the image.
Summary — Frequency Separation in Photoshop: Effective Background Retouching
Frequency separation is a powerful tool to ensure that while retouching photos, you don't lose sight of the main features as well as the background. By following the steps of texture and color correction, you can ensure that every element of your image looks professional.
Frequently Asked Questions
How can I activate frequency separation in Photoshop?You can manually set up frequency separation by duplicating the layers and working with “Gaussian Blur” and “High Pass.”
What are the best brushes for skin retouching?For skin retouching, brushes with soft edges and variable opacity are ideal for achieving natural results.
How do I set the optimal opacity?The optimal opacity depends on the image, but a value between 15% and 30% has proven to be recommended for subtle corrections.
How can I protect the skin texture after retouching the background?By working on separate layers and using masks, you can protect the skin texture while adjusting the background.
When should I consider the retouching finished?When all elements appear harmonious and there are no noticeable edges or transitions, you can consider the retouching complete.


